-
Please only use these forums for blogs, they are not a discussion forum
You are using an out of date browser. It may not display this or other websites correctly.
You should upgrade or use an alternative browser.
You should upgrade or use an alternative browser.
My Micra Dot Rising To The Top! :)
- Thread starter will930
- Start date
Found your proper blog at last,...If your worried about your plugs you could try an old 2 stroke tip called a plug chop...go for a spin..when shes warmed up rev it out to about 3/4 max revs for about 1/2 mile then stop...turn engine off immediately.(.dont let it idle) then take out each plug in turn and give them a good lookin at. your plugs will tell you how efficiently your burning your petrol.. a nice med toast colour is what your after..if you've got a haynes manual there's usually a colour plug pic to compare against
good colour coding with the bumpers buddy (Y)
Not a fan of the dials but each to their own. The bulbs are pushfit LED's by the way. So u can pull them out and switch with others without the hassle of having to buy holders to go with them. Should make for a tidier job. Keep up the good work (Y)
Not a fan of the dials but each to their own. The bulbs are pushfit LED's by the way. So u can pull them out and switch with others without the hassle of having to buy holders to go with them. Should make for a tidier job. Keep up the good work (Y)
I have another question for you aswell mate, sorry to nag haa. What is the micra like for space inside, is it tight in there or is there much space about inside
:grinning:
spacious id say a mate from college said that it felt like a green house inside with the big windows etc but can get warm in the summer! other than that you dont get the feeling of being crampt etc at all and the boot isnt half bad at all
humm and for the plugs ill check them soon to see how there wearing 
and the dash leds there working fine at they are so i might look into them if i get any trouble cheers anyway
and i will fit them lights in the red bit and ive found a good central locking set which will work with my boot release kit from the same place
but im thinking is it worth doing this conversion?
id love to just to be cool hehe
spacious id say a mate from college said that it felt like a green house inside with the big windows etc but can get warm in the summer! other than that you dont get the feeling of being crampt etc at all and the boot isnt half bad at all
Taa for that mate, helps with my desicion a lot, i dont really use the boot so thats not an issue anyways
well fit it with a mega massive sub thenso what plans will you have for yours?
Umm well it will be lowered pretty low but not bad enough to hit road every bump, get alloys (nissan) if it does not have any, straight through exhaust, if i get the 1.3 engine i will look into tuning that, if i get the 1.0 engine i will look into a conversion (1.3, 1.5 or the 1.6 lump). Other than that i will be getting standard spoiler if it aint got one and mod it a bit to be different, and also i seen a micra with a lower spoiler on and it looked very good on there, i dont usually like them but i will be doing it. Probably have more ideas but thats all i can think of. I usually do a lot of work with my cars to get them the way i want them haa
:grinning:
haha nice what do you think of me adding complete central locking with boot release then?
You thinking of smoothing off all the locks are you mate or just want the central locking and release so its easier
easier mainly and i can link the 2 systems so i can release boot with remote :laugh::grinning:
Yeh i would do it mate, kits can be bought cheap and its fairly simple to install. If your going down the smoothing route though thats obviously a tougher task, unless your handy with a welder etc or know someone then it will cost a bit in labour, plus paint etc. It all builds up haa
not going to smooth it seeing as if i get a flat battery i will not be able to get into my car haha
more feedback please haha
Yehh that is also another issue to take into account, sure there are ways around that though. I would certainly put the kit on and just leave the locks there mate. Them kits are only around £50 aint they
unm i found a decent one on ebay where the 2 kits can work as one... then you end up with a key like that of modern VW's and the like which can be cut which will release boot lock and unlock doors etc
so its pretty sweet just require some skill in fitting lol but wont be for a while lol
so its pretty sweet just require some skill in fitting lol but wont be for a while lol
Eliot
Ex Super S Owner
im just hoping it snows so i can miss tomorrow at uni haha
same for me but missing college (Y)
since i passed my test i have been lazy and neglected my bike! lol
ahh the trusty bike---which one? got a pic
just your everyday fast push bike nothing at all special lol lol i got a fair bit of snow at uni 3 inches almost was messy! some idiots were playing bumper cars in there fiestas lol
this is the measly snow on my car before i went to uni lol

and heres the mess i made of my heat sheild and then my gasket and stuff boring really


cheers for all these responses!
this is the measly snow on my car before i went to uni lol
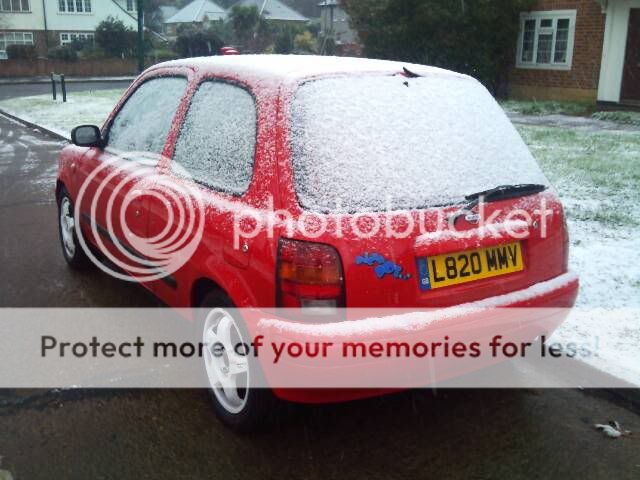
and heres the mess i made of my heat sheild and then my gasket and stuff boring really

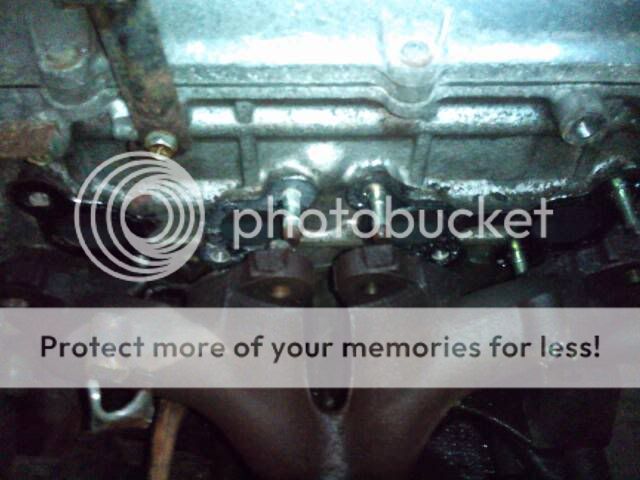
cheers for all these responses!
just your everyday fast push bike nothing at all special lol lol i got a fair bit of snow at uni 3 inches almost was messy! some idiots were playing bumper cars in there fiestas lol
a guy at work did the same in his fiesta snapped his drive shaft
yes yes makes micras look like luxurious cars! which they are but you get my point!
sorry for slow progress but too cold n snowey!
The snow stops everything, thats the only downfall to it grrr
indeed but getting it out is going to be the pain! im thinking that i will undo it from the head and then from the downpipe underneath and then do it all with it out the car!
which were the dash bulbs you said about which will fit properly as my blue tac is cold there all giving up lol
which were the dash bulbs you said about which will fit properly as my blue tac is cold there all giving up lol
righto onto the interior lights and the story of them righto was quiet easy when you have everything and i know this because i didnt get annoyed and start beating things up haha (which normally does happen) lol
righto the first bit was to make myself a little template to fit the light as the next pics show


took some fiddling about to actually get a snug fit
then next thing to do was to measure and line up on the roof liniing in my desired position!
(yes these are my habby marking outs lol but works a treat i thinks)

then simply stick the template to the roof folling amazing markings!

then with a sharp blade cut out as so and then you will end up with a badly cut hole like mine and the both on the same time

then try out the lights for fitting and maybe have to shimmy about and tweek here and there

and wala
then to the bit which i thought wouldnt be hard then came out an annoying task... which believe it or not is the wiring which was a bum to do... seeing as i wanted them to work exactly with the existing light and id pop into the wires which run up the front pillar! but after some inspection it was the live and then an earth which works with the door open/close which i did want but not only that... so i looked at the main light and worked pout a solution around it.
(cant find pic damn it haha)
but in the switcher unit that main earth wire goes in one side so when its on that setting it will work with door open/close, then on the other side the earth simply goes into the bodywork and then no connection in the middle secion....
so looking around it how can i connect a wire to all that and allow it to work properly as i want so i took it apart and got the the switch slider thing and solderd a wire onto it so it will work now i do have a pic!

just working out where to solder it so it doesnt get in the way is the fun bit!
and here is the unit back together about to go back in with added wire

then you can fit it all back together and run the eather wire round to meet the live which i ran from the door pillar as seen below

then i ran them to the lights and wired up as normal using ball connectors and made sure all the right weay etc and here are the finished results


all feedback would be loved
righto the first bit was to make myself a little template to fit the light as the next pics show

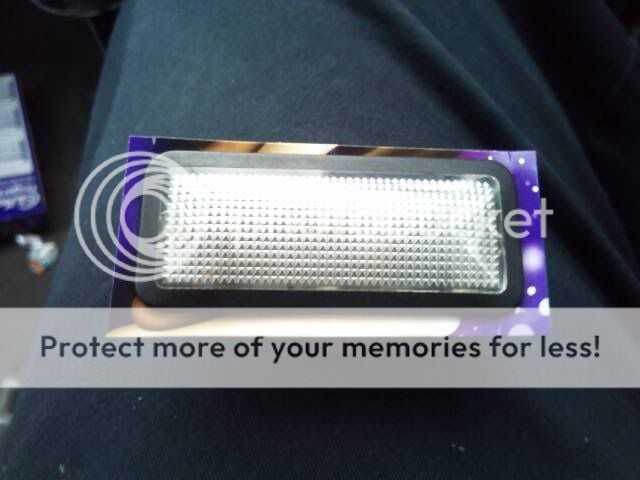
took some fiddling about to actually get a snug fit
then next thing to do was to measure and line up on the roof liniing in my desired position!
(yes these are my habby marking outs lol but works a treat i thinks)
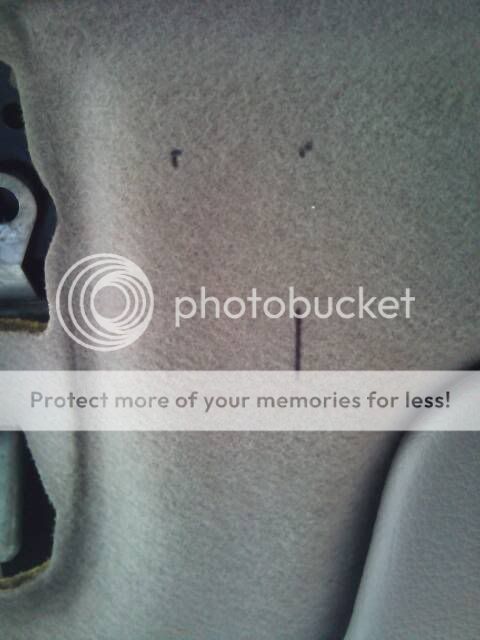
then simply stick the template to the roof folling amazing markings!
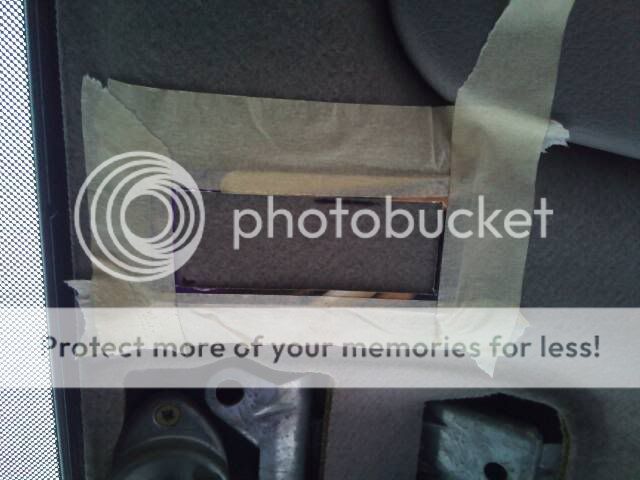
then with a sharp blade cut out as so and then you will end up with a badly cut hole like mine and the both on the same time
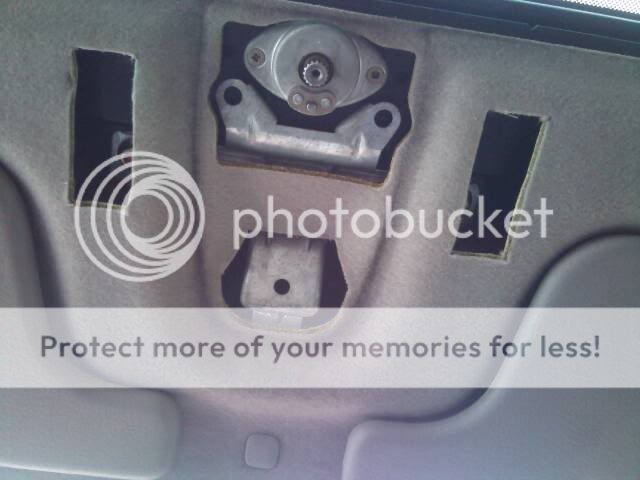
then try out the lights for fitting and maybe have to shimmy about and tweek here and there
and wala
then to the bit which i thought wouldnt be hard then came out an annoying task... which believe it or not is the wiring which was a bum to do... seeing as i wanted them to work exactly with the existing light and id pop into the wires which run up the front pillar! but after some inspection it was the live and then an earth which works with the door open/close which i did want but not only that... so i looked at the main light and worked pout a solution around it.
(cant find pic damn it haha)
but in the switcher unit that main earth wire goes in one side so when its on that setting it will work with door open/close, then on the other side the earth simply goes into the bodywork and then no connection in the middle secion....
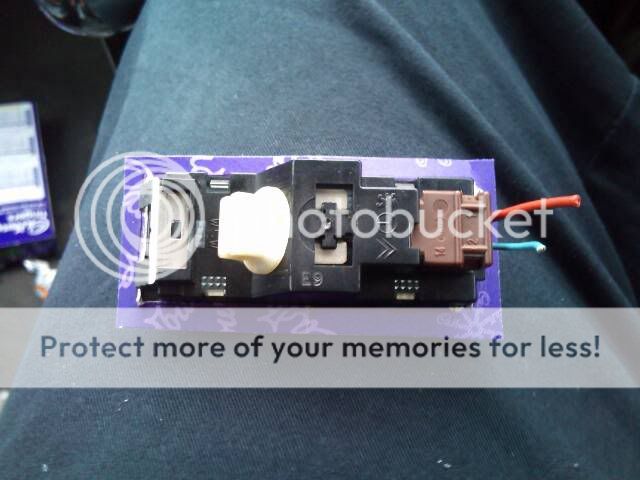
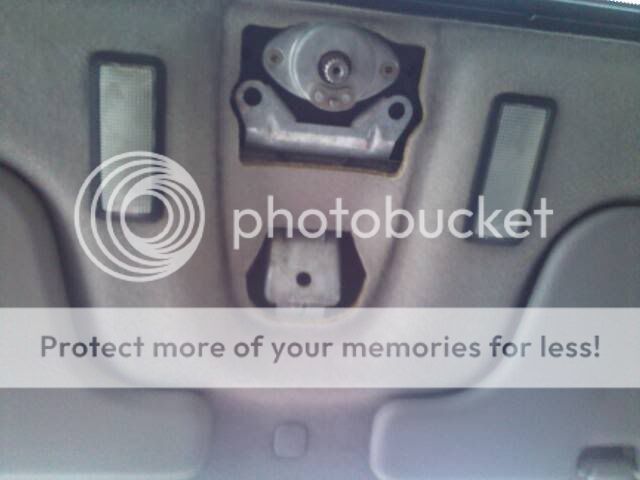
so looking around it how can i connect a wire to all that and allow it to work properly as i want so i took it apart and got the the switch slider thing and solderd a wire onto it so it will work now i do have a pic!

just working out where to solder it so it doesnt get in the way is the fun bit!
and here is the unit back together about to go back in with added wire
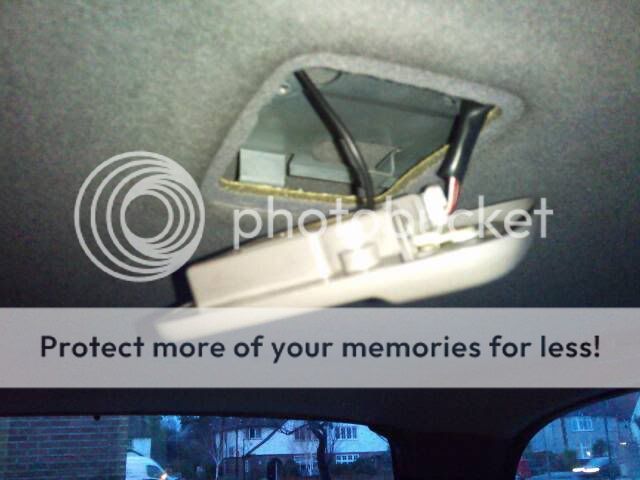
then you can fit it all back together and run the eather wire round to meet the live which i ran from the door pillar as seen below
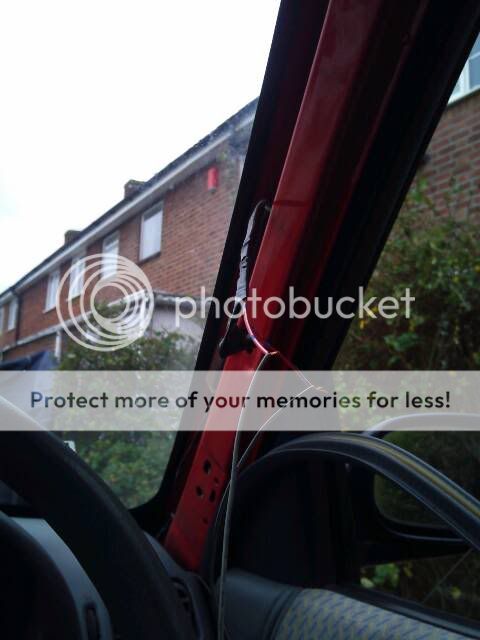
then i ran them to the lights and wired up as normal using ball connectors and made sure all the right weay etc and here are the finished results



all feedback would be loved
let just hope the wire can handle all those light (Y)
it must be like daytime in there (Y) although i can't see why you wouldn't be able to splice into the existing wire on the original light?
well shaun that difficult to explain but ill try... otherwise i would have done it....
that main wire only brings the live wire which is permanent, and ther other wire going to the light takes the signal from the push for off button on the door... which goes to the switch in the roof (which is when the switch is on one side)... then when the switch is in the middle there is no contact to any earth... then on the other side the metal connector goes to a mounting screws which go into the roof which is the on at demand...
so by connecting to the slider switch it means the other lights will mimick the master as it were, seeing as the switch has metal and will get the power at whats its set at...
i hope that helps lol
yeah i am thinking of doing the glovebox and the boot... got all the bits i need to do both but not sure about doing glove box anymore as the main light lights it up amazingly well but only when its on!!!
and haha the bloke in the scrap yard did say am i planning on having a party lol
more feedback :laugh:
and haha the bloke in the scrap yard did say am i planning on having a party lol
more feedback :laugh:
Similar threads
- Replies
- 221
- Views
- 18K

