• Please only use these forums for blogs, they are not a discussion forum

My GSX

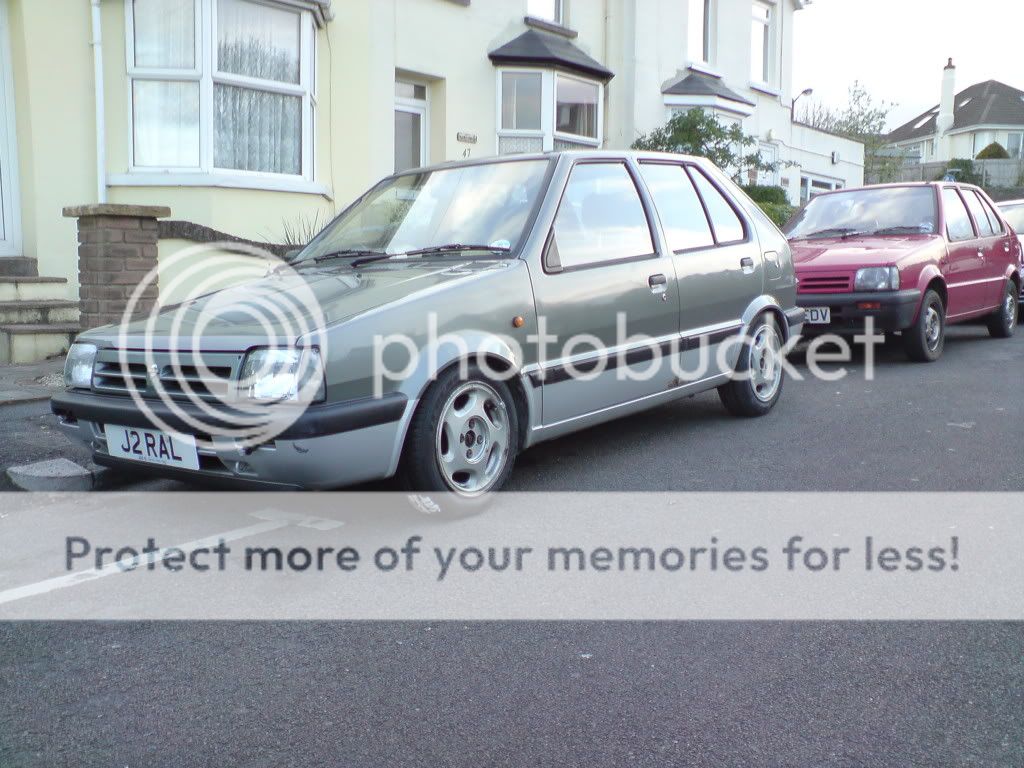
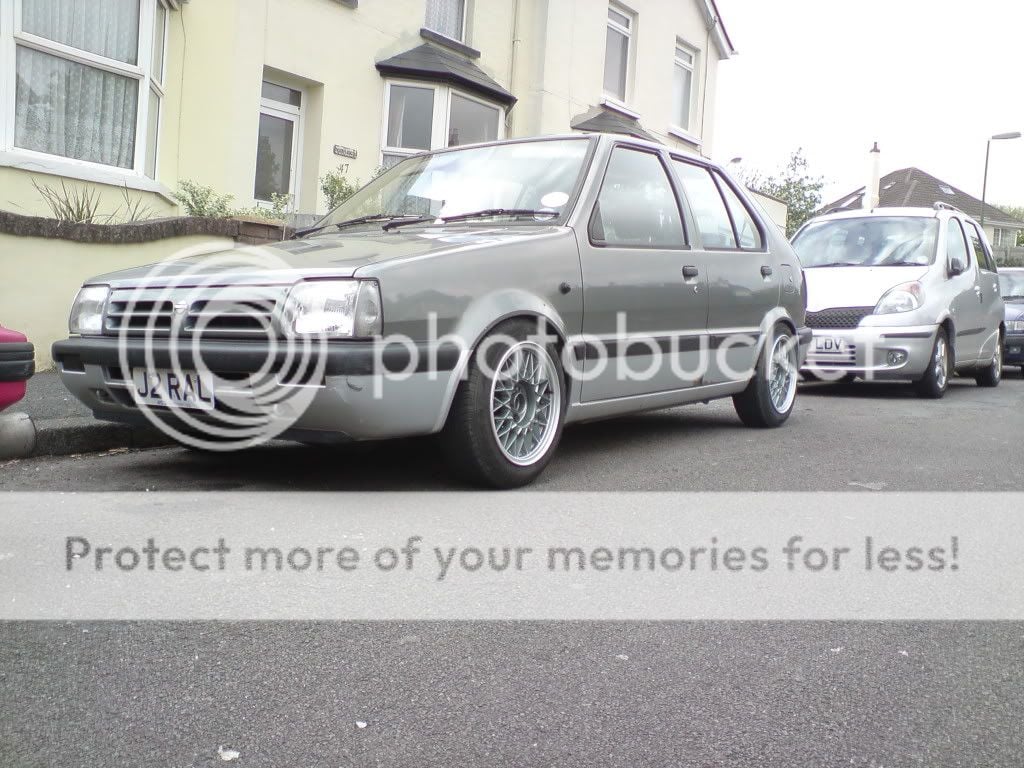
My '91 GSX - front strut brace

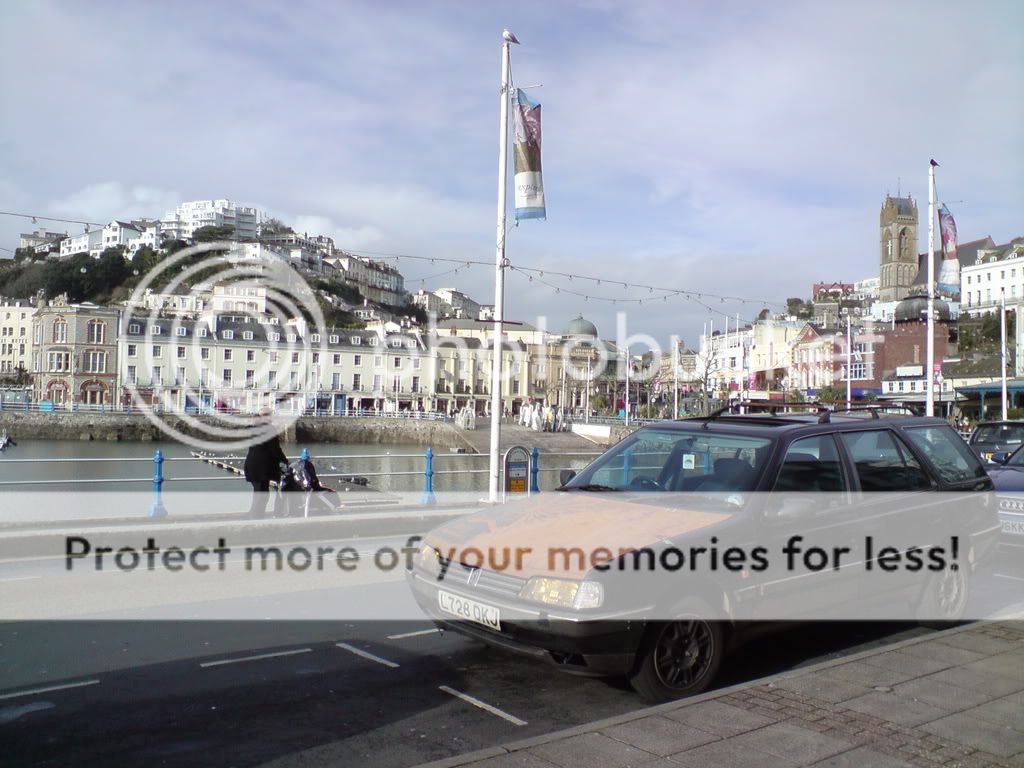
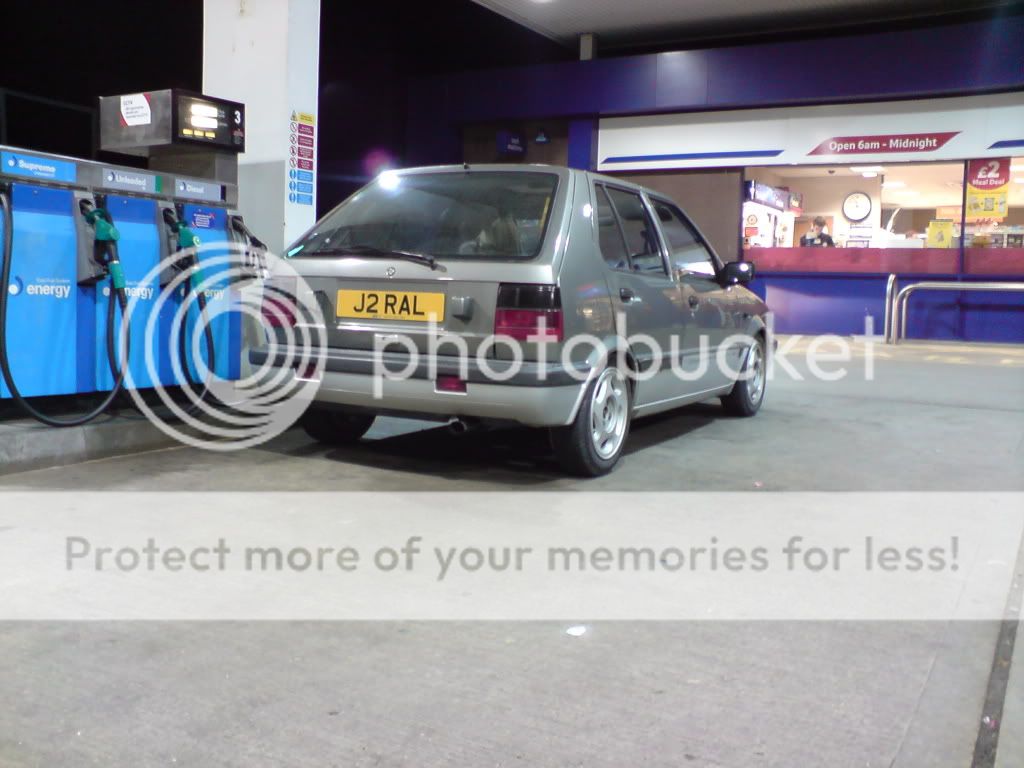
My old daily, the diseasel, was in the process of dying again.
Here's a nice pic of it by the harbourside:
DSC02016.jpg


So last Monday I started a casual search for a replacement daily.
I'd been feeling the Micra love again for a while and found a '91, 187k, red 4 door 998cc facelift K10 with MOT until December and tax to the end of the month, oh, and no 3rd gear, for £50 on freeads.
By 10.30pm I was driving home in it.
When I got home I had a quick look for a replacement gearbag on ebay, found one, same county as me and sent the guy a message.
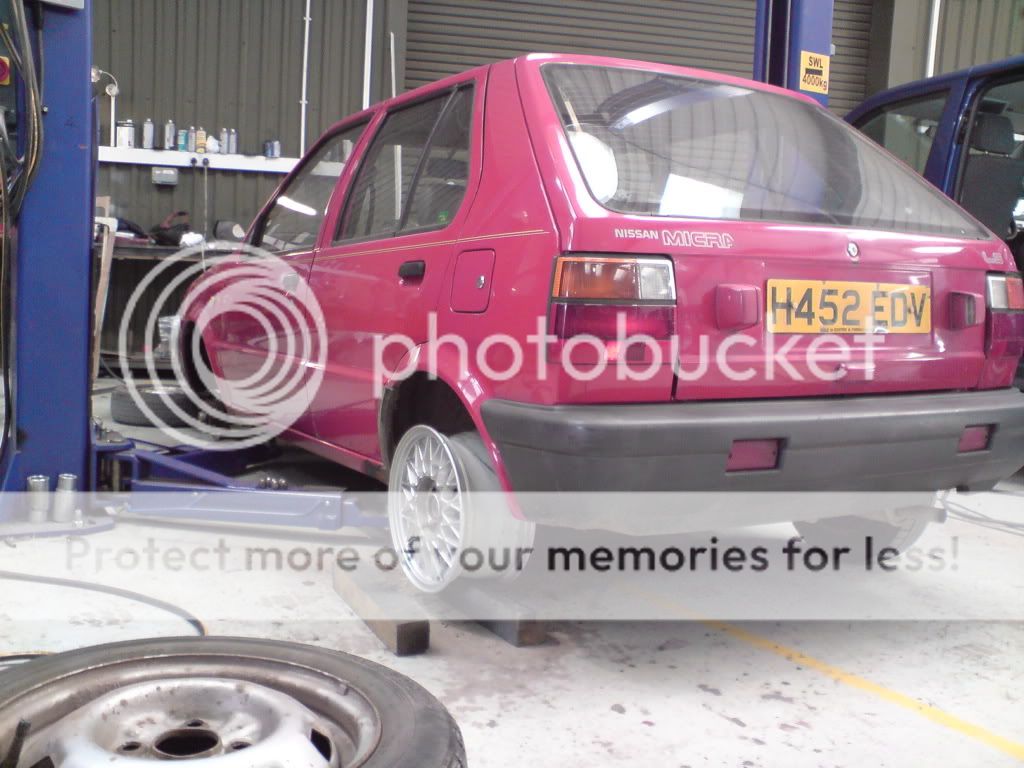
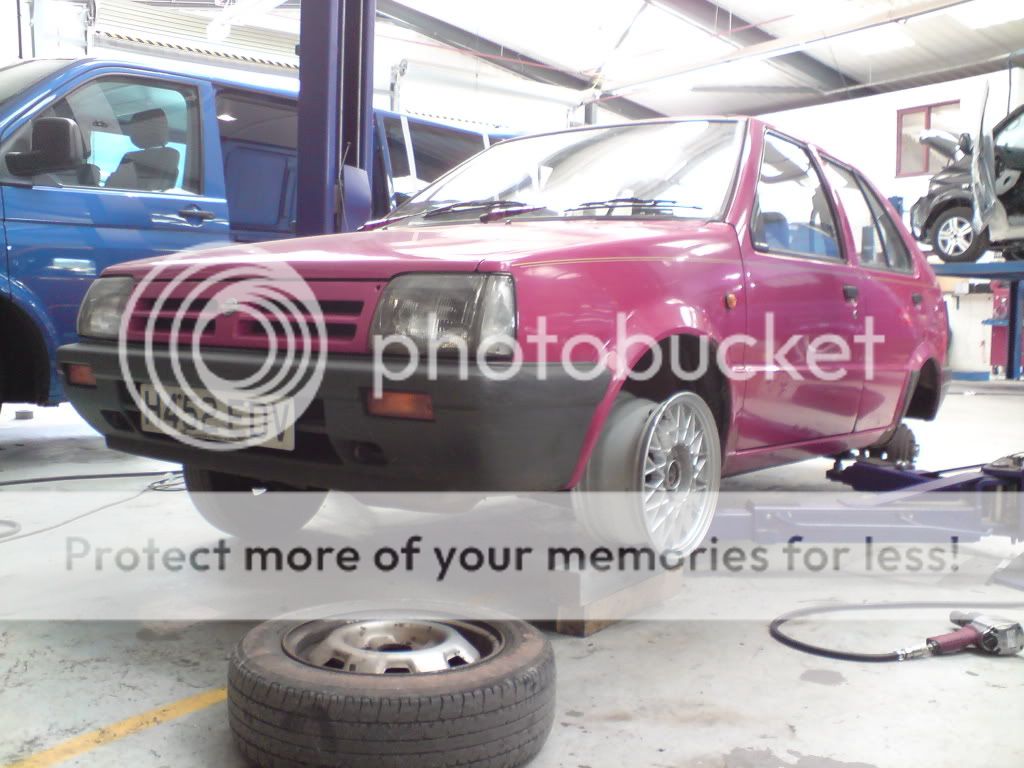
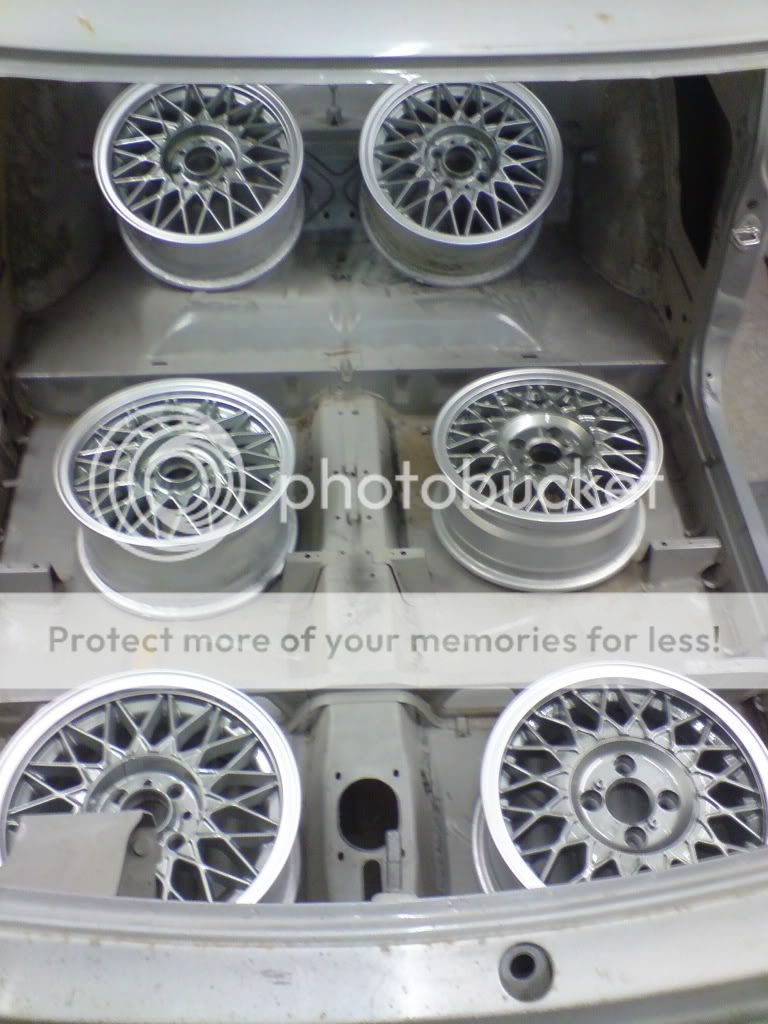
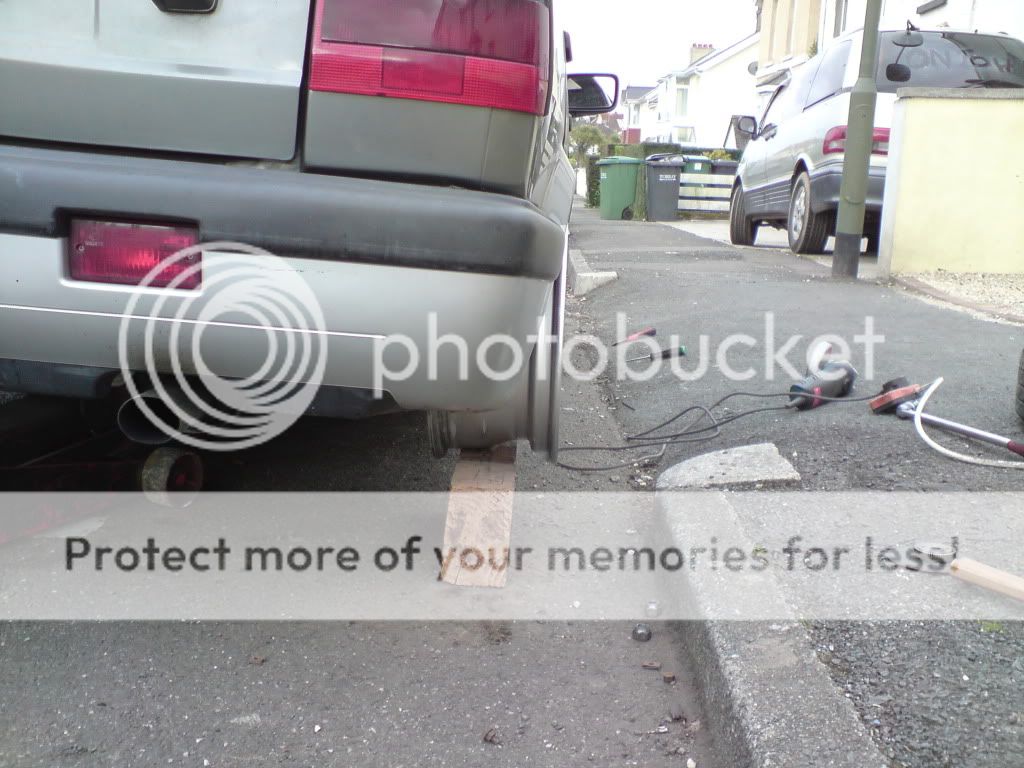
On Tuesday I took it to work to get it on a ramp and have a look under it, I also wanted to try a wheel on it, just out of curiosity y'know.
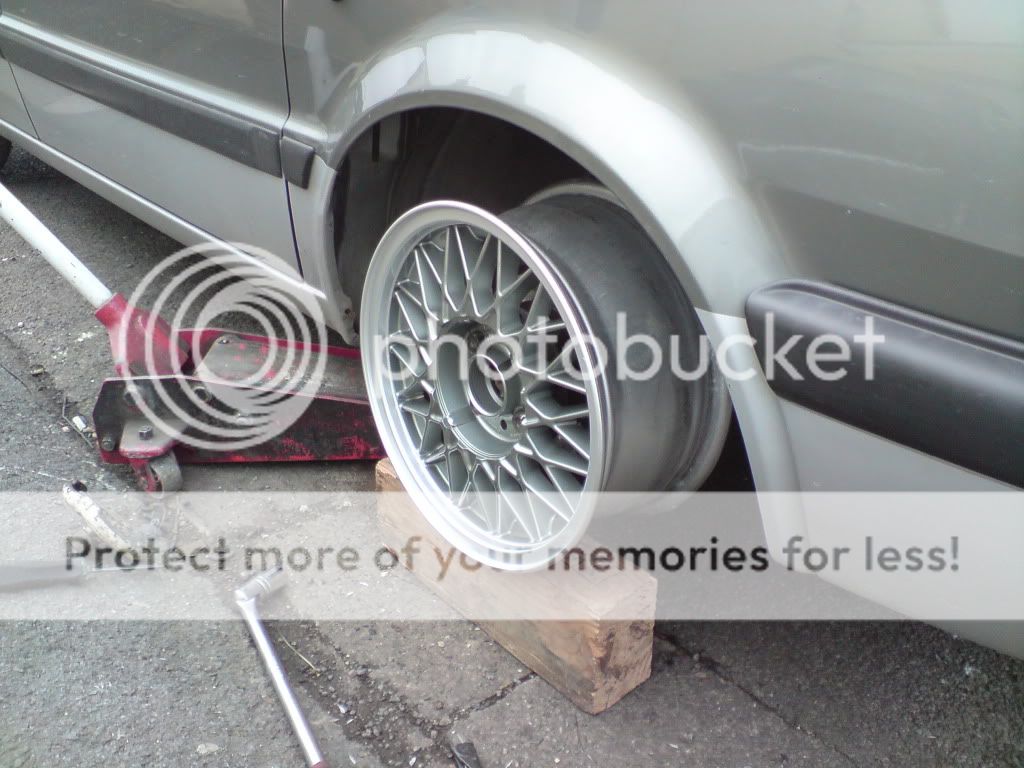
BMW E30 14 x 6 1/2:
DSC02231.jpg

DSC02230.jpg

Shame the centrebores on them are to small and I've only got 3 of them.
Got home from work to a message from the guy with the gearbag, it was still on the car and he was also selling the car complete. A couple of messages later and I was on my way to look at it.
It'd had the cam snap between 3+4, he'd replaced the cam but couldn't get it to run right. He'd also sold the n/s mirror off it and removed the carb.
It had 3 weeks MOT, 1 1/2 months of tax, 86k, 5 100nx wheels, a 5 digit numberplate and a tow bar!
£75 later I was being towed home in it!
Wednesday evening was spent doing a little research, which is how I found this place(Y)
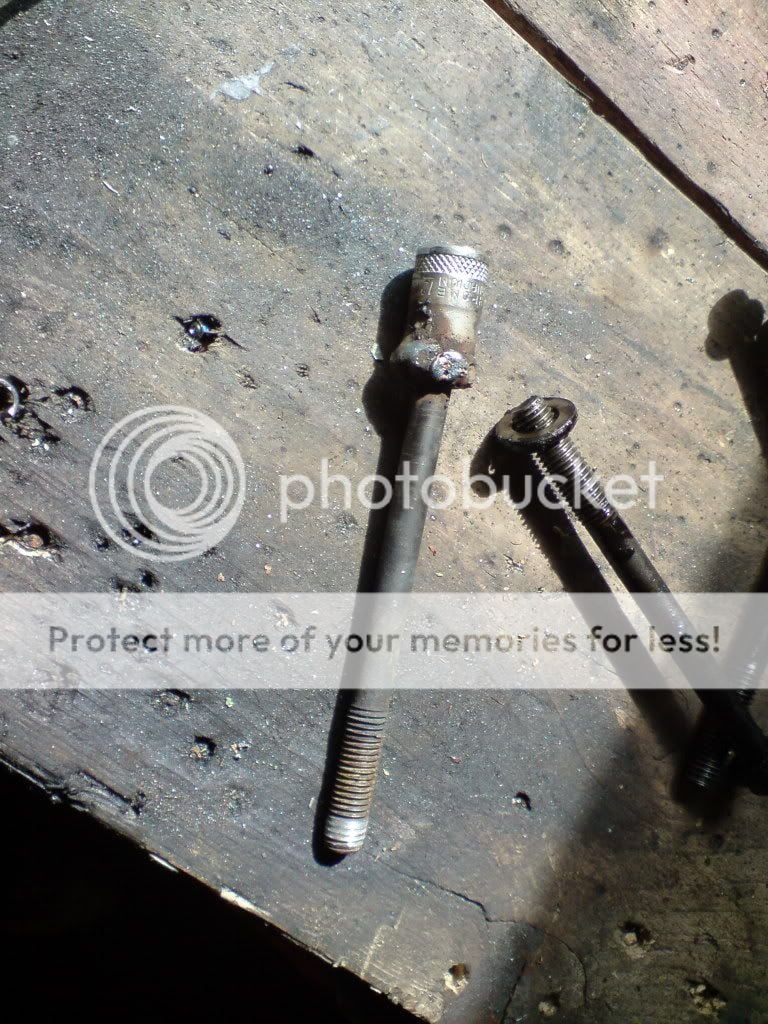
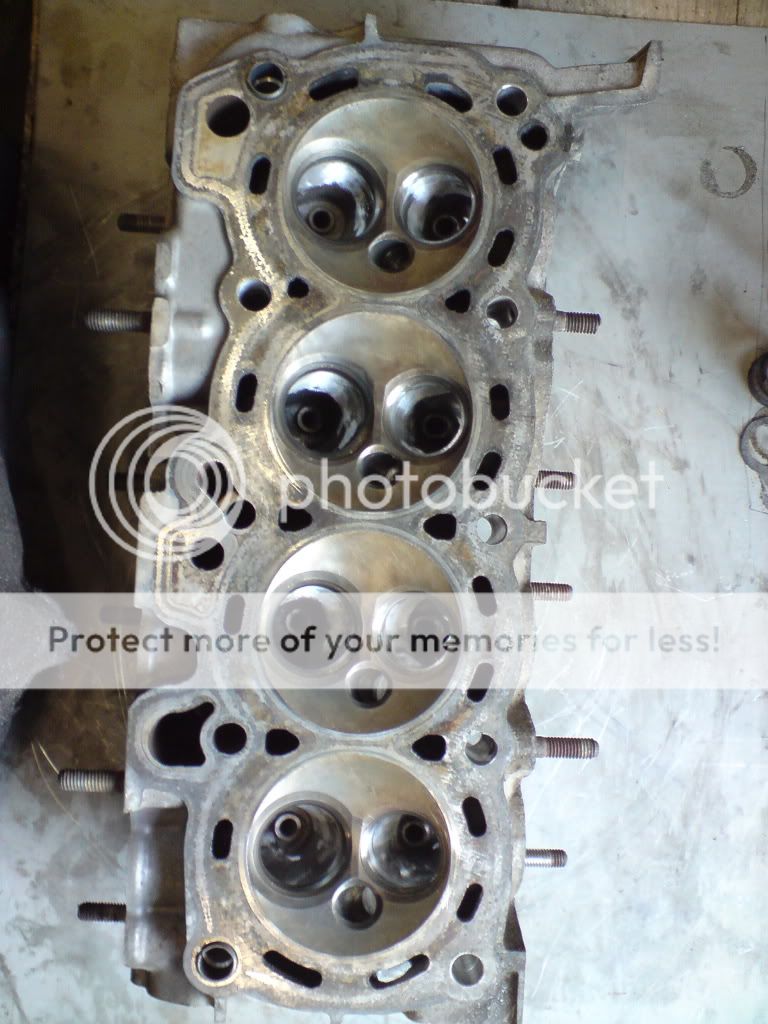
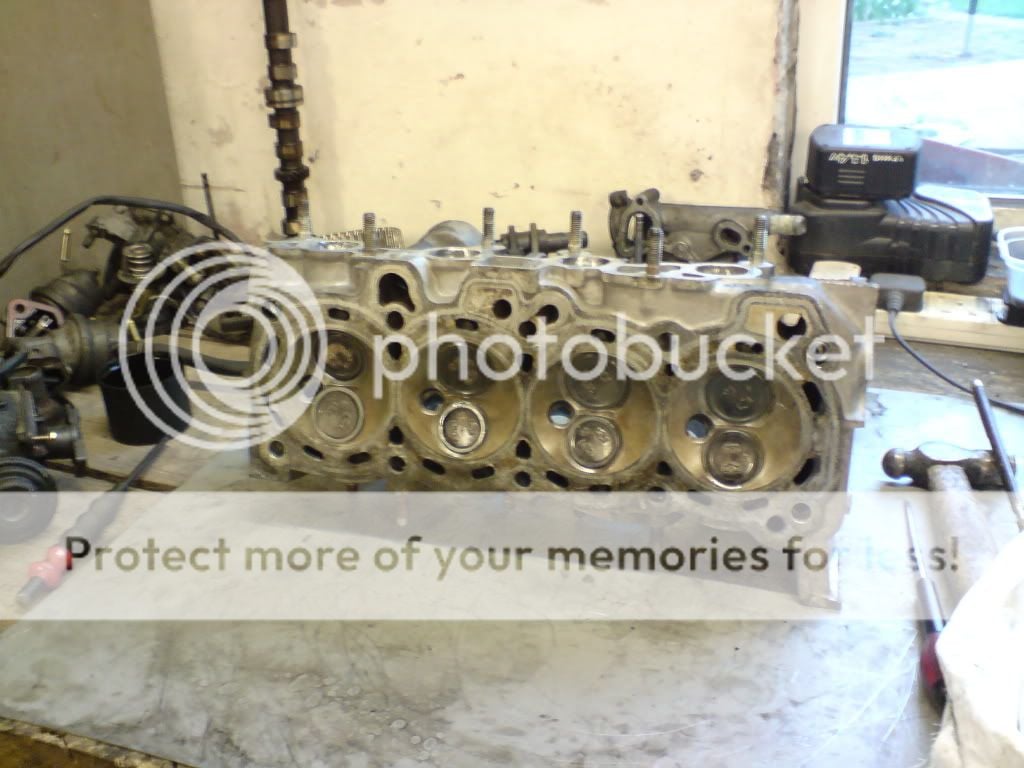
Thursday evening we did a compression test, discovered no compression on cylinder 4 and removed the head to find out why. This ended up taking rather longer than expected as the front centre 3 head bolts were a b'stard to get out. 1 of them rounded and I ended up having to weld a socket onto it!
DSC02244.jpg

Friday night we took the head off the 998 and stripped both of them down.
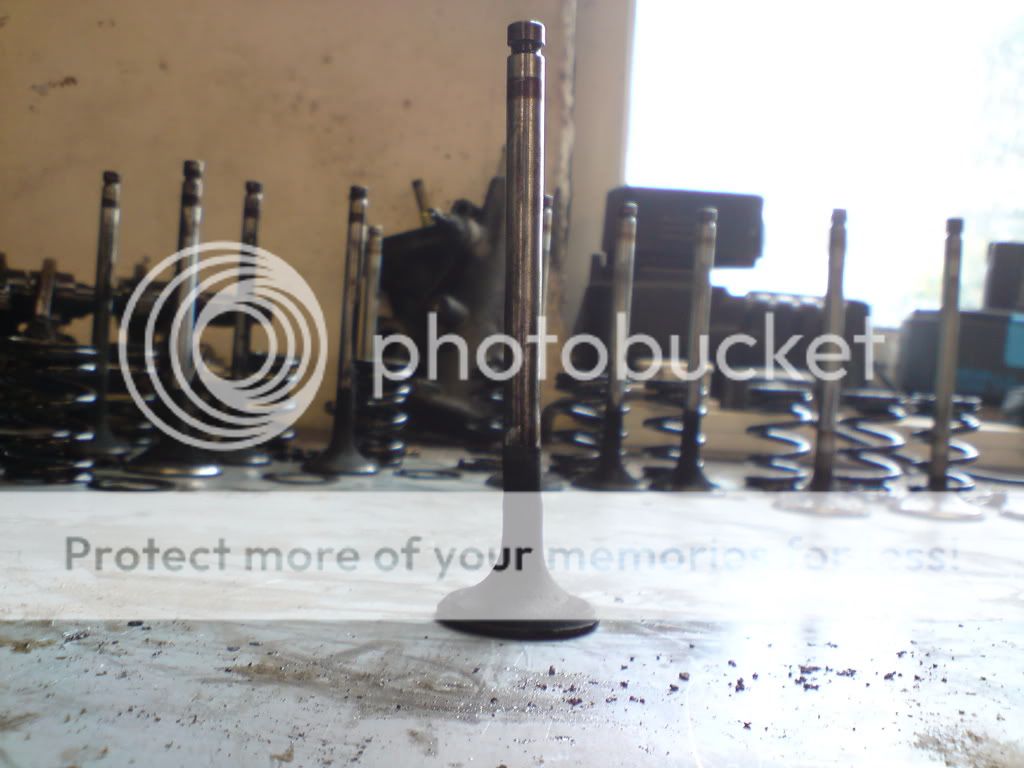
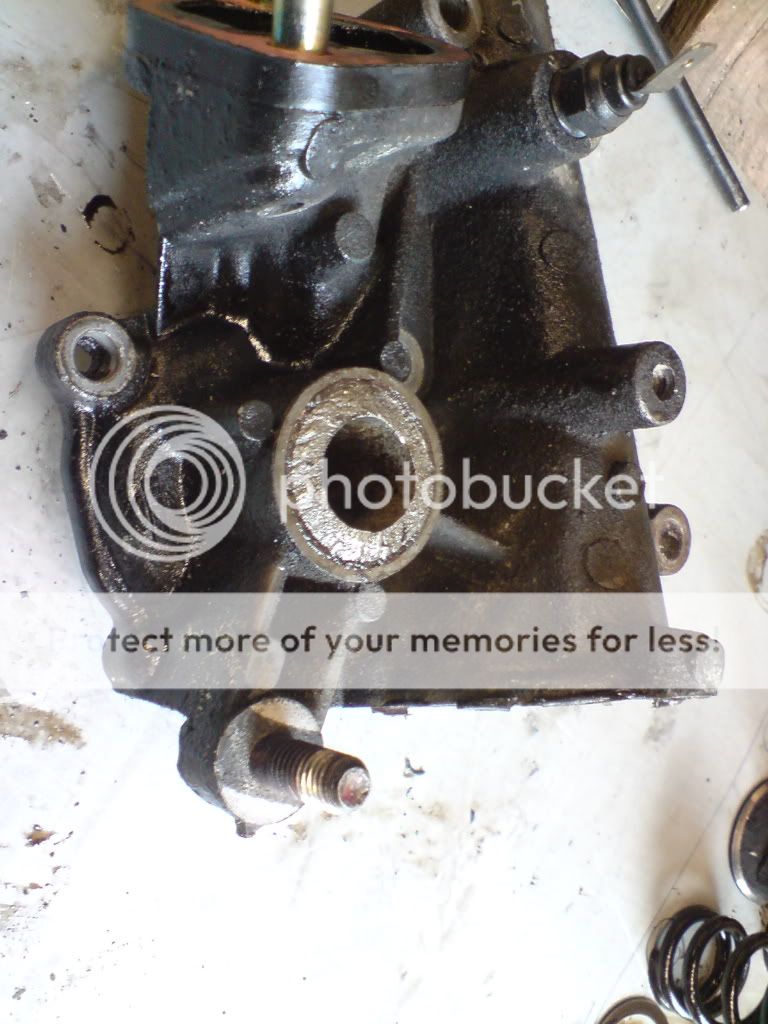
Bent inlet valve:
DSC02248.jpg

I spent Saturday morning putting a mates Transit through it's MOT but managed to pick up a headset, coolant, oil and filter, a set of 5mm spacers and got some new tyres in a more suitable size put onto the nx rims whilst on my travels.
Saturday lunchtime I finally got to get on with the head.
If you've got the head stripped bare already it'd be rude not to 'tidy up' the ports wouldn't it?
DSC02254.jpg

Valves back in
DSC02255.jpg

Spot the difference
DSC02249.jpg

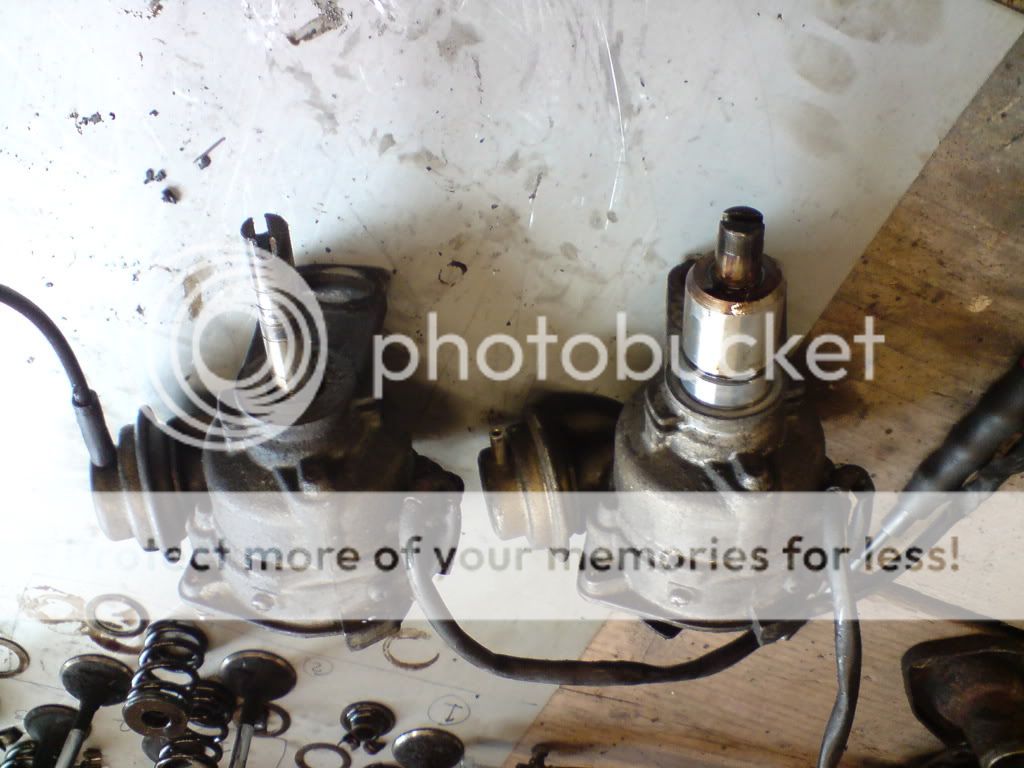
That's right, when the cam snapped it took a chunk of the distributor body off. But where did it go?
DSC02251.jpg

Ah, there it is.
By 9pm and having drilled out and retapped the snapped exhaust manifold to downpipe bolts, it was all built back up and ready to go back on.
But I thought I'd leave that for daylight, so I went out and removed the rear lights, front indicator lenses and repeaters, took them into the garage and tinted them instead.
Sunday morning I treated myself to a lie in and then went out and got the head back on.
Having run it up to temperature, I did the timing and reset the valve clearances. Runs very sweetly too.(Y)
With all the stuff back under the bonnet I got onto the fun part.
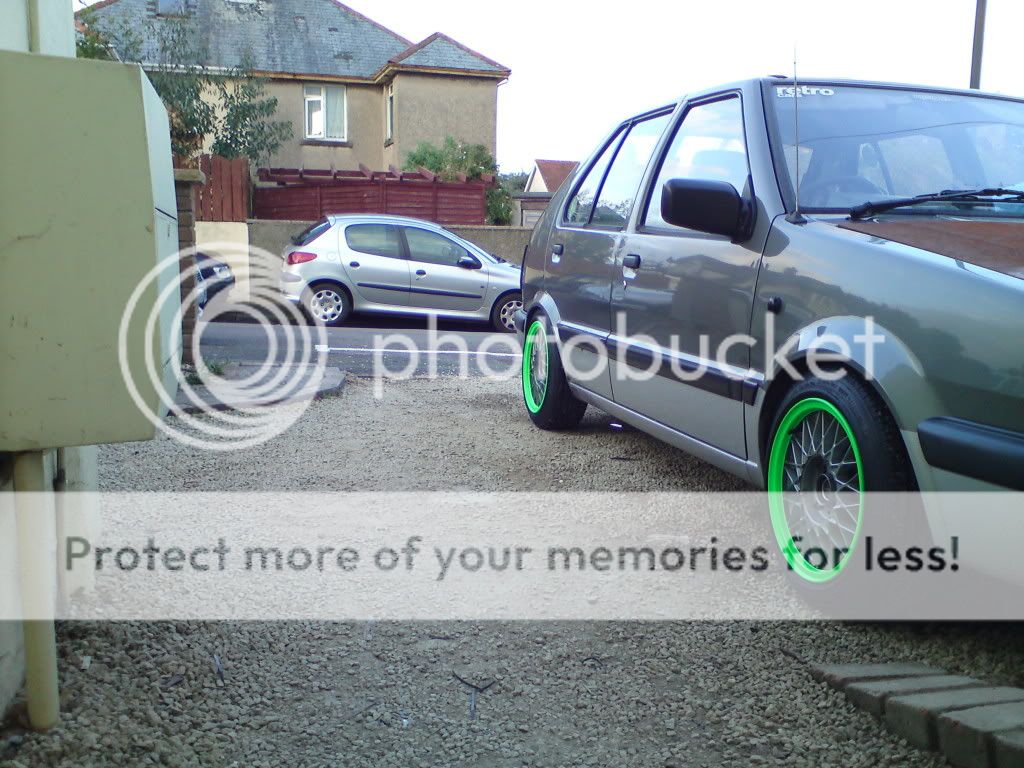
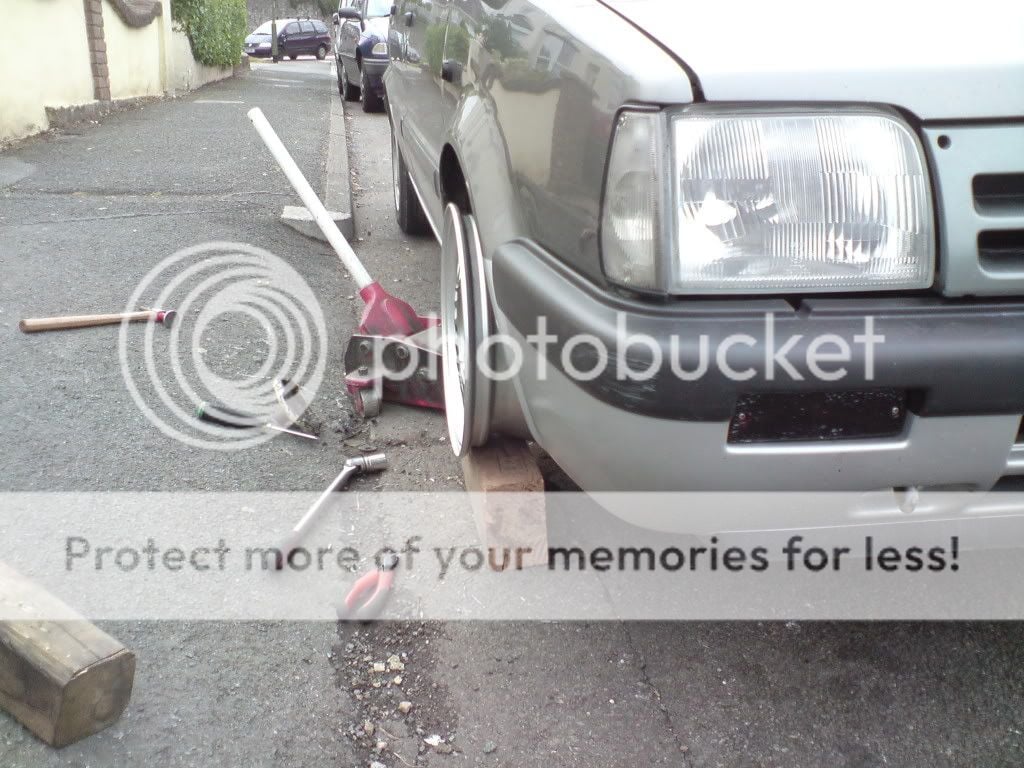
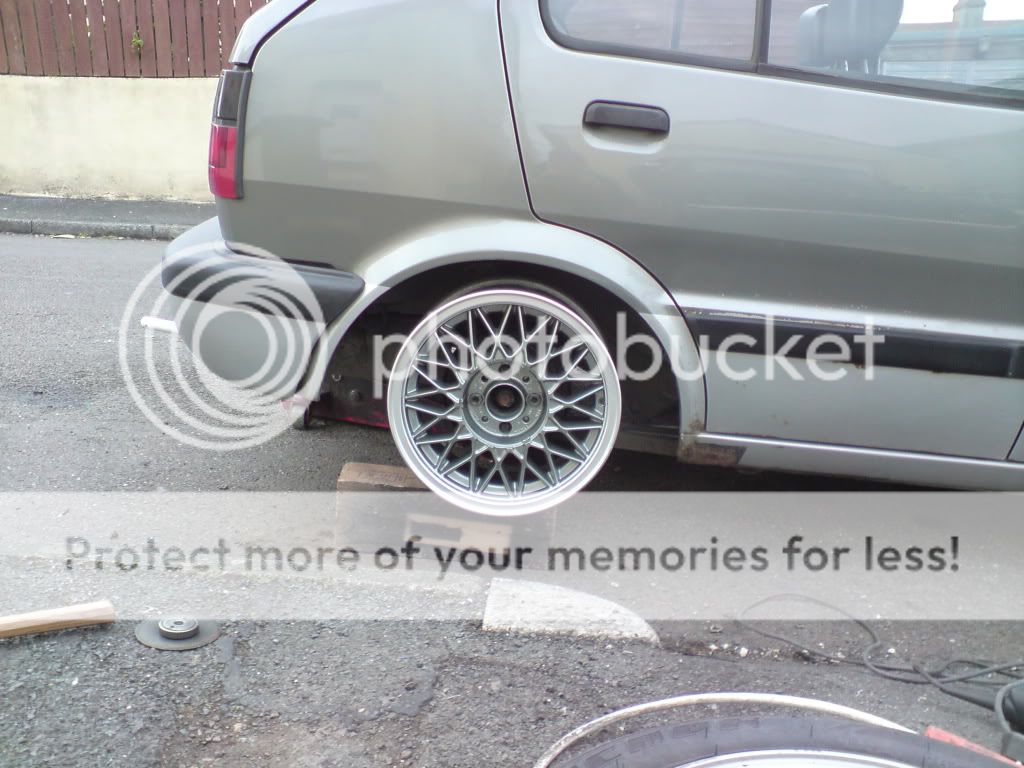
Bolted the wheels and spacers on and measured how much slam I could get away with. Jacked it back up, took the wheels back off and removed the struts. Dismantled them and carefully cut off the spring platforms, moved them 2 1/2" down and welded them back on.
Reassembled, refitted and photo taken
DSC02256.jpg

Fitted my gearknob
DSC02259.jpg


Drove it properly for the first time Monday morning, the journey to work highlighted a couple of issues.
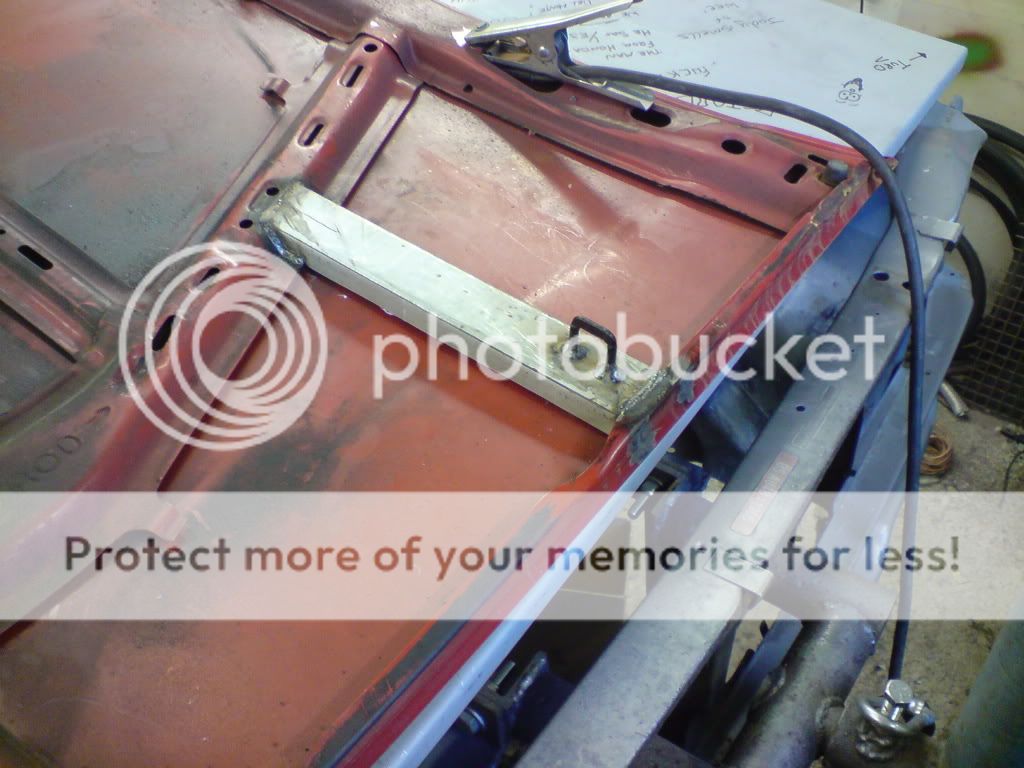
The tracking was a mile out, it had a little flat spot, the N/S/R shock mount had rusted out of the top of the turret and the towbar was tapping the rear beam over bumps.
I fabricated and welded in a new turrent top and sorted the tracking after work and swapped the carb over when I got home.
Here's what I discovered when I unbolted the towbar :eek:
DSC02257.jpg

Third time lucky getting the holes in the right place eh?

Then out for a bit of a bimble round and a couple of pics again
DSC02263.jpg

DSC02262.jpg


I'm really quite enjoying it.
 
if i know BiAS (and being on retro rides for a while now i think i do)... i'd say a few coils have been removed from the springs ;)

looks spot on chap now whack a 1.6 or a 2.0 in her and show these boys how its done ;)

liking the 100nx alloys too had those on my first k10 :D
 
no messing eh BiAS :cool: awesome mate
and he,s moved the spring platforms down speedle aint he ?

might have, i though maybe he's just chopped the springs ;)

just re-read the post your right Frank, thought he just did a chop spring special :p
 
Cheers dude,

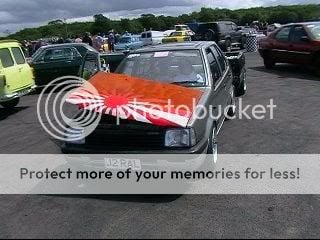
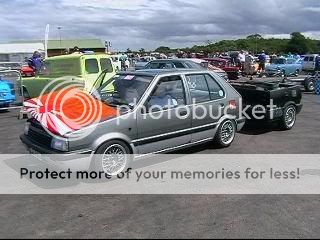
As per usual the realization that RTTS show n shine is only a couple of weeks away starts a period of madness, ideas that would usually be thought through fully and planned in advance are instead acted upon straight away, thus it begins....

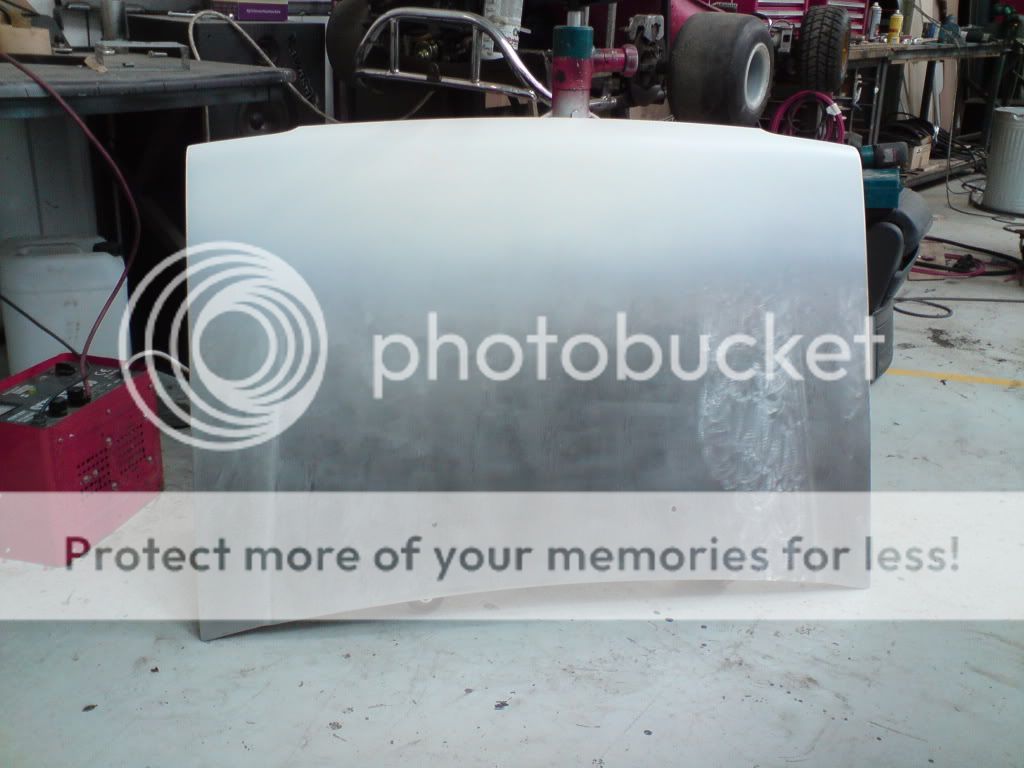
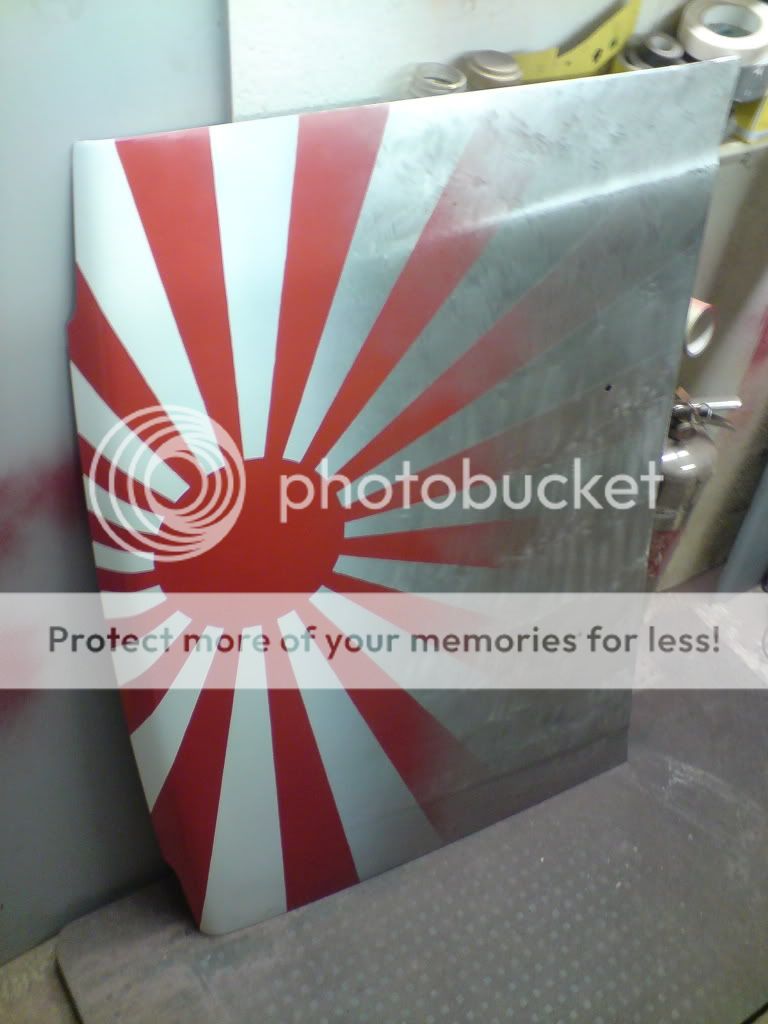
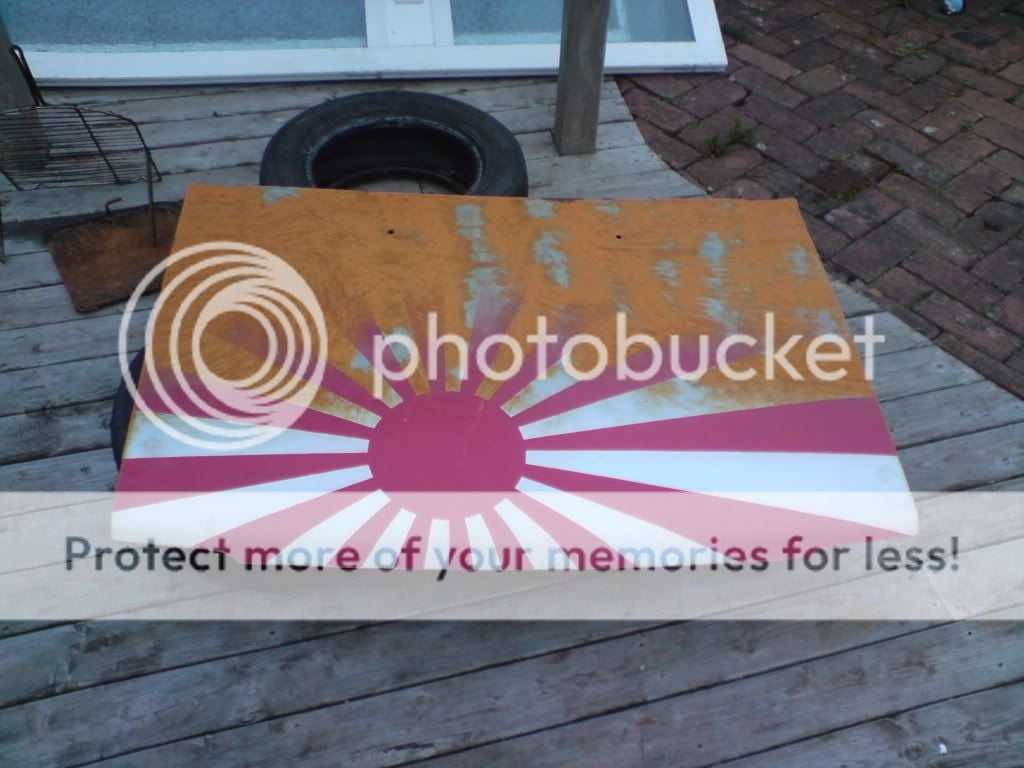
Thursday night I went out to the garage at 10.45 and angle ground the paint off the spare bonnet (everybody needs good neighbours :cool: )
so that I could take the bonnet to work on Friday and whack some white primer on the front
DSC02275.jpg

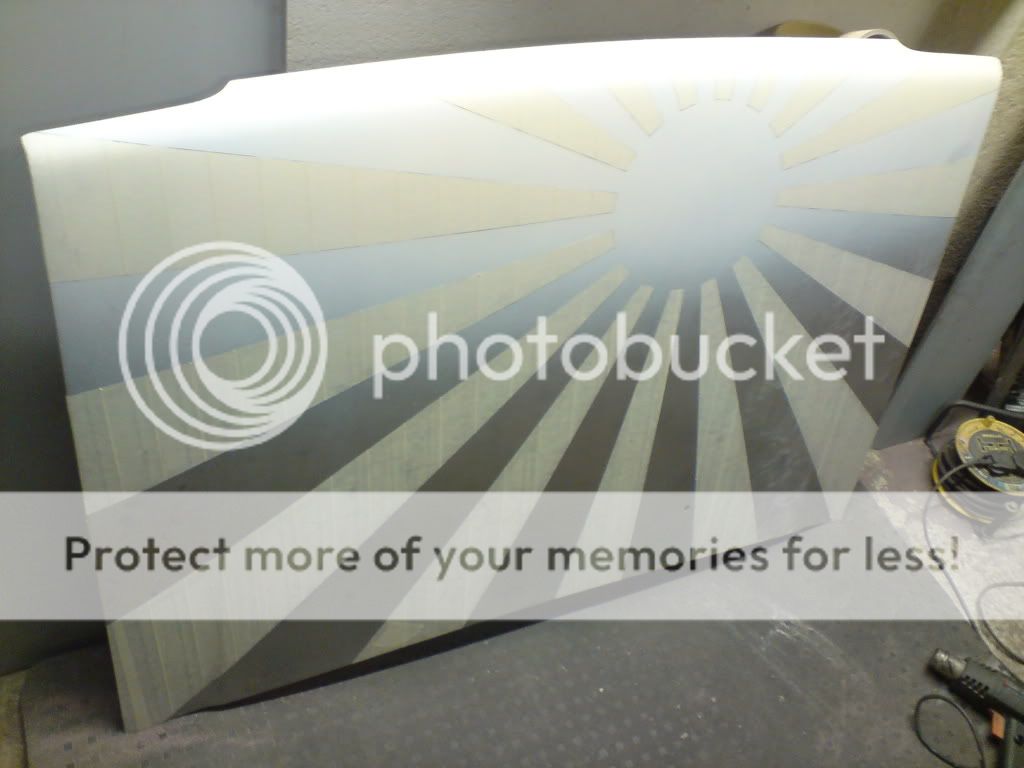
Friday night I masked it up and scribbled on it.....
DSC02277.jpg

cut it out
DSC02278.jpg

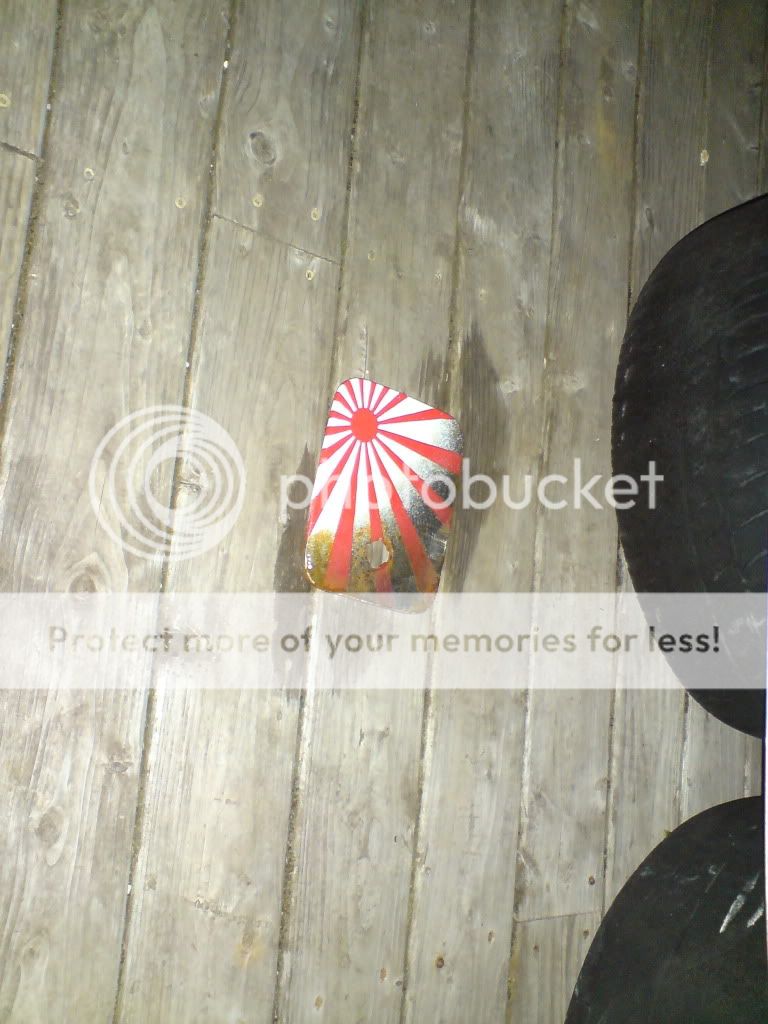
just enough red left from the Sierra of Doom to paint it
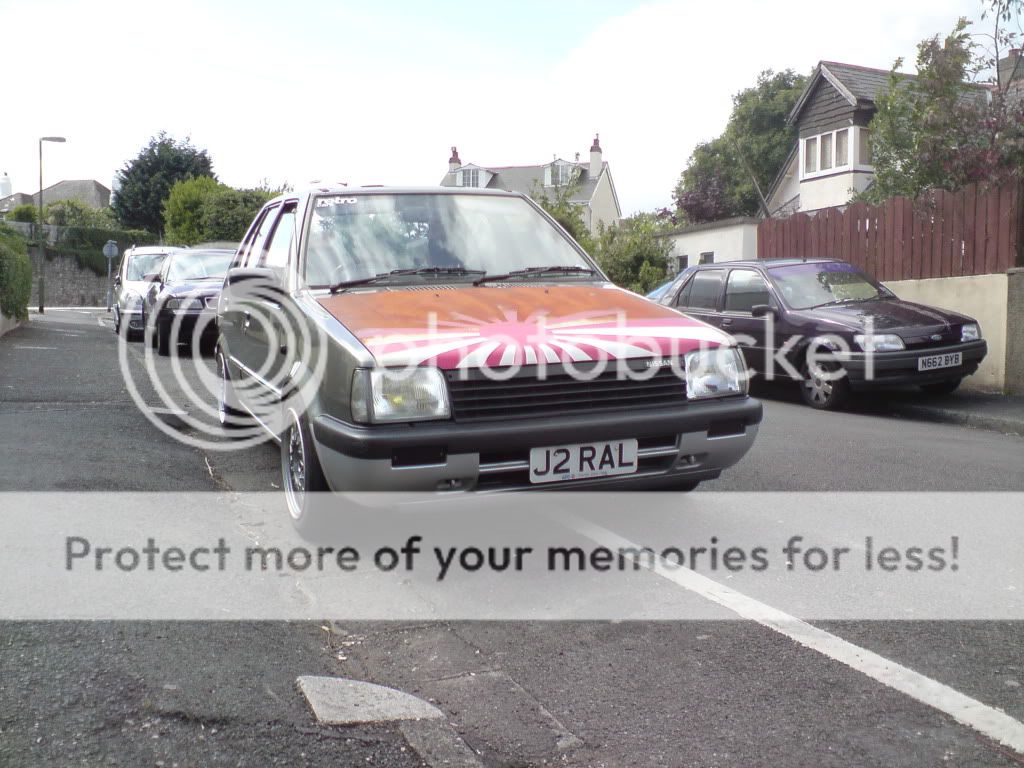
et voila, 1am:
DSC02282.jpg

I've lightly sanded it and salt watered it and put it outside, hopefully it'll be rusty by the 24th eh?

Saturday morning,
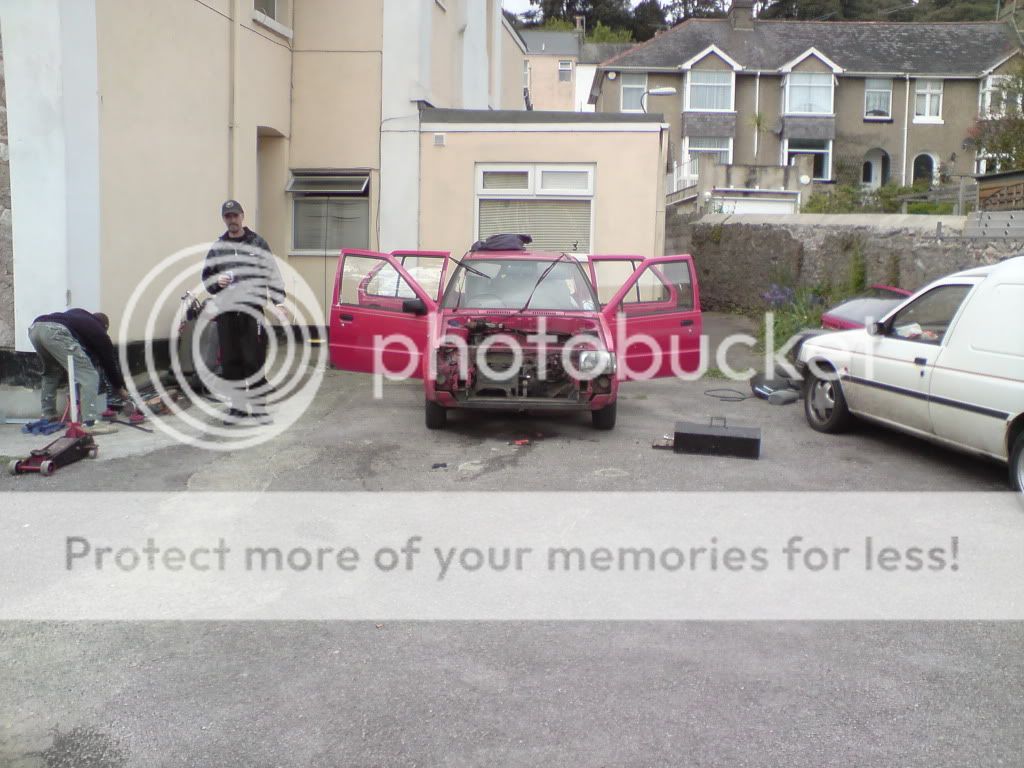
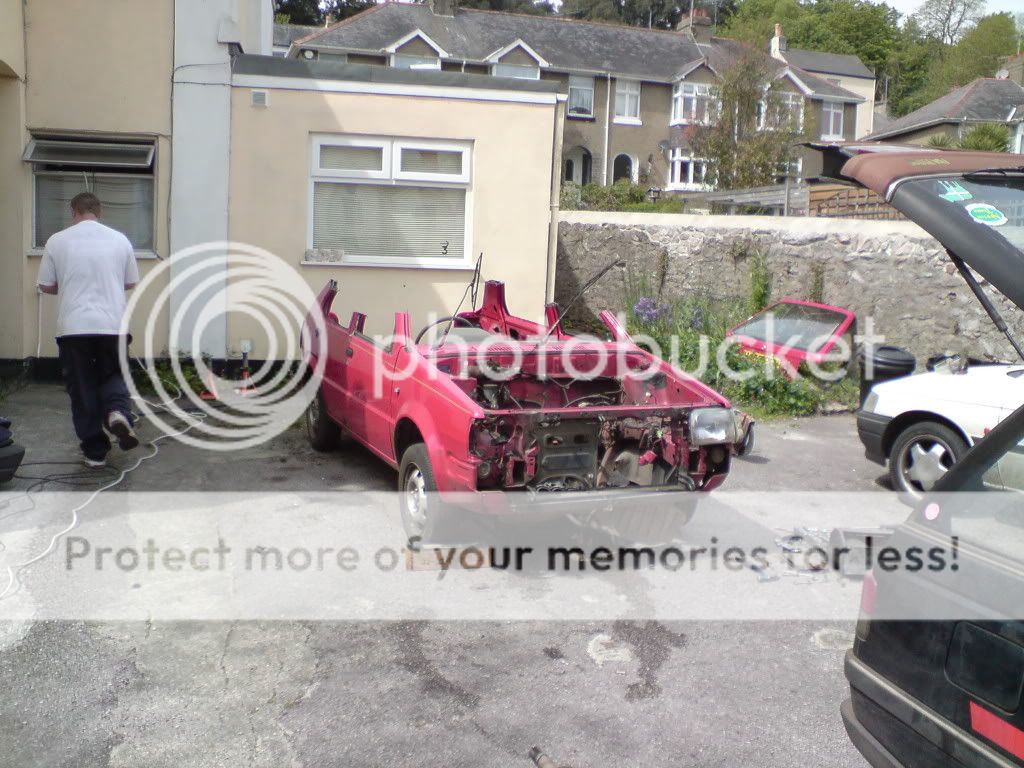
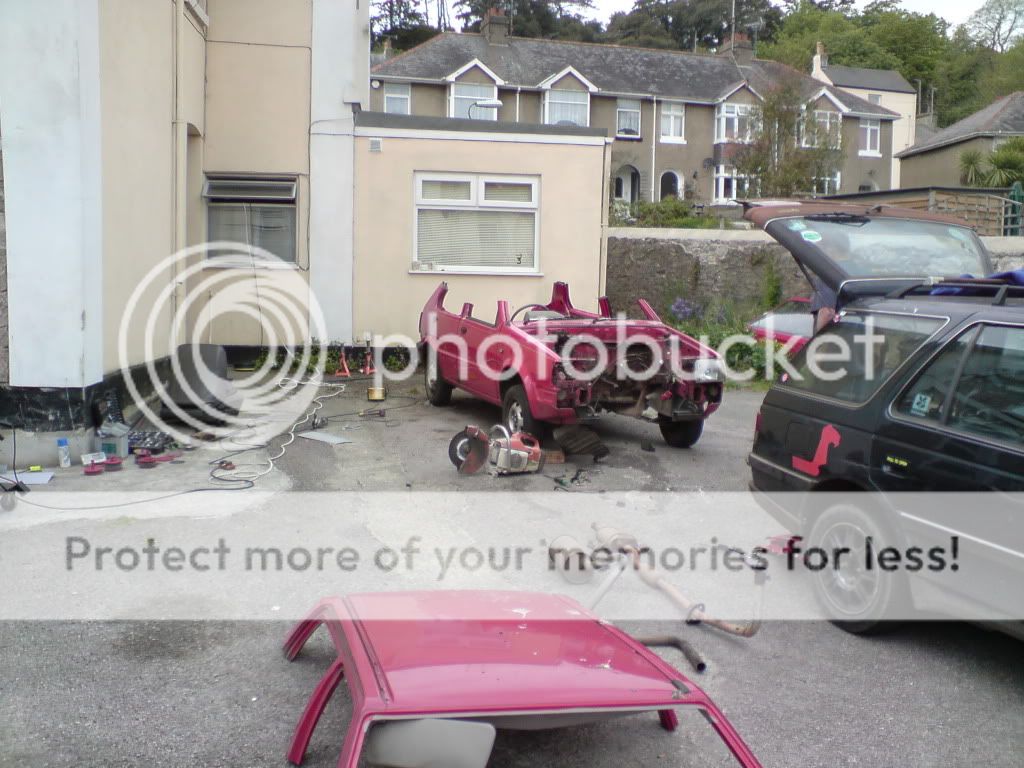
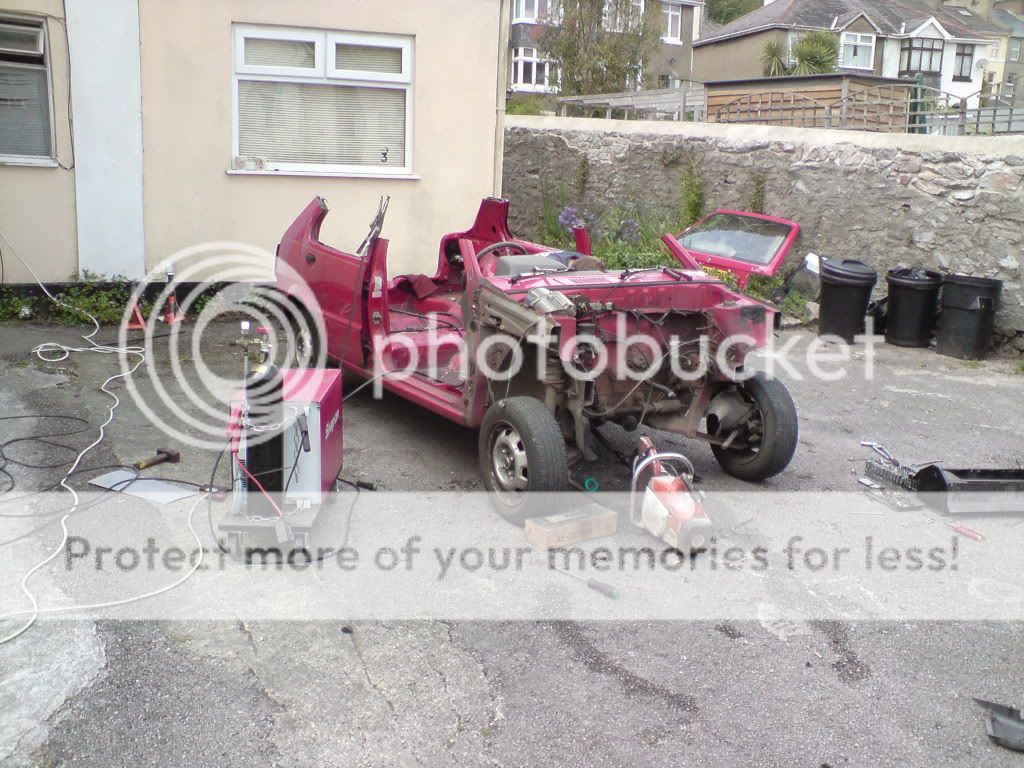
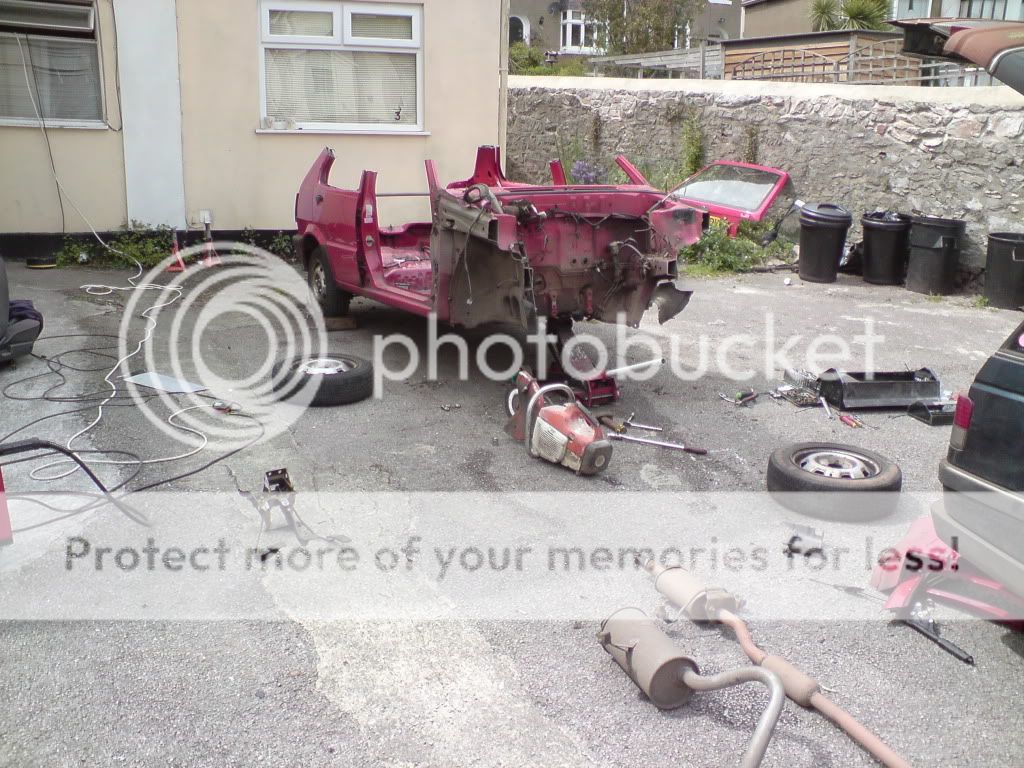
Load all the gear into the van, get to the car park at my old flat, where the diseasel and the other Micra have been hiding.
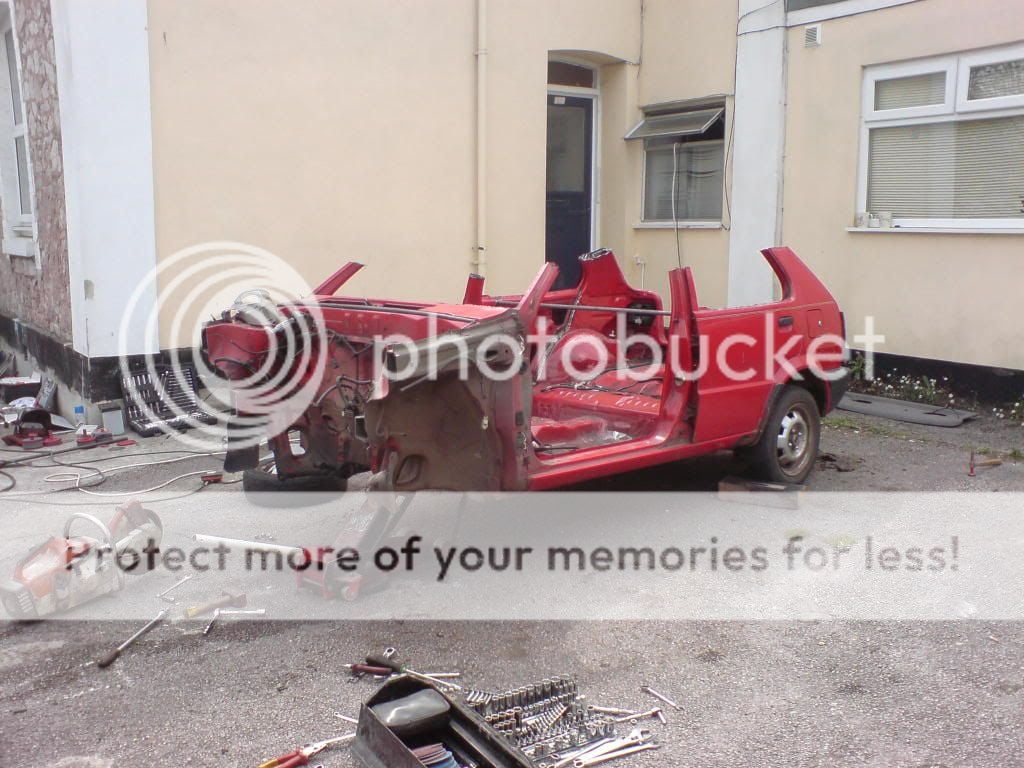
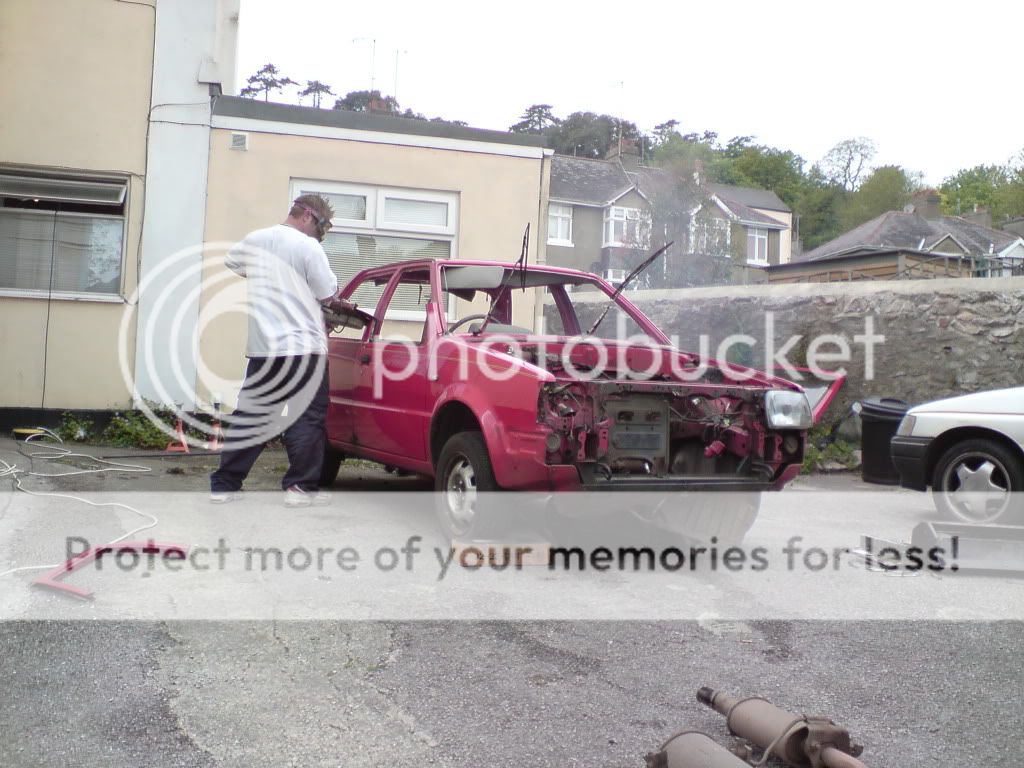
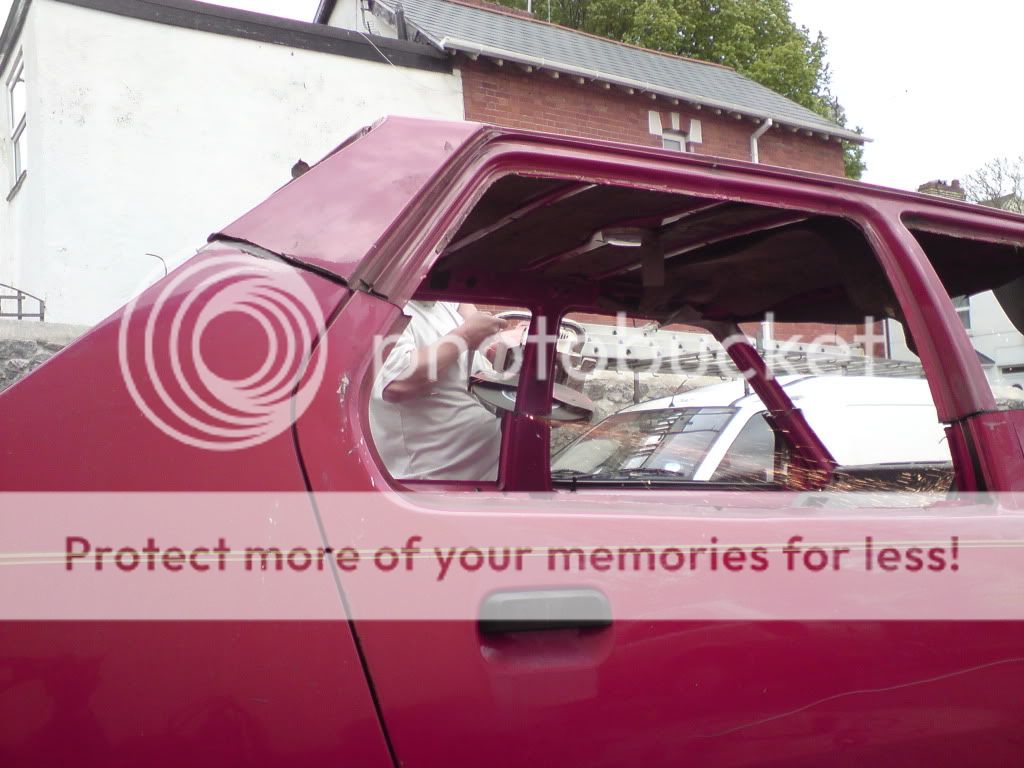
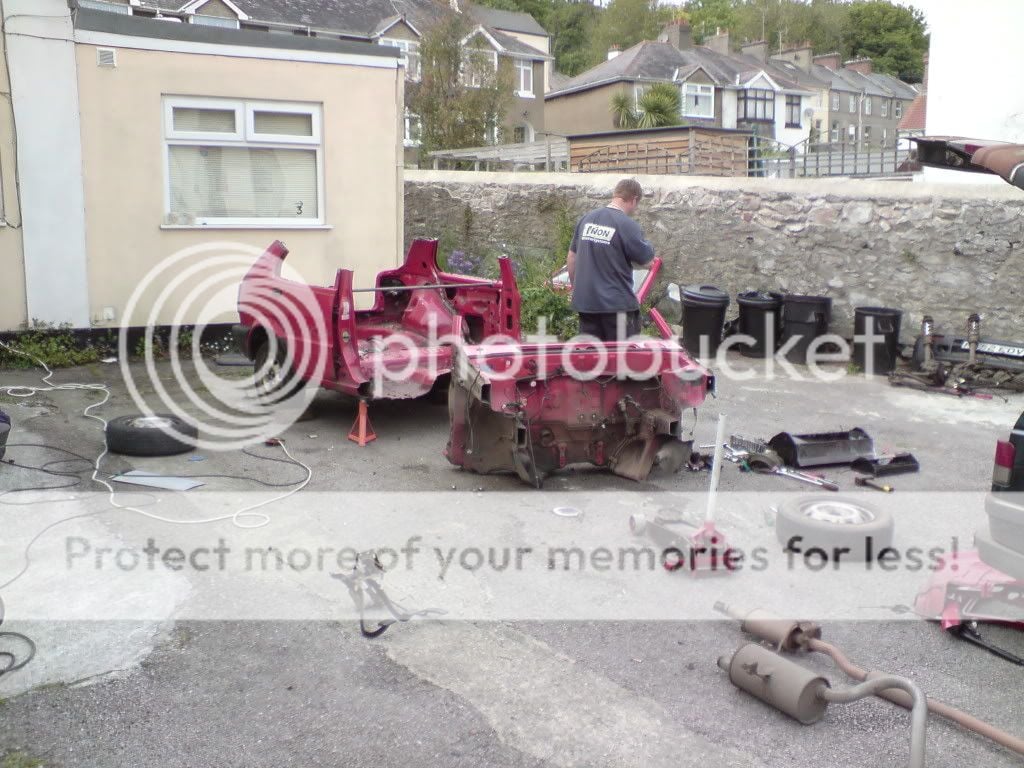
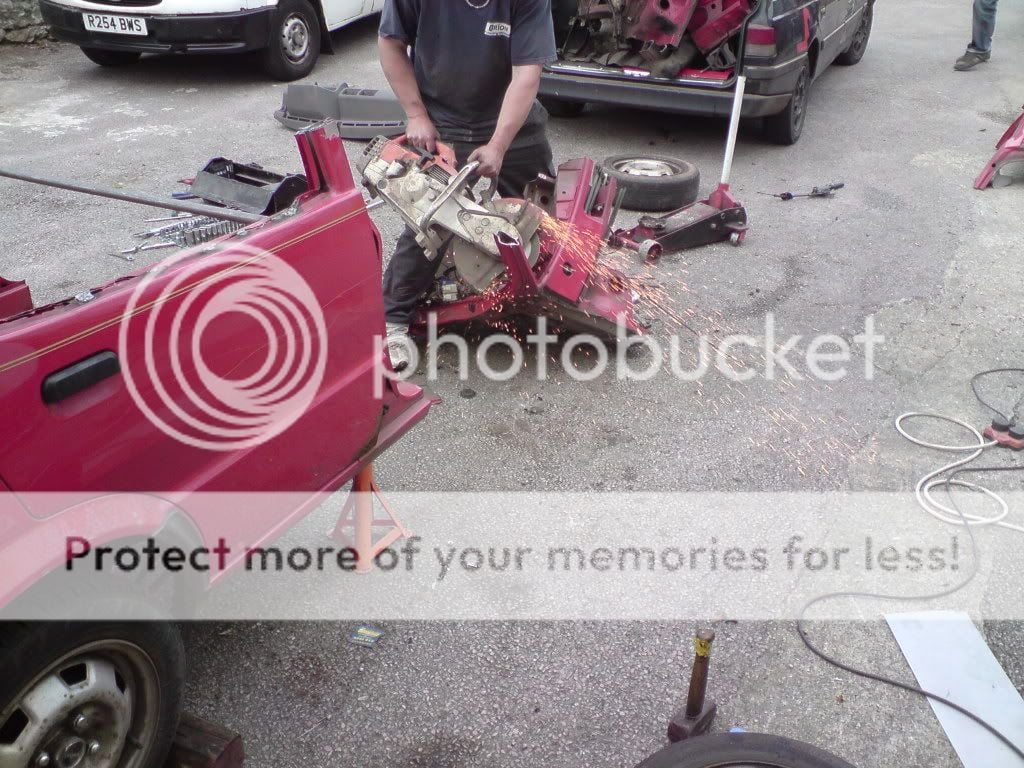
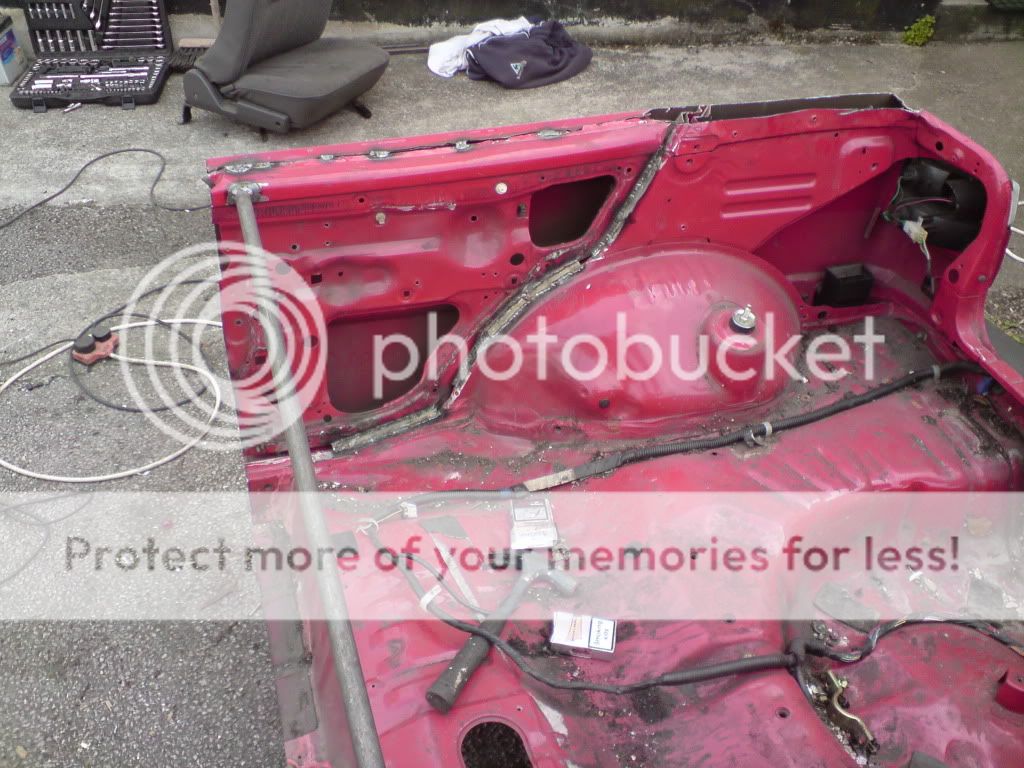
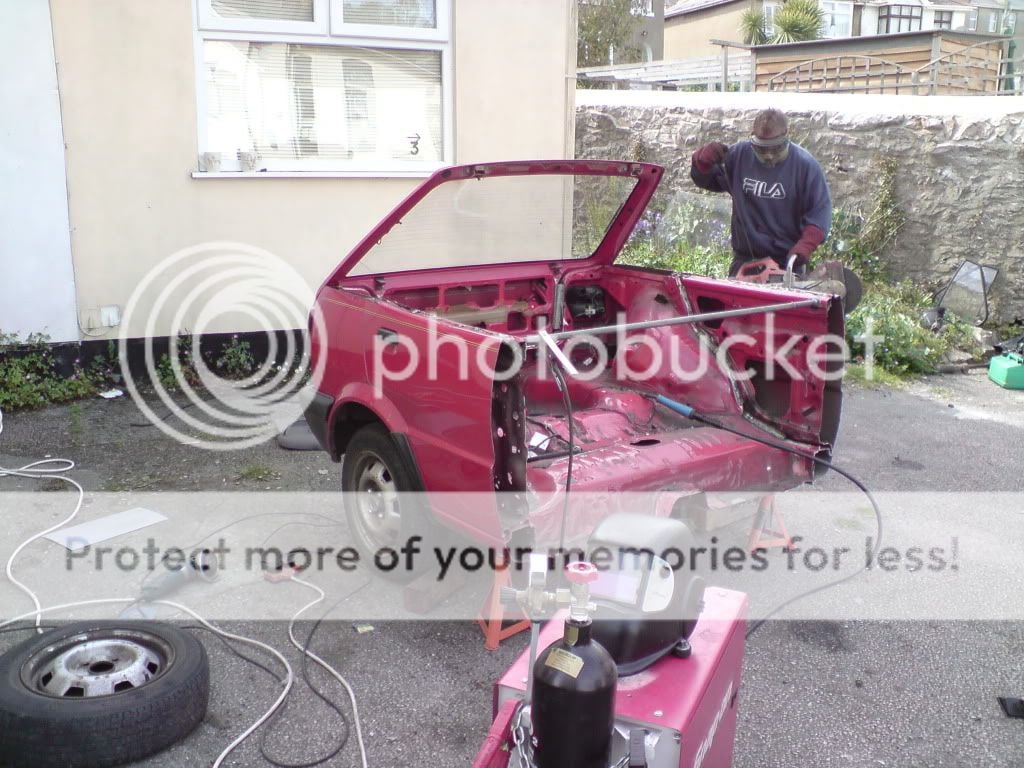
By 11am we had got the diseasel started, moved the cars into a suitable position and stripped the interior out.......
DSC02283.jpg

11.44am
DSC02284.jpg

11.52am
DSC02286.jpg

12.00pm
DSC02289.jpg

12.08pm
DSC02290.jpg

12.33pm
DSC02291.jpg

1.18pm
DSC02292.jpg

1.56pm
DSC02294.jpg

2.17pm
DSC02295.jpg

2.33pm
DSC02297.jpg

3.23pm
DSC02298.jpg

3.29pm
DSC02299.jpg

3.54pm
DSC02300.jpg


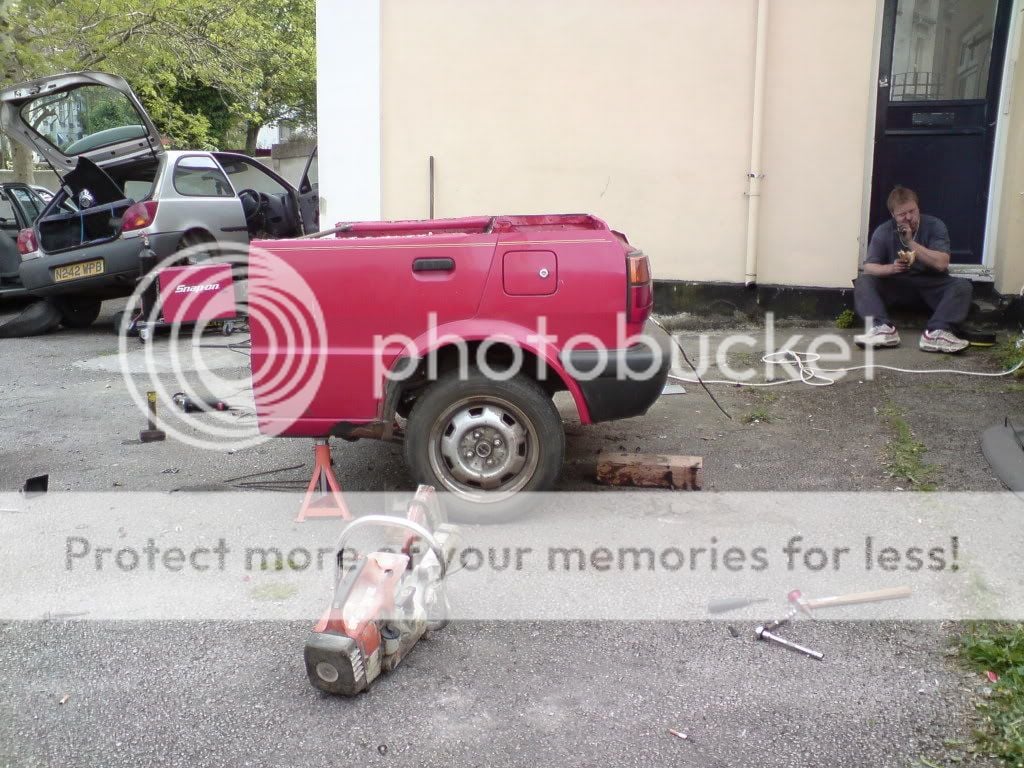
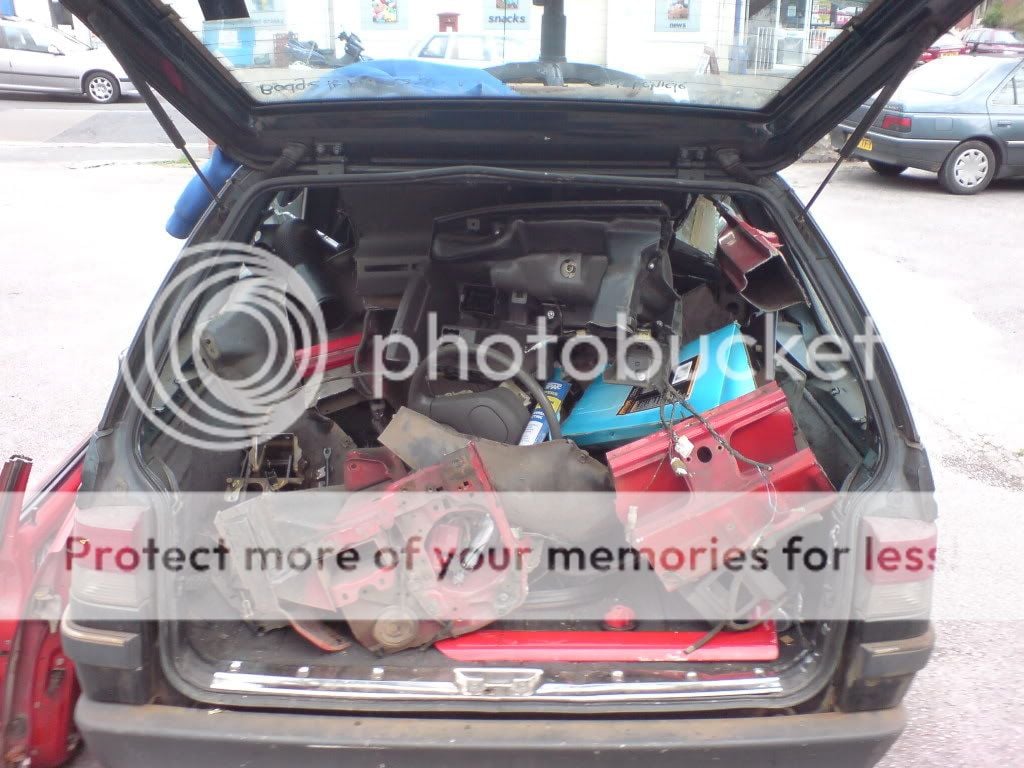
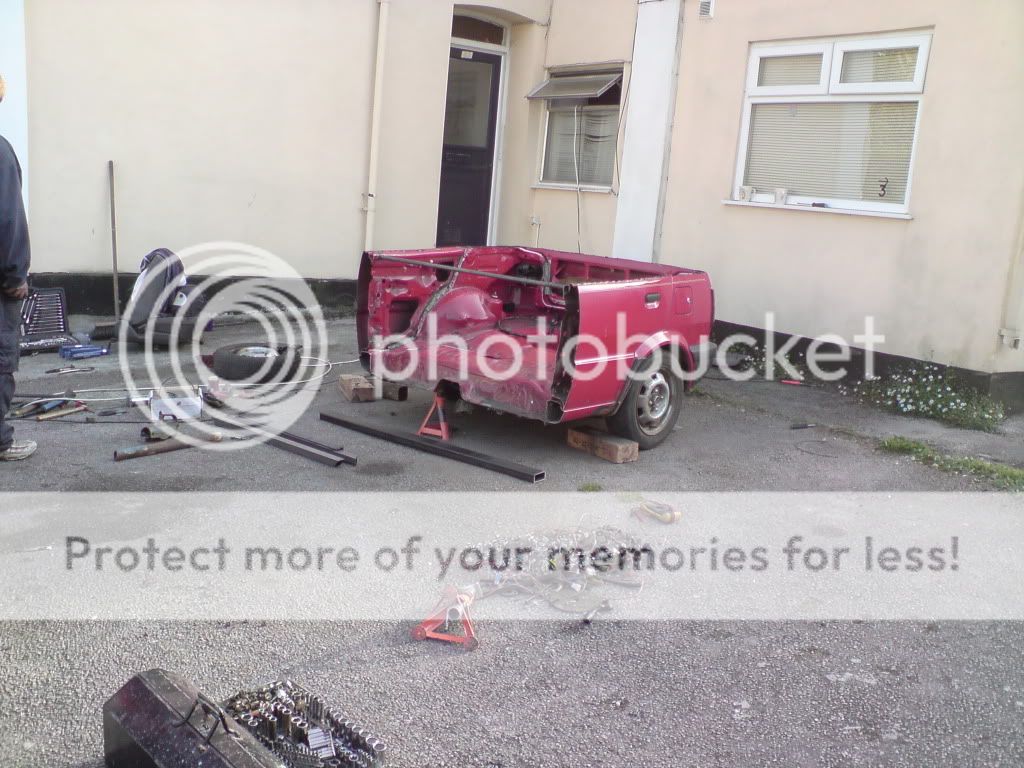
We then concentrated on getting the rest of the of the Micra packed into the diseasel,
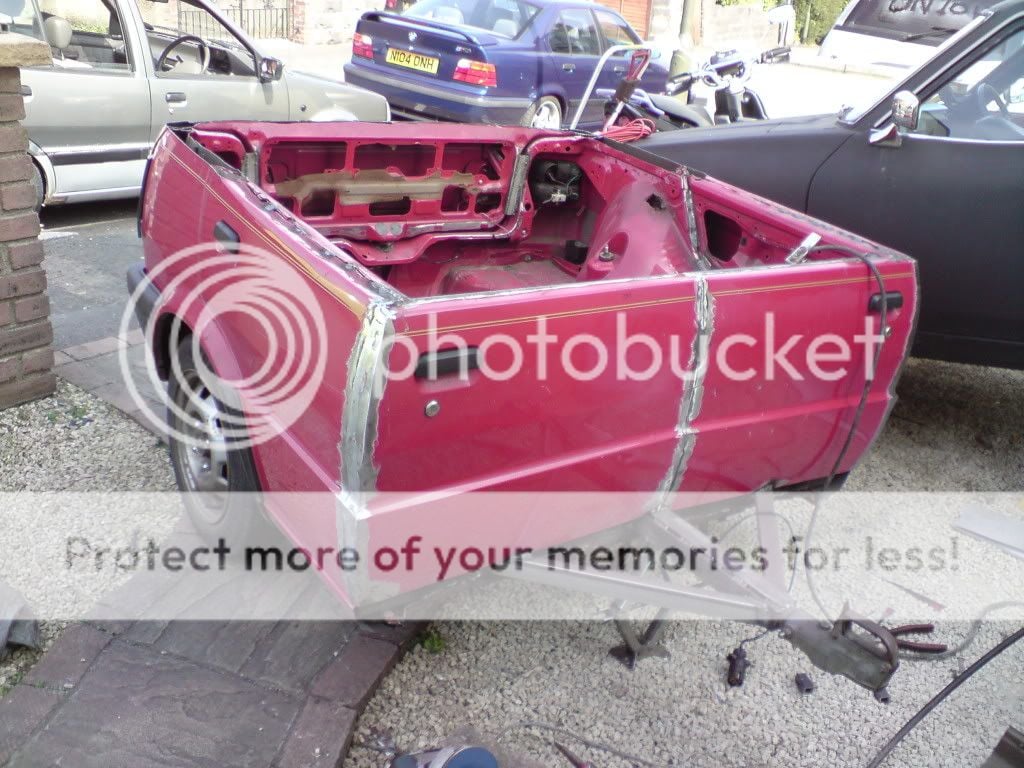
the lights wired up on trailer, original loom stripped of all the excess wires, taped up and connected straight into the trailer plug,
towbar modified to clear the rear beam,
towbar put back on,
towbar wiring modified to make the reverse lights work on the trailer,
and spring platforms moved to bring the ride height down to the same as the car.

DSC01169.jpg


no shocks or springs
DSC01173.jpg

lights work :D
DSC02303.jpg

ready for the frame
DSC02301.jpg


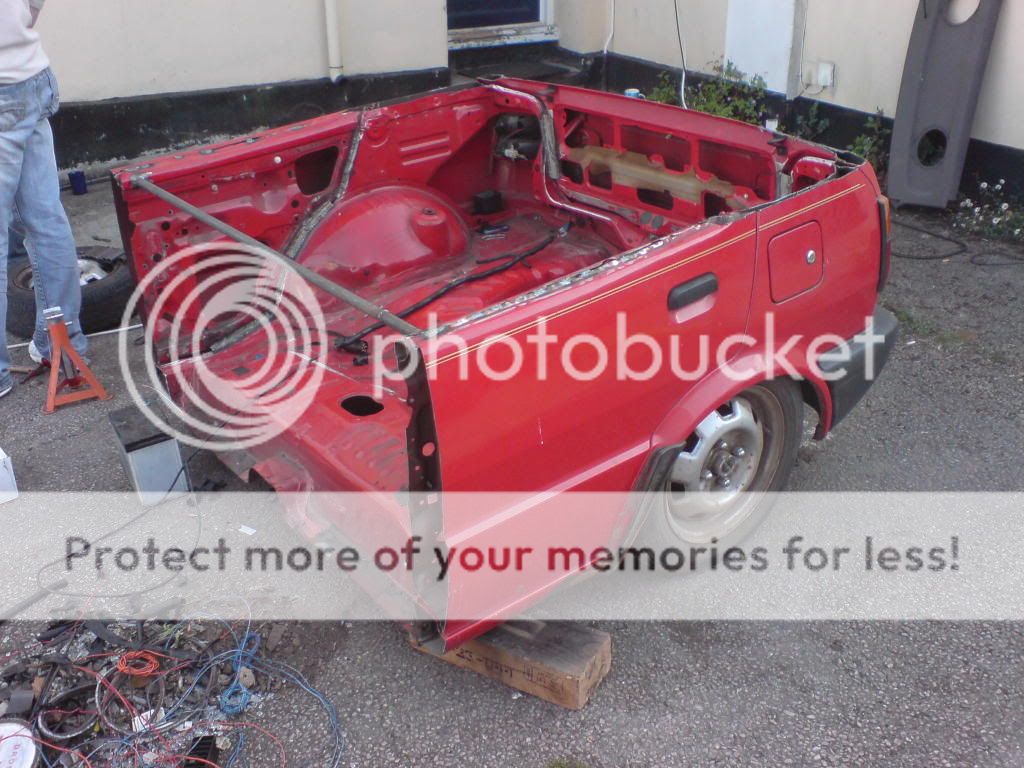
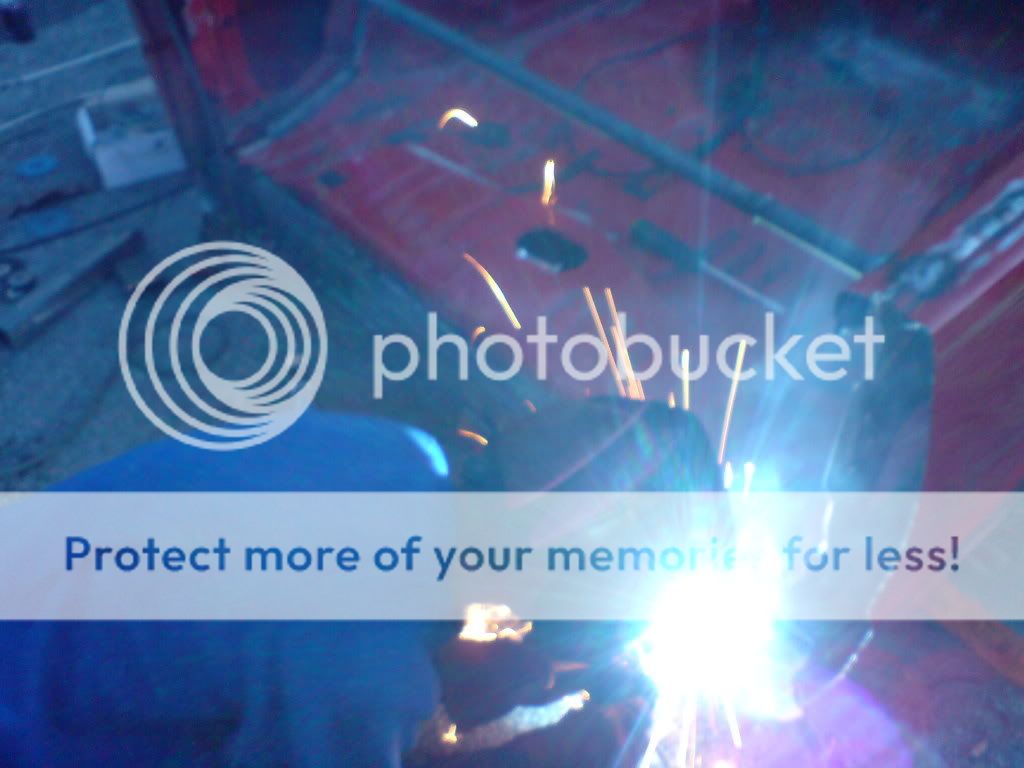
8.57pm welding the frame in by dusk
DSC01179.jpg

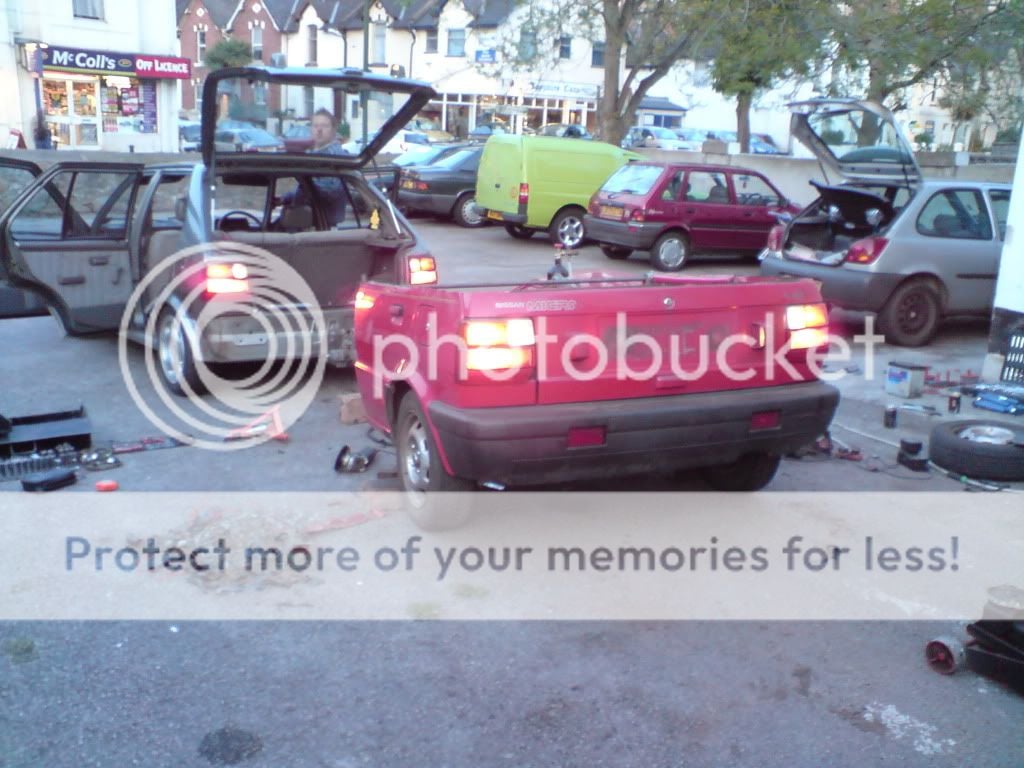
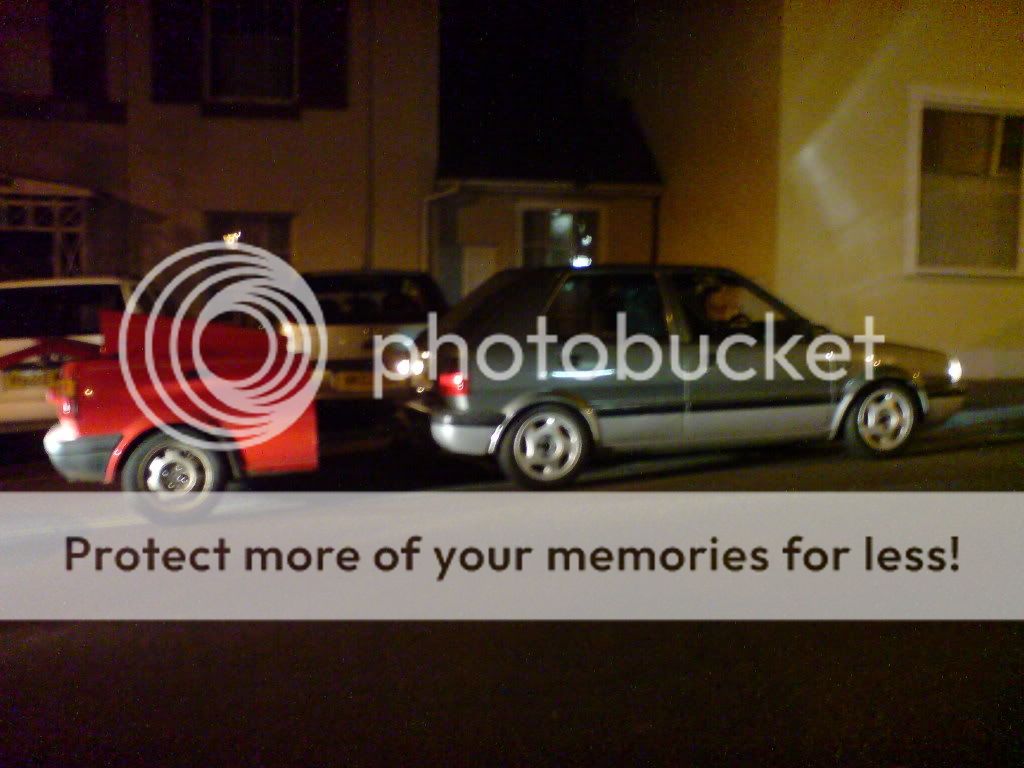
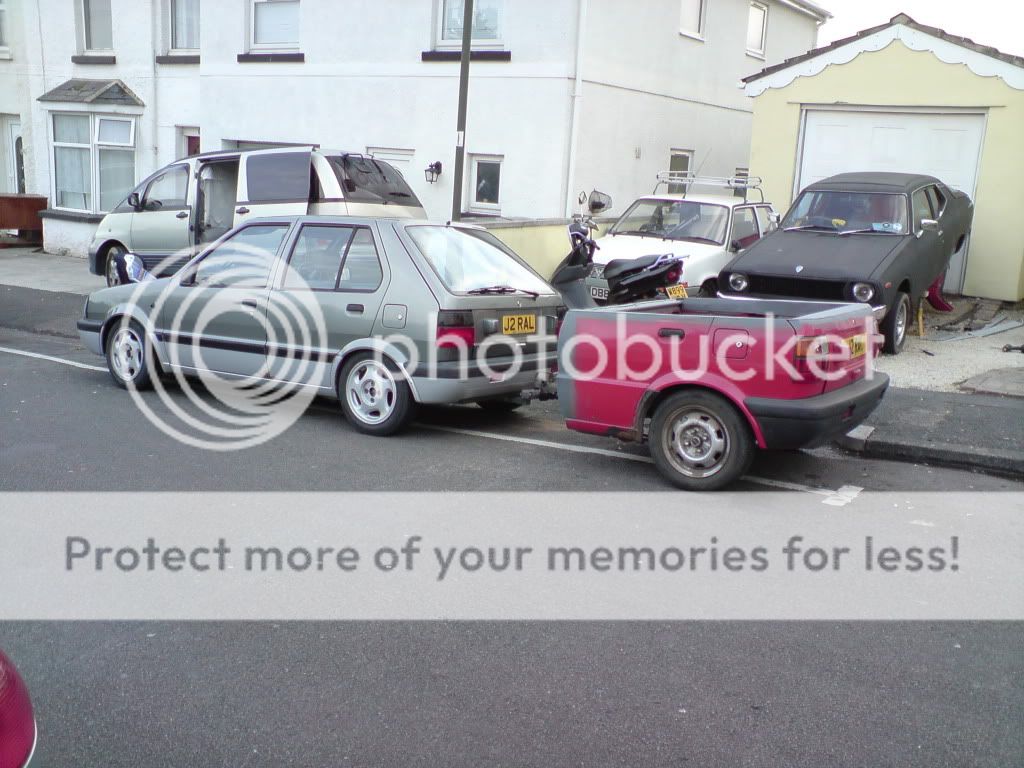
Got all the structural stuff done by which time it was dark, so we tidied up, hitched it up and towed it home.
Here it is, whilst we were dropping mates keys back to him, spot the sharp edges!
DSC01180.jpg


Sunday,
Let the neighbours have a lie in, it is Sunday after all.
Put a front on it
DSC02305.jpg

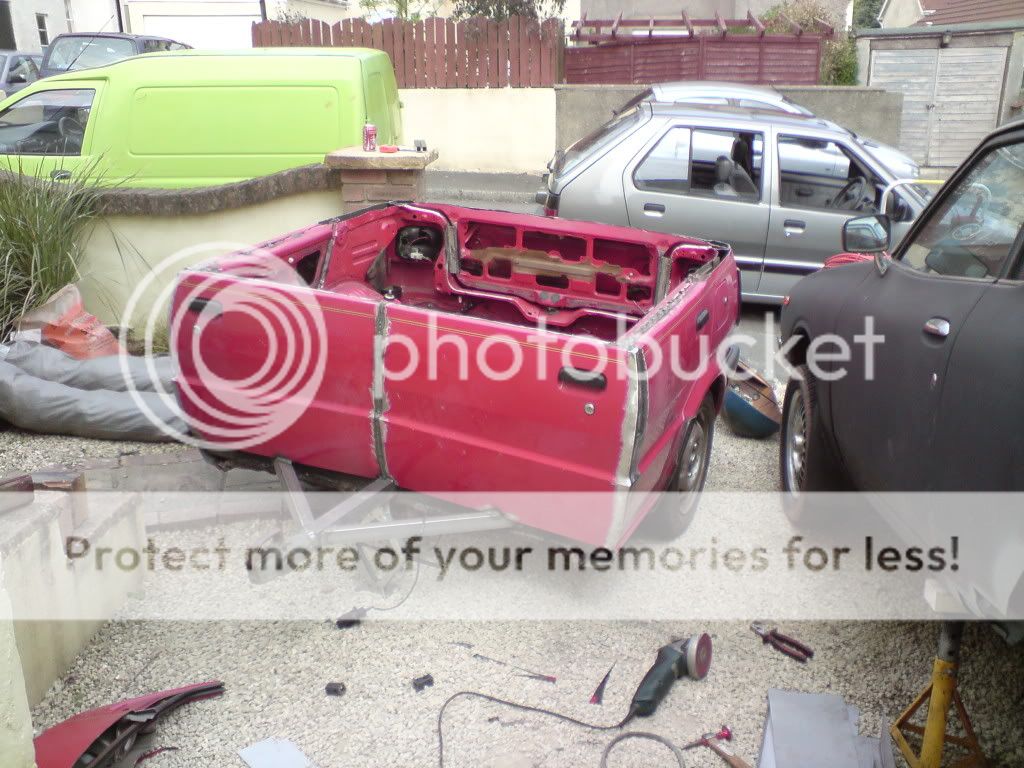
Close the front corners up
DSC02306.jpg

Bit of primer over the bare bits and hitch it back up ready to take to work tomorrow.
DSC02307.jpg

DSC02309.jpg

DSC02308.jpg


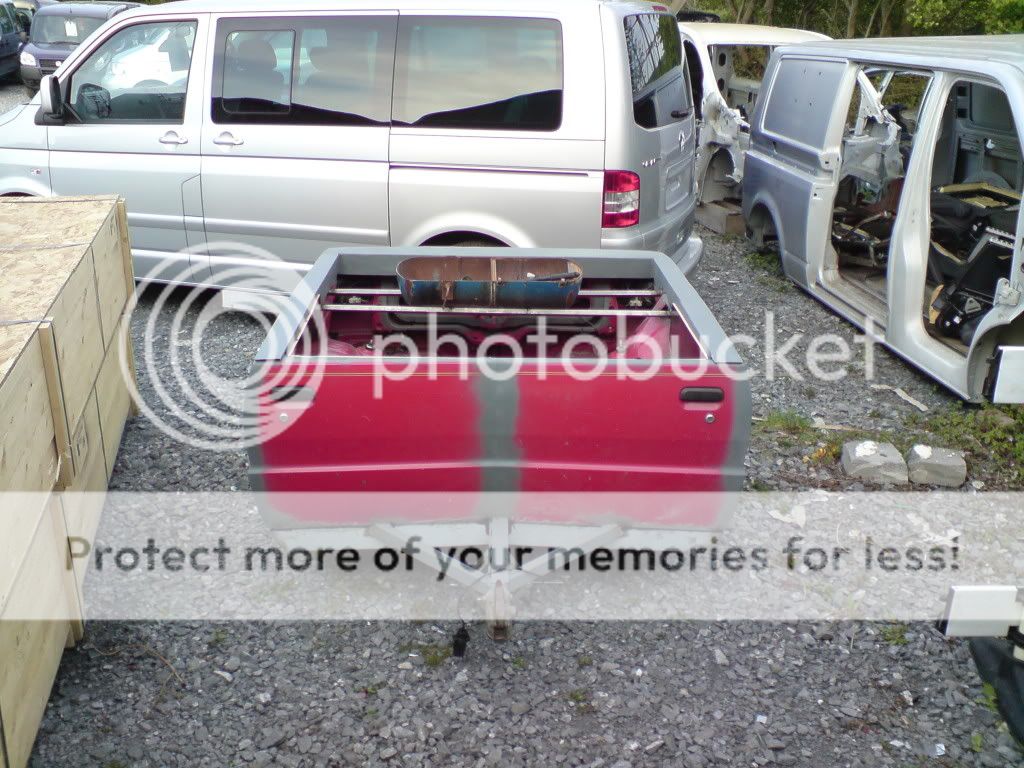
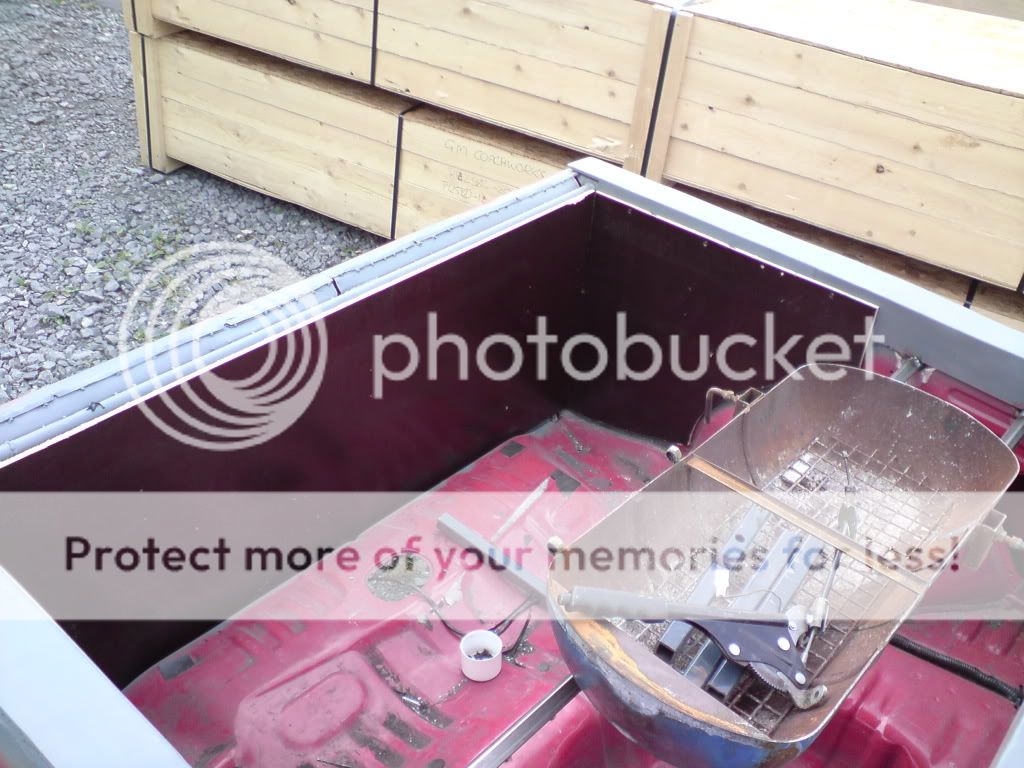
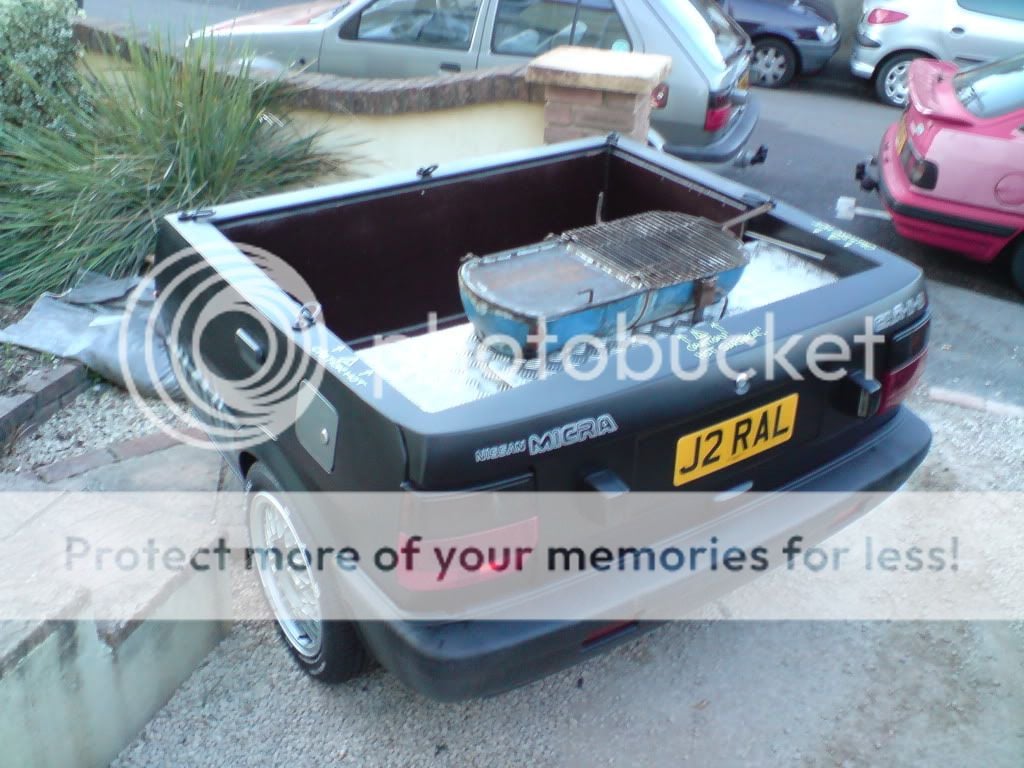
Hoping to get a ply floor and sides in it, cap the tops with chequerplate and maybe get the BBQ mounted in it after work.
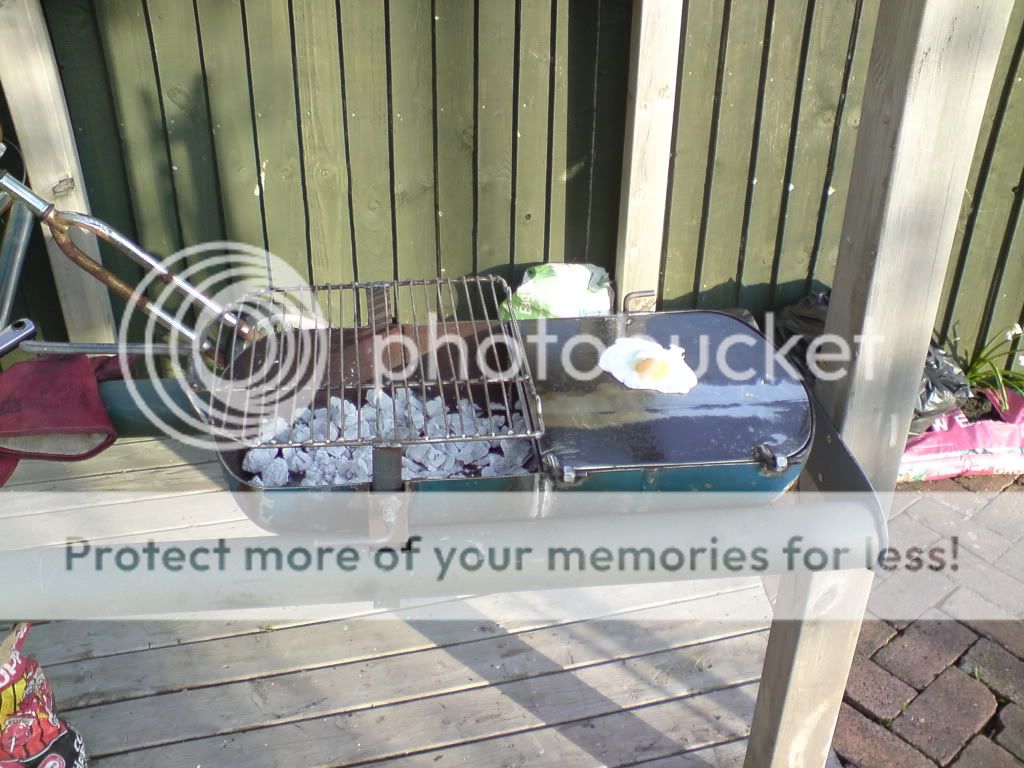
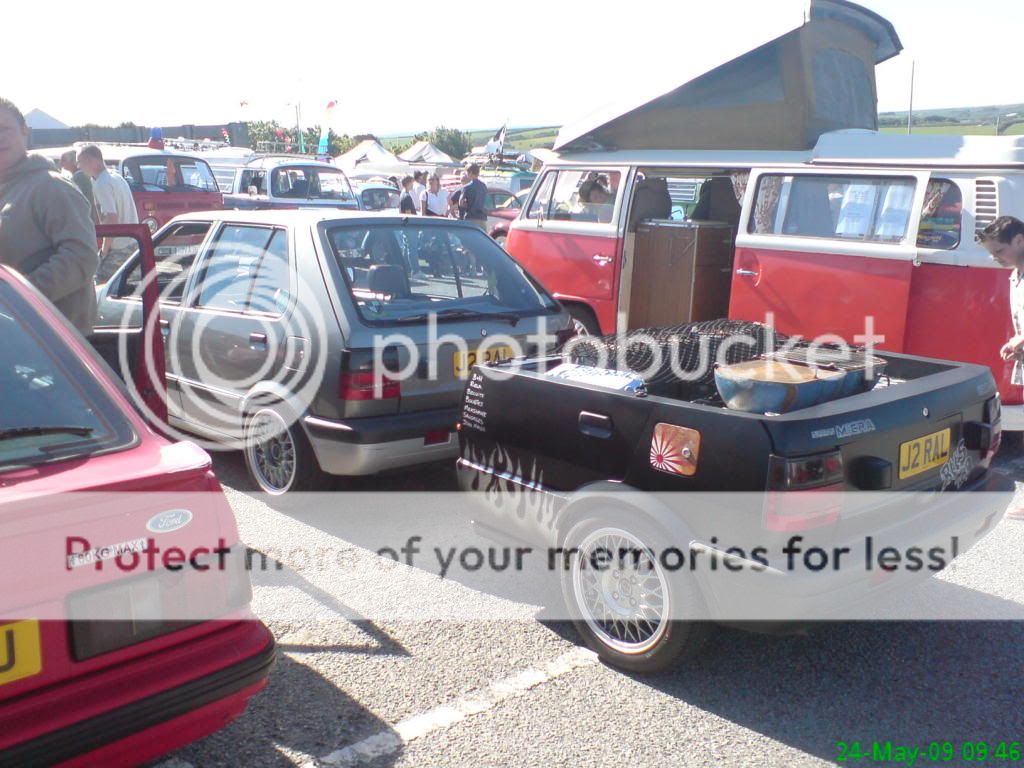
The BBQ was the product of a previous weekend idea, made from old oven shelves, a gas bottle, some 1/4 plate and a lamp post (yes, seriously, and don't ask) Here's it cooking it's first fried egg. mmm
DSC02169.jpg
 
That is absolutely brilliant love the trailer and the BBQ, get it all together and it would be ace for the summer :D

As others have said theres no messing around with you lot is there :D

Would love a shot at doing something like this :p

great stuff

steve
 
14/05 Upate

Progress,
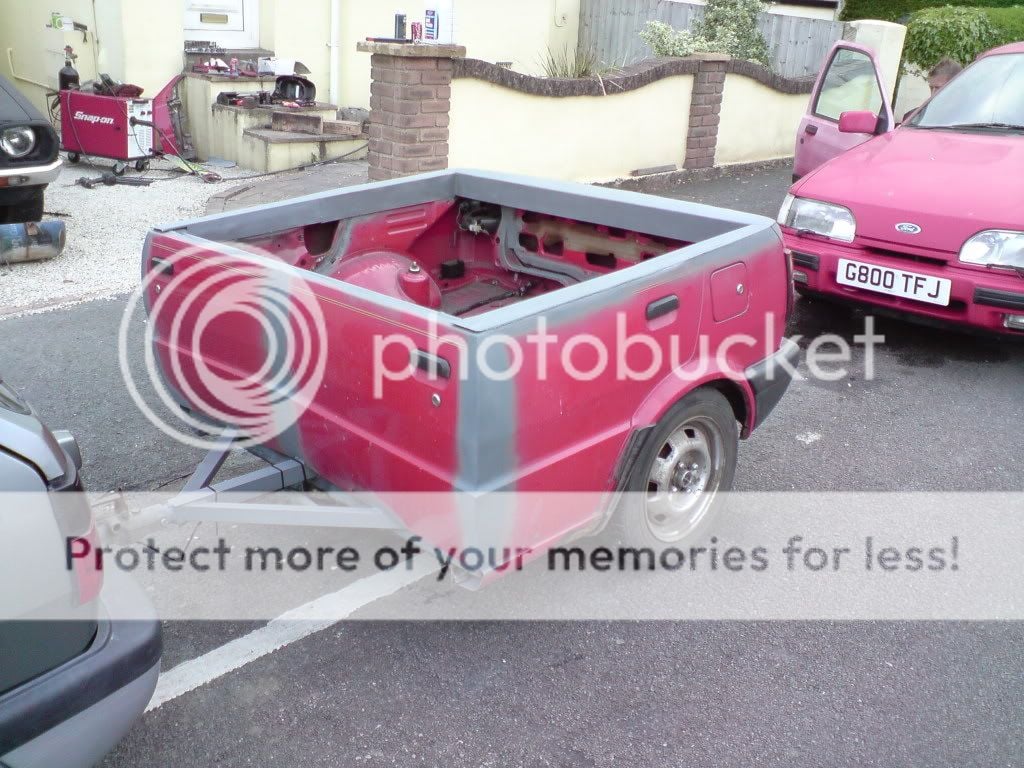
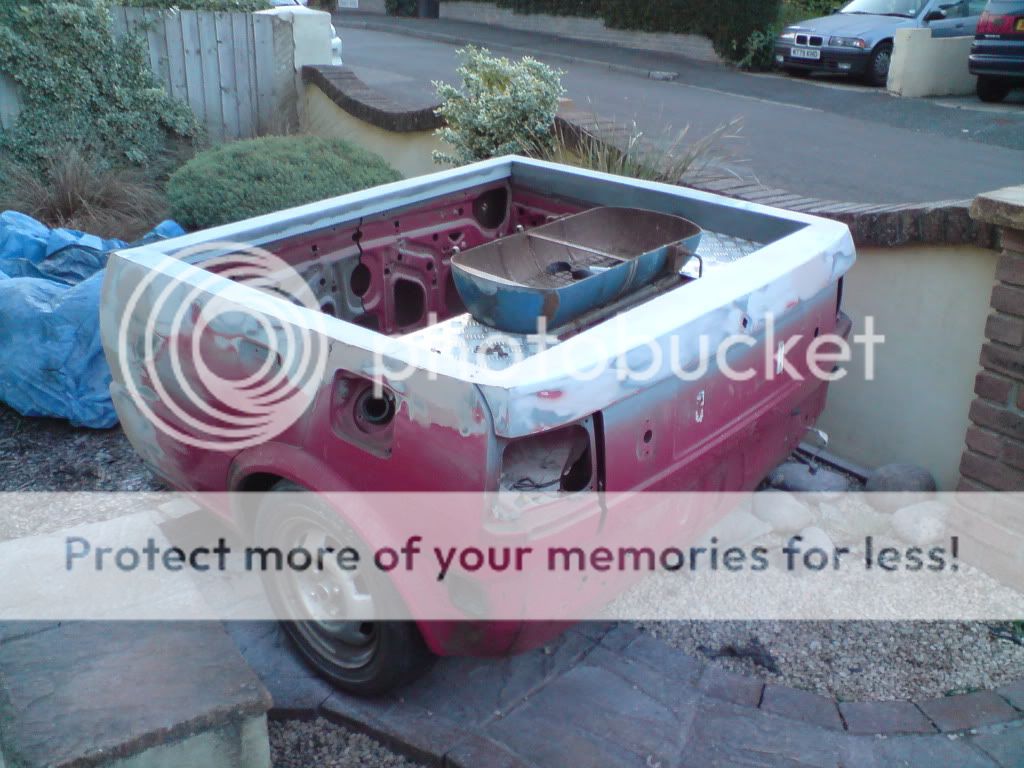
Took the trailer into work, could only find a small offcut of chequerplate and begrudge spending £70 for a whole sheet so I'm gonna have to do some filler work on the top edges as I welded the steel tops on with the sole intention of covering them :wasntme:
Got a front valance on to hide the ends of the sills and floor to bar join
DSC02310.jpg

Car-B-Q mounted and front and sides lined with wheezerboard (resin impregnated van floor ply)
DSC02311.jpg

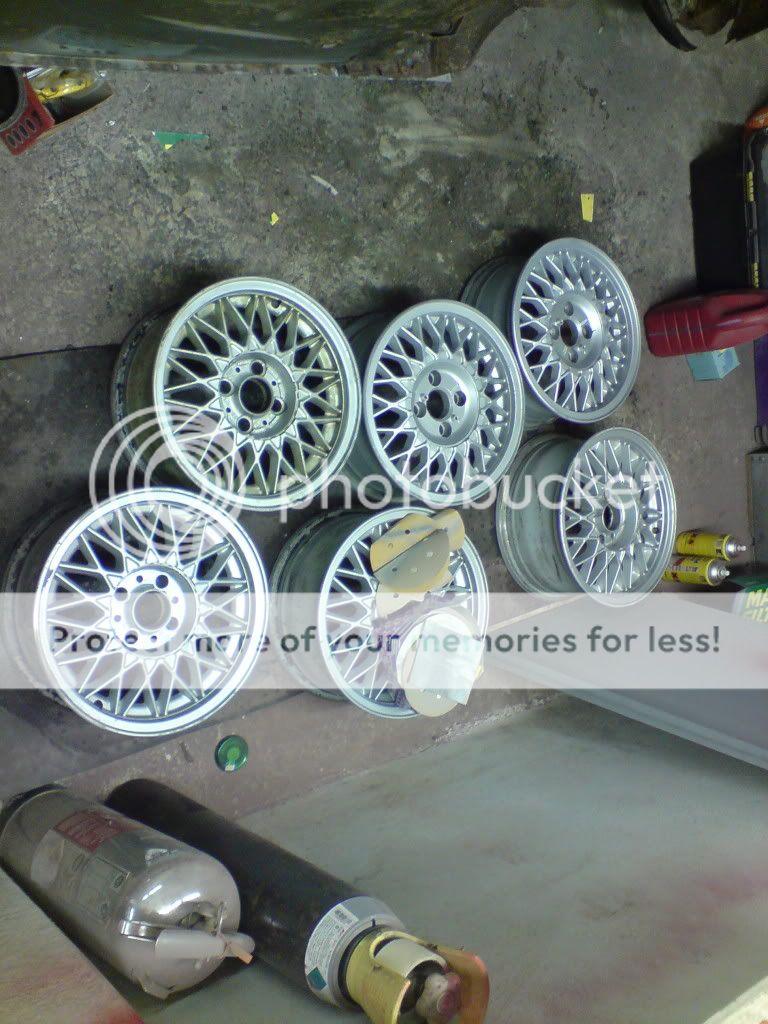
Dave dropped the wheels off on his way back on Monday evening and my mate got the tyres taken off for me on Tuesday while I was at work.
Tuesday evening me and my mate who's a painter spent the evening with scotchbrite and TFR getting them ready to paint, here's how they looked by 11
DSC02321.jpg

What a horrid job! He said that next time he paints wheels for me they'd better be nice easy 3 spokes or softline 5 spokes!
Wednesday night I helped him tidy the (minor) kerbing and then he put the paint on them (Y)
DSC02324.jpg

So stoked with them

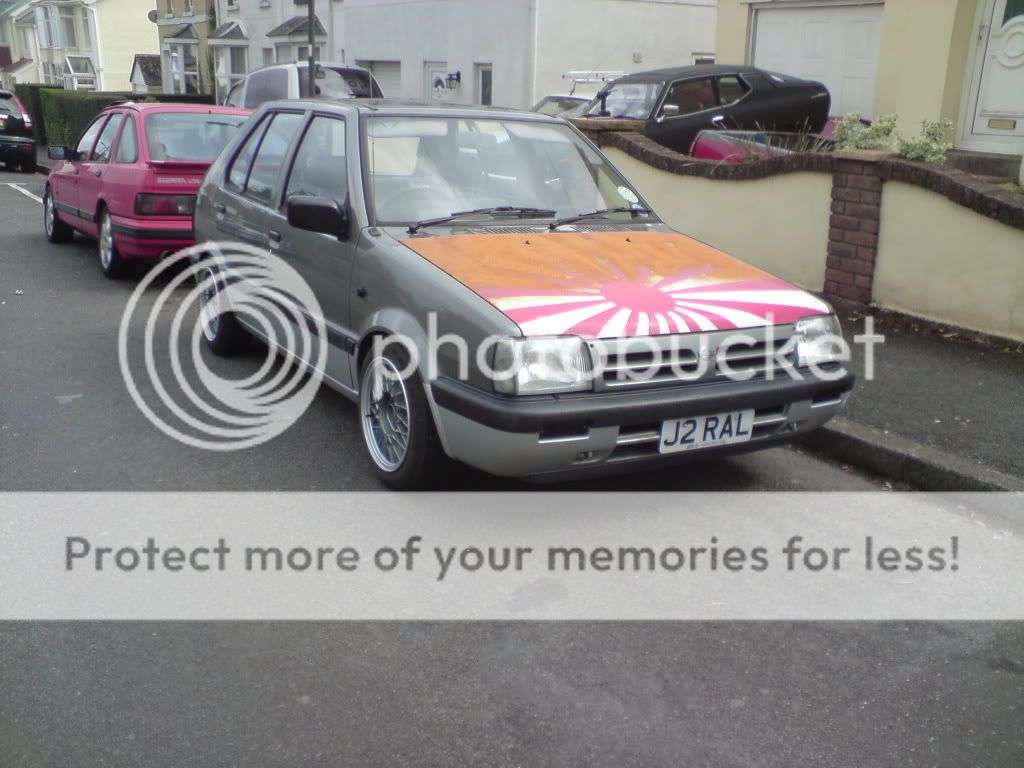
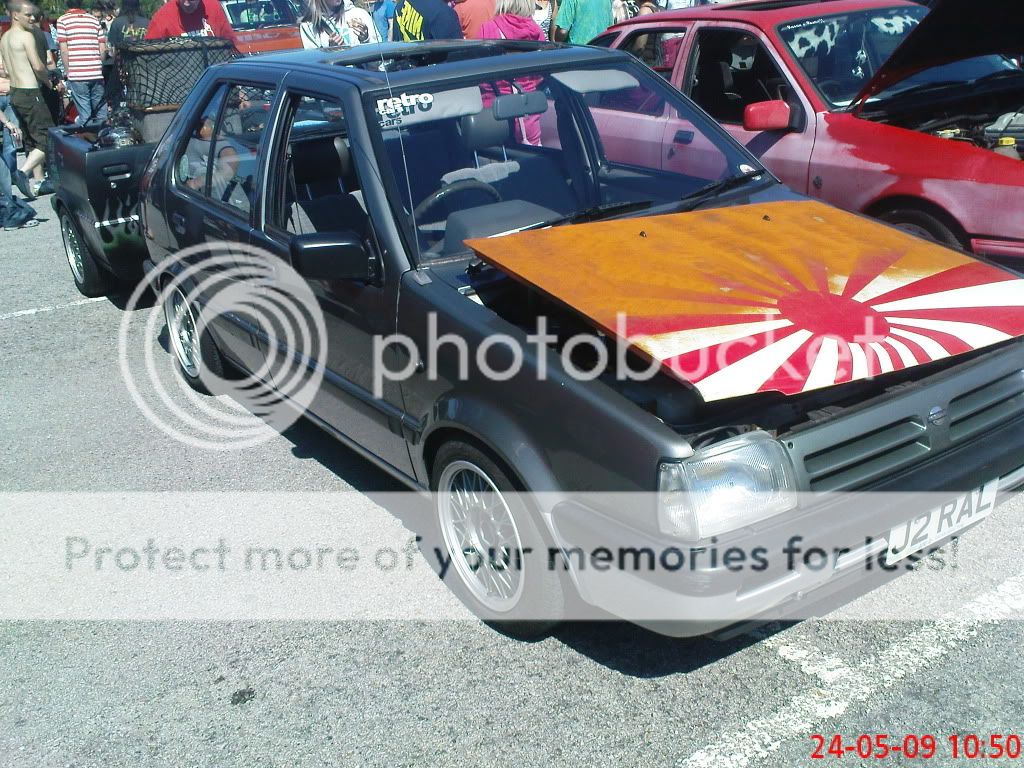
Meanwhile, with the assistance of salt, the bonnet is developing nicely. Why was I worried that it wouldn't rust in time?
DSC02322.jpg

Tonight I trimmed the return lip on the rear arches and folded the front ones up in readiness for getting the tyres swapped over and the wheels on.................


.........................and well, I couldn't help myself and had to see how they're gonna look :wow:
DSC02325.jpg

DSC02326.jpg

DSC02328.jpg

DSC02327.jpg


Can't wait til Saturday, I'm so excited!
 
wheels + bonnet

Saturday am, weighed in the diseasel

Bye bye dirty diseasel
DSC02330.jpg

DSC02329.jpg


Got the tyres swapped onto the Bimmer rims
DSC02334.jpg

Stance? I reckon

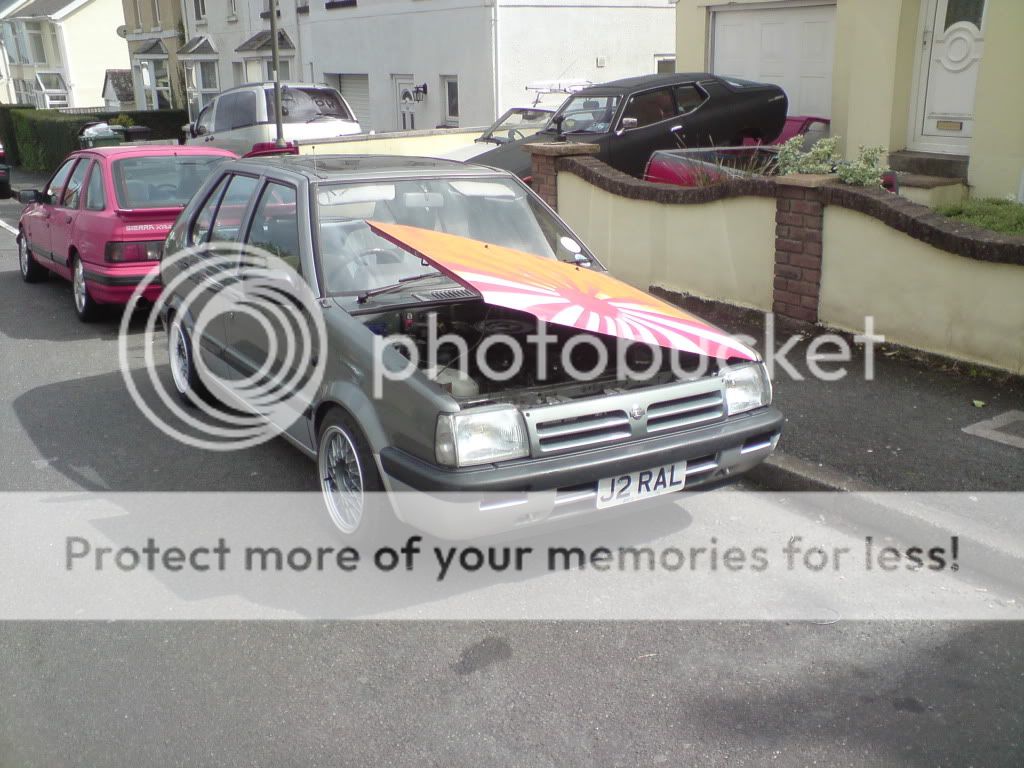
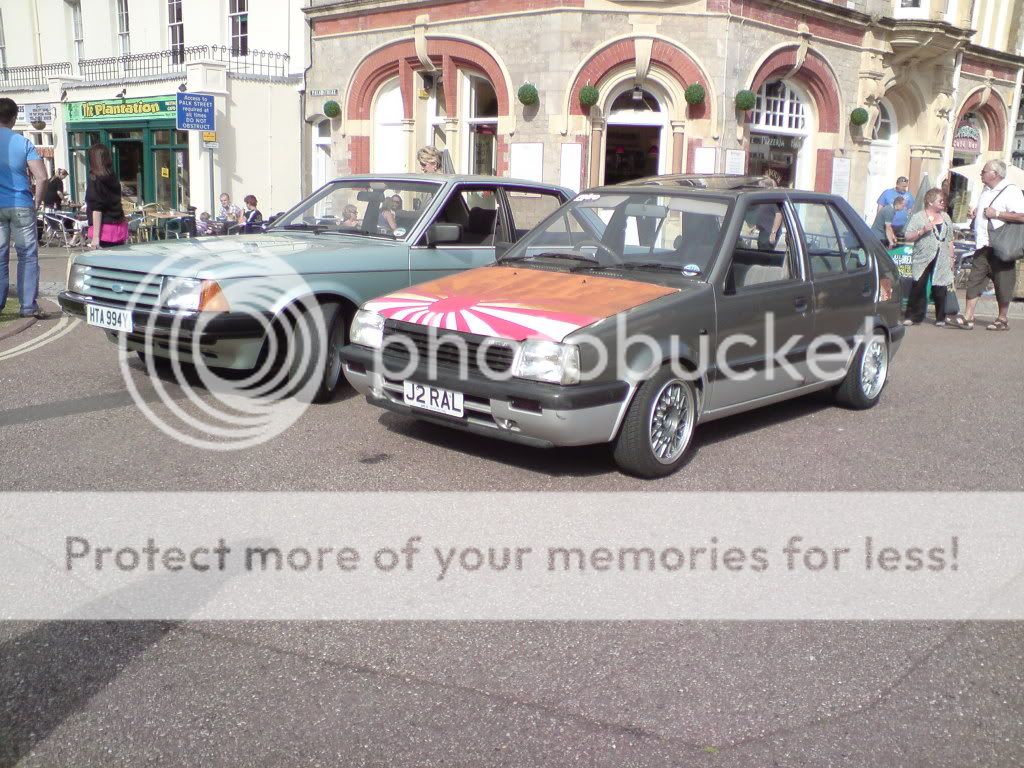
Wasn't going to put the bonnet on until next weekend but you know how it is..................
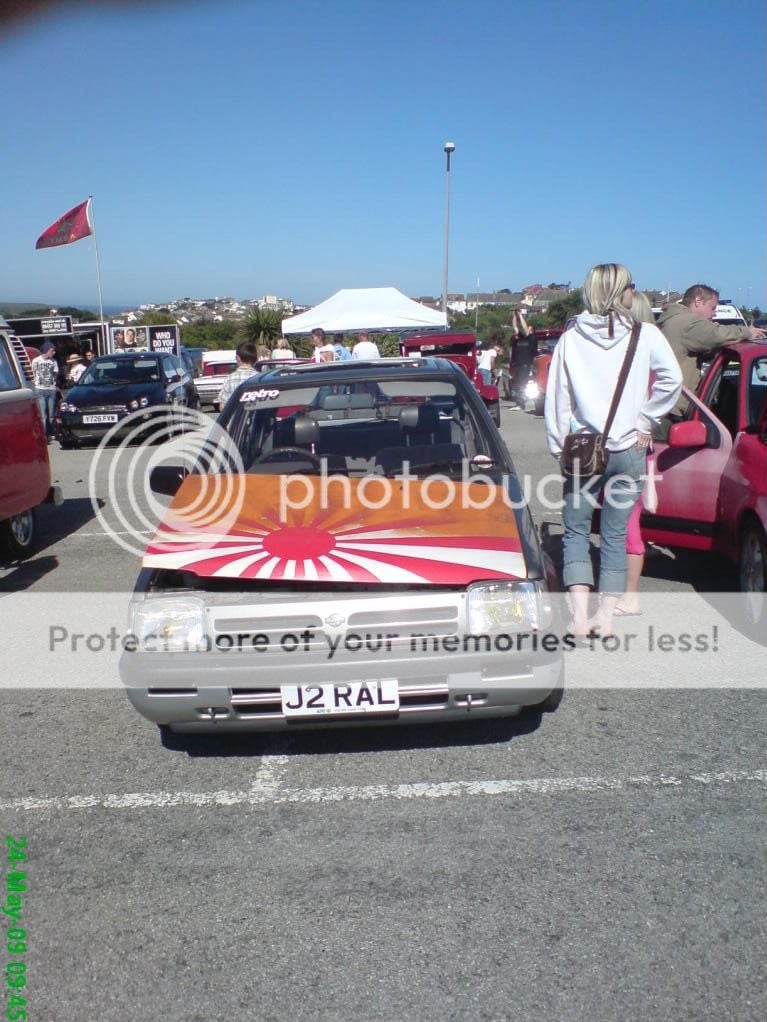
DSC02337.jpg


And the best part?
Bit of fabbing
DSC02335.jpg

gets me this
DSC02339.jpg
 
That bonnet would be insane without the rust :p Tag it up as Micra Sports Club and it will do the job. But some serious skills there, very impressed!
 
Bit of a newbie here when it comes to rat-rod/rust finishes, but...

Surely the rust would eventually eat the bonnet? Or have I missed something?

Looks awesome though! Great work with the rising sun!! :)
 
Bit of a newbie here when it comes to rat-rod/rust finishes, but...

Surely the rust would eventually eat the bonnet? Or have I missed something?

Looks awesome though! Great work with the rising sun!! :)

It will be laquered.

So it won't rust anymore...

I think.
 
I hate filler

Cheers for the replies folks,
Well chuffed with the stance/wheels.
The bonnet is a marmite thing, I've left the original bonnet catch in place so that I can swap back to the grey one if I change my mind after RTTS.
I desperately wanted to do the side opening but I didn't want to risk burning the paint on the grey bonnet with the welding because I really, really can't afford to have it re-painted. Rust is free!
The car and trailer as they stand owe me £450 including the cost of both Micras, a headset, oil and filter, 6 wheel spacers, an MOT and 6 tyres @ £35 a go. I am skinter than a skint thing with a very empty wallet............but I'm having a right laugh doing it (Y)
And that's the important thing eh?

nexxussteve + Littlewood - could laquer it but once the rust is in the steel it keeps eating and eventually the laquer would flake off. I've heard that anchor wax (?) works to slow it down but as I've no idea what it is or where you get it from so I've never tried it. The bonnet on the diseasel was rusting for about 12months and showed no signs whatsoever of going thin so I'm gonna leave it and see what happens.
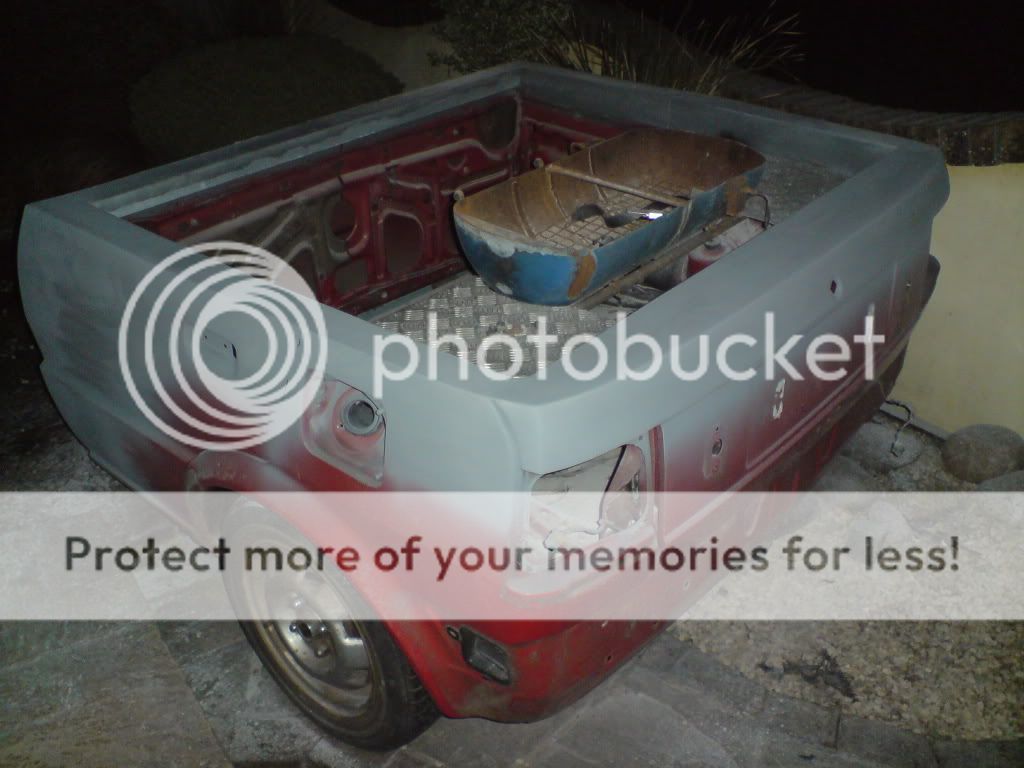
I've spent the last 2 evenings doing the filler work on the trailer so it's ready to paint and reassemble before this Sunday. Last night it kept raining and I had to keep covering it up and working on the filler flap for the trailer
DSC02349.jpg

I hate filler, I find it annoying, put on, sand off, put on, sand off, repeat until your arms fall off or you die of boredom/old age
DSC02345.jpg

DSC02347.jpg

Did I mention that I hate filler?
 
Cheers dude! I've been looking for pictures of it from RTTS but haven't found any :(
Could you post it up for me please?
In the meantime have some pictures that our lot took.....
DSC01665.jpg

DSC00058.jpg

DSC00063.jpg

DSC01677.jpg

DSC01675.jpg
 
absolutely brilliant, my dream is to have a BBQ on my car bet you will get some use out of it in the summer :D

steve
 
This evening I decided that I fancied a strut brace so........
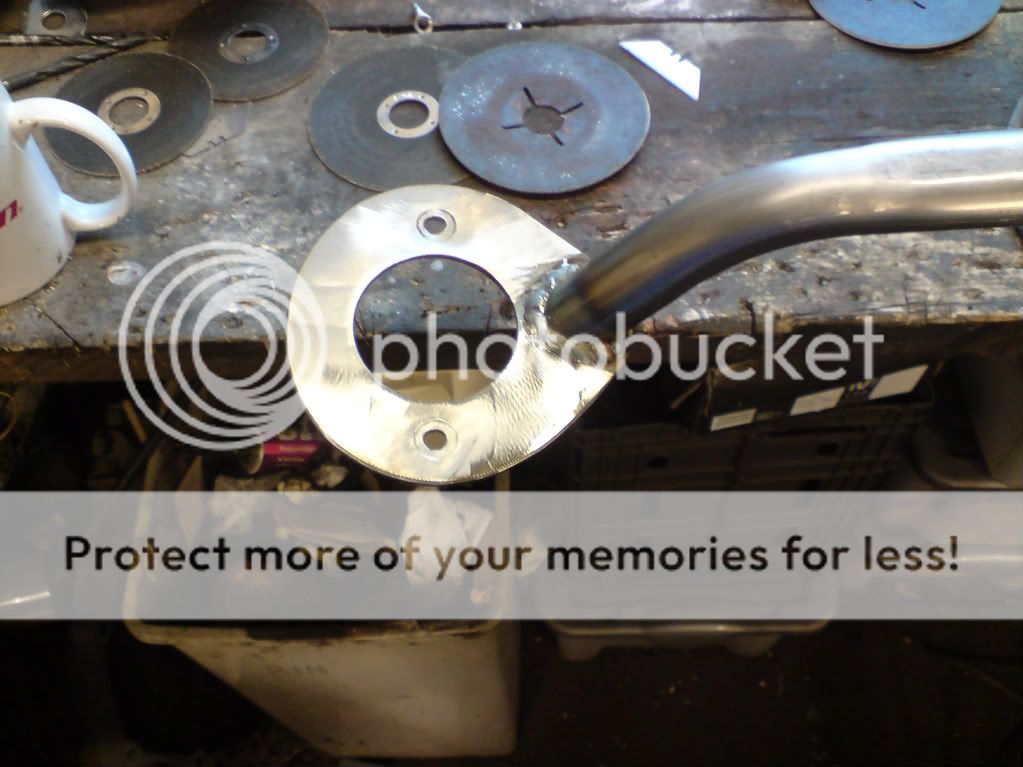
Stay on after work for an hour to roughly cut some plates out of 3mm scrap
DSC00001.jpg

to go here
DSC00002.jpg

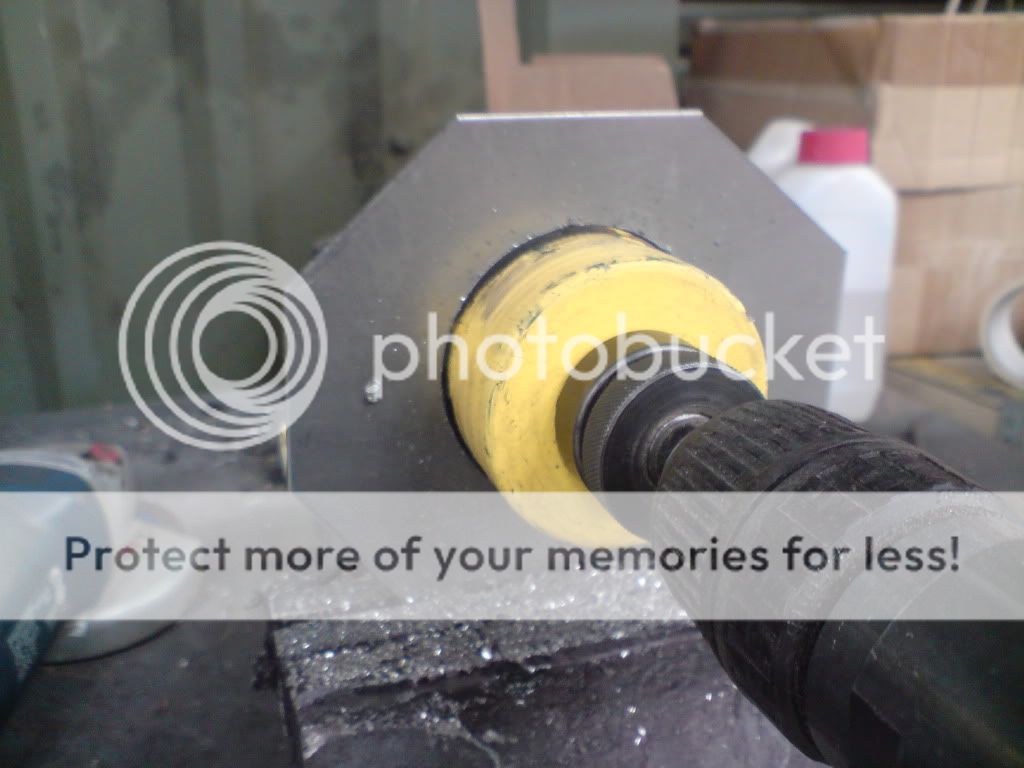
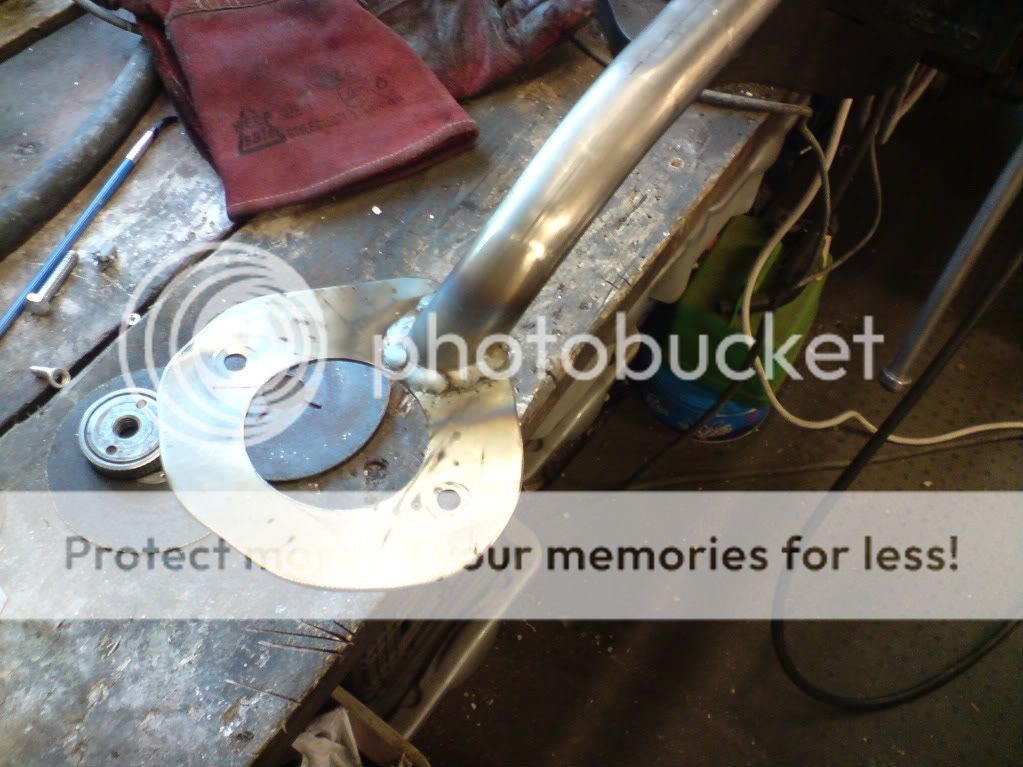
and put a couple of bends in an offcut of tube, then home to ovalise it in the vice, trim the ends and tack onto the plates
DSC00004.jpg

then remove to the garage to weld up
DSC00005.jpg

make the plates a slightly nicer shape
DSC00006.jpg

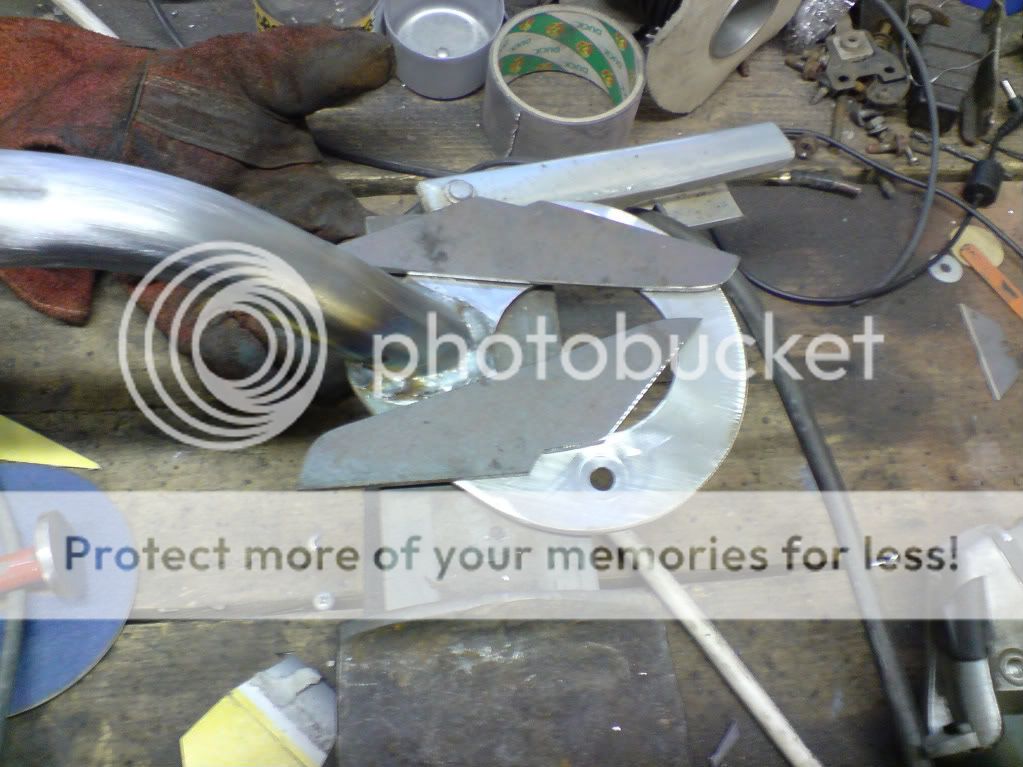
knock up some braces out of 3mm scrap
DSC00007.jpg

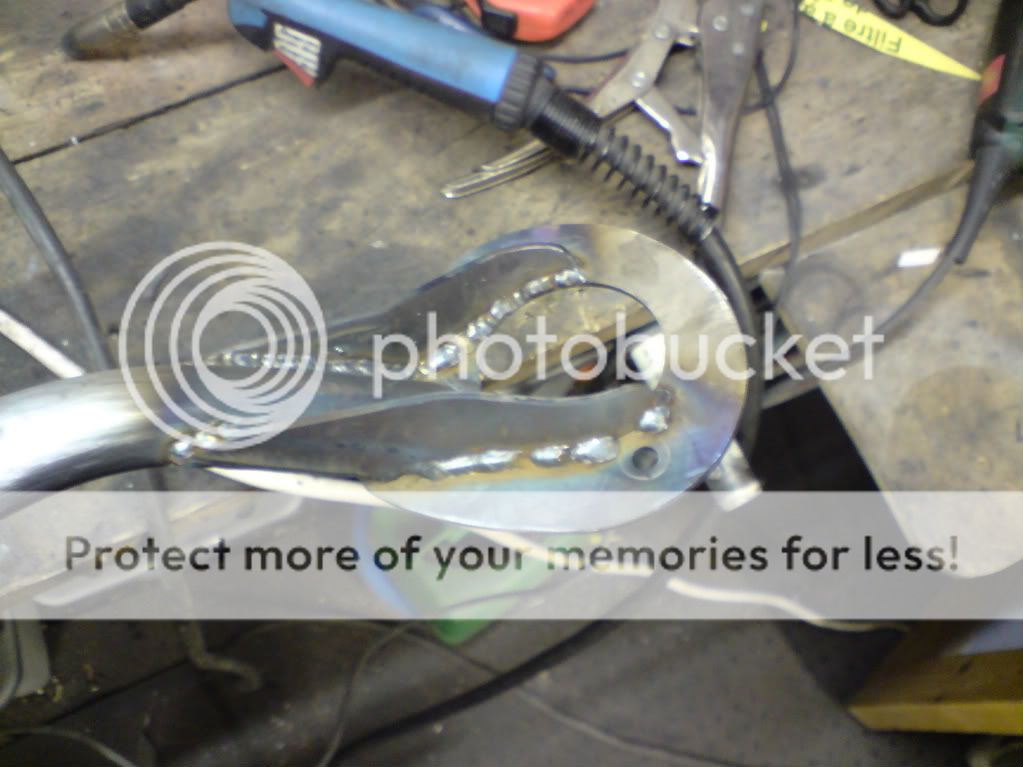
bit of tweaking in the vice and buzz them on
DSC00008.jpg

Not the prettiest bit of welding I've ever done but good penetration so it'll do the job..................
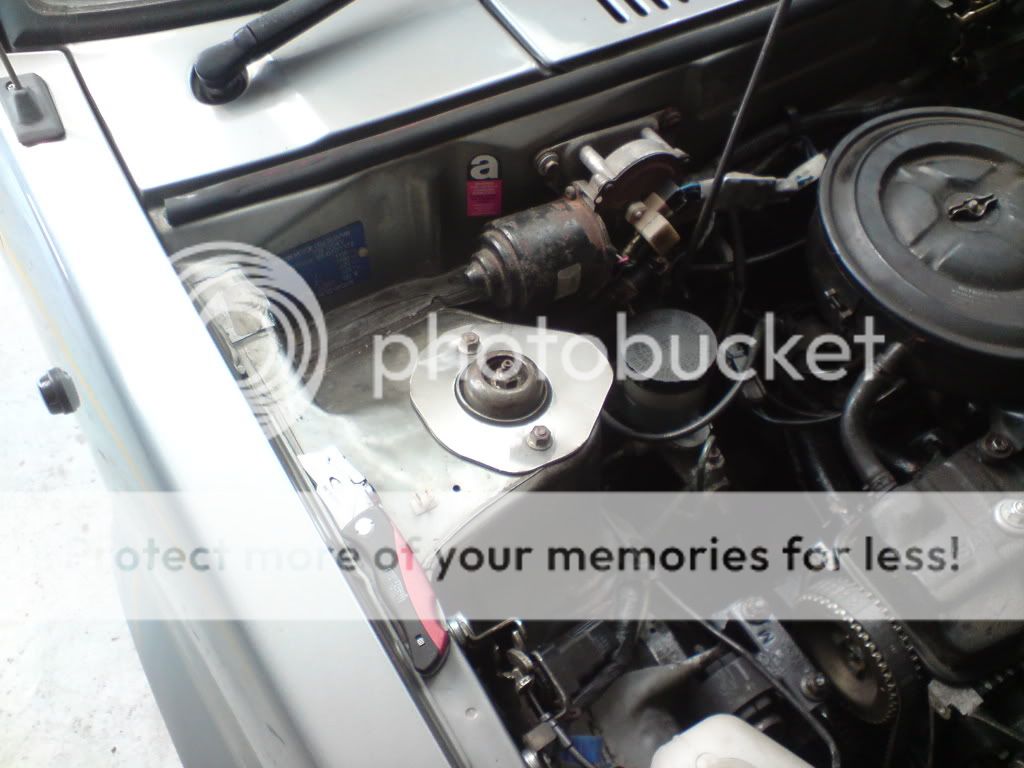
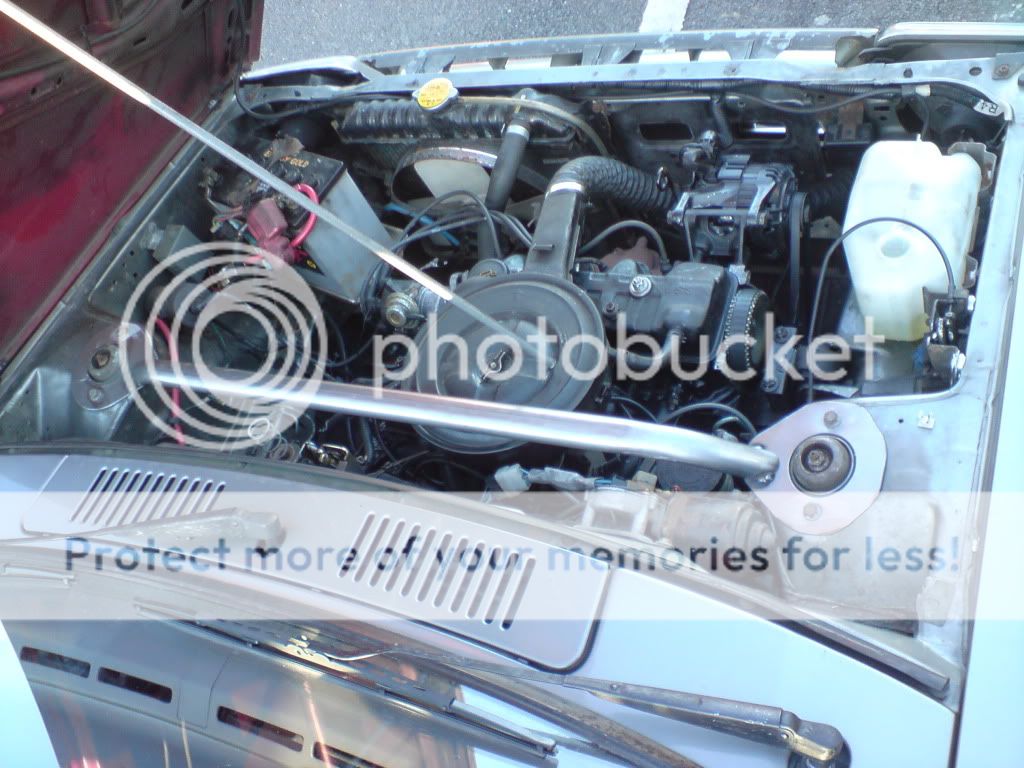
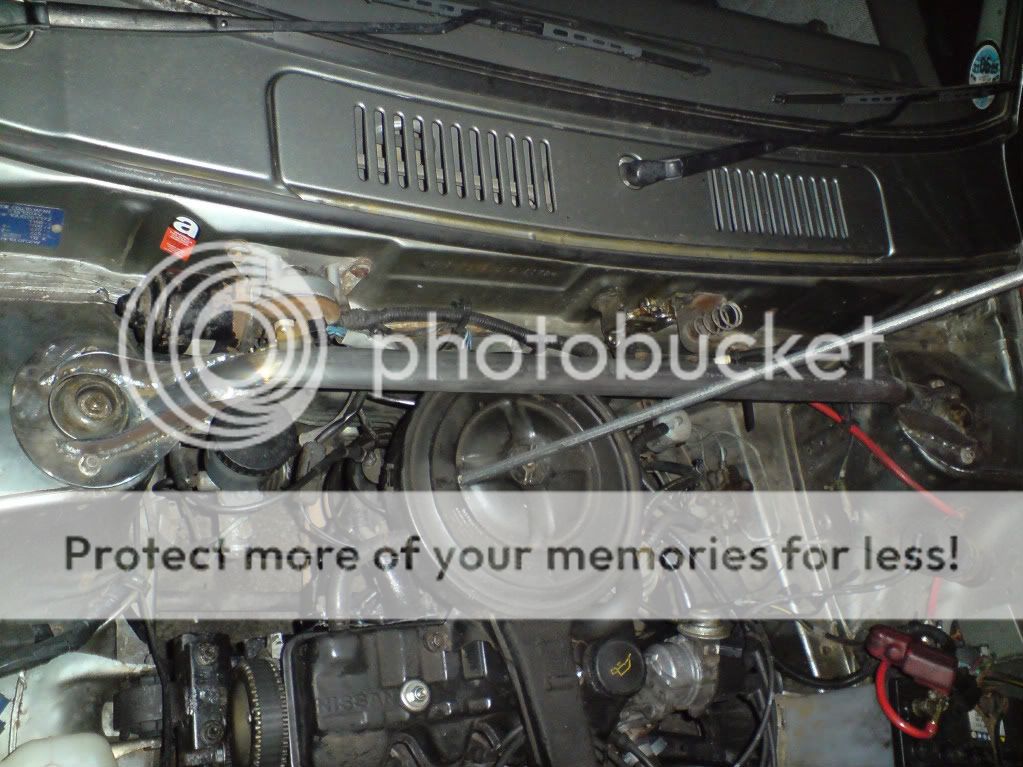
and hey presto, a strut brace, for next to nothing :cool:
DSC00011.jpg
 
moddedmicra - nope, gonna leave it bare for a while, let it rust a bit (rat-look strut brace!) then maybe get it blasted and zinc plated somewhere down the line when I've got a bit more disposable income :)
Diskwiped - cheers dude
 
Hahaha this is absolutly amazing love it mate a think this has to be one of the best micra's ive ever seen its brilliant !!!!!!
 
Firstly a huge thanks to imp124 for coming up trumps with a cure for how the front of car looks(Y)
As promised steve,
DSC02698.jpg

Got home from work on Friday to a parcel containing a prefacelift grille and some other bits and bobs.
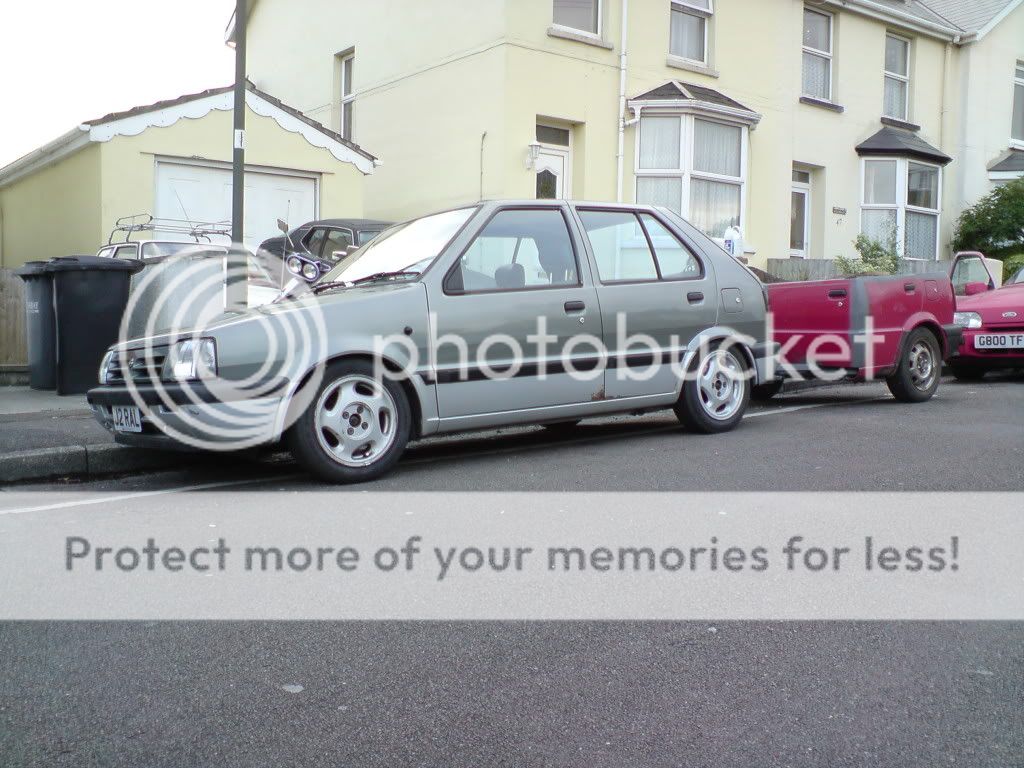
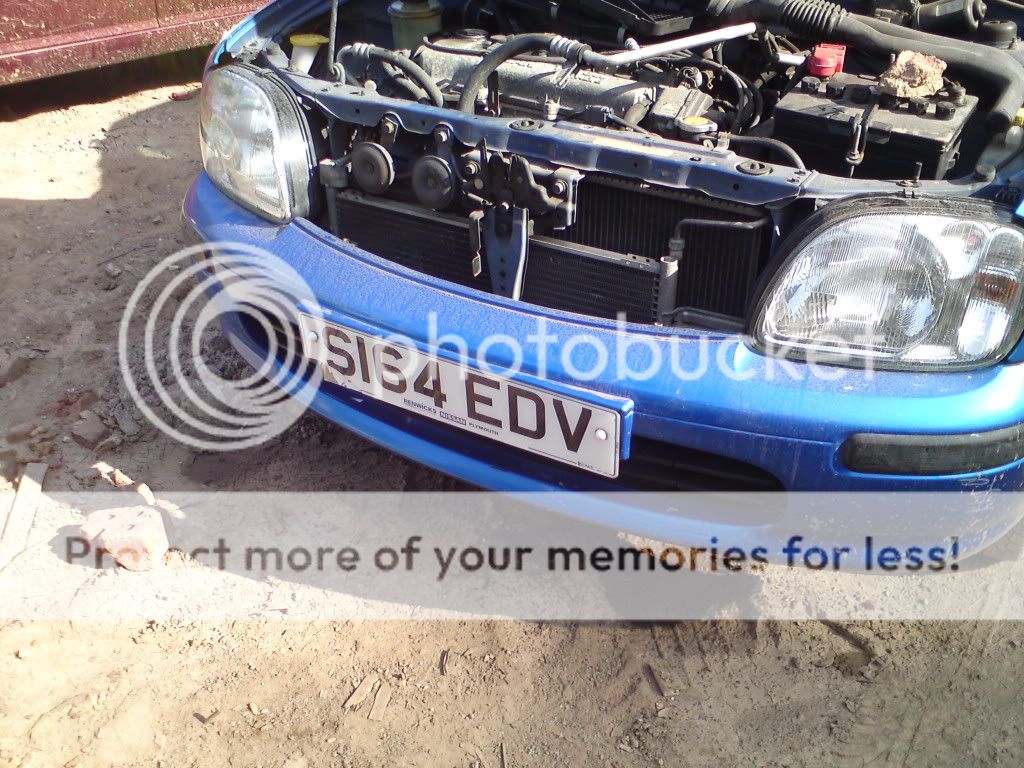
Saturday, I took the front bumper off to sort out my rounded out headlight adjuster (hooray I can see where I'm going again) and played about making brackets to put the grille on. The prefacelift nose is flatter than the later one and it took a while to get it the right shape. Stoked with it now:grinning:
Stiffened up the front shocks a bit, reduced the front ride height by about 10mm to tweak the stance and put some slightly taller bumpstops in the rear to stop the tyres touching the inner arch on big bumps:grinning:
Go to buy dice dust caps because the local kids had my own made ones off the car :suspect: and bump into a mate, take picture
DSC02700.jpg

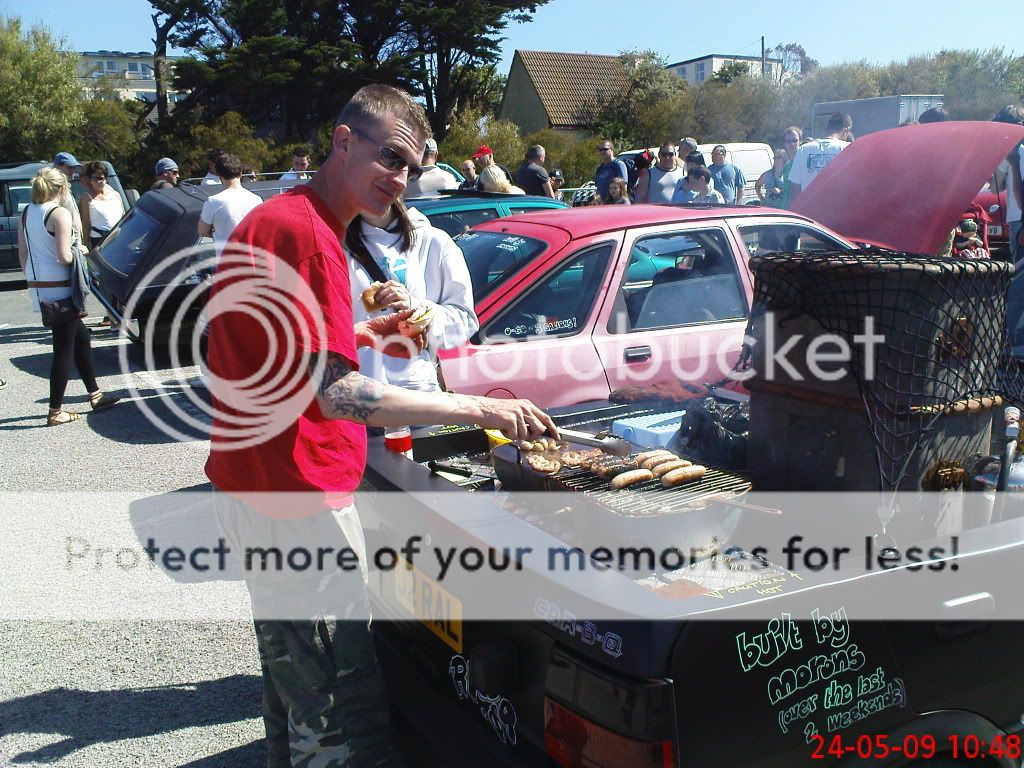
Then extract the car-b-q from the back garden, tfr the bbq spatter off it, only to discover that tfr turns satin black to light grey, quick repaint of the top half and a lip welded on round the edge of the hotplate to stop fried eggs sliding off the sides.
DSC02703.jpg

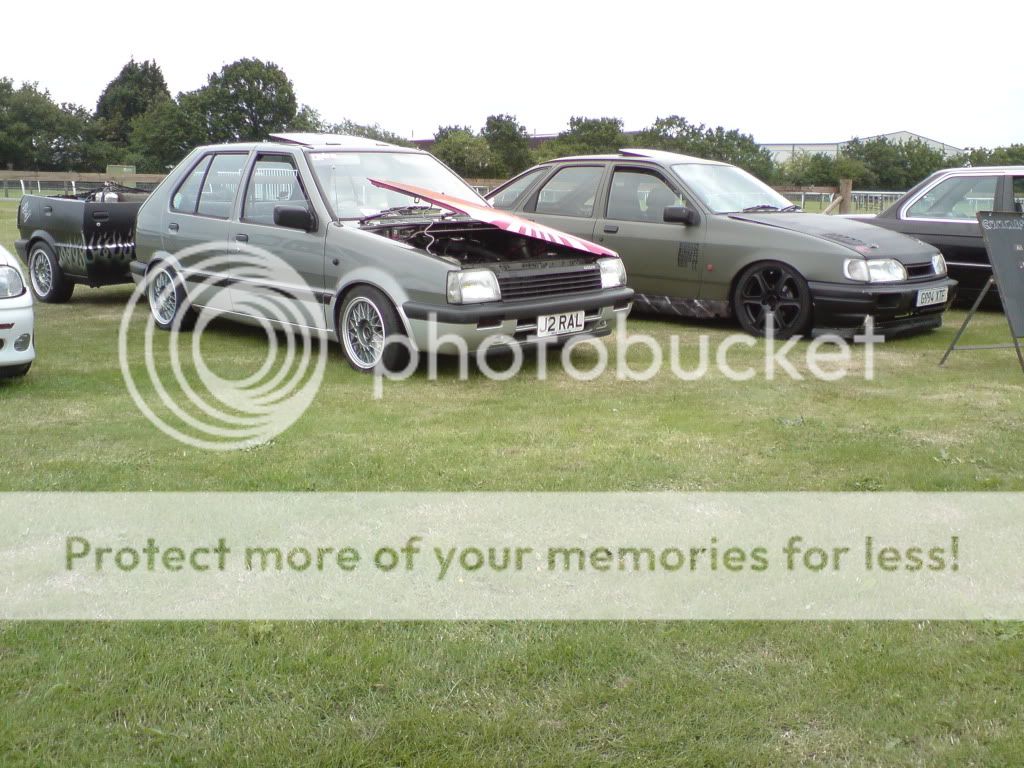
Sunday took it to Southwestmotorshow, had the car-b-q fired up on the stand for breakfast and lunch, great day out, good weather, quite sunburnt
DSC02704.jpg


I've done a couple of other bits too, fitted spraybar windscreen washers that I had spare from the diseasel, shortened the throw on the gearstick and made a ridiculous extension piece that puts the gearknob at top of steering wheel height but I haven't taken any pictures. If anyone wants pics I'll take some.
 
great to see the grill on, looks mean now :D

wish the JAE BBQ was done on ur trailer :D that would be the dogs :)

Any other bits just let me know, i can get nearly anything for the k10 as our scrappys is full of them :D

nice work

cheers

Steve
 
I had the pleasure of sampling the delights of the car-b-que on Sunday, cheers for the egg, bacon and cheese roll Ian.

Some great ideas, inspirational and comic touches on the trailer.
The GSX looks even better in the flesh too. Great Work!
 
if u ever sell the trailer on its own (doubtful i know!) I WANT FIRST DIBS!!! lol :D

ace car really want to see it up close :D

cheers

Steve
 
Micra-mum - good to speak to you and your husband at retro-show and thanks for the pictures.

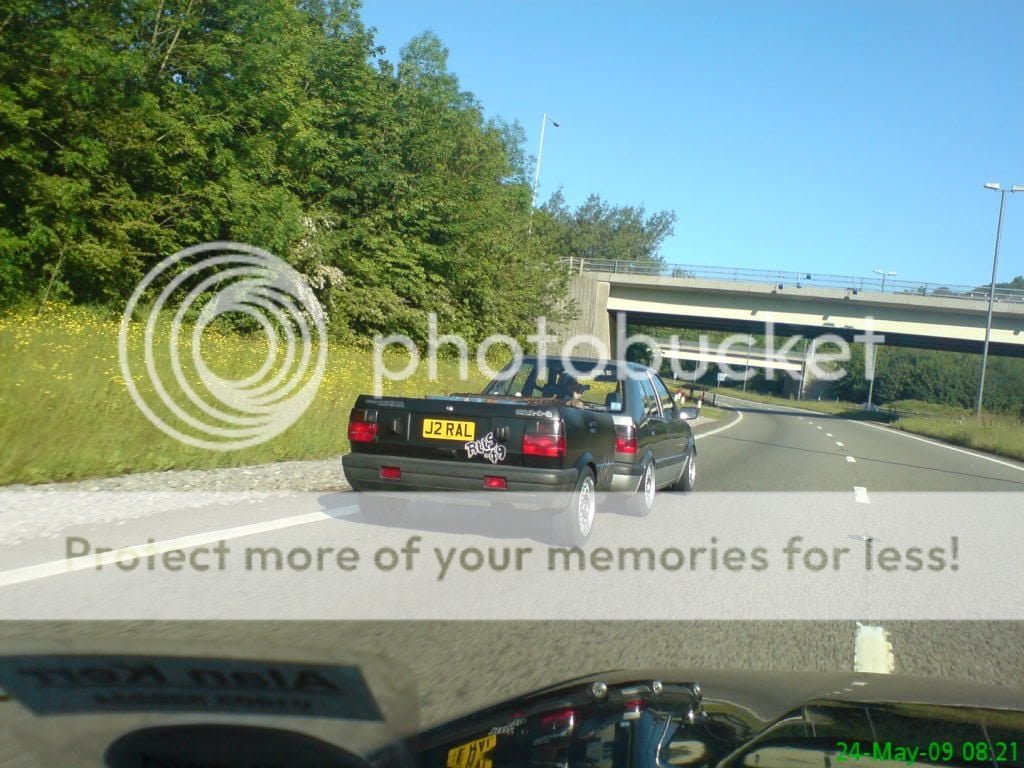
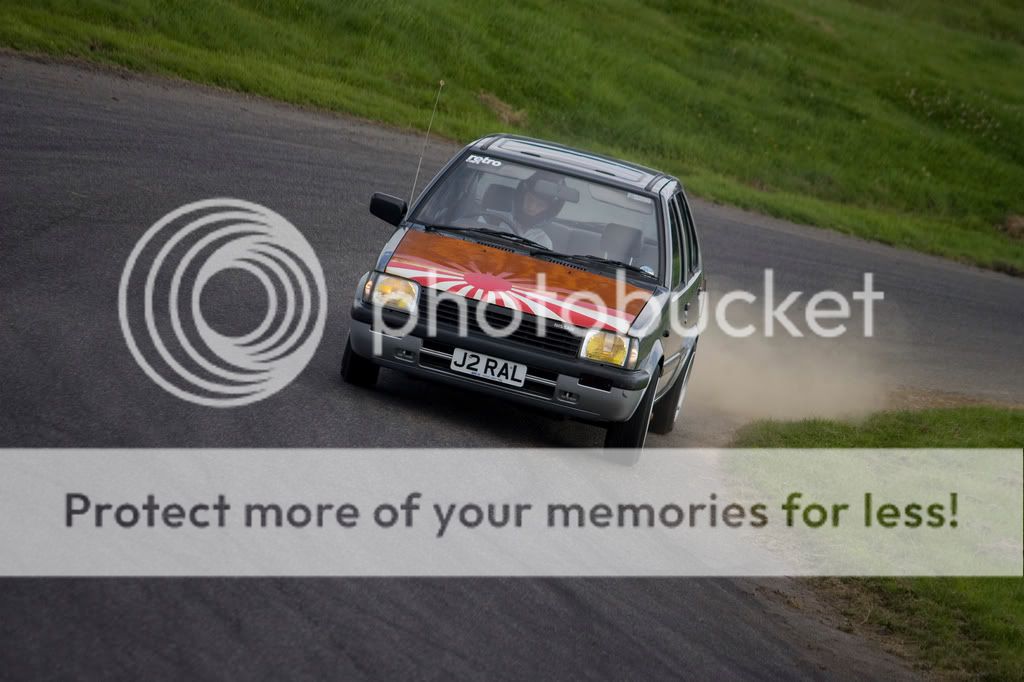
After a bit of track action at RetroRidesGathering...............
3830510103_09c1494553_b.jpg
.........it had become apparent that the rack was moving about on it's mounts, which could well account for why the steering felt a little vague.
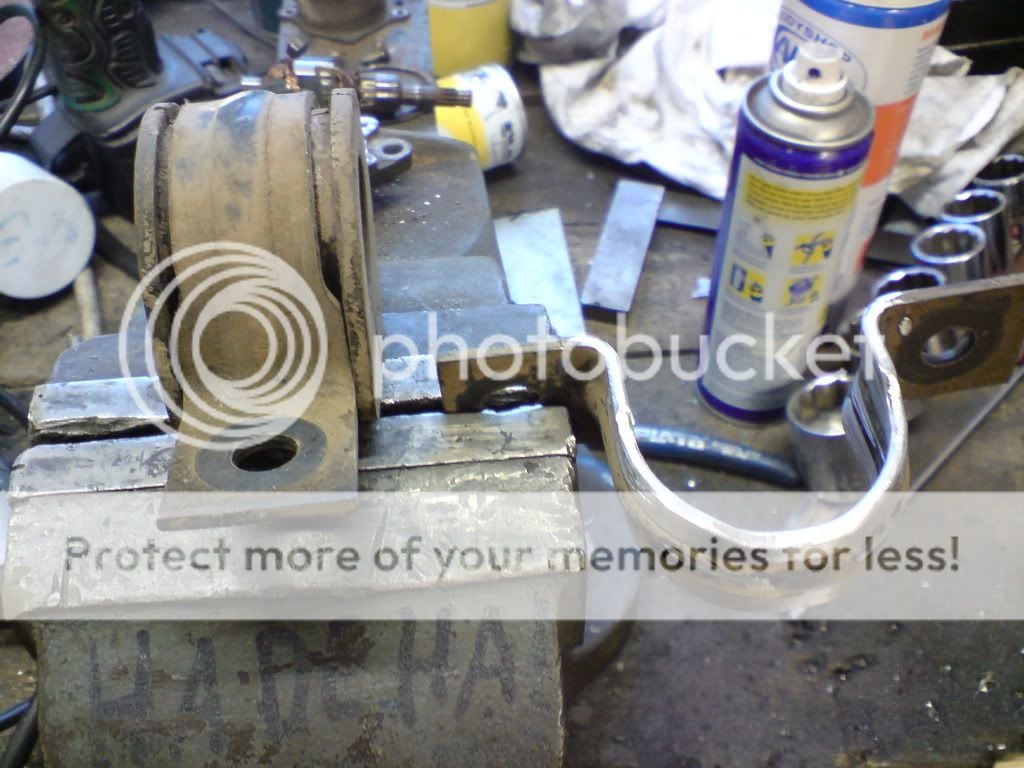
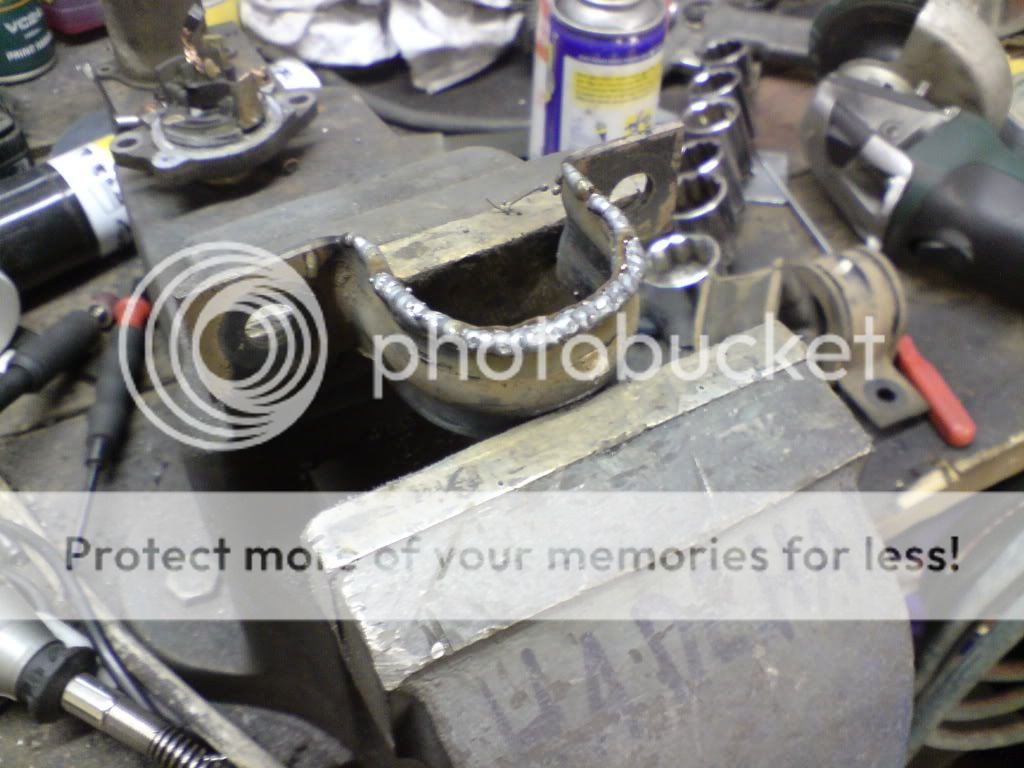
Tonight I finally got round to having a look at it, there was quite a lot of lateral movement. The rack is mounted in 2 rubber bushes, each with a strap securing it to the bulkhead. Only the o/s one has a rib either side on the rack to locate it, and this was where the movement was.
I kept the rack off the trailer as a spare and this still had the straps and the bushes on it. They weren't any better than the ones on the car and a search of ebay didn't reveal any new standard or poly ones so closer inspection ensued.
DSC03122.jpg

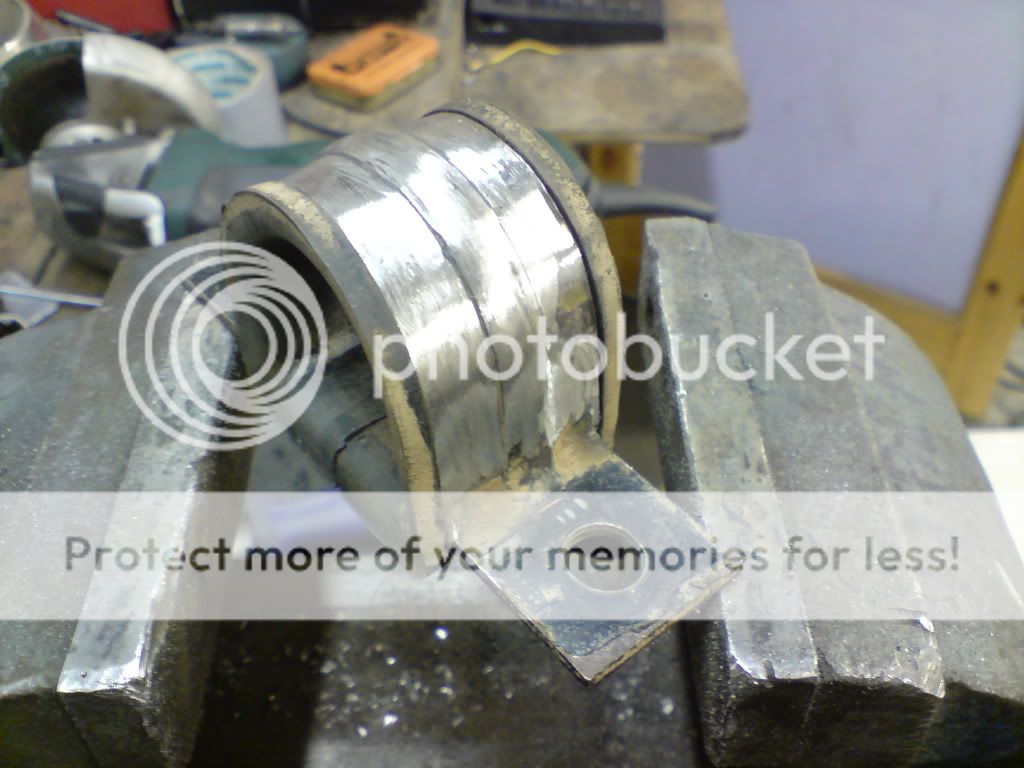
The strap is waisted and the sideways load is only on the 2 small wider sections at either end. This seems to wear the bush in this area only, so.......
DSC03127.jpg

Add in some extra metal and grind back to leave this, a more snug fitting strap
DSC03130.jpg

A bit of zinc spray and then put it on the car.
Result! No play!
I'll test drive it tomorrow on the way to work but even stationary the steering feels so much more direct.
 
Having just found this thread, I've just spent half an hour reading (when I should have been working!) this project. Utterly amazed at the thought and effort that's gone into this car! I take my hat off to you!
The BBQ looks brilliant too!

James :)
 
Yesterday was my 35th and I had a great birthday, I treated myself to a day off work and went and bought myself a birthday present..............
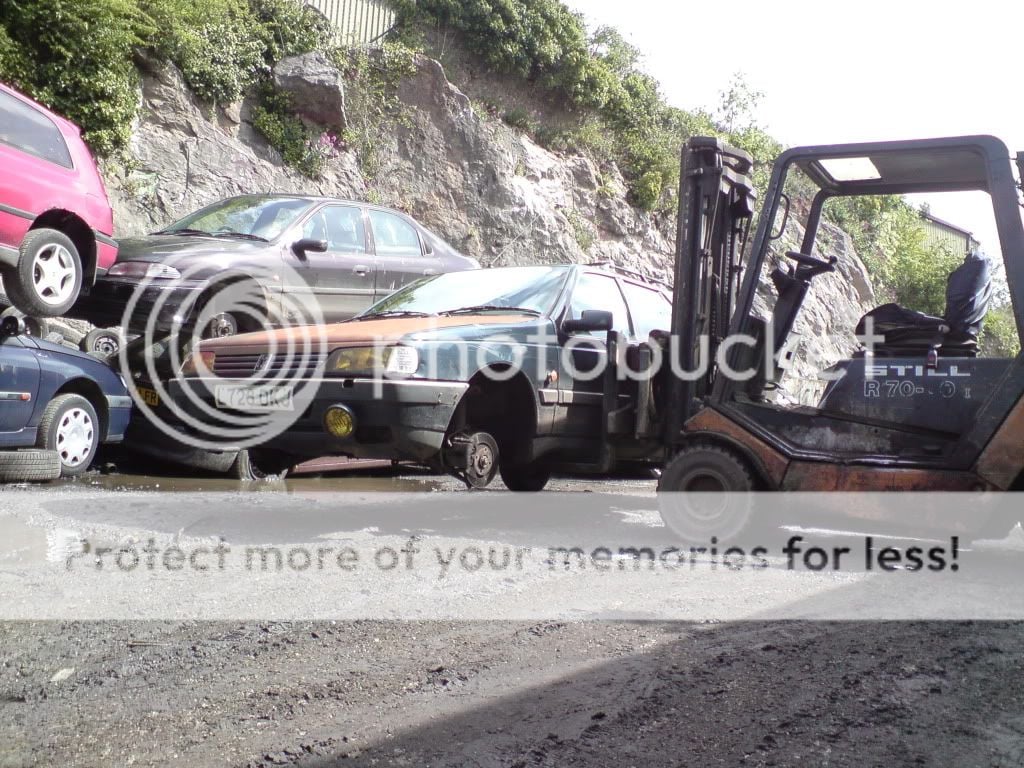
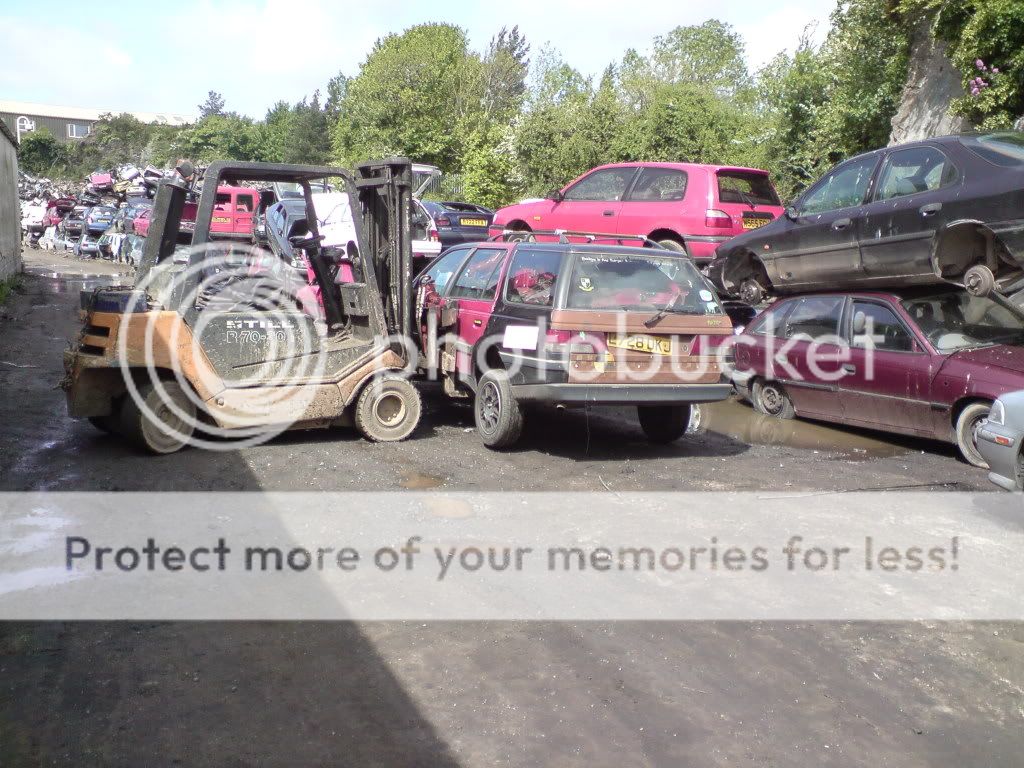
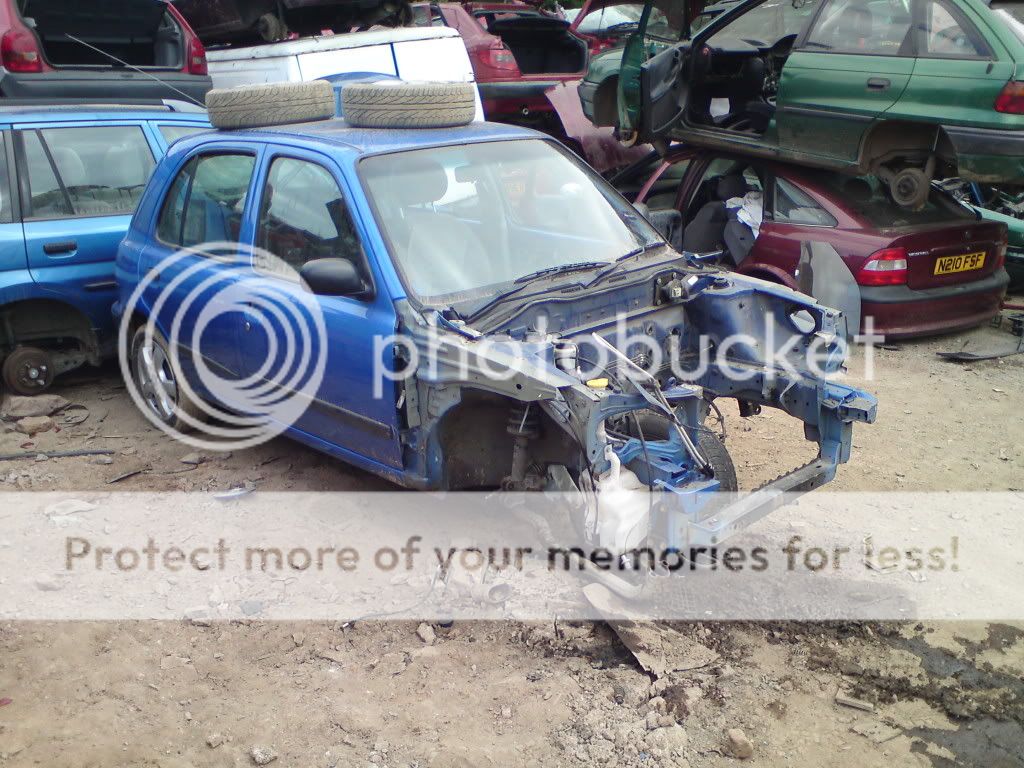
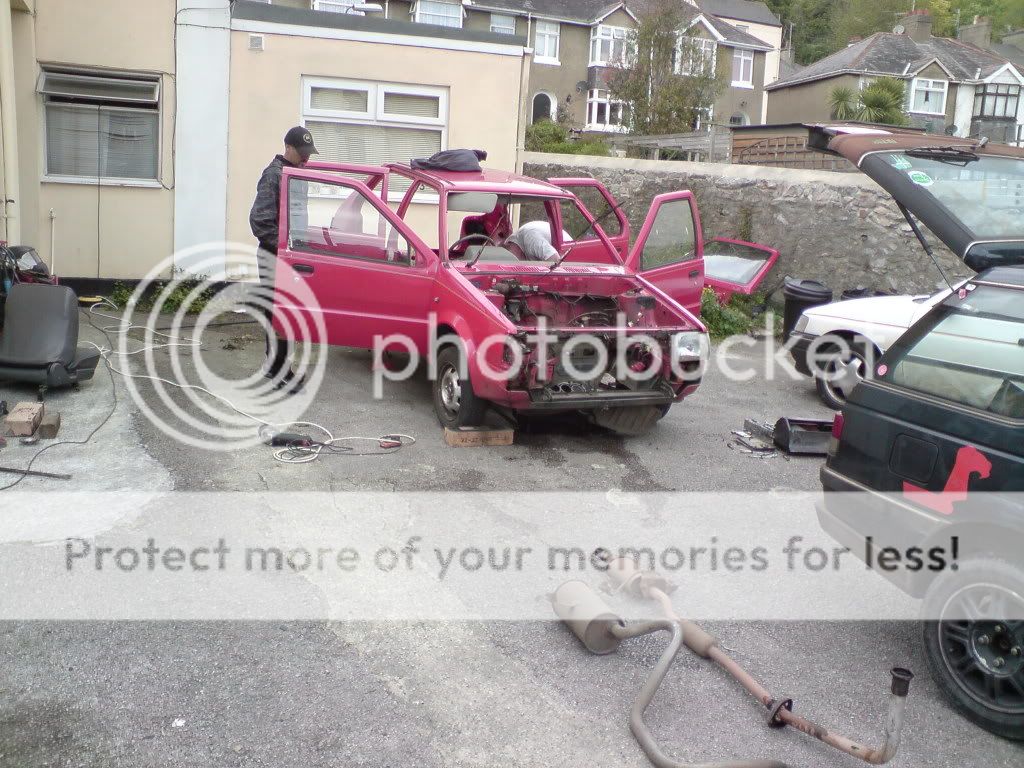
4.5 hrs work in my local (proper) scrapyard saw me and Jody turn this scrappage scheme Micra
DSC00021.jpg

into this
DSC00022.jpg

Meaning that this
DSC00016.jpg

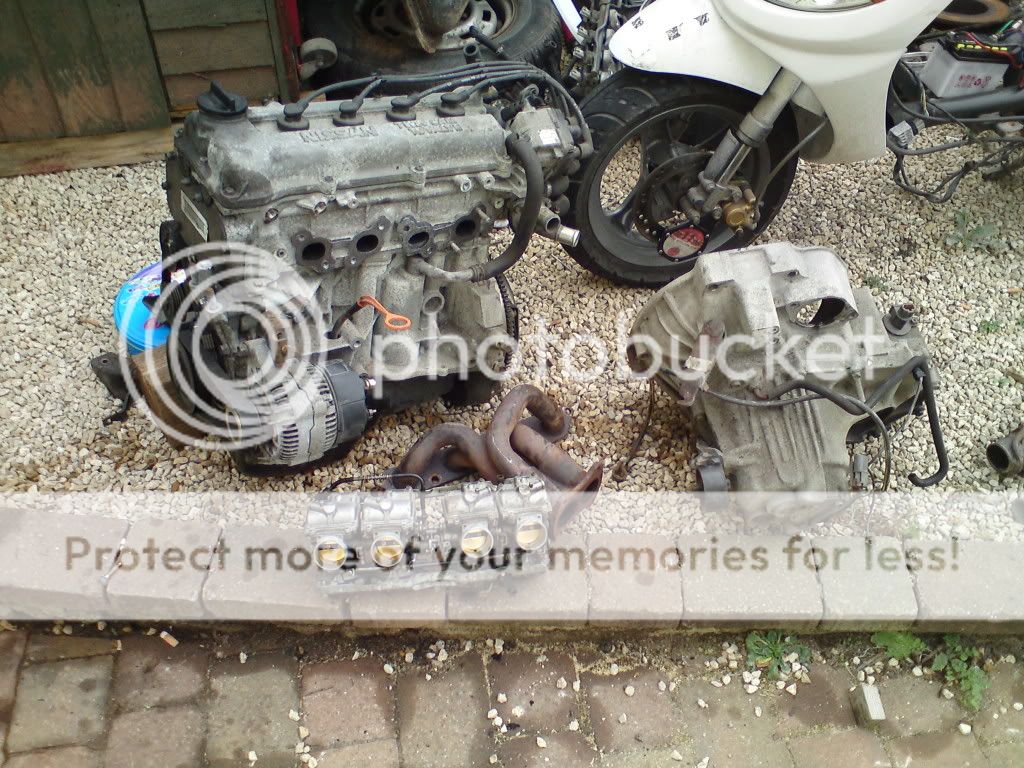
should soon have these in it :D
DSC00027.jpg

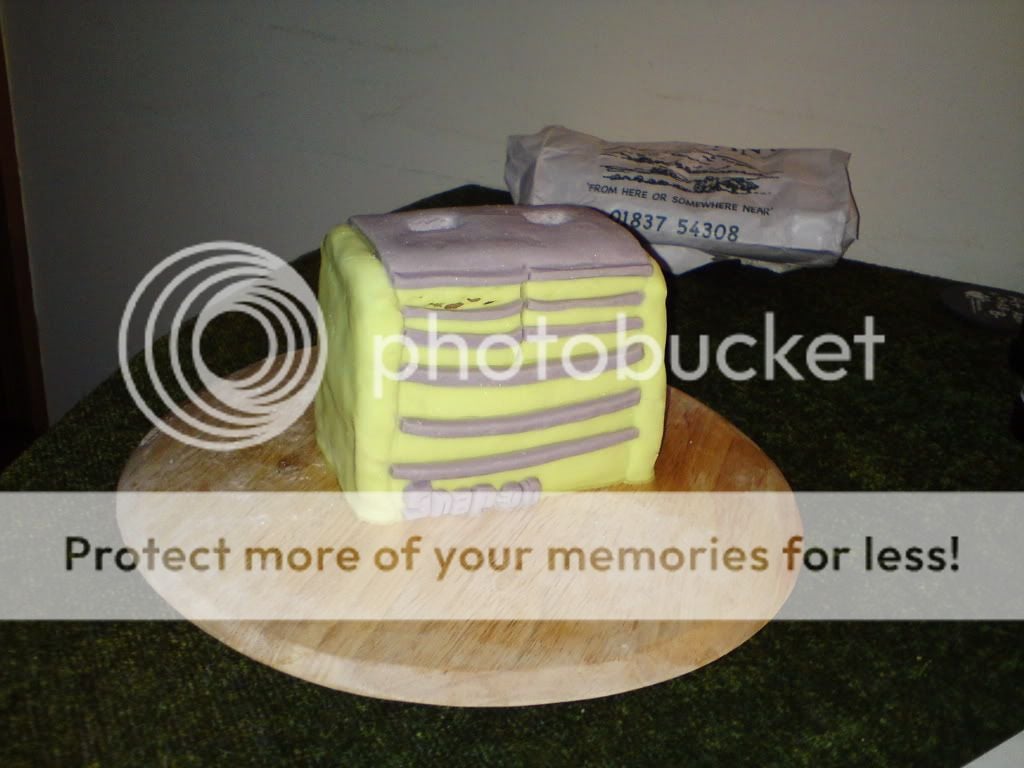
Then all my mates came round in the evening, bringing me this
DSC00026.jpg

Which was double battenburg inside :D
After which much drinking of Southern Comfort and ginger beer was done :cool:
 
Back
Top