-
Please only use these forums for blogs, they are not a discussion forum
You are using an out of date browser. It may not display this or other websites correctly.
You should upgrade or use an alternative browser.
You should upgrade or use an alternative browser.
Project Turtle the Turquoise Miicra!
- Thread starter Scott
- Start date
- Status
- Not open for further replies.
In fairness, we knew this day was coming, it was just a matter of time and its still unsure wether or not we will be getting back in when the renovations have been done to the rest of the building.
We rent this place of my brothers boss, so get a good deal and so does he for whats essentially a derelict building, so its extra cash in his pocket every month.
We rent this place of my brothers boss, so get a good deal and so does he for whats essentially a derelict building, so its extra cash in his pocket every month.
martinb
Ex. Club Member
now if anyone has a pair of wings or headlights off a facelift...
TALK TO ME!
Nah prefacelift ftw man!! Keep it older shape
New shape for those rich lot ha ha
Respectos to Karlj, always nice when a member lends a hand
I'm sure you guys will get it drivable before, few long nights, loads a beer (not scott your too young!!)
I have every faith in you lot, don't let her die if you can help it
Please.....
Got one of them off but the second one is shot let me know if you want just the one and I'll get it sent off asap
Only need one mate so thats perfect (Y)
Looks good and you really shouldn't scrap it no matter what reason, cams came today aswell.
No where else to store it
with the roof being of a structural nauture...... i would unfortunately say that, that micra has got terminal cancer and you cannot opperate. i would just not risk it...
+1 scrap it and buy another shell/micra imo. Replacing roofs properlys costs a fortune and i doubt you can do it yourself unless you have the proper tools/equipment to do so.
davey1991
If its not scrubbing, its not low enough.
No where else to store itand awesome! All in one piece i hope?
Yep luckily i didn't get to check as i wasn't in arrived at about 5oclock in the afternoon weirdly.
Nice to see help in the community
Mullet ive PMed you mate.
In other news,
Took delivery of a new wishbone yesterday and started to fit it tonight.
ARB droplink grinded off (gonna be ditching the ARB anyway)

Back two bolts holding the bush in place removed and stored (no pic)
And big massive bolt holding it to the the car....snapped. Great.
After much hammering and WD40 I gave up, will try again tomorrow.
Also the whole passeneger side has been sanded down, bumpstrip removed, door handle off ready to be painted.
And ROSS (not Rick) managed to crack the windscreen yesterday. So need a new one of them aswell.
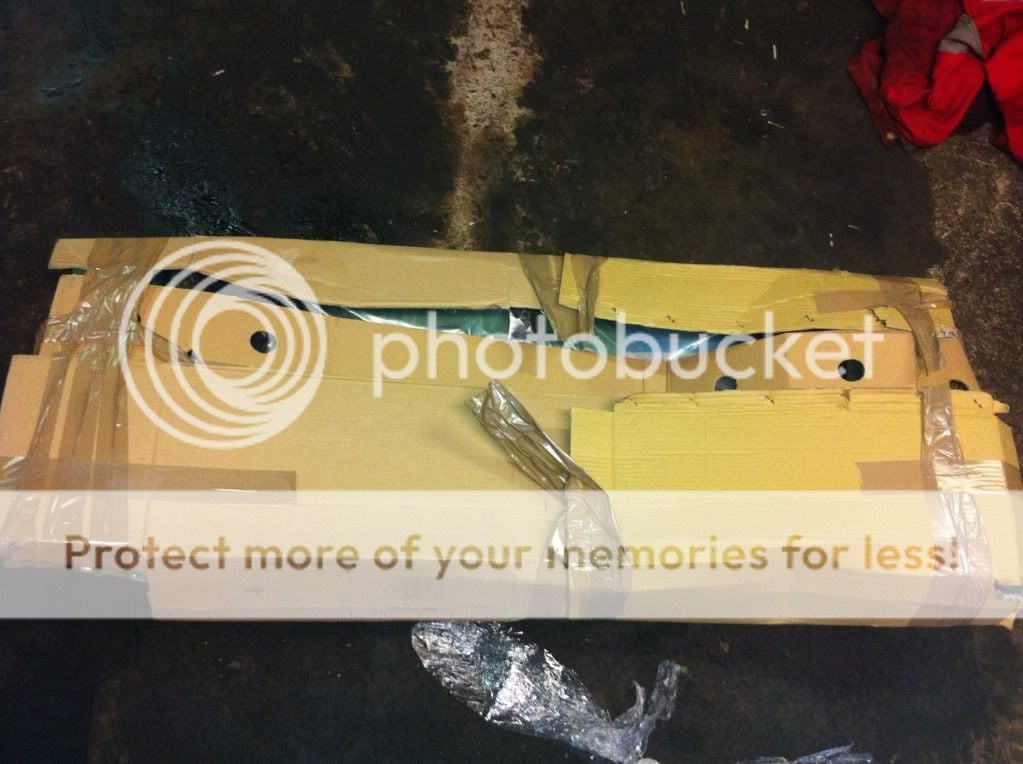
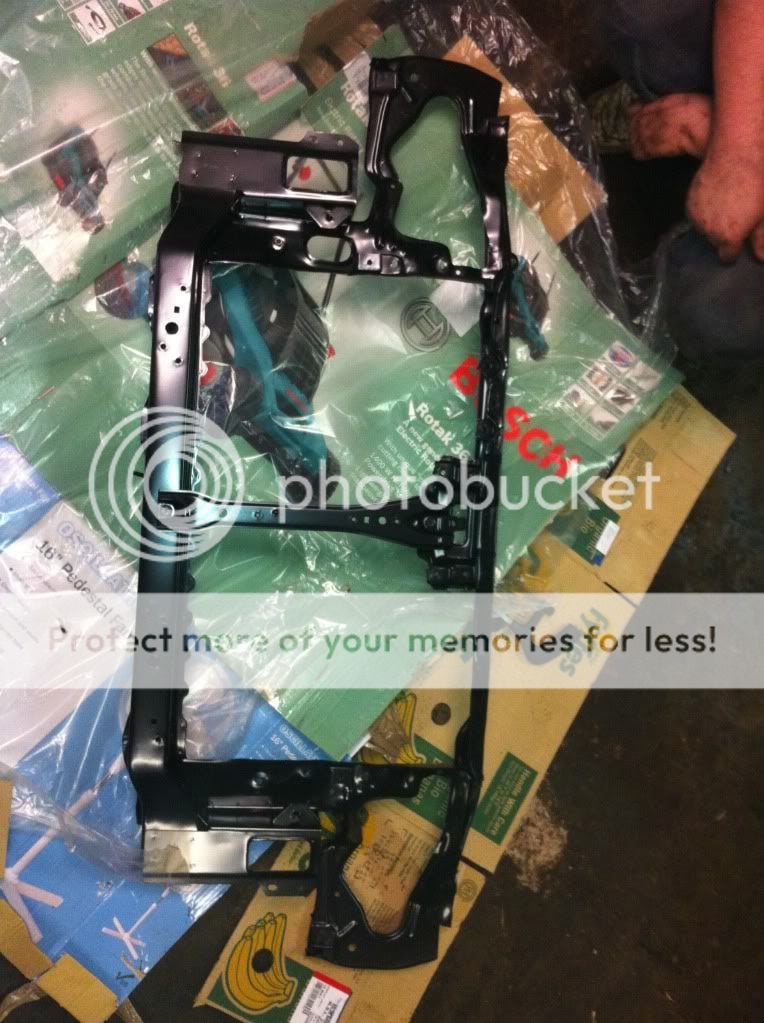
New front panel has been ordered. Hoping it to be delivered tomorrow.
In other news,
Took delivery of a new wishbone yesterday and started to fit it tonight.
ARB droplink grinded off (gonna be ditching the ARB anyway)
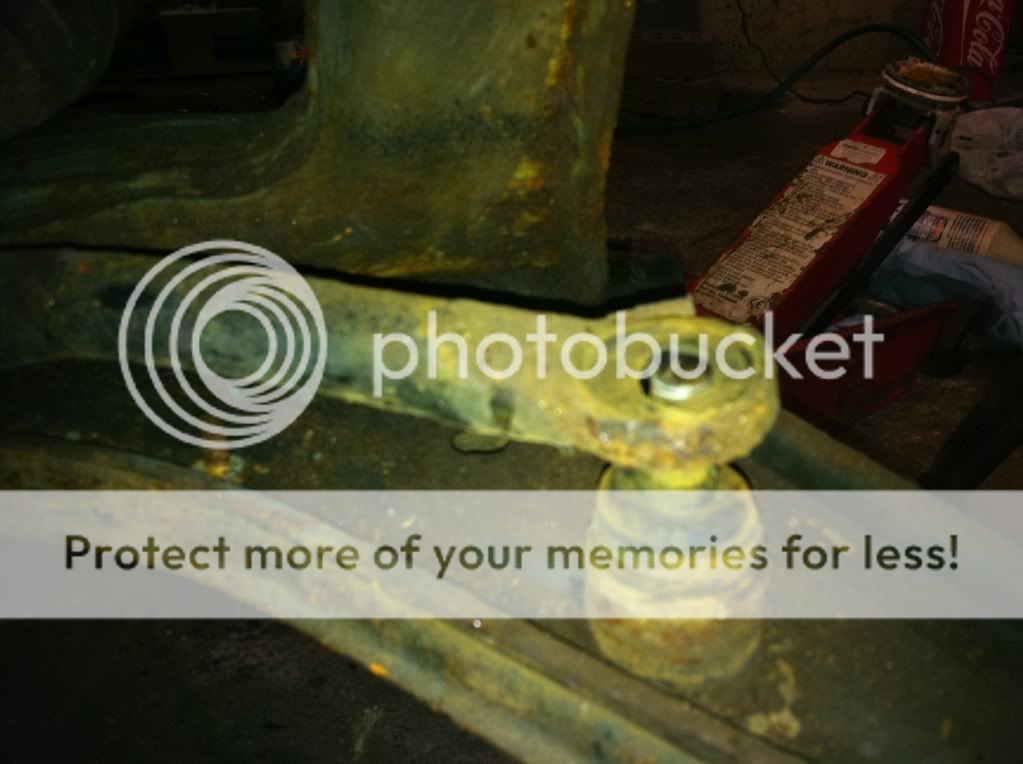
Back two bolts holding the bush in place removed and stored (no pic)
And big massive bolt holding it to the the car....snapped. Great.
After much hammering and WD40 I gave up, will try again tomorrow.
Also the whole passeneger side has been sanded down, bumpstrip removed, door handle off ready to be painted.
And ROSS (not Rick) managed to crack the windscreen yesterday. So need a new one of them aswell.
New front panel has been ordered. Hoping it to be delivered tomorrow.
So Mr Grinder was introduced to Mr Wishbone mount tonight, They got on well i would say.

Although he went a bit far....

That took so much effort. First grinding the end of the nut off which still wouldnt come out, to then grinding the whole wishbone off, still nothing. So jamming the grinder in the mount soon solved it and out came Mr wishbone.

New wishbone :

Put into place with biiiig bolt.

Bolted up to chassis

Then all tightened, Main bolt torqued up to about 130 lb/fts.
In place ready for hub to be fitted,


Then I removed the ARB,

Toothpick comes to mind, its that skinny....
If it is gonna be refitted in the future it will be painted and added with some fresh ARB droplinks and possibly some poly bushes.
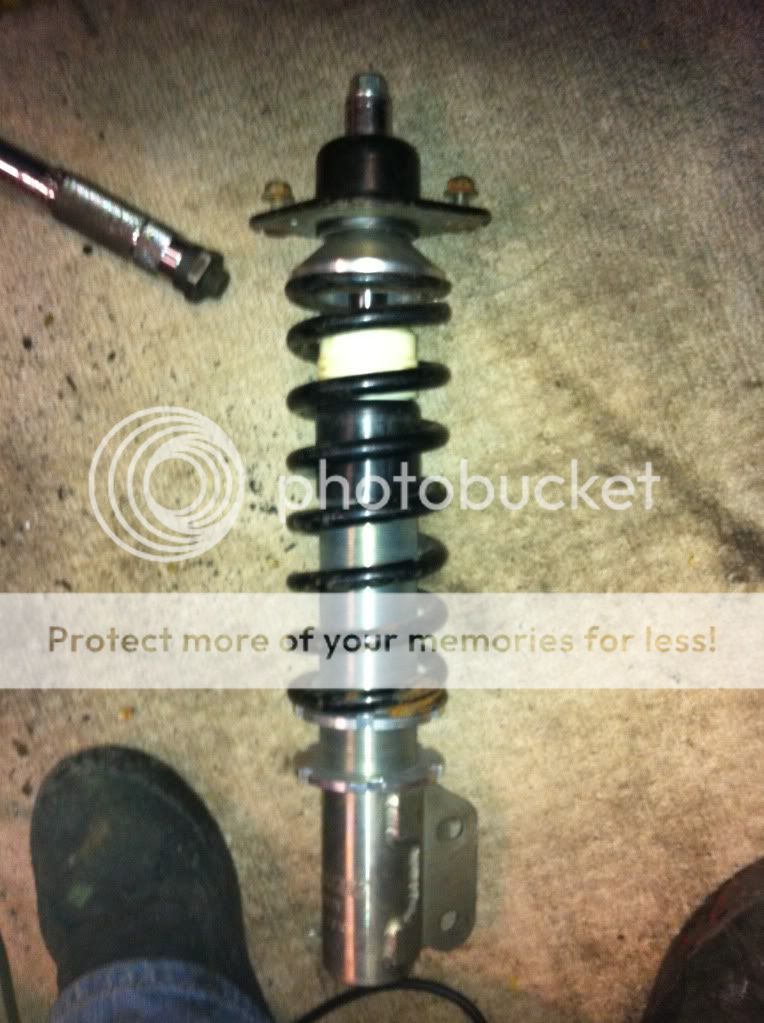
Also on the coilover front. Delivered today were 2 Daiyama 63mm springs. 5kg springs from N15 Coilovers, straight fit and alot softer than the original corsa ones. So hopefully these will soften it up a bit and no longer need the helper springs but can also let us keep our spines intact.
One fitted :

Other side still to do.
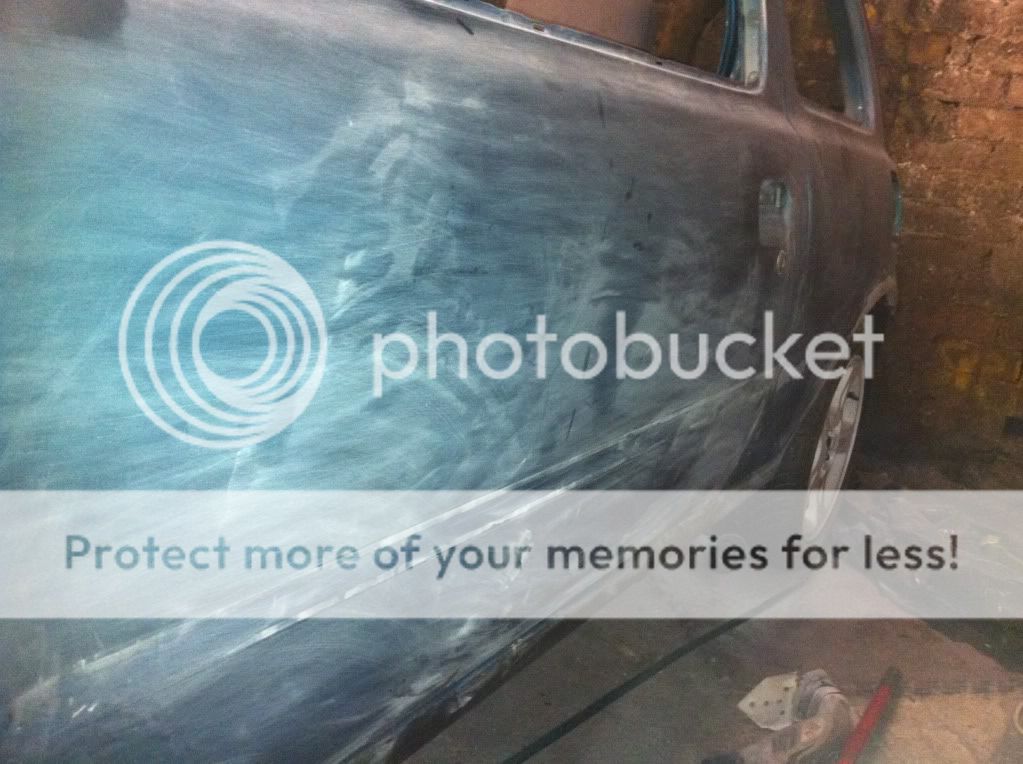
Also the whole passeneger side has been sanded down ready for painting.

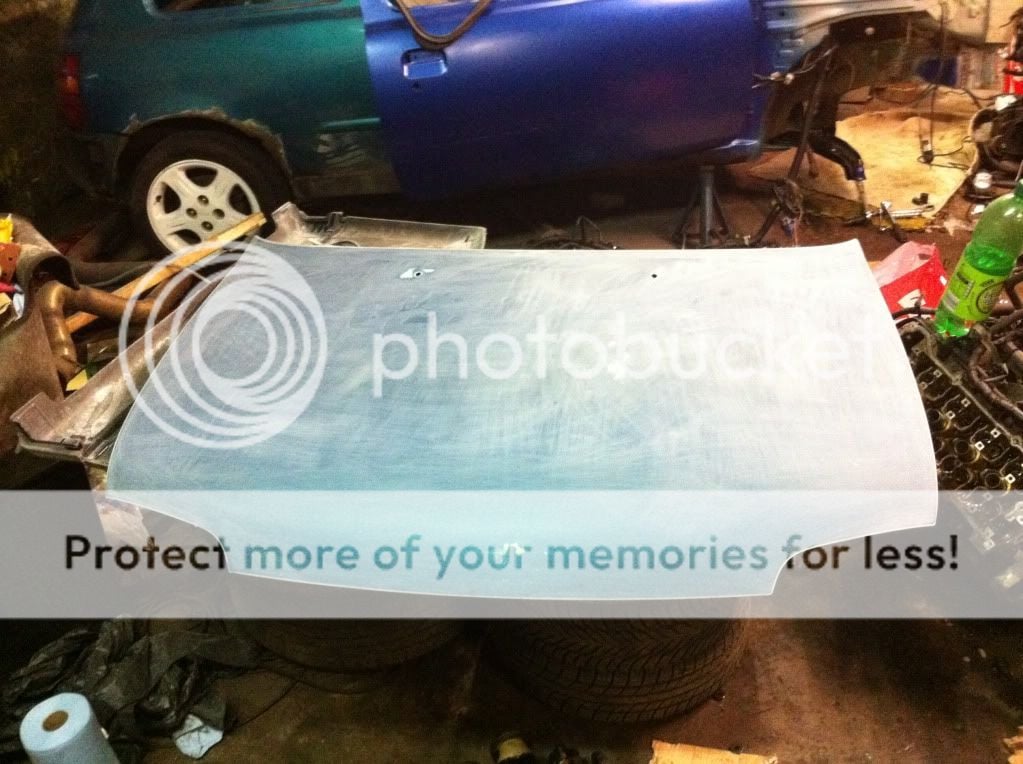
Also started on sanding down the bonnet.
Start ;

Halfway ;

Finished ;

And then started on the front bumper.
Start ;

Washed down of oil and dirt,
Fog blanks removed ;

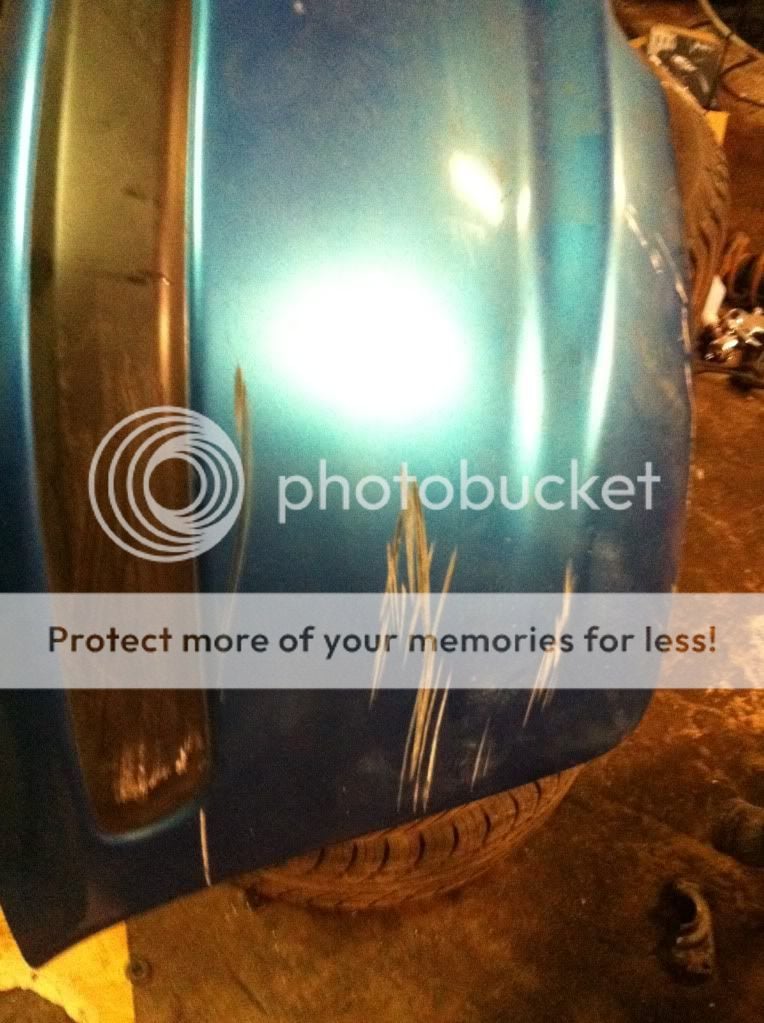
And the deep gouges on the edge ;

Sanded down and filled ;

Left to dry until next time.
Will finish sanding down bumper then tailgate area next time.
Also if anyone has a set of bonnet pins for sale then speak up. In need of two sets.
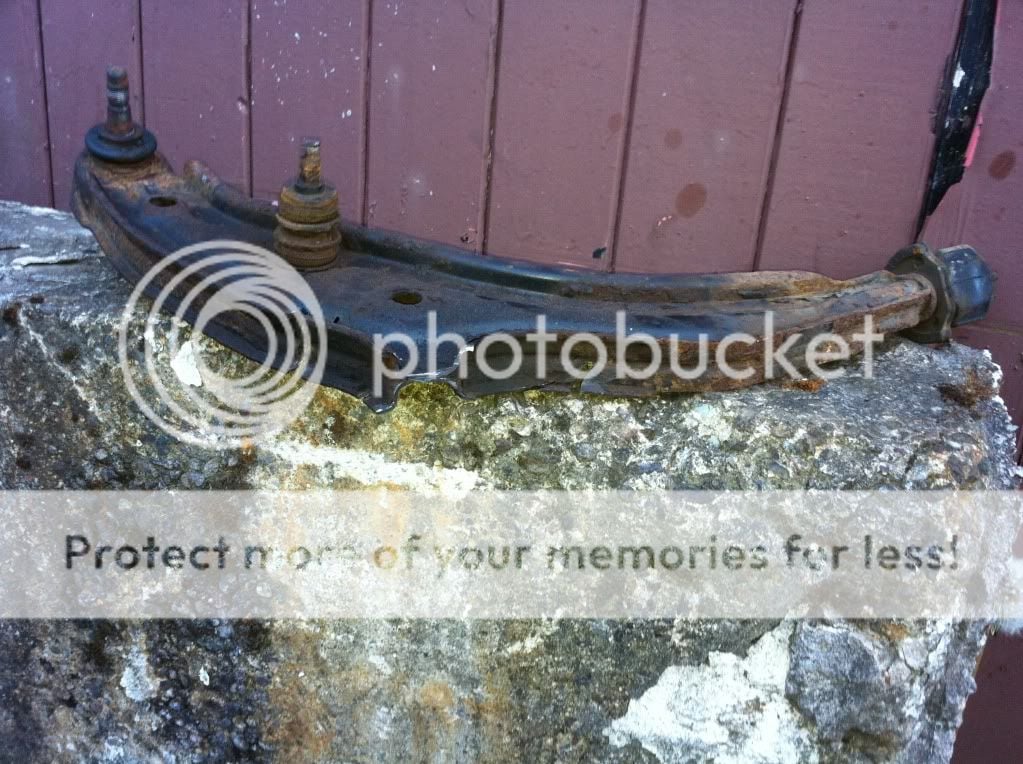
Although he went a bit far....
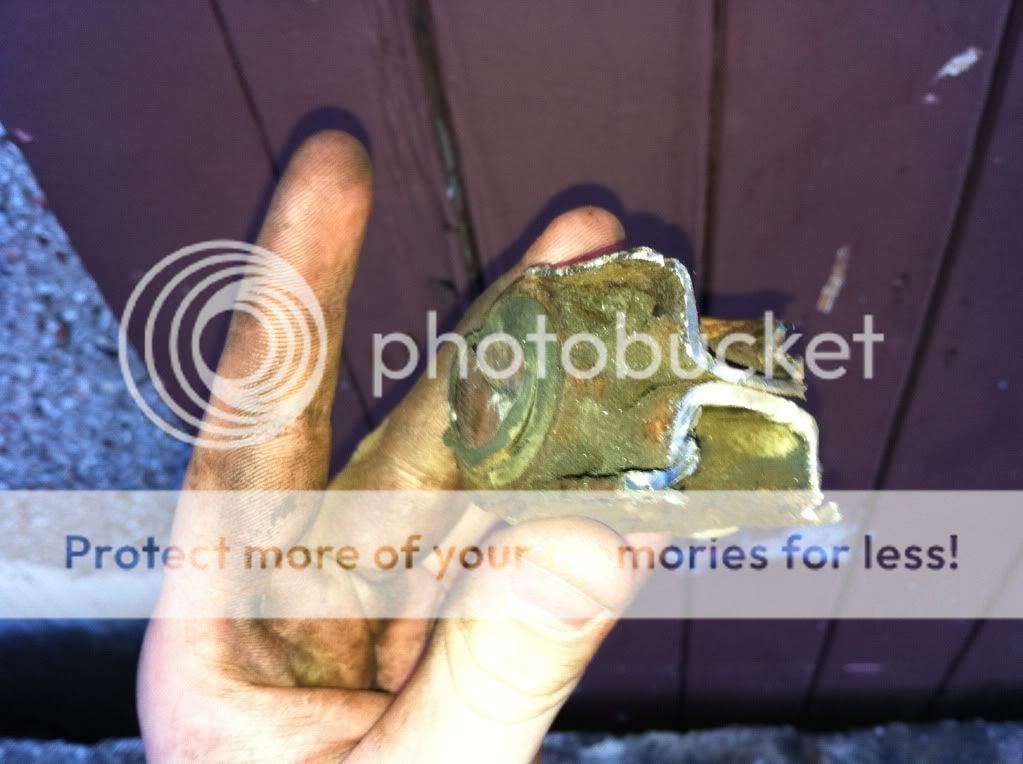
That took so much effort. First grinding the end of the nut off which still wouldnt come out, to then grinding the whole wishbone off, still nothing. So jamming the grinder in the mount soon solved it and out came Mr wishbone.
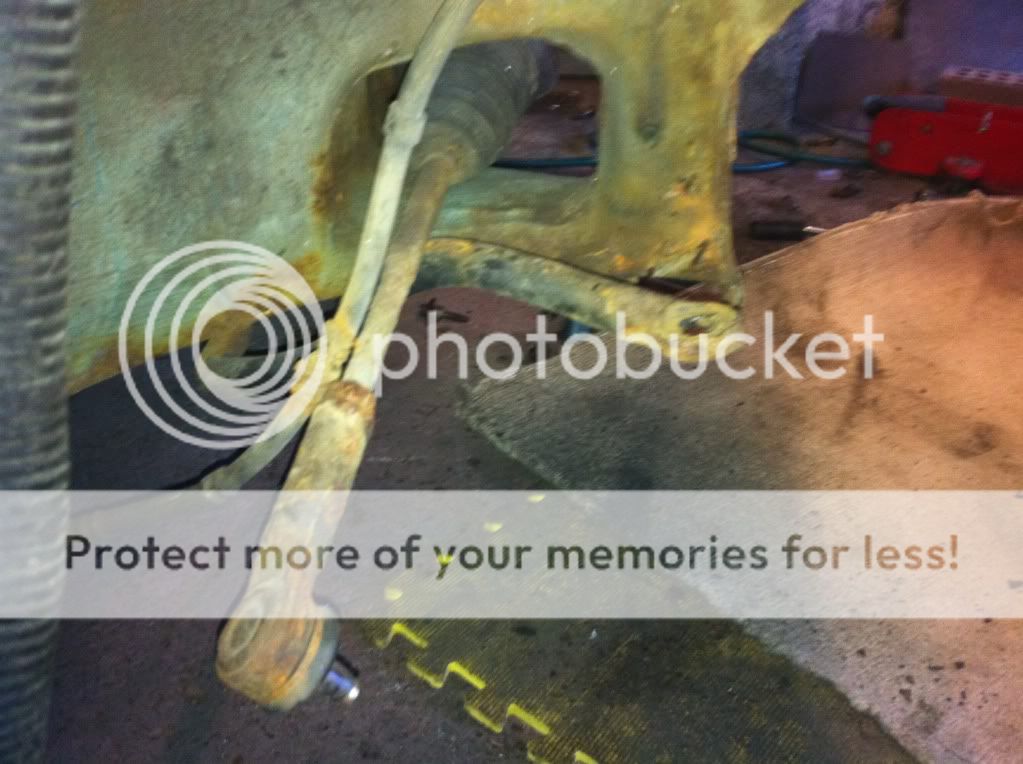
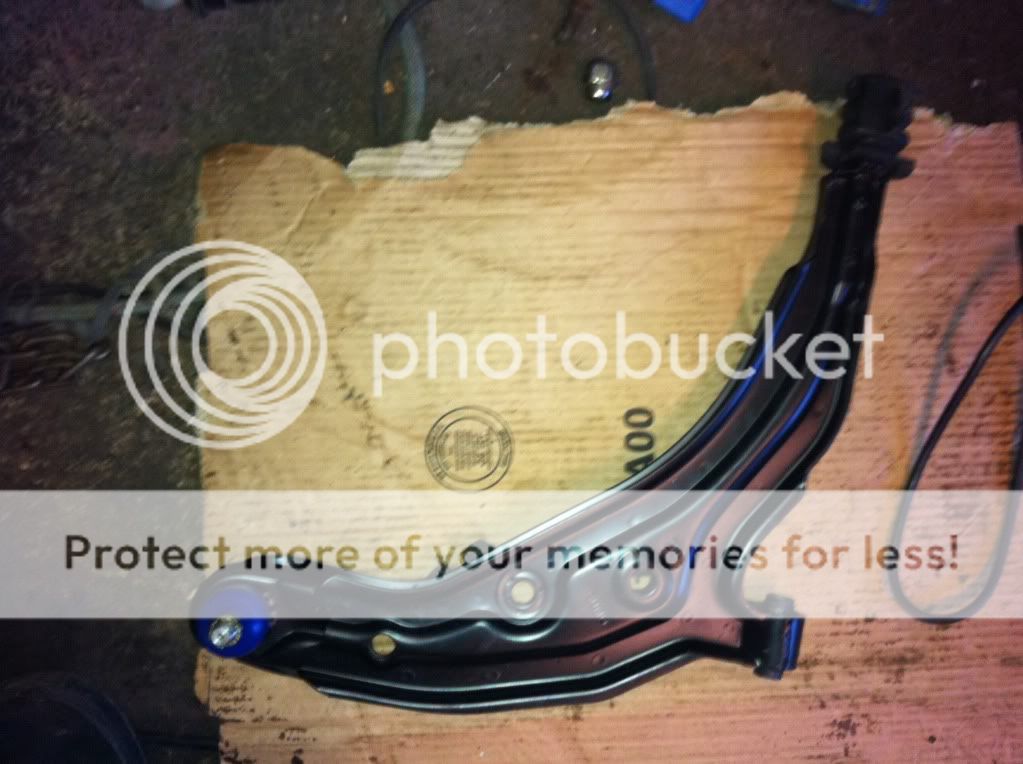
New wishbone :
Put into place with biiiig bolt.
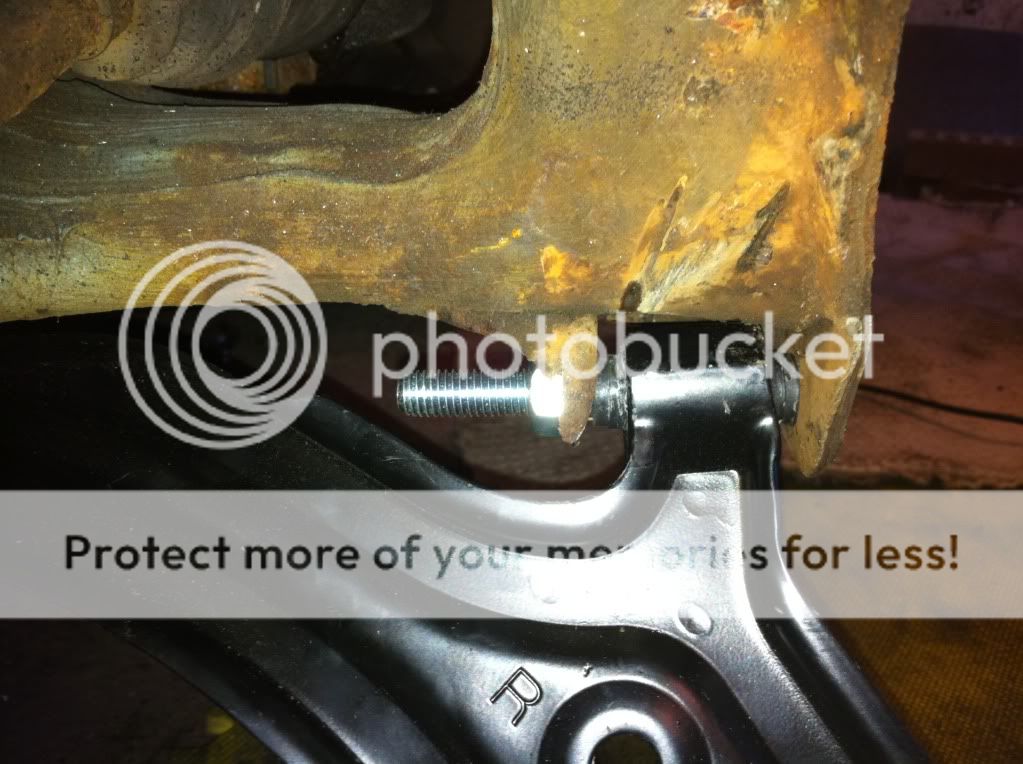
Bolted up to chassis
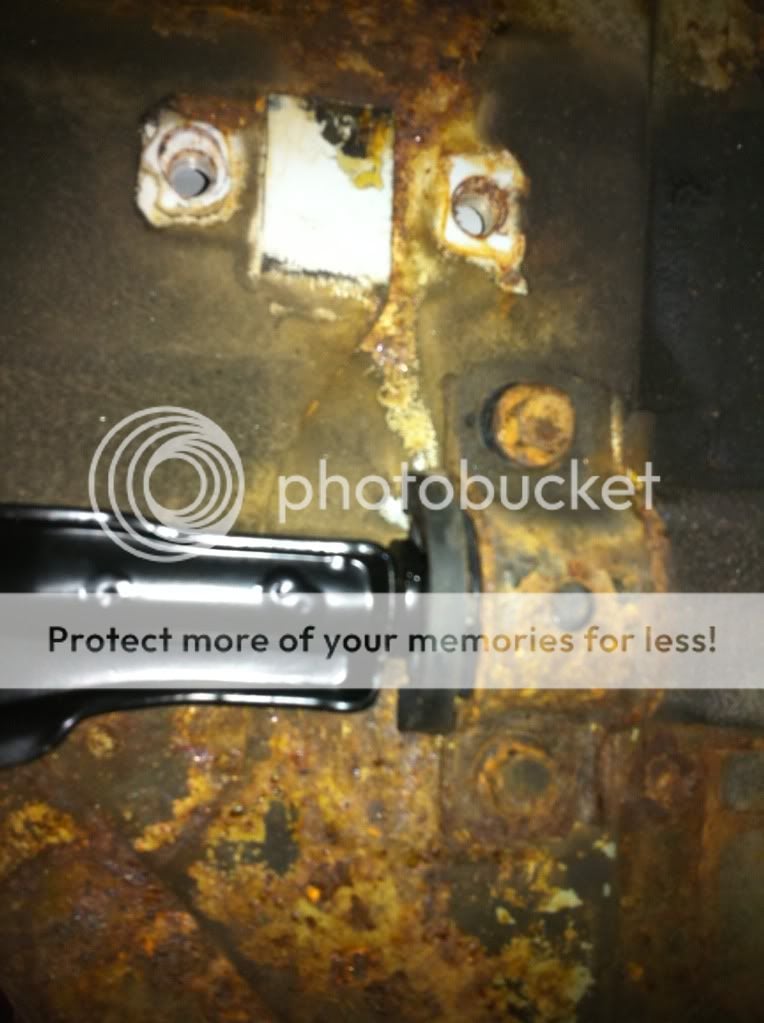
Then all tightened, Main bolt torqued up to about 130 lb/fts.
In place ready for hub to be fitted,
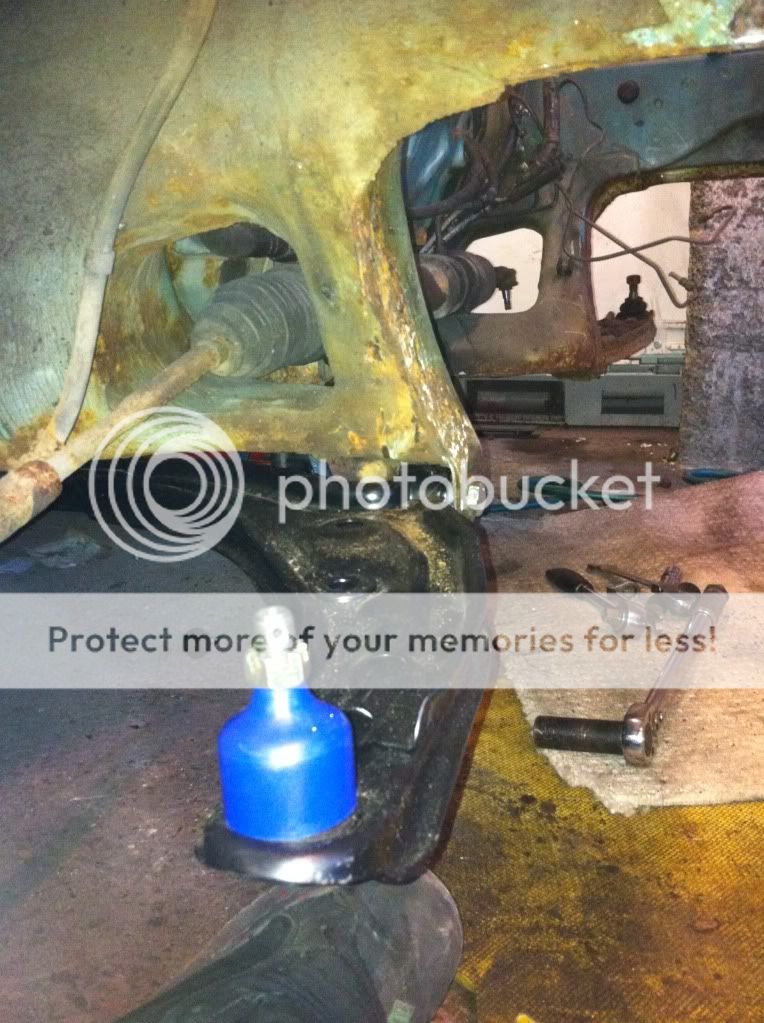
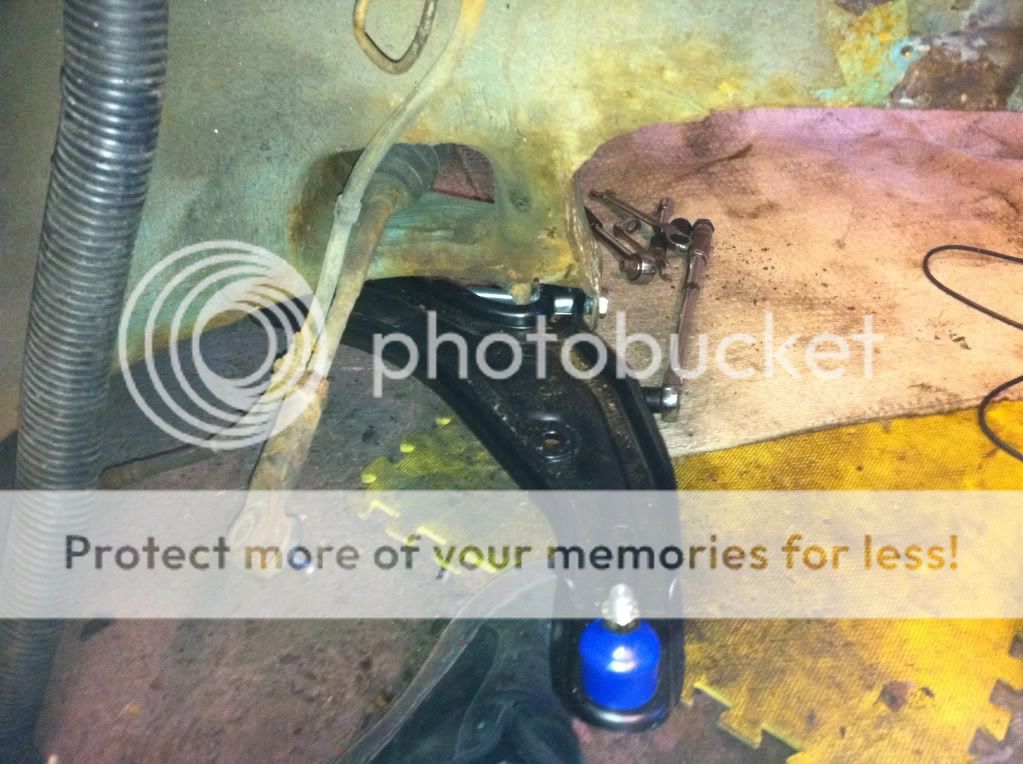
Then I removed the ARB,
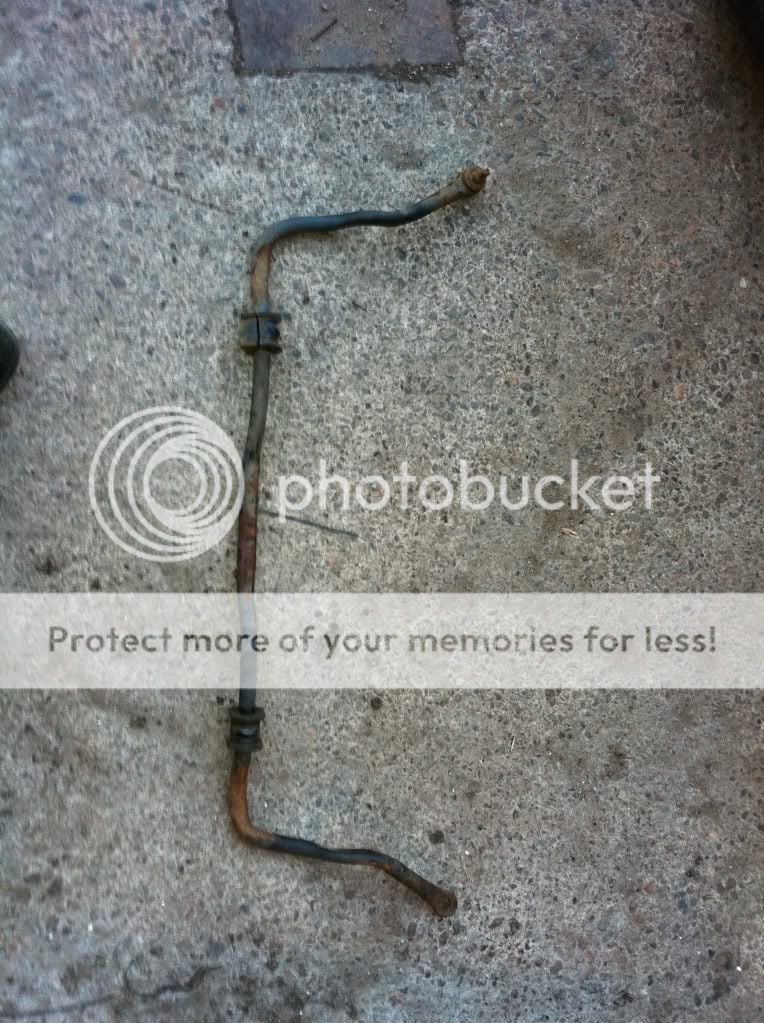
Toothpick comes to mind, its that skinny....
If it is gonna be refitted in the future it will be painted and added with some fresh ARB droplinks and possibly some poly bushes.
Also on the coilover front. Delivered today were 2 Daiyama 63mm springs. 5kg springs from N15 Coilovers, straight fit and alot softer than the original corsa ones. So hopefully these will soften it up a bit and no longer need the helper springs but can also let us keep our spines intact.
One fitted :
Other side still to do.
Also the whole passeneger side has been sanded down ready for painting.
Also started on sanding down the bonnet.
Start ;
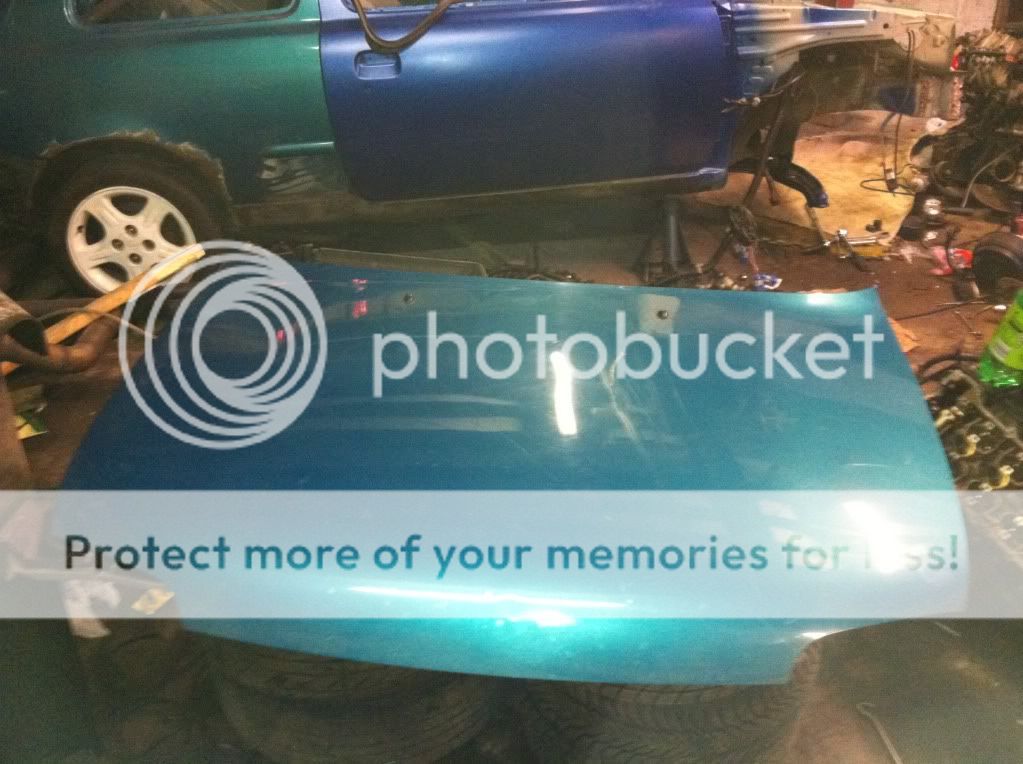
Halfway ;

Finished ;
And then started on the front bumper.
Start ;
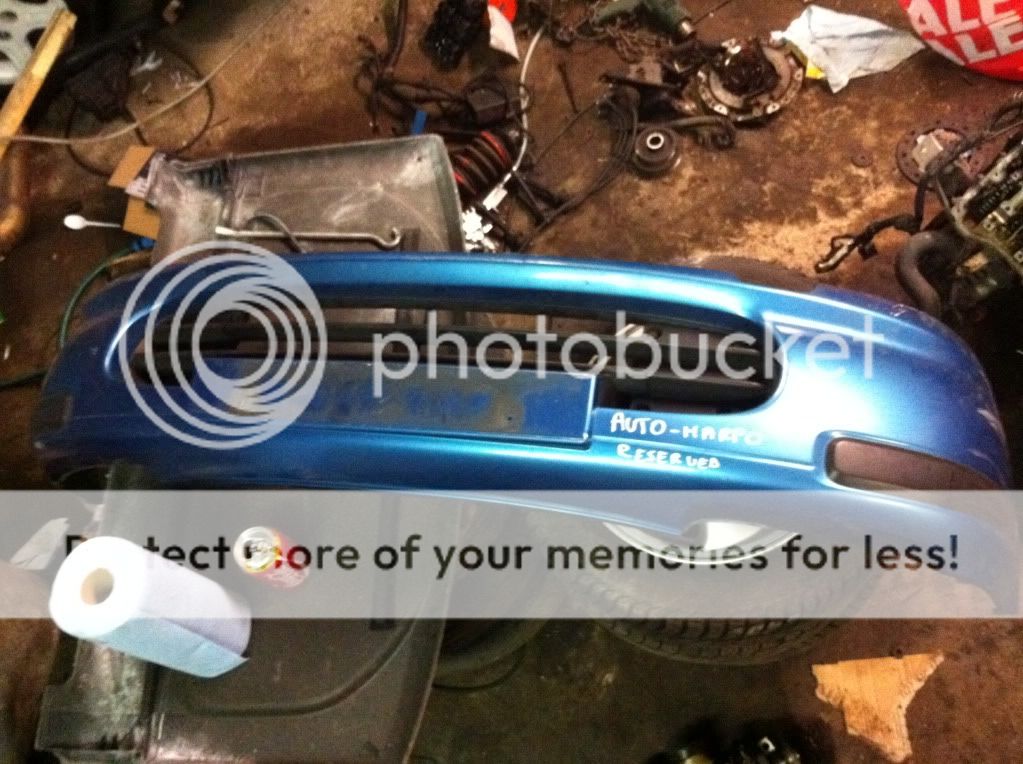
Washed down of oil and dirt,
Fog blanks removed ;
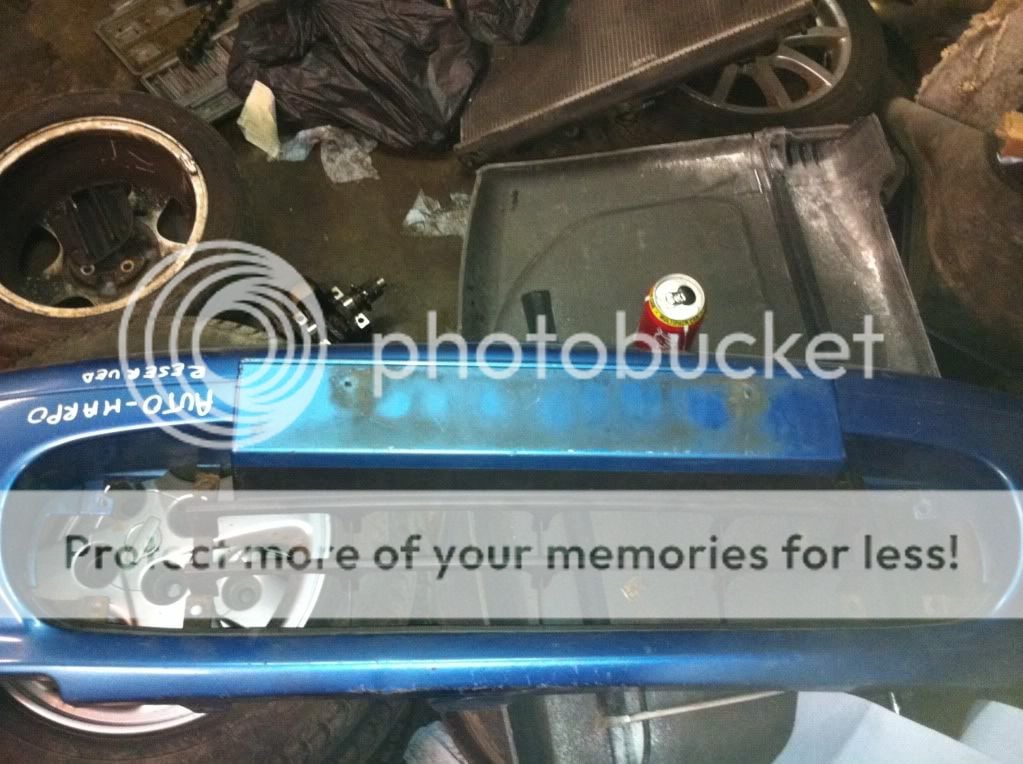
And the deep gouges on the edge ;
Sanded down and filled ;
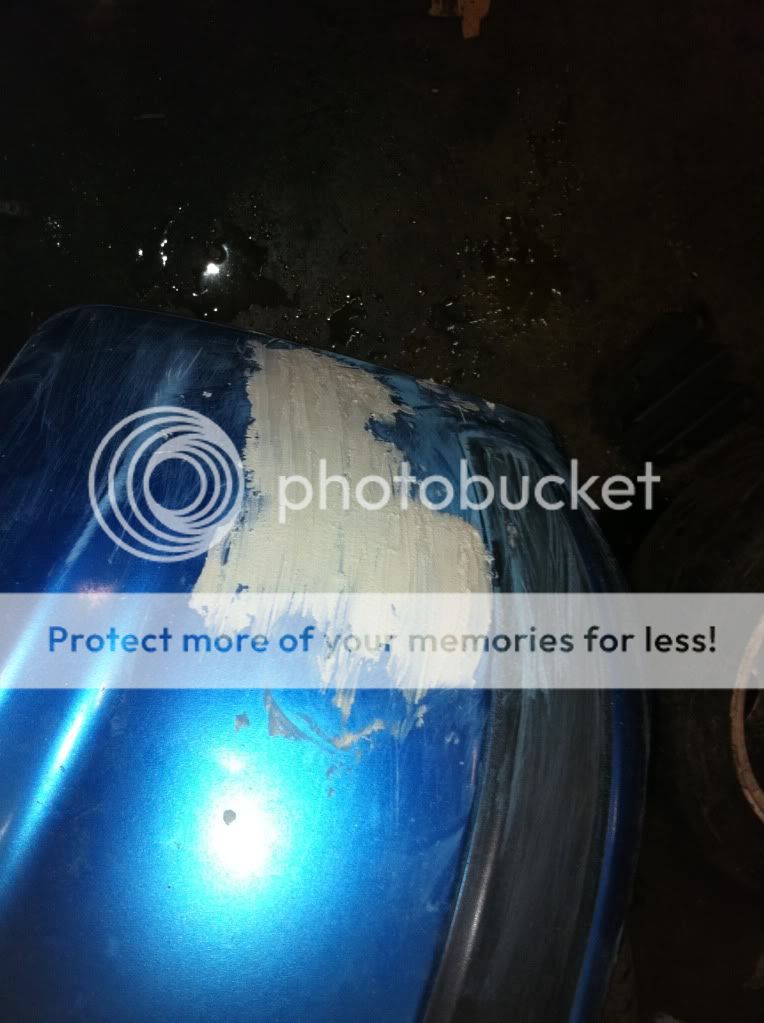
Left to dry until next time.
Will finish sanding down bumper then tailgate area next time.
Also if anyone has a set of bonnet pins for sale then speak up. In need of two sets.
Scott i can inagine u soon laying under the car or whatever doing revision!
Haha probably should have. Pfft revision.
Nope
Ok I'll see if I can find out where it's gone will let you know later
Moar sanding today inbetween pulling the engine out Ricks GTi for a clutch change.
Fillered area before,

After ;

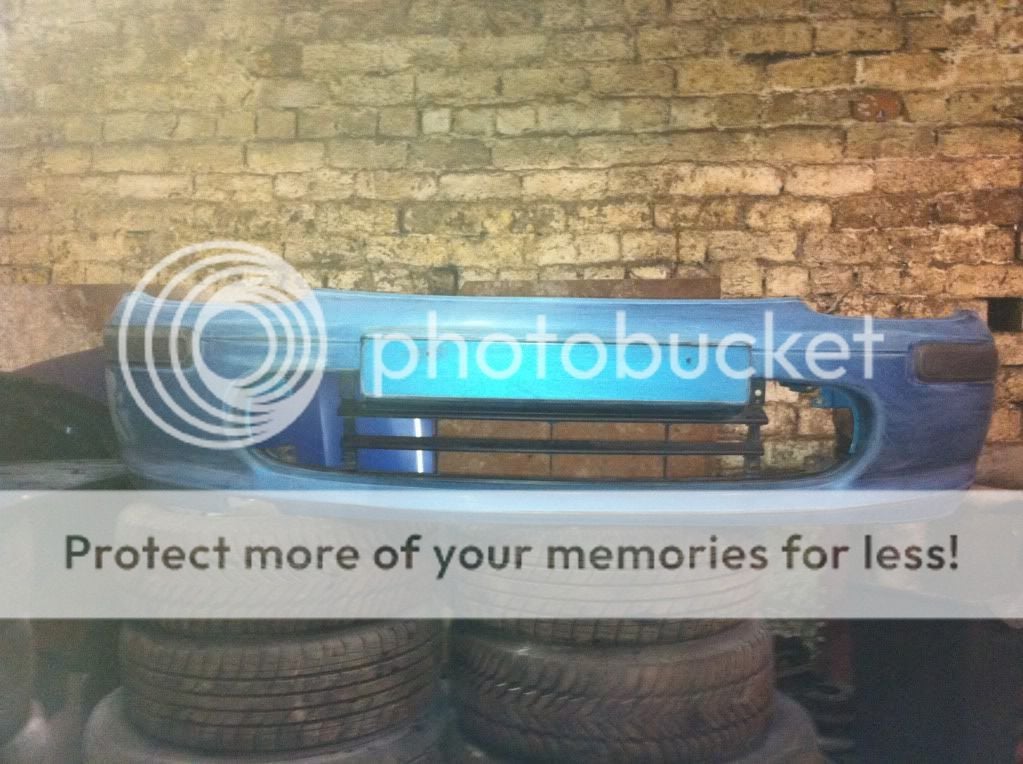
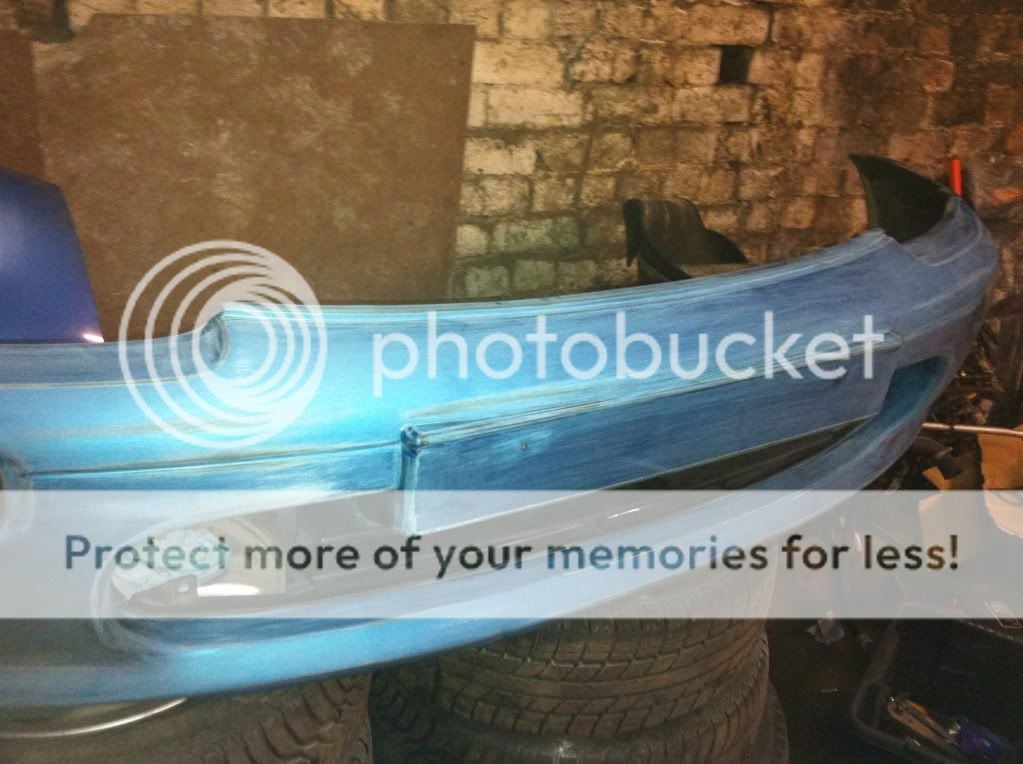
Bumper sanded down more and finished ;


Then moved onto the tailgate and removed all the stickers ;
Sticker on rear screen

Gone :

SR sticker,

Gone ;

Micra sticker ;

Gone ;

Then started to sand down the spoiler/tailgate.
Lotsa sand paper!

Before ;

After ;

And continued down the tailgate.

will continue with the rest of tailgate tomorrow, still got to sand down the roof, A pillars and rear drivers side arch once the welding has been done.
Fillered area before,

After ;
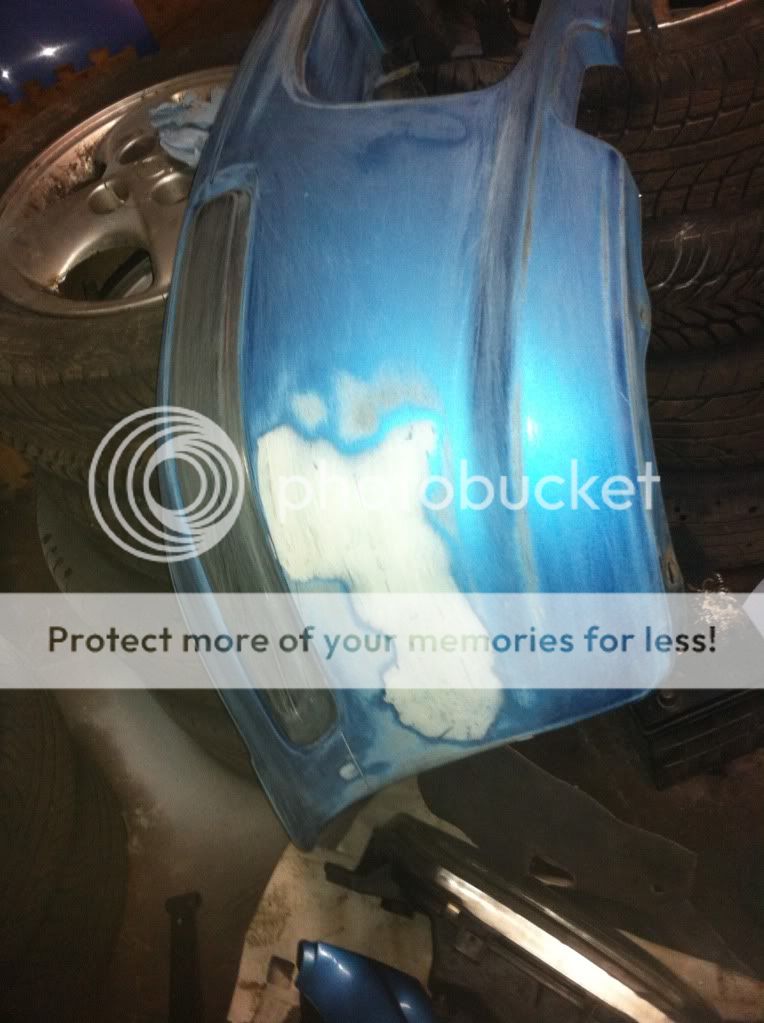
Bumper sanded down more and finished ;
Then moved onto the tailgate and removed all the stickers ;
Sticker on rear screen
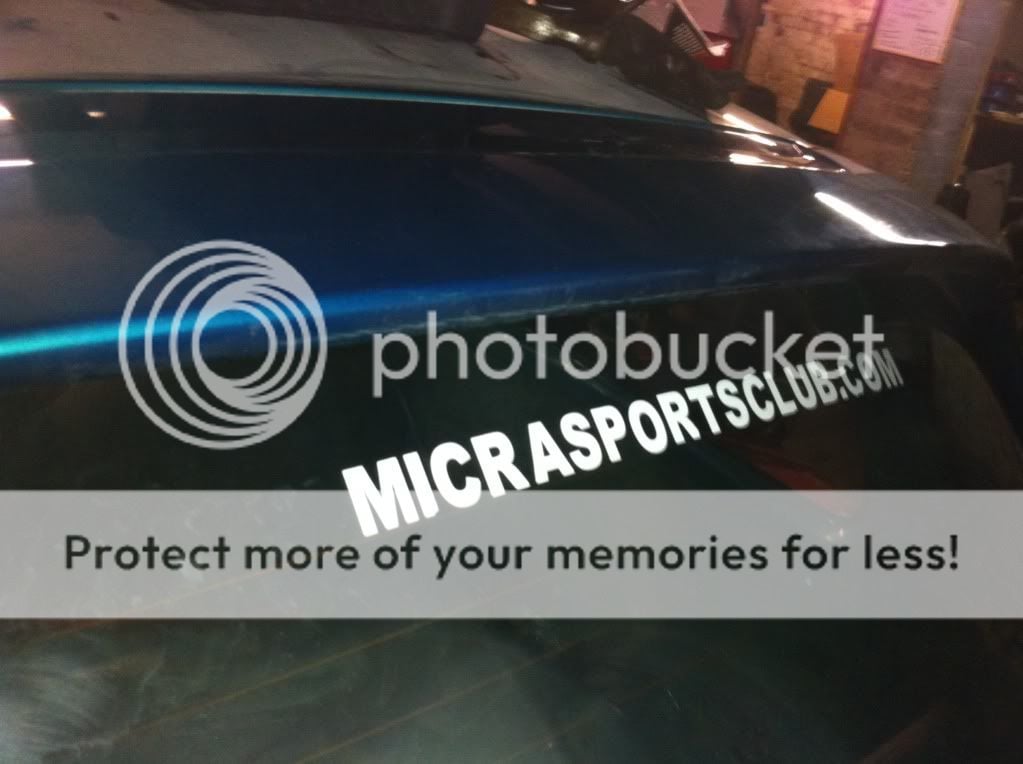
Gone :
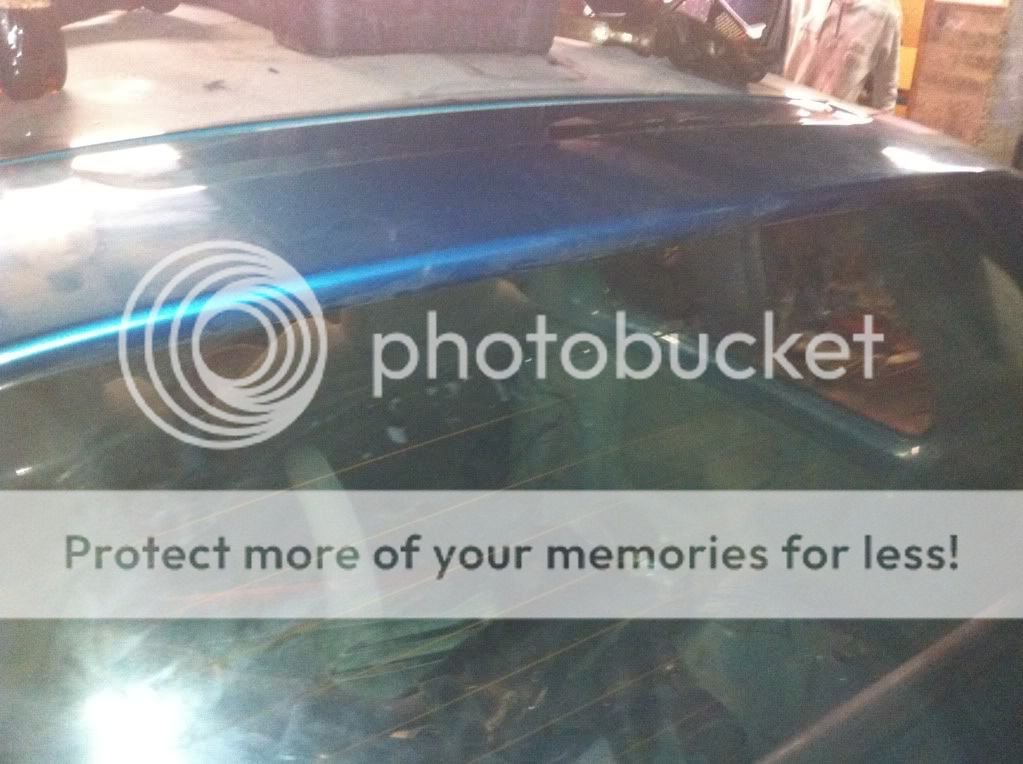
SR sticker,
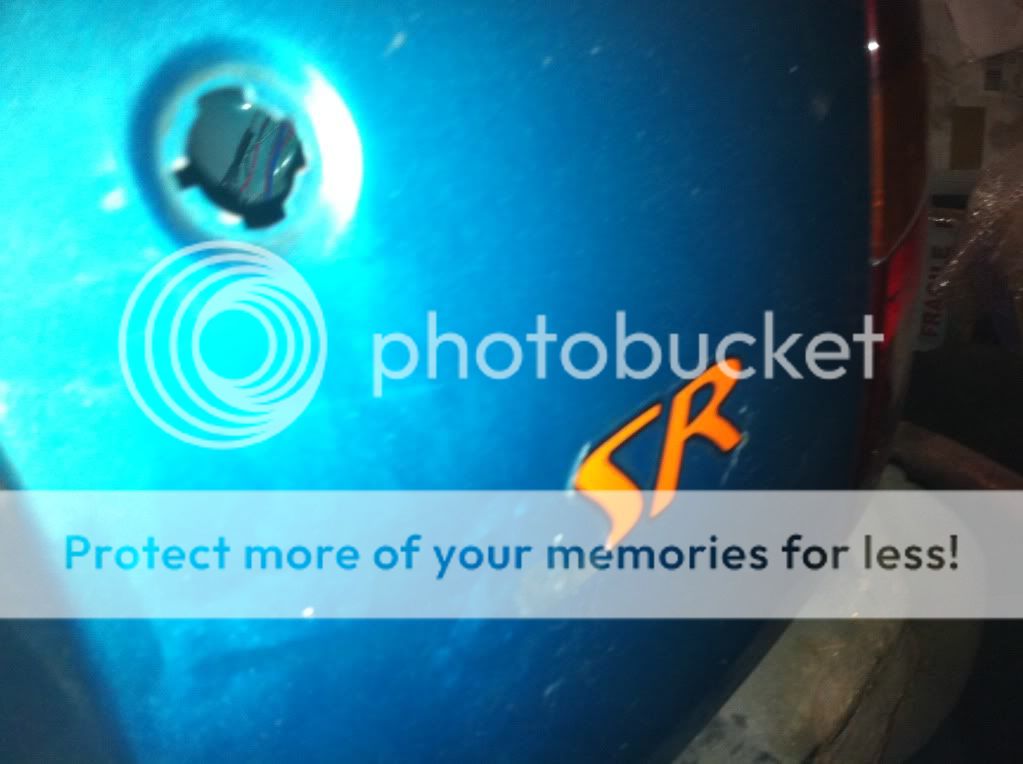
Gone ;

Micra sticker ;
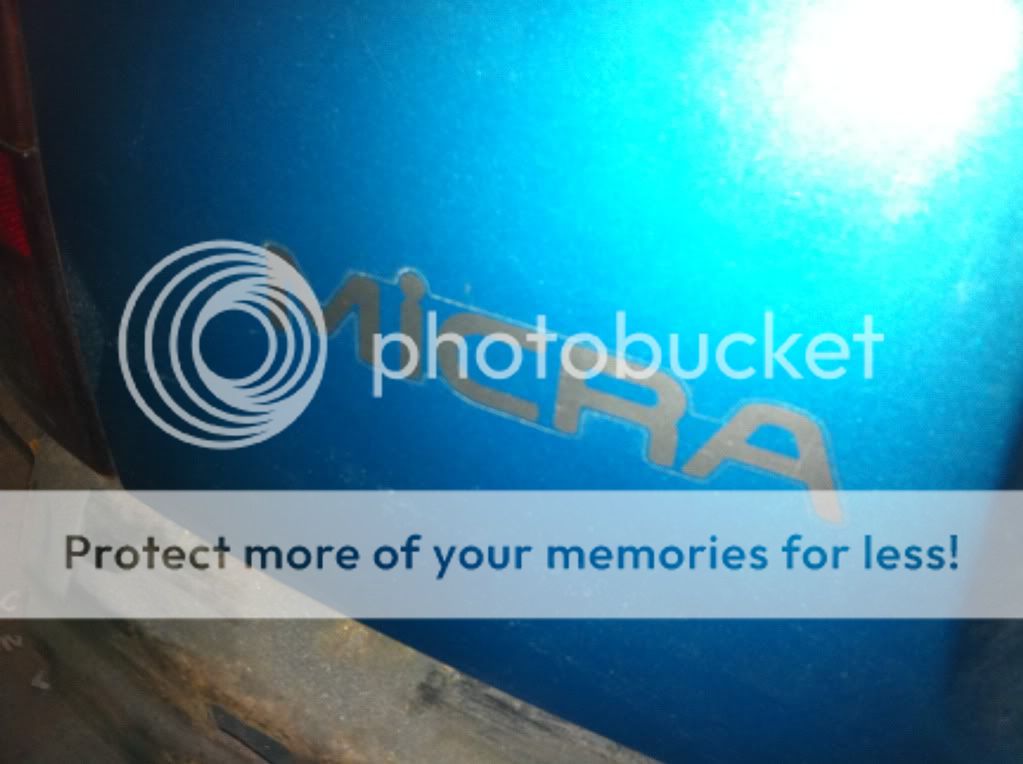
Gone ;

Then started to sand down the spoiler/tailgate.
Lotsa sand paper!
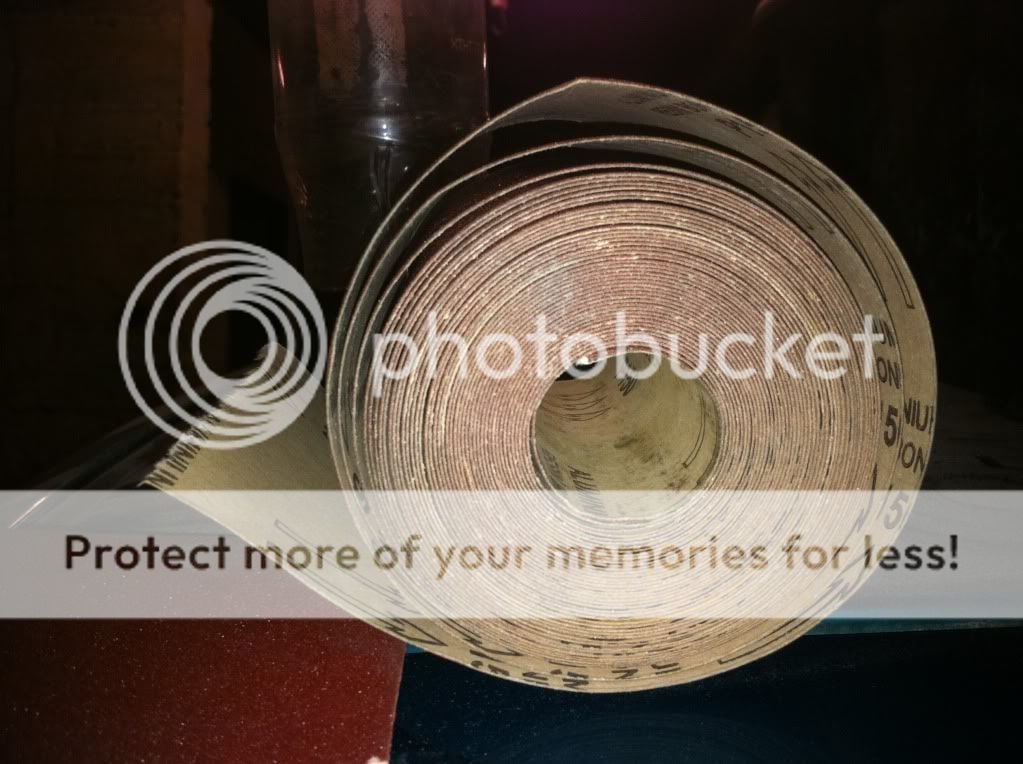
Before ;
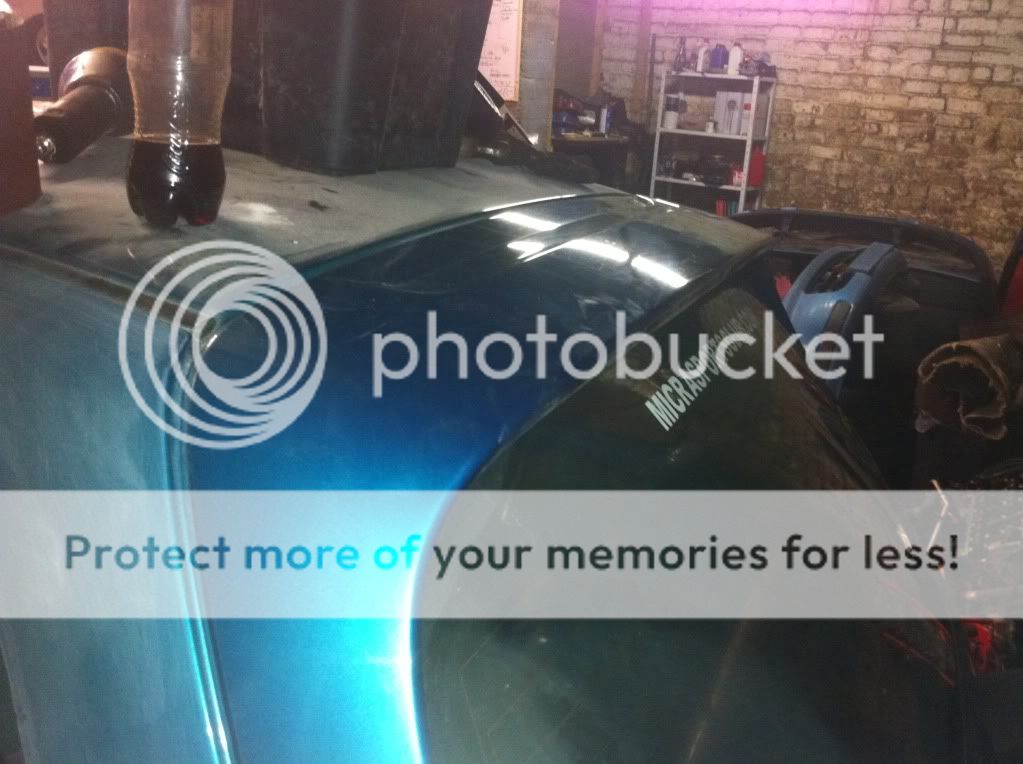
After ;

And continued down the tailgate.
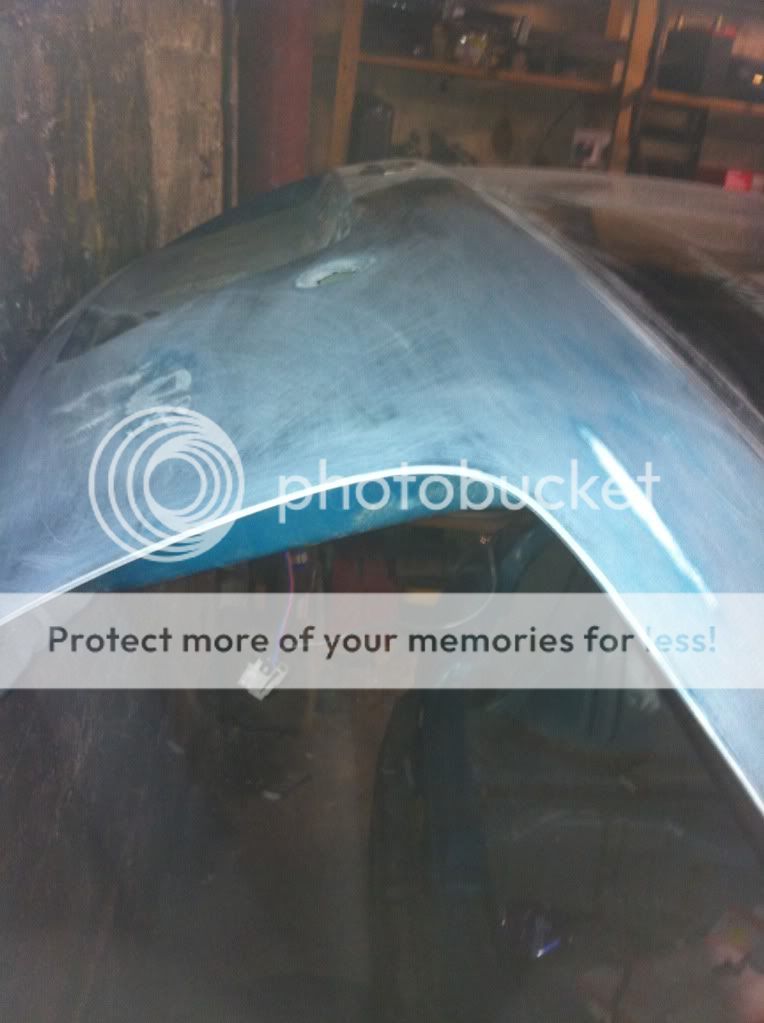
will continue with the rest of tailgate tomorrow, still got to sand down the roof, A pillars and rear drivers side arch once the welding has been done.
Whoohoo, good read!
I'm not getting the Almere GTi engine sidemount + the custom gearbox mount + the fitting driveshaft and the custom driveshaft.
Does that mean in theory, (I joked about the 2nd driveshaft remember) that if I was doing the same swap, our custom driveshafts have a good chance having different length?
(Please help me with the engine sidemount question I posted right now.) http://www.micra.org.uk/threads/44857-GA16-enine-sidemount-troubling-me
Whoohoo, good read!
I'm not getting the Almere GTi engine sidemount + the custom gearbox mount + the fitting driveshaft and the custom driveshaft.
Does that mean in theory, (I joked about the 2nd driveshaft remember) that if I was doing the same swap, our custom driveshafts have a good chance having different length?
(Please help me with the engine sidemount question I posted right now.) http://www.micra.org.uk/threads/44857-GA16-enine-sidemount-troubling-me
As i said in your problem thread mate, i cant be 100% sure as they are different engines. So gearbox, driveshaft lengths may be different.
haha fair play! cos when i done my mums mirrors at home cos they were in primer from new and already scraped so i used 320 and it still showed thorouh
Track car remember
Scott I've got the rod end back with me for some reason it got returned so I'll send it via royal mail on friday
Ok cool.
I'll update this just now since scott is out.
Progress up here is pretty slow at the moment due to both myself and rick preparing our N15's to race at banzai next month. which involves 2 clutch changes, 2 cam swaps, fabricating a 3" exhaust on my Autech, and a whole host of wiring to be done for my nitrous setup.
but! there is an update.
got a pic from Paul (COV on AOC/GA16forum) today which cheered me up!

HUBS!
that is a K11 knuckle arm with a N15 hub machined down and pressed in, allowing us to use the larger splined SR20 shafts.
the outer SR20 CV's need machined down slightly to fit the K11 bearing seal so the CG13 CVs have been sent down for reference. but as he is doing this for me in exchange for a ride in a 280hp nitrous powered autech im not gonna complain if he takes his time!
should have the hubs and CV's back early next week ready to refit to the car.
just need track rod ends and some washers for the coilovers and thats almost the front geometry complete.
so for now, until next time on TTTTLTTCPSTBB (turtle the two litre track car project soon to be blue) GOODBYE!
Progress up here is pretty slow at the moment due to both myself and rick preparing our N15's to race at banzai next month. which involves 2 clutch changes, 2 cam swaps, fabricating a 3" exhaust on my Autech, and a whole host of wiring to be done for my nitrous setup.
but! there is an update.
got a pic from Paul (COV on AOC/GA16forum) today which cheered me up!

HUBS!
that is a K11 knuckle arm with a N15 hub machined down and pressed in, allowing us to use the larger splined SR20 shafts.
the outer SR20 CV's need machined down slightly to fit the K11 bearing seal so the CG13 CVs have been sent down for reference. but as he is doing this for me in exchange for a ride in a 280hp nitrous powered autech im not gonna complain if he takes his time!
should have the hubs and CV's back early next week ready to refit to the car.
just need track rod ends and some washers for the coilovers and thats almost the front geometry complete.
so for now, until next time on TTTTLTTCPSTBB (turtle the two litre track car project soon to be blue) GOODBYE!
Eliot
Ex Super S Owner
unfortunately following much deliberation. Project turtle has been terminated. Effective immediately
what!?
unfortunately there is no surprise. the project is genuinely over.
i went to get to work on welding the rear arch tonight in high spirits of completing the final welding job of the project!
my spirits were short lived when i stuck my hand under to feel for the jacking point and felt a hole in the sill. no matter, ive welded teh sills on both my N15's! just a little extra hassle! but no
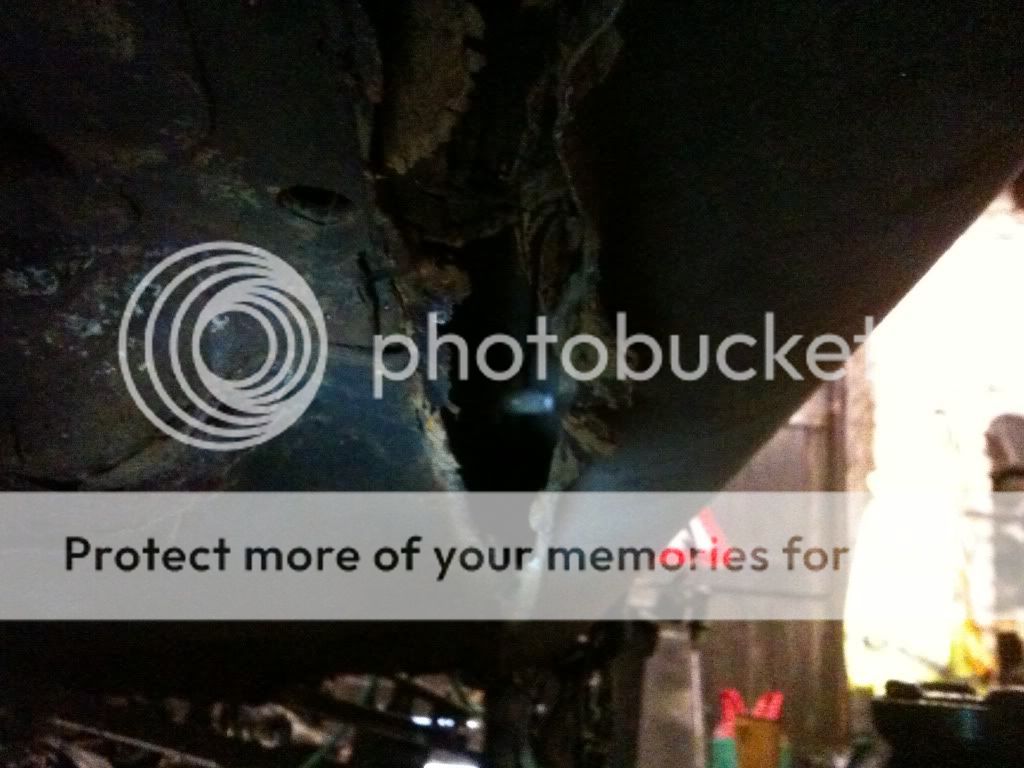
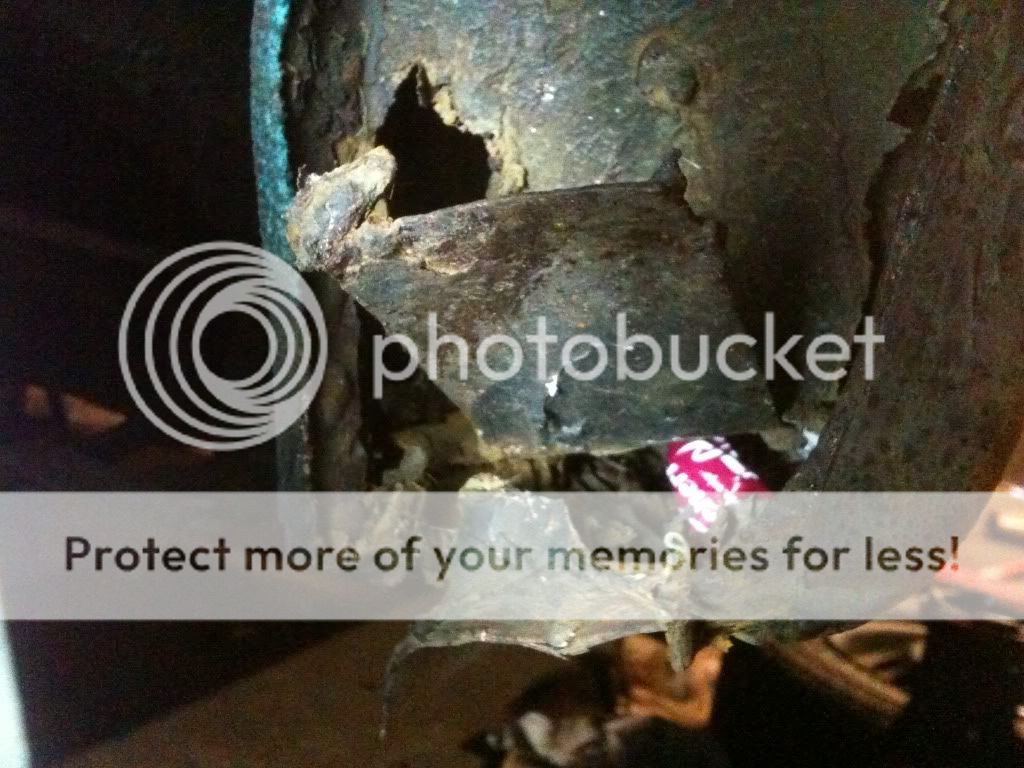
turns out that whoever repaired the sills previously did a bodge job of it. the replacement panel was welded along one edge and seam sealed/siliconed/glued on the other 3 sides. not on its own a major issue but the fact it was badly repaired on the end cap has lead to it becoming a mud trap... i easily removed 3kg of caked mud from the sill when i cut it open.
unfortunately due to the extent of the rot, running from the rear arch along the sill to the middle of the door me and rick took the joint decision that repairing it would be false economy. yeah, i could weld it. but there was so much missing inside the cill that there was no structure left in it. so if weld it and we take a knock at knockhill it is likely to collapse. since it is a track car the risk of said knock happening is vastly increased and it is not a risk i am willing to take.
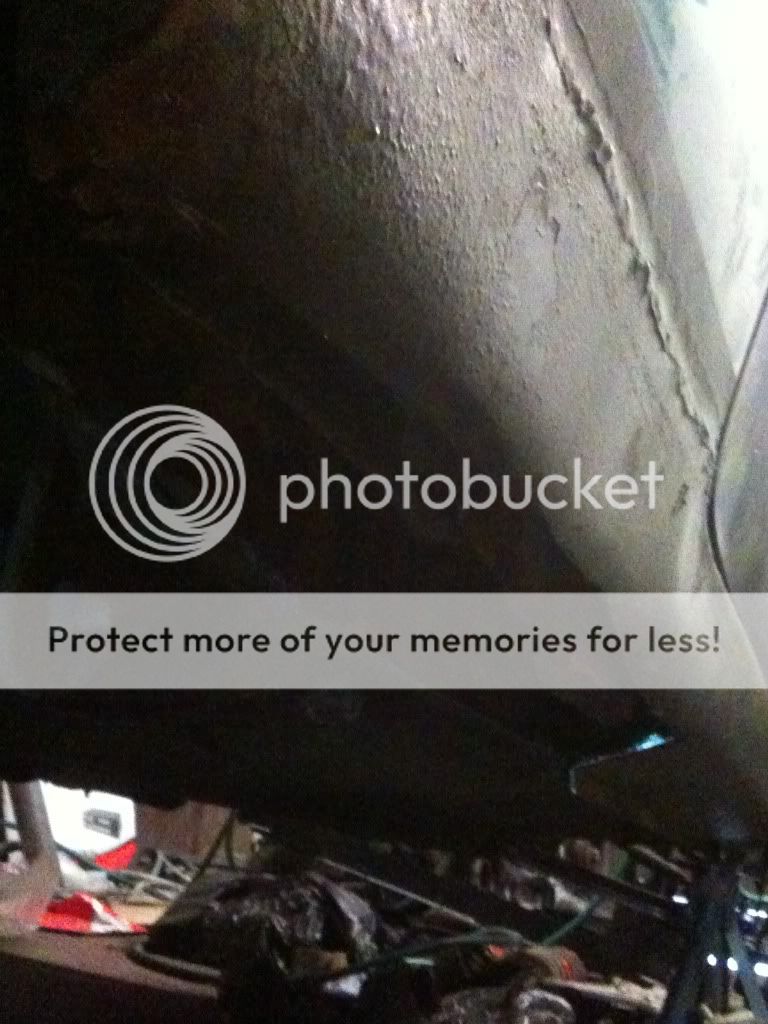
below are pictures, the second picture believe it or not is how it was before i touched it. it passed an MOT with this extent of repair...
the pictures are hard to make out but here you go :


where do we go from here?
well we are moving out our unit soon for refurb, so the former turtle is getting scrapped very soon. after we get back into the unit we can consider re-starting the project, as the majority of the leg work has been done now. the mounts are ready, the loom is ready, the hubs and suspension are ready, all of which can be easily transposed into another shell when we get started again. so if anyone north of the border is planning on selling a cheap K11 soon, HOLLA!
sorry guys!
i went to get to work on welding the rear arch tonight in high spirits of completing the final welding job of the project!
my spirits were short lived when i stuck my hand under to feel for the jacking point and felt a hole in the sill. no matter, ive welded teh sills on both my N15's! just a little extra hassle! but no
turns out that whoever repaired the sills previously did a bodge job of it. the replacement panel was welded along one edge and seam sealed/siliconed/glued on the other 3 sides. not on its own a major issue but the fact it was badly repaired on the end cap has lead to it becoming a mud trap... i easily removed 3kg of caked mud from the sill when i cut it open.
unfortunately due to the extent of the rot, running from the rear arch along the sill to the middle of the door me and rick took the joint decision that repairing it would be false economy. yeah, i could weld it. but there was so much missing inside the cill that there was no structure left in it. so if weld it and we take a knock at knockhill it is likely to collapse. since it is a track car the risk of said knock happening is vastly increased and it is not a risk i am willing to take.
below are pictures, the second picture believe it or not is how it was before i touched it. it passed an MOT with this extent of repair...
the pictures are hard to make out but here you go :

where do we go from here?
well we are moving out our unit soon for refurb, so the former turtle is getting scrapped very soon. after we get back into the unit we can consider re-starting the project, as the majority of the leg work has been done now. the mounts are ready, the loom is ready, the hubs and suspension are ready, all of which can be easily transposed into another shell when we get started again. so if anyone north of the border is planning on selling a cheap K11 soon, HOLLA!
sorry guys!
- Status
- Not open for further replies.
Similar threads
- Replies
- 4
- Views
- 325

