• Please only use these forums for blogs, they are not a discussion forum

Project Turtle the Turquoise Miicra!

Status
Not open for further replies.

Scott

My name is Scott
Site Supporter
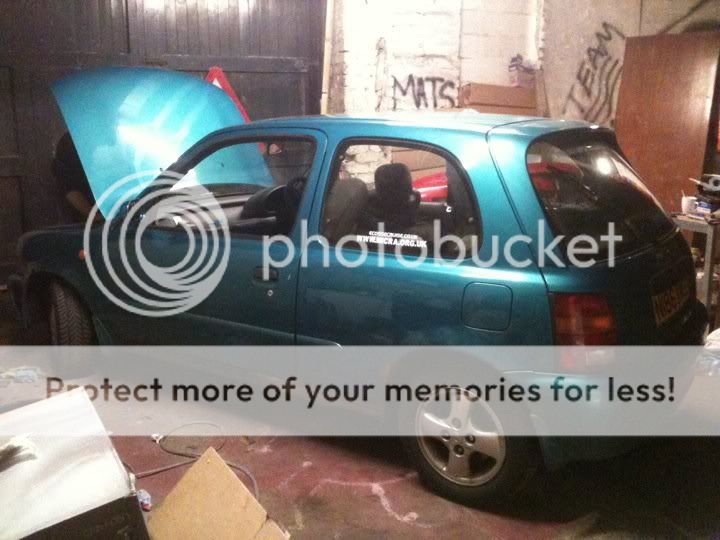
Sooooo we bought this little baby on monday night off Allan on here (cheers mate). and we paid a decent price for it. It failed its MOT on some small issues which will soon be rectified, mainly rust. Plan was to strip it down and make our money back but we all agreed the bodywork, bar the rust was too good to crush, but not worth fixing to sell on due to a rattly timing chain. So it was decided....Official RR Developments Track Car....

Good idea as our unit is located 5 minutes from Knockhill (cheap trackdays) and 45 minutes from Crail (cheap drag).

As we received it....

Nissan Micra SR 1996 (pre-facelift)
1.3l CG13DE
5 speed manual
comfy interior
lowered on springs (brand unknown)
14" alloys with new tyres.
front and rear disc brakes
infinity 6 x 9's in the parcel shelf
opening rear windows
cigarrette lighter!
electric windows
fog lights
sunroof

180975_10150407317180005_522925004_17305105_4334578_n.jpg


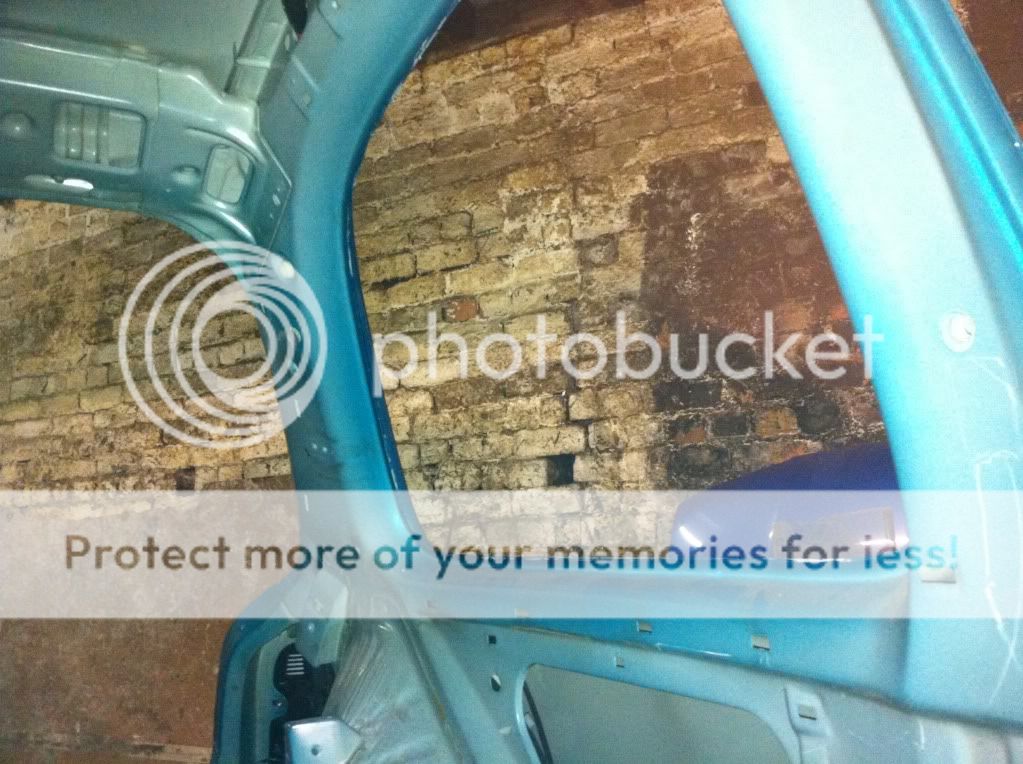
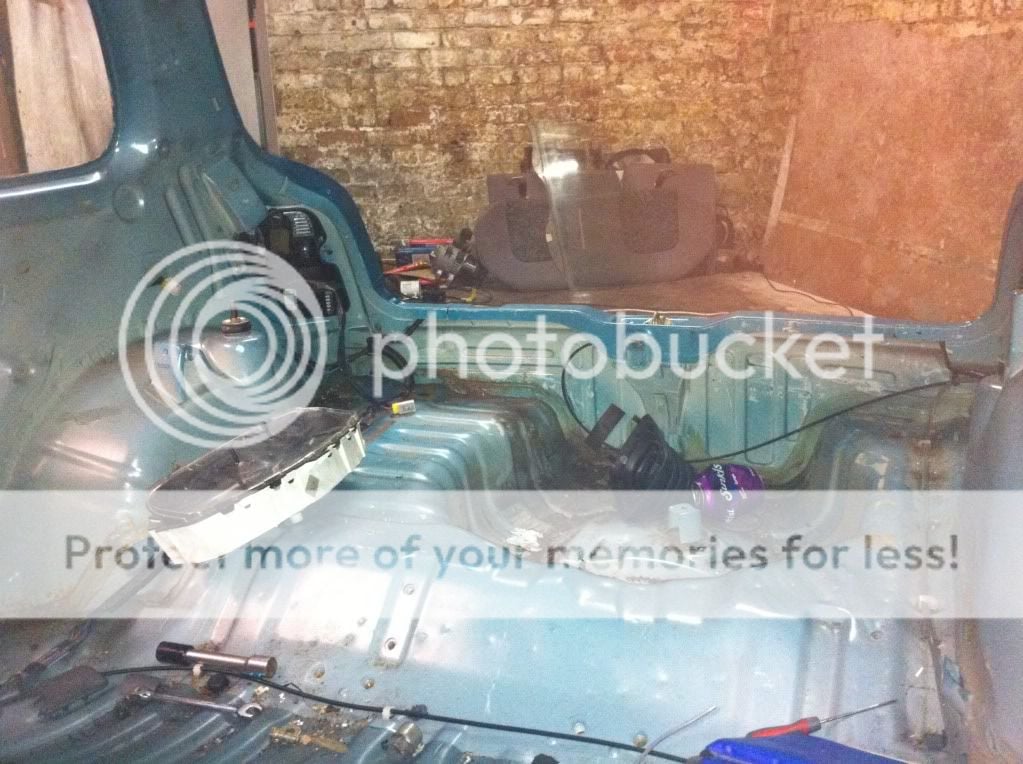
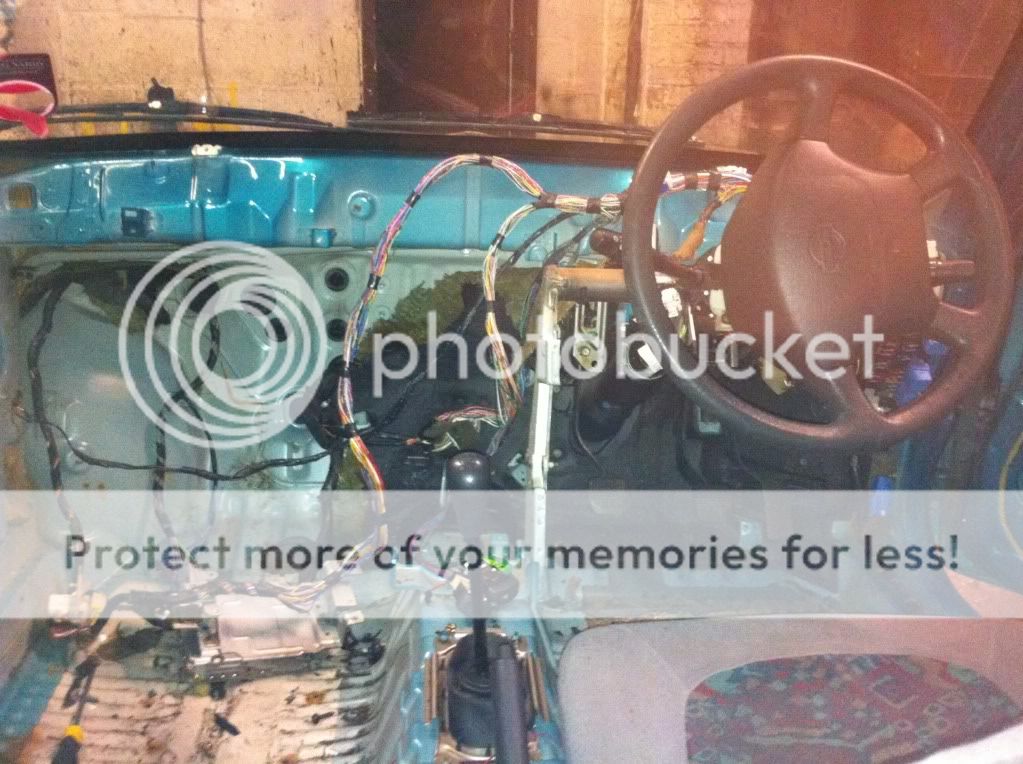
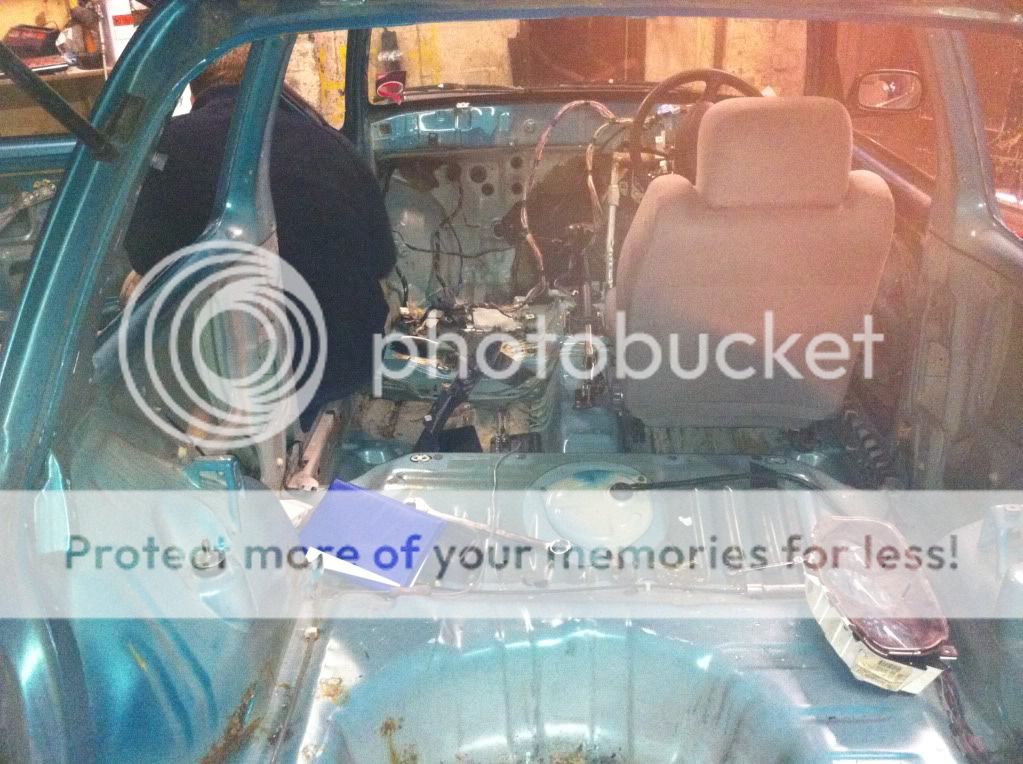
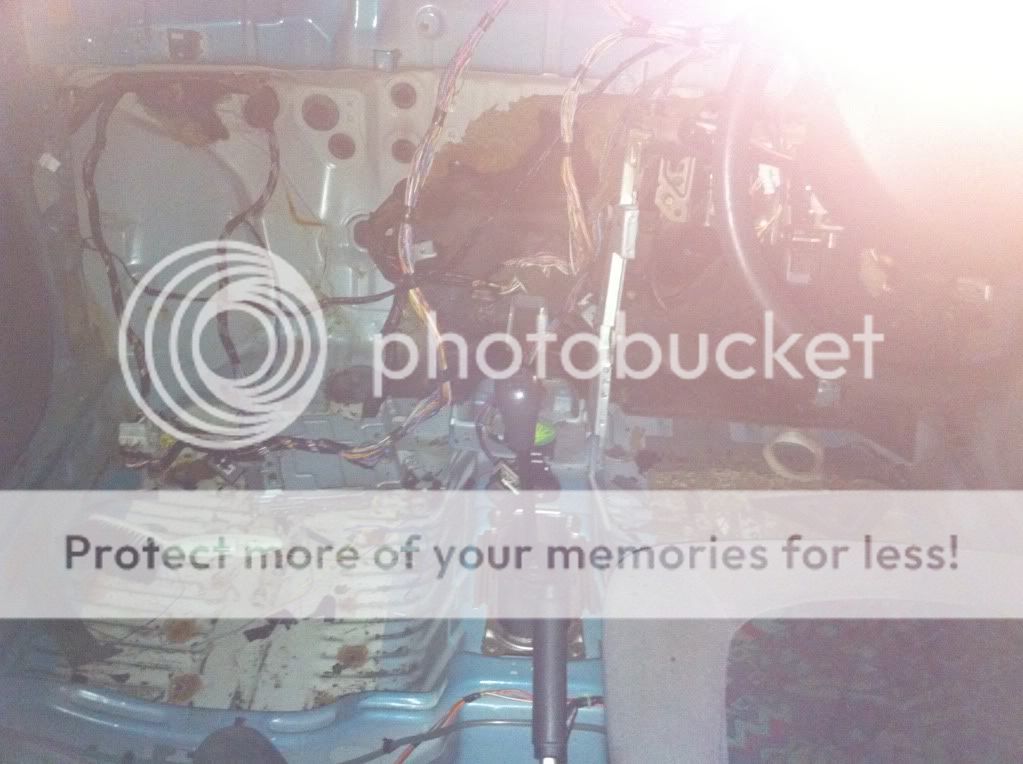
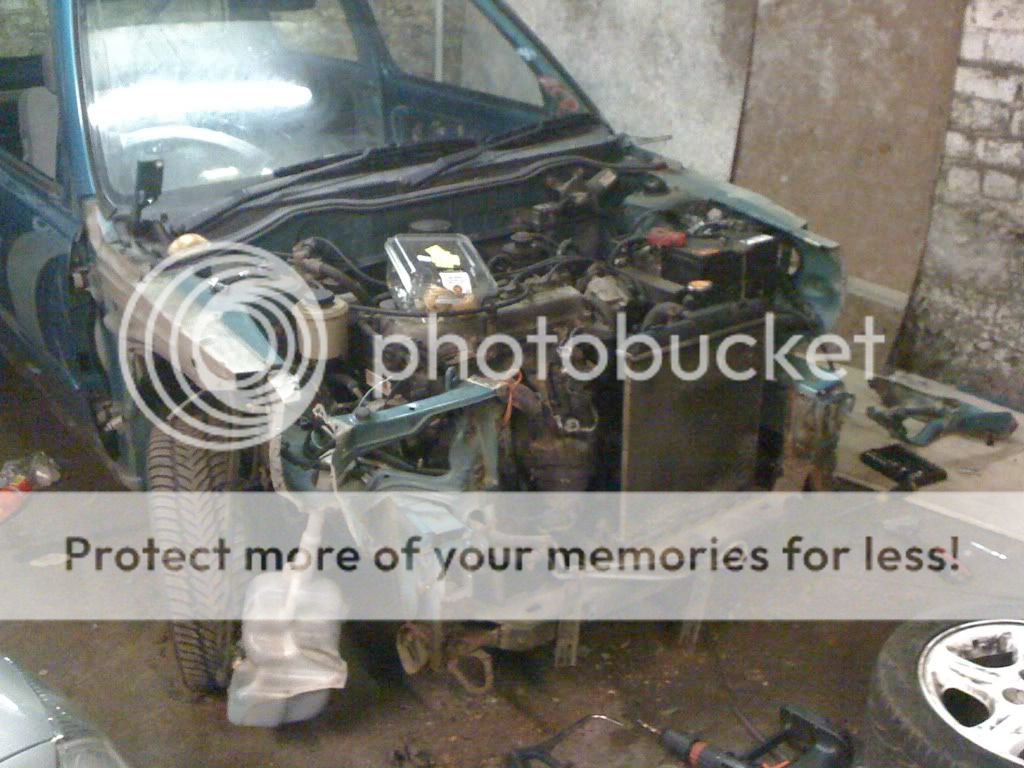
It has a great spec. Although none of that matters cause we've tore it up already. Full interior out. Rear windows out. Door cards off. Window regulators off. Headliner out. Sunroof coming out soon. All the sound deafening is already ripped out and gone, exposing a few rust holes in the process...

the plans :

SR20DE, thanks to chunky on AOC for supplying at a decent price!
AD22 almera GTi front brakes proportioning valve and Brake Master Cylinder
Corsa B coilovers
Plastic windows
Blank sunroof.
Weld in floor pan bracing
Put in a roll hoop with rear bracing legs (more for rigidity than roll safety)
4-2-1 header
2" exhaust exiting out the side
15" Almera GTi alloys
Green filter

Main focus is on the chassis works. more pics to follow as time progresses.

This wont be a short time project. Mainly when we have cash and parts. And for our own benefit of getting some experience in doing this sort of stuff!

Will update as time progresses :)
 
wow been busy looks like you stole r-reg's car! haha well looks identical haha


good luck with the progress mate and keep us updated on how it all does etc!
 
sounds like a plan scott (Y) i thought you would have kept it as a daily for yourself tho fwn
 
sounds like a plan scott (Y) i thought you would have kept it as a daily for yourself tho fwn

Well i considered it. But as im still only 16 and in full time school I couldnt afford to run it. I would be relying on my summer job cash which right now is all going towards actually learning to drive/insurance and any other fees and costs along the way. But dont worry cause my maw has a K11 so ill be using that :p
 
good save!!!!! shame you aint running him as is (with welds then mot)
amazing plans though ,,,,see em through!!!

QUOTE=will930;447762]wow been busy looks like you stole r-reg's car! haha well looks identical haha


good luck with the progress mate and keep us updated on how it all does etc![/QUOTE]

will i had to have a quick look outdoors stop scaring people,:grinning:
,my 1.0 lx got lifted exactly like franks 4-5 years ago
 
Update time :

Not alot has been done but enough to warrant some pics.

Most of this week and weekend has been spent on the turtle.

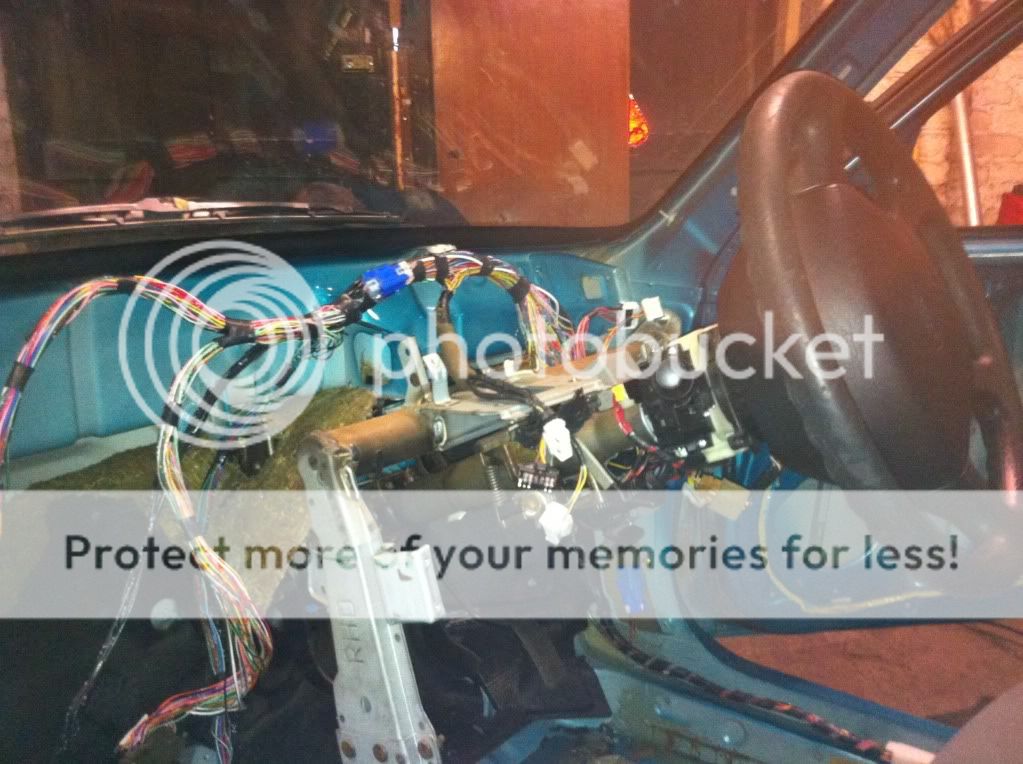
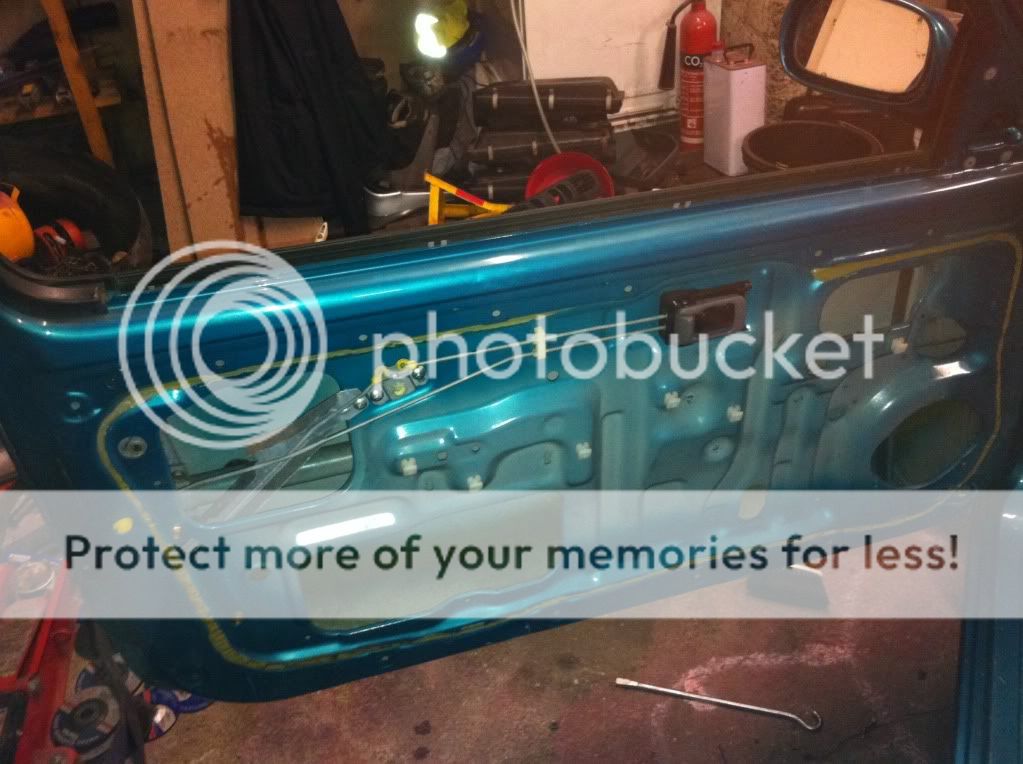
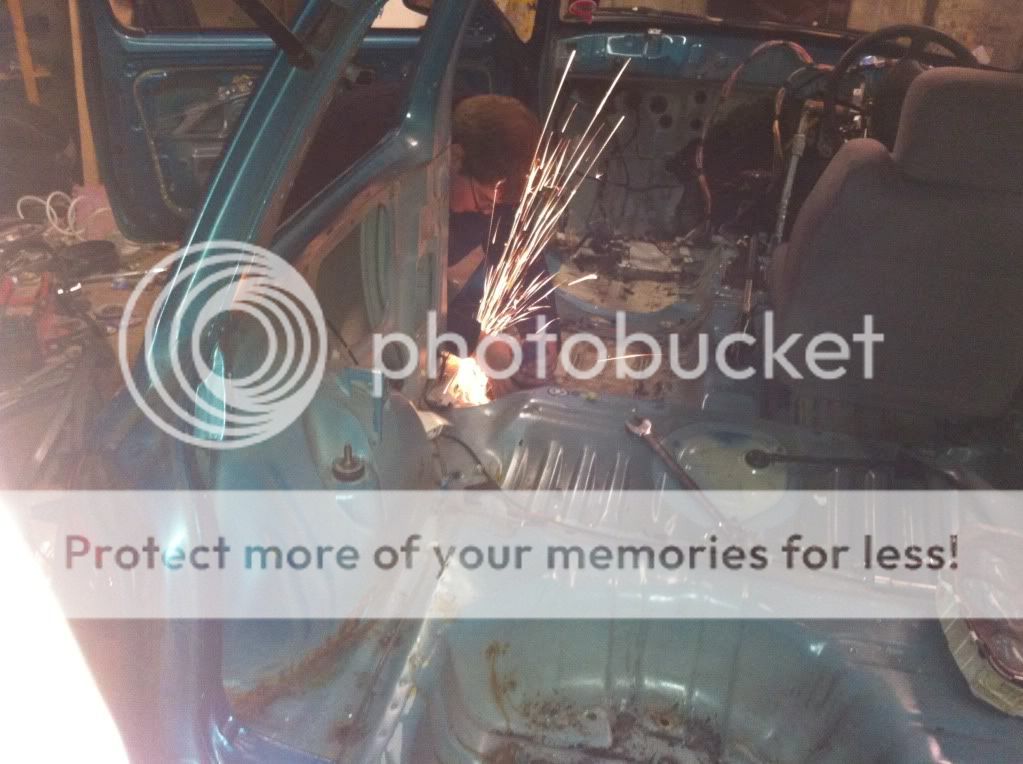
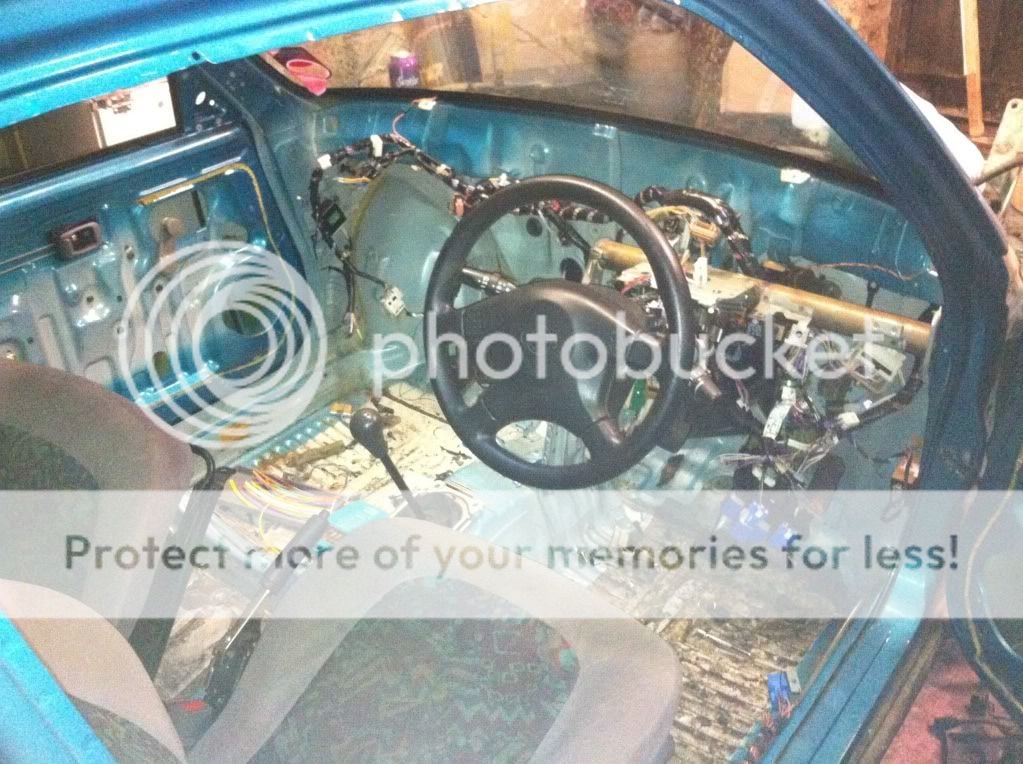
So far we have removed the whole interior. Seats, carpets, headliner etc.
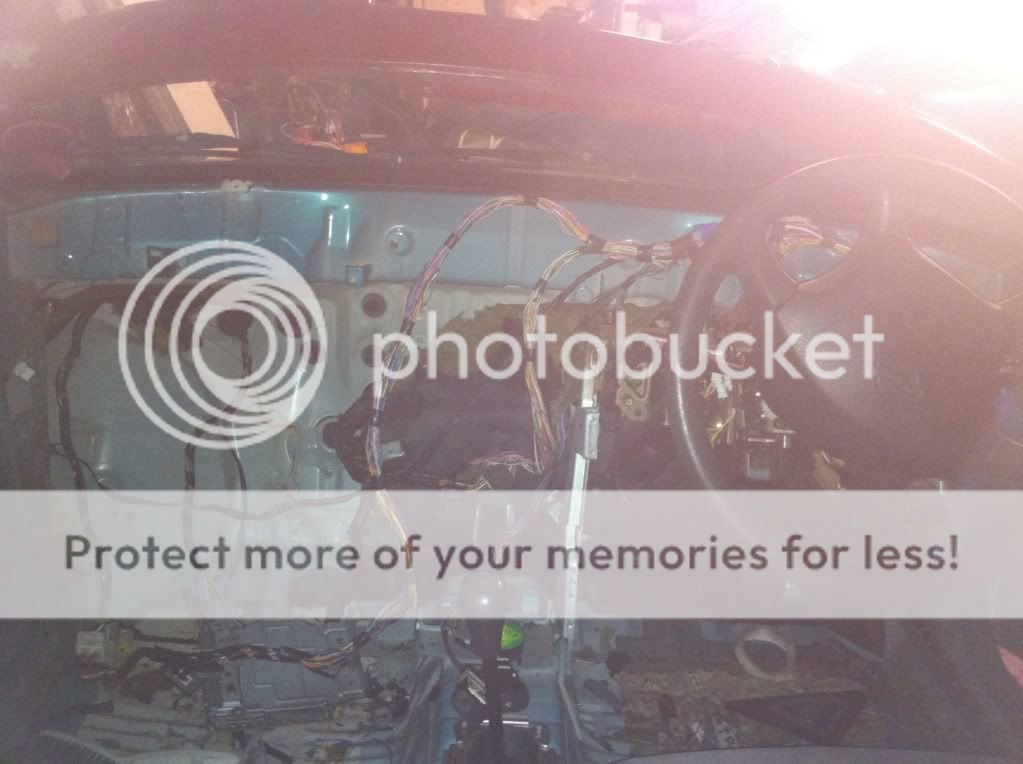
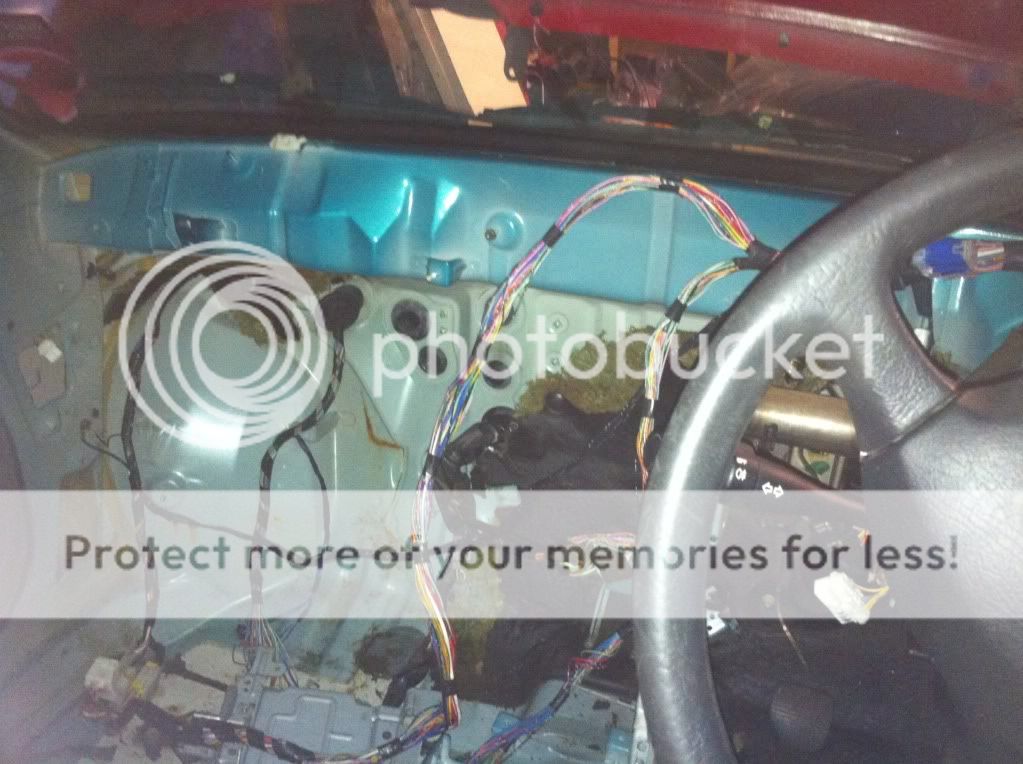
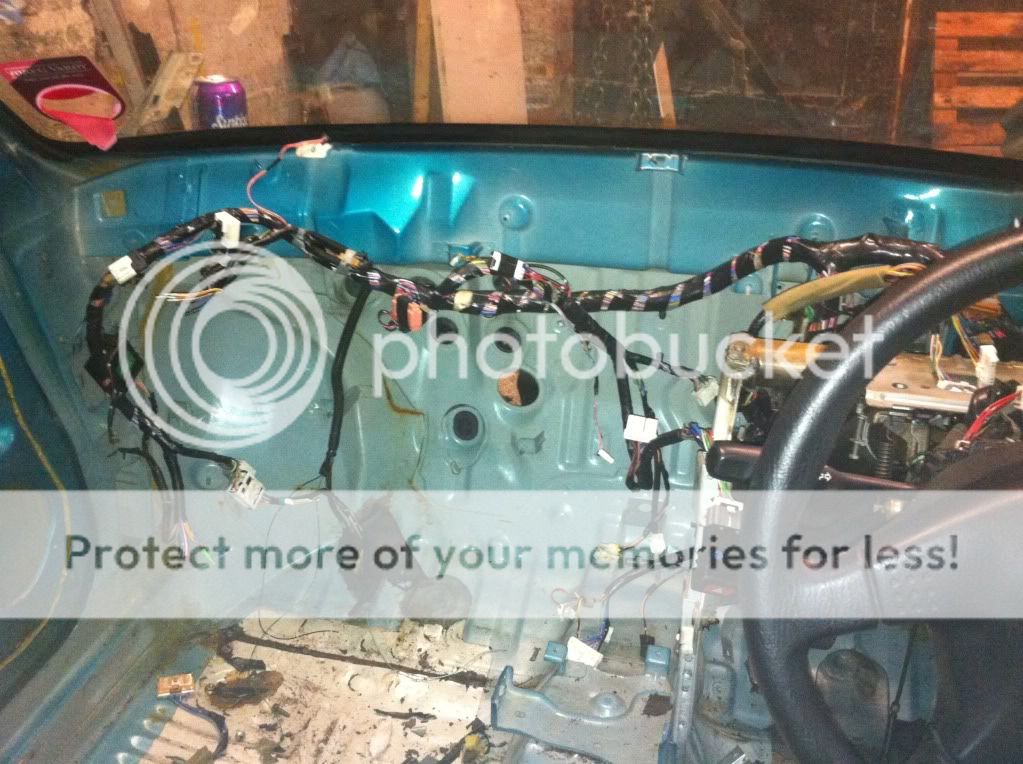
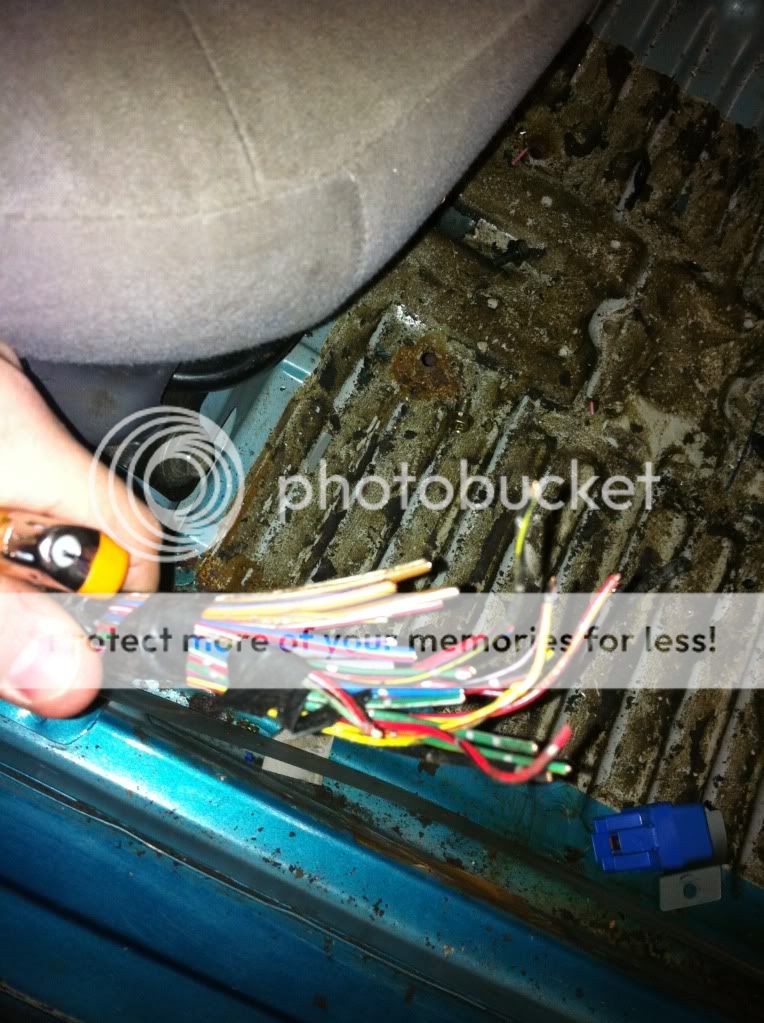
We have also removed rear windows and sunroof which will be replaced with plastic windows. The front electric windows have now been changed for manual ones to save weight. All sound deadening in the car has been ripped out for weight saving. All the dashboard and heaters etc has been removed. and alot of wires that arent needed have been removed.

IMG_0395.jpg

IMG_0396.jpg

IMG_0397.jpg

IMG_0394.jpg

IMG_0393.jpg

IMG_0392.jpg

IMG_0389.jpg

IMG_0388.jpg

IMG_0387.jpg

IMG_0386.jpg


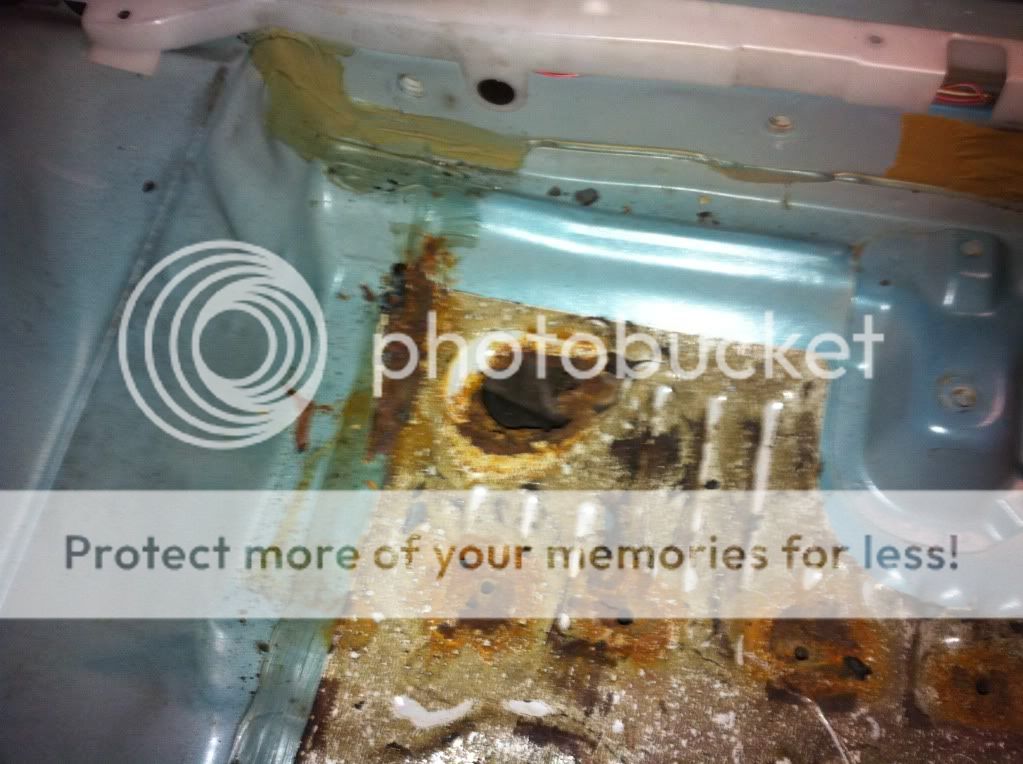
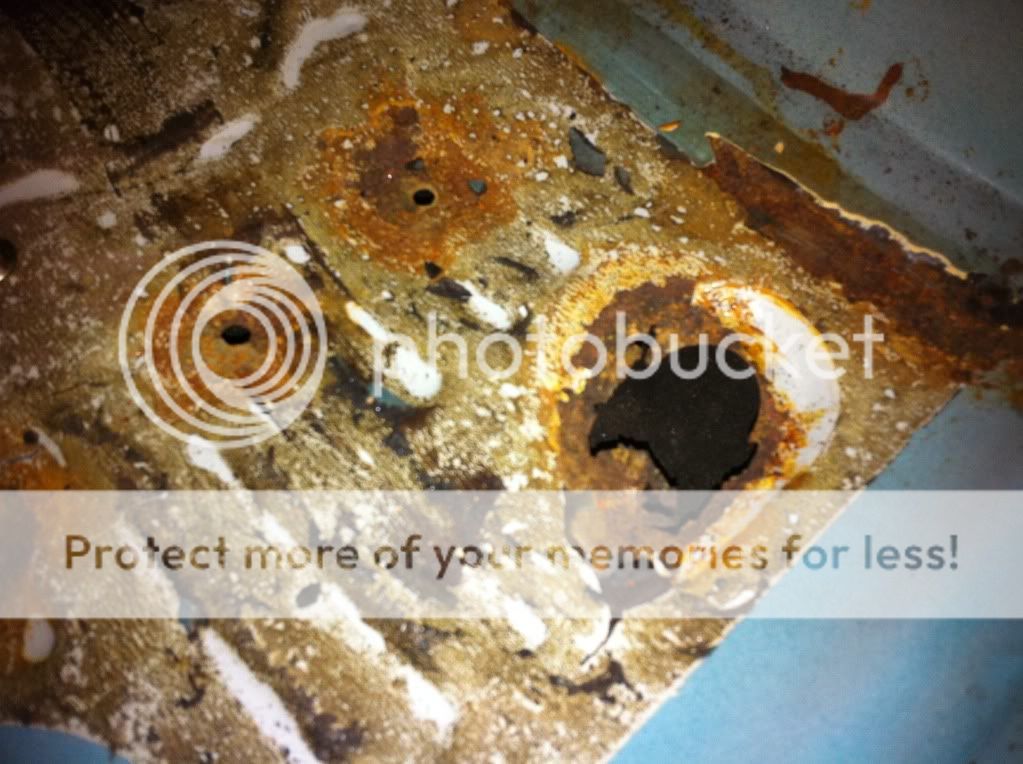
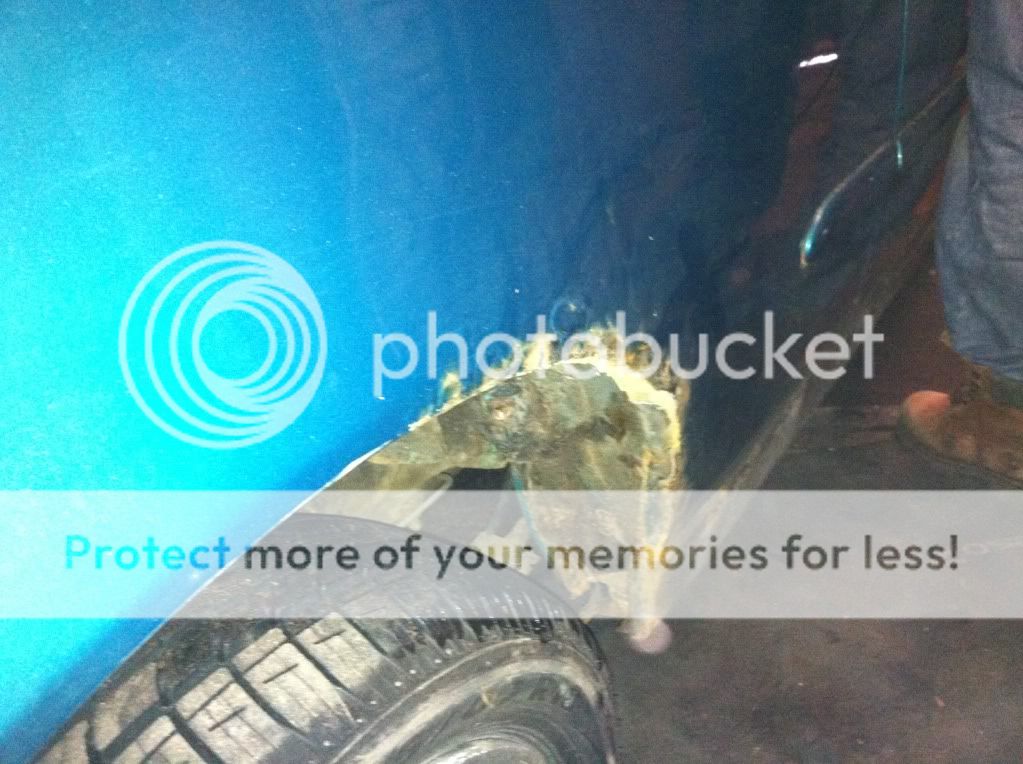
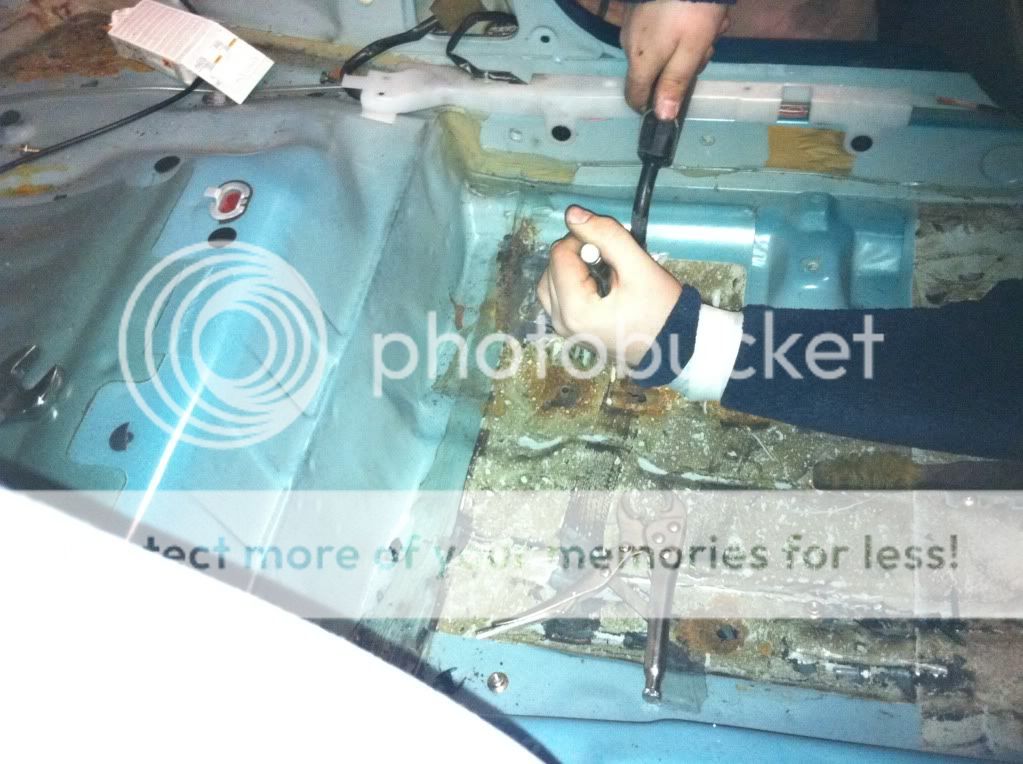
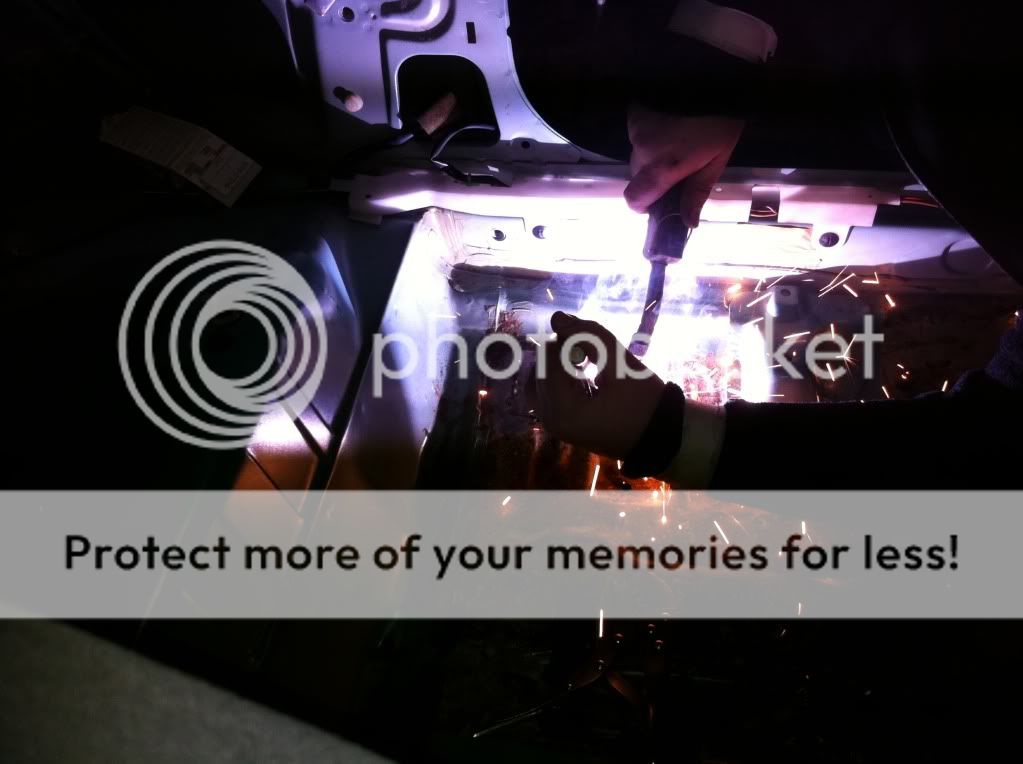
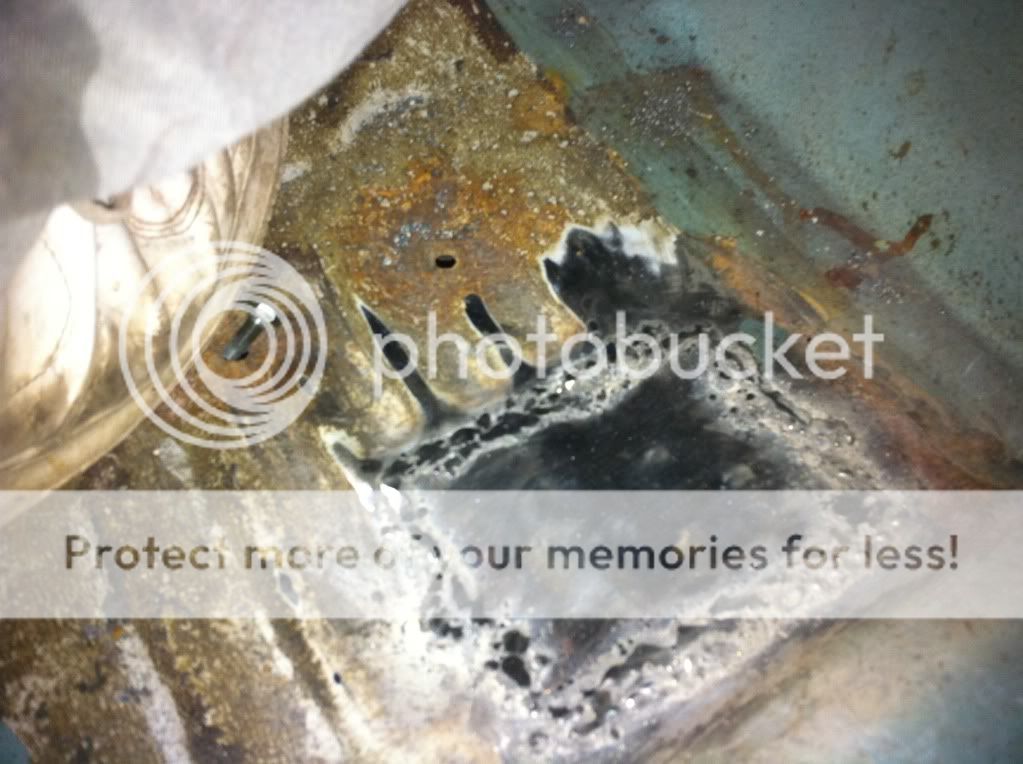
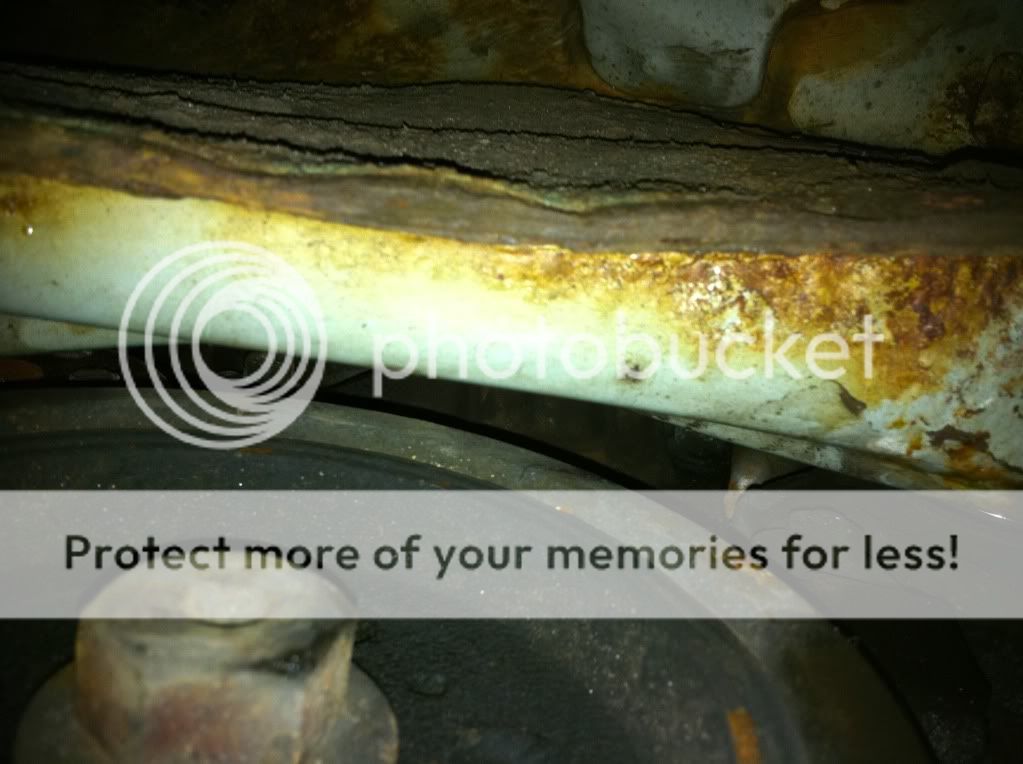
Along the way, alot of rust has been found on the floorpan, inner arches, outer arches and the front crossmember (main causes of MOT failure)

So we started on removing that :

IMG_0390.jpg

IMG_0398.jpg

IMG_0400.jpg

IMG_0401.jpg

IMG_0403.jpg

IMG_0409.jpg

IMG_0402.jpg

IMG_0407.jpg

IMG_0410.jpg

IMG_0420.jpg

IMG_0421.jpg

IMG_0435.jpg


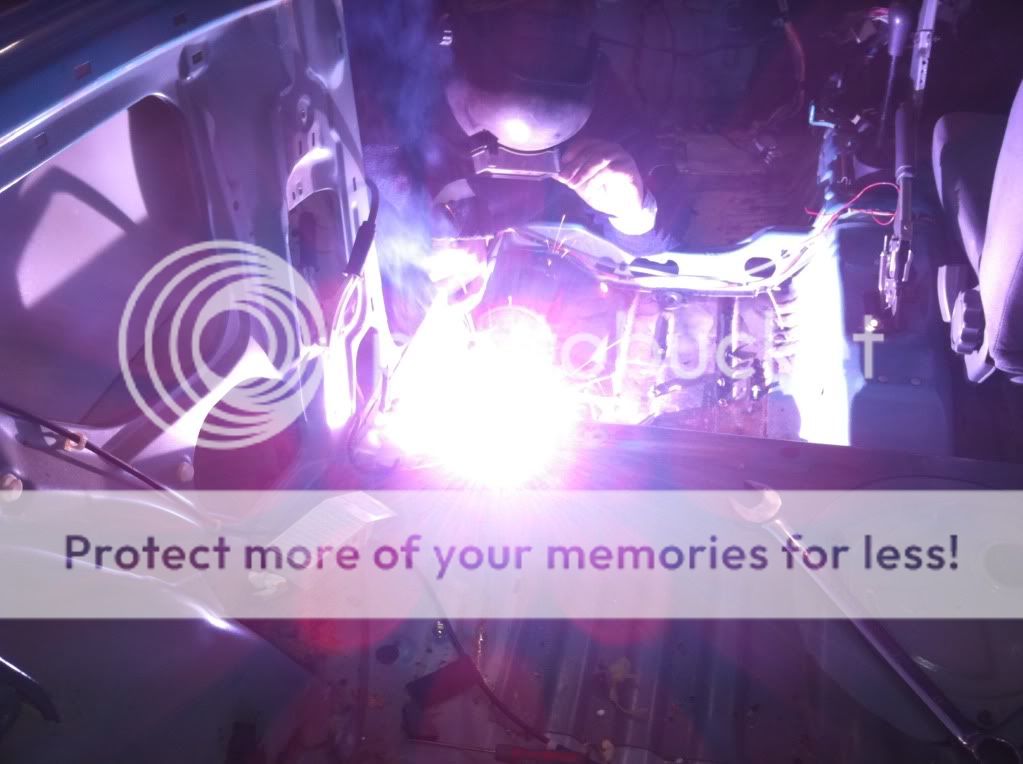
Hole on floor pan cut, welded and coated in zinc primer!
Still alot more welding and rust removal still to go.

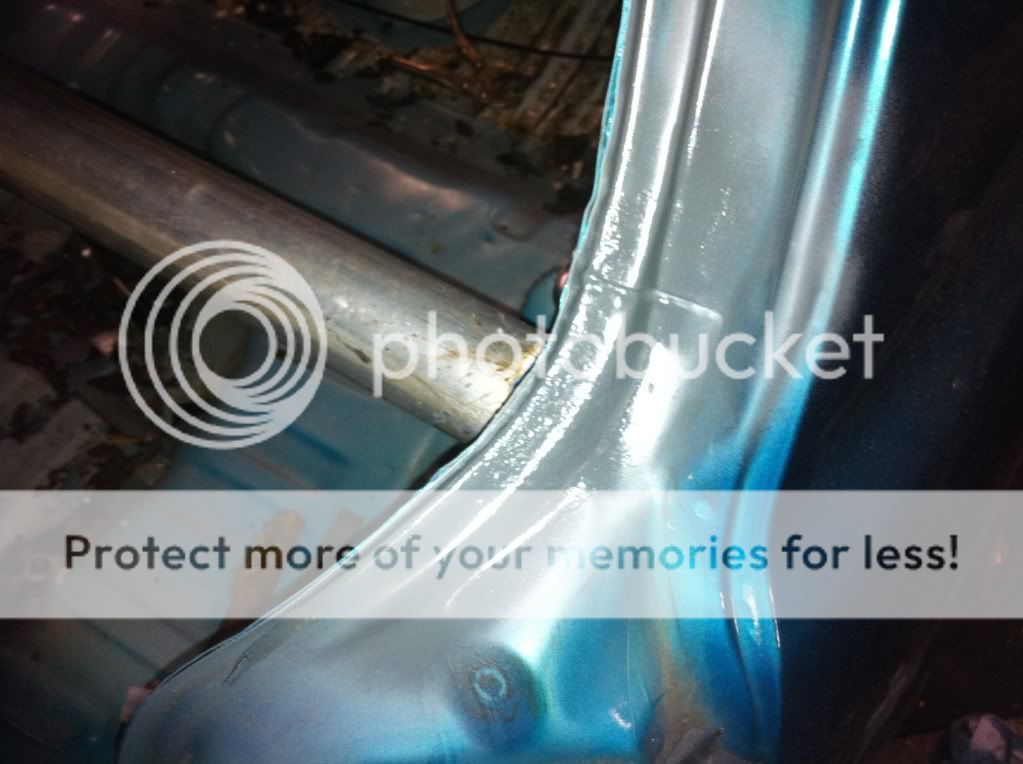
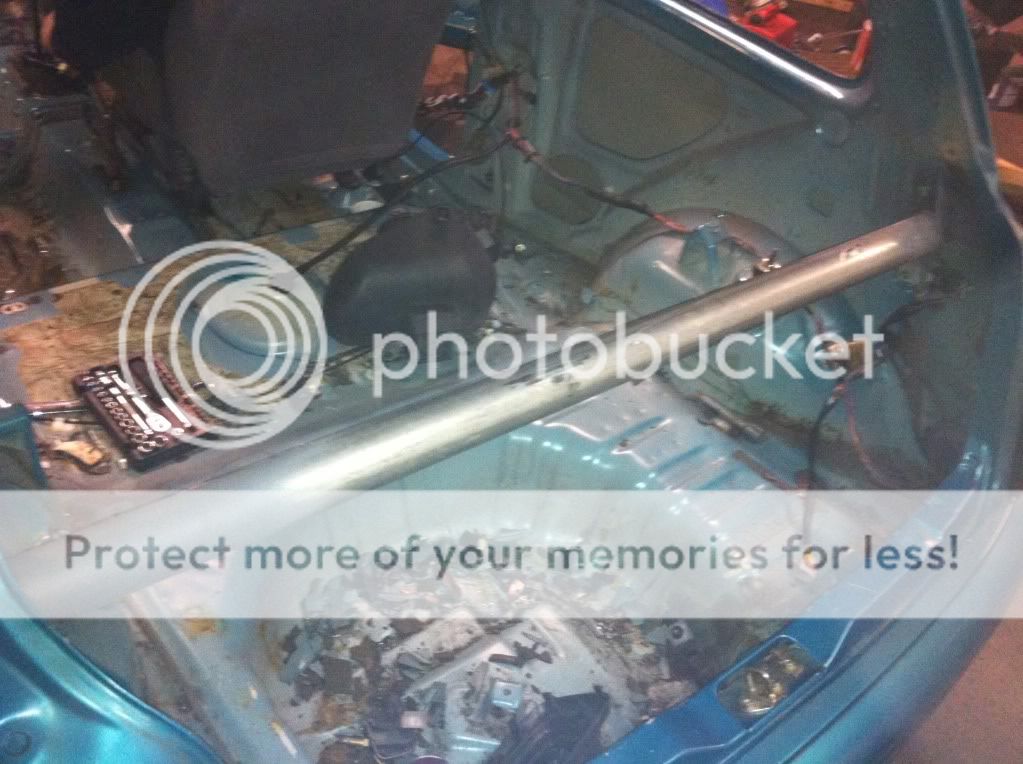
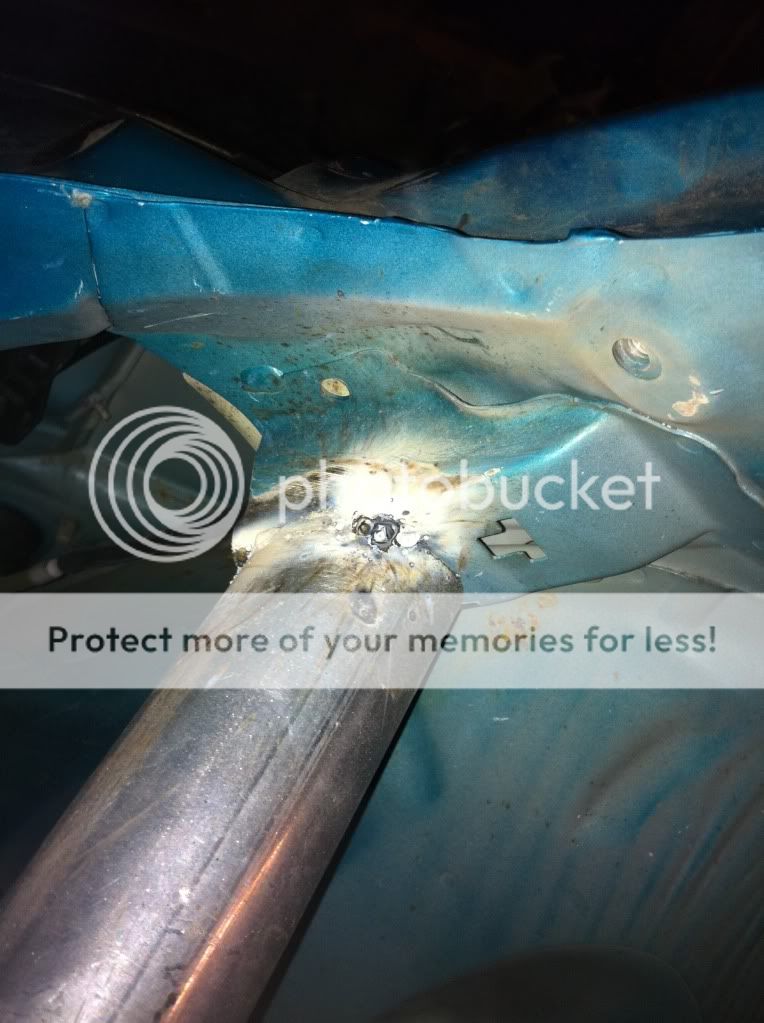
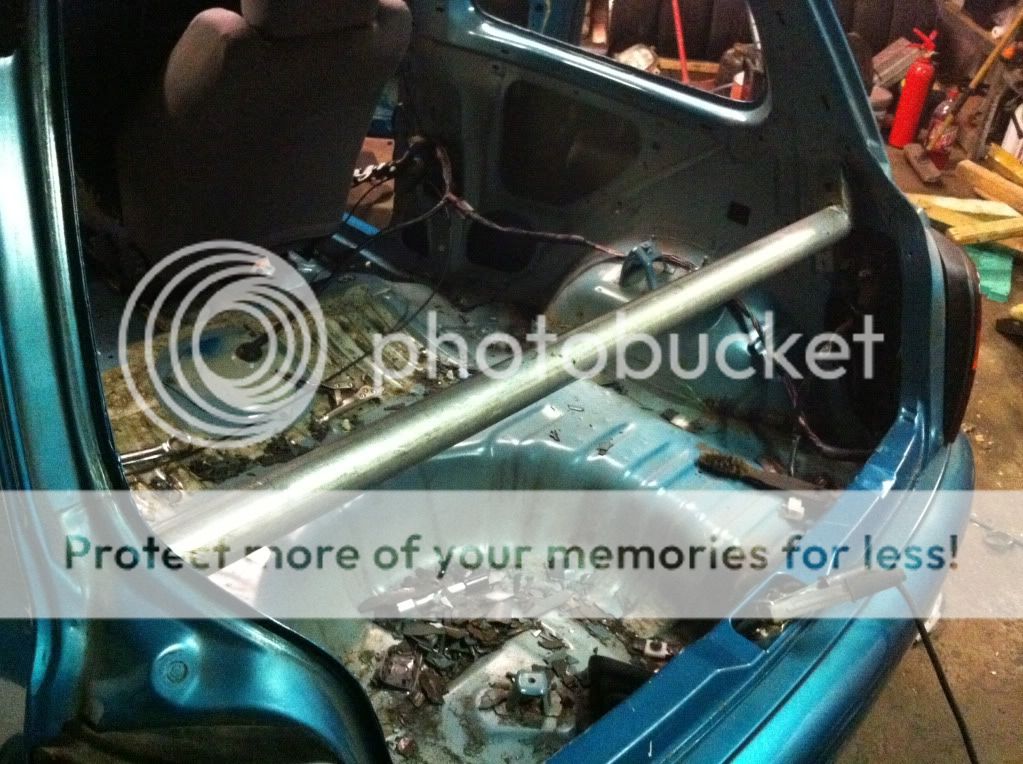
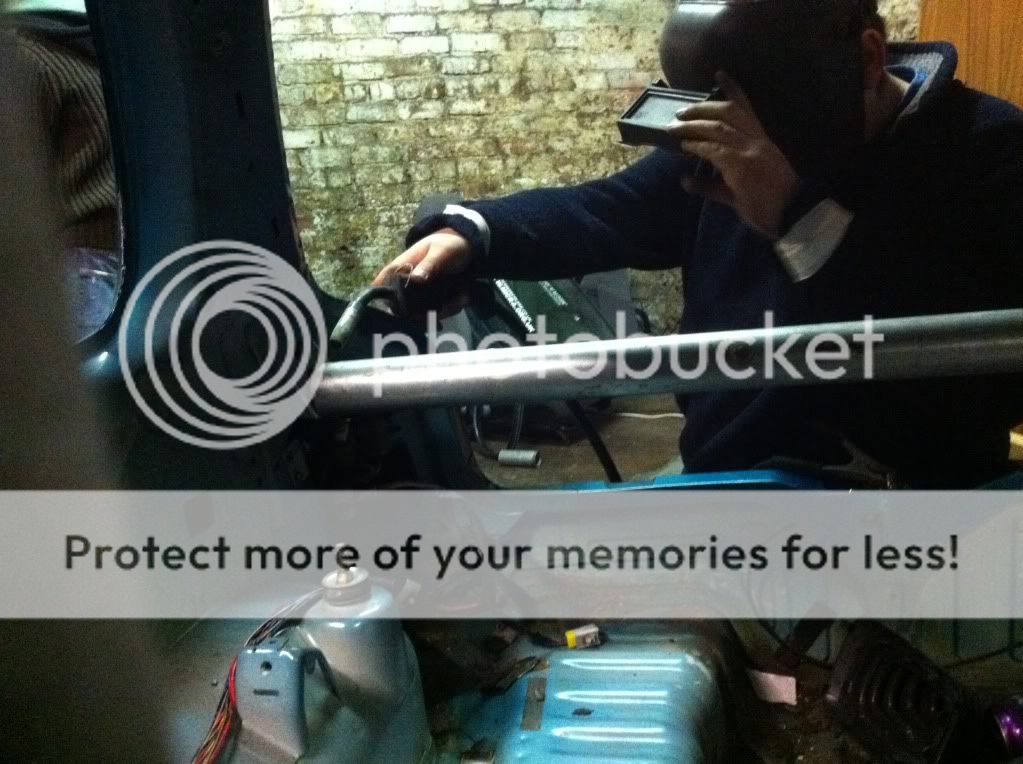
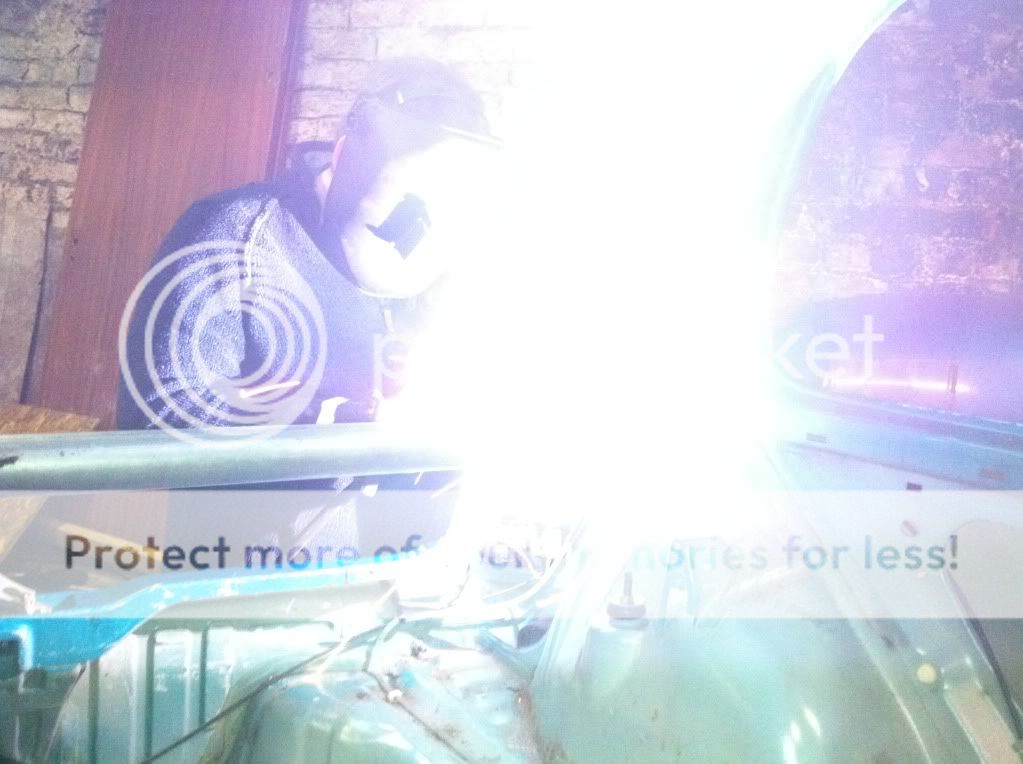
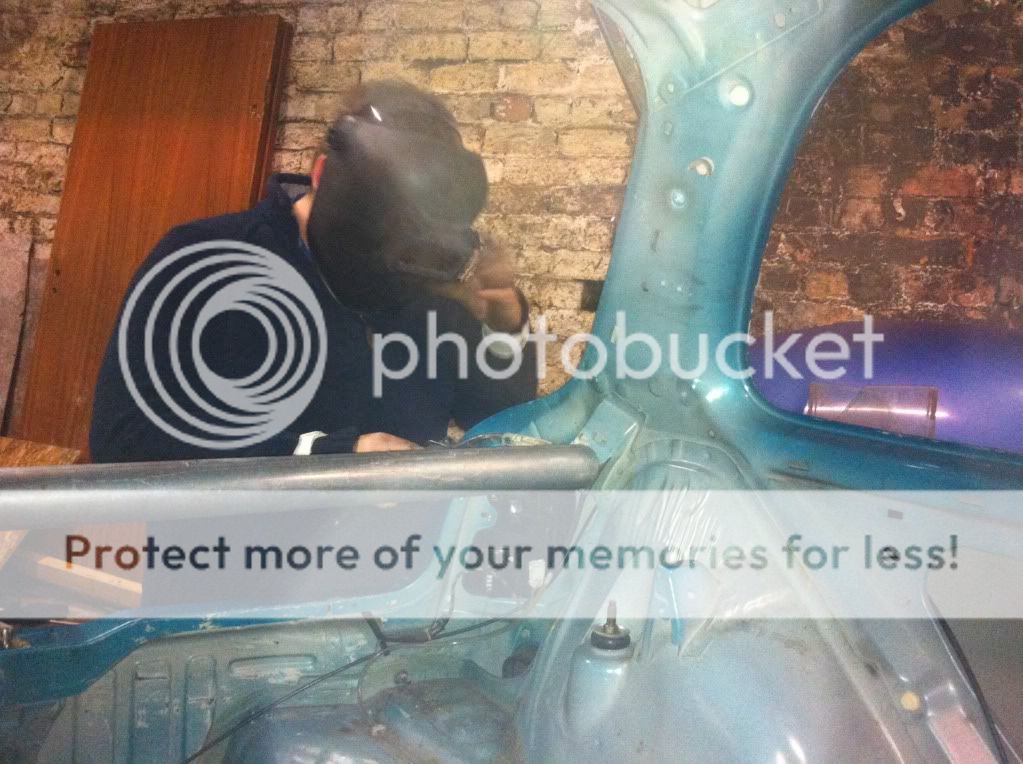
We then started on extra chassis bracing. With some spare 2" exhaust pole lying around a welder we started on the rear.

IMG_0437.jpg

IMG_0434.jpg

IMG_0433.jpg

IMG_0432.jpg

IMG_0431.jpg

IMG_0430.jpg
IMG_0430.jpg

IMG_0428.jpg

IMG_0427.jpg

IMG_0424.jpg

IMG_0422.jpg
 
The rear seatbelt brackets has had the pole welded between them and we will probably just fabricate our own rollcage kinda thing.

And also the SR20 has been paid for and courier paid so it should be with us soon and then the real fun begins.
 
Just as an aside, I'd turn the voltage on the MIG welder up a smidge, the welds look a bit patchy :). Fantastic project by the way.
 
Probably not. Dont particularly want to be taking massive chunks from the chassis and the welder we have is pretty sh#te.

With the SR20, we hope to have it running down at 600kg or thereabouts so it will be about 270hp / Ton. Which will be alot of fun.
 
Just as an aside, I'd turn the voltage on the MIG welder up a smidge, the welds look a bit patchy :). Fantastic project by the way.

Its a cheap welder so were not expecting amazing result lol but thanks for the advice (Y)
 
Looking awesome quite a similar colour to mine :D So what's happening with all the parts you have taken out like the leccy windows?
 
the welder only has two power settings, 75 and 90amps. those welds were at 75amps

its quite terrible tbh lol.

further info for you guys here! i fitted an Almera GTi fuel pump to this tonight without any issues.
 
THey will be forsale :)

So electric windows, rear pop-out windows, sunroof, SR bumpers and fogs, 30mm lowering springs, SR mudflaps. 1.3 engine(cam chain rattle), SR alloys etc...

If anybody is interested in these parts just drop me a PM and we can sort something out.
 
Oh and we also swapped the Micra fuel pump for an Almera GTi one. Straight swap and works fine (Y)
 
Front crossmember getting taken off so a new, non-rusty one can be fitted (Y)


8e40d39e.jpg
 
Bit of a setback.

Engine was all ready for collection, courier came to pick it up...

Driver apparently said " aw its bigger than i thought it would be" and ######ed off.

An email to paisley freight and the reason was...it was leaking oil and there was nothing there to lift it onto the truck with. Which is a load of rubbish as the engine was drained of all oil and there was a forklift present....

I hate couriers
 
Losing faith in couriers...

They have an awful habit of breaking things such as camshafts that were packaged with enough wood,bubble wrap and fragile tape to survive a nuclear war, headlights, fog lights etc... ( do they play football at the depot with these items?)
One courier we used to send a bonnet took three weeks to just collect it.
Another courier lost THREE starter motors.

And the drivers are always in ####y moods.

So in my opinion, couriers are rubbish. But what can we do? Royal mail arent much better...
 
Very interesting project, with an awesome SR20 (Y)

Don't know in UK, but in italy that version is called Super S; SR is the name assumed after restyling.
The rear disc brakes means tha is equipiied with ABS, i suppose...
And those rims aren't 13''?

Anyway, grats and good work! :laugh:
 
Very interesting project, with an awesome SR20 (Y)

Don't know in UK, but in italy that version is called Super S; SR is the name assumed after restyling.
The rear disc brakes means tha is equipiied with ABS, i suppose...
And those rims aren't 13''?

Anyway, grats and good work! :laugh:

Thanks mate

We have both the Super S and the SR here.
Yes it has ABS with the rear discs.
And the alloys are 13s :)

nice one mate :p what are you doing with the old engine? lol

(no i do not want another one)

haha its up for sale mate :) no good to us
 
A productive day i would say :)

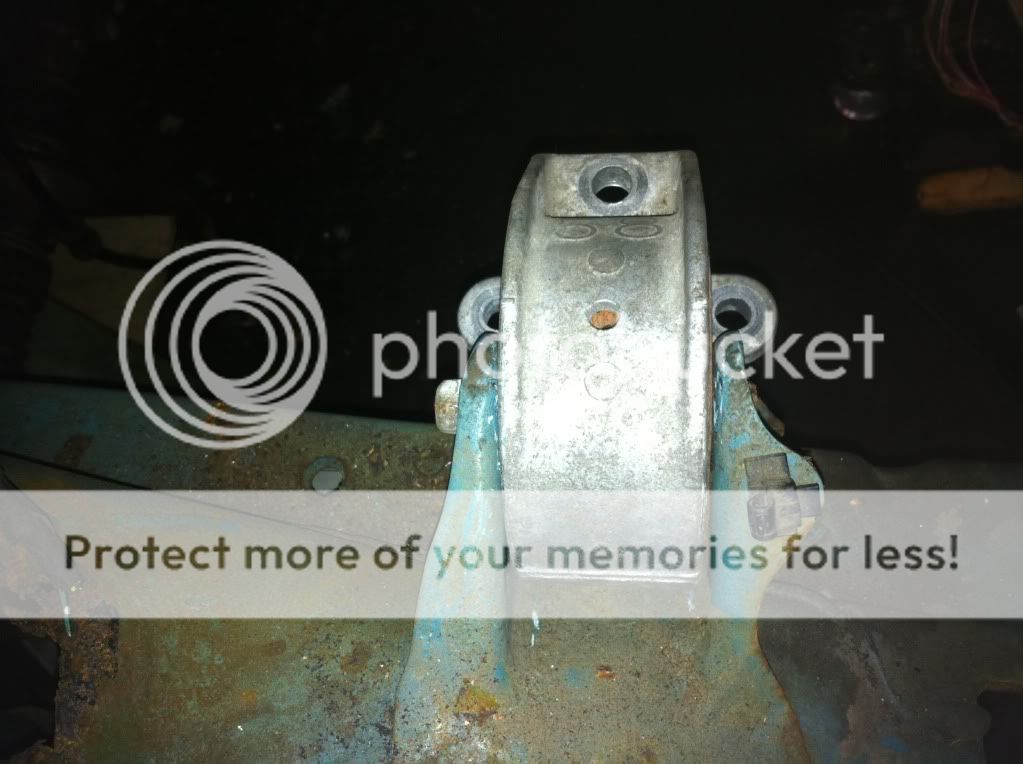
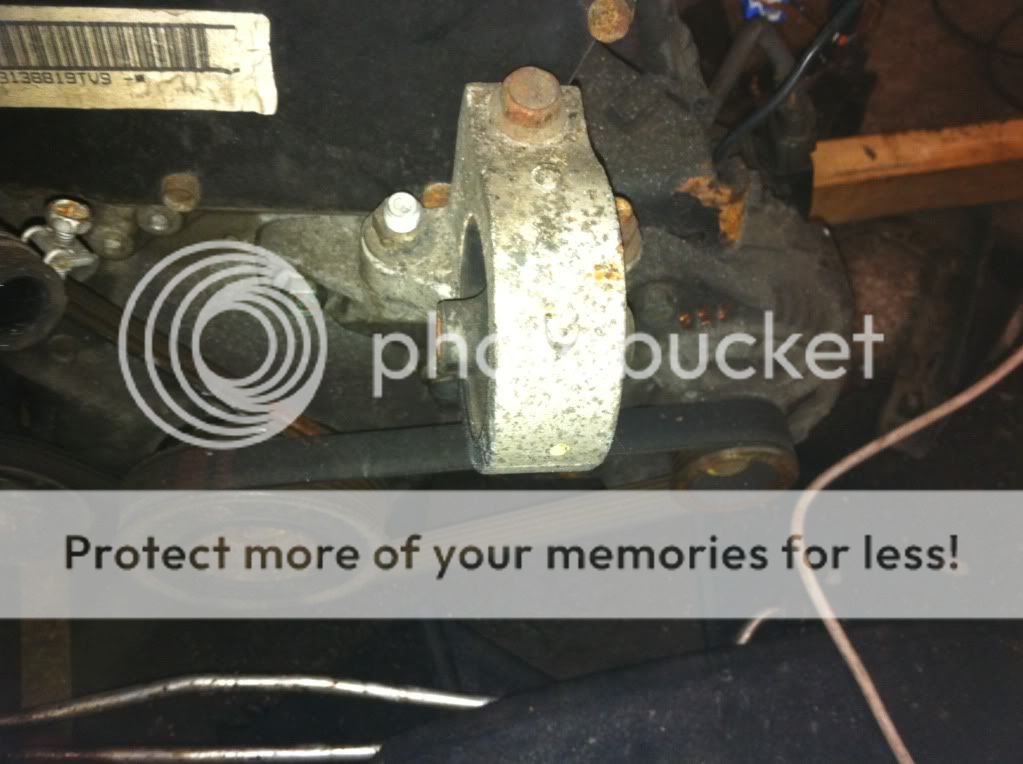
So we started off with an Almera GTi driver side engine mount, which was then grinded down so it would fit into the current space of the micra mount.

As you can see the Almera mount is alot bigger than the Micra one.

IMG_0503.jpg

IMG_0502.jpg


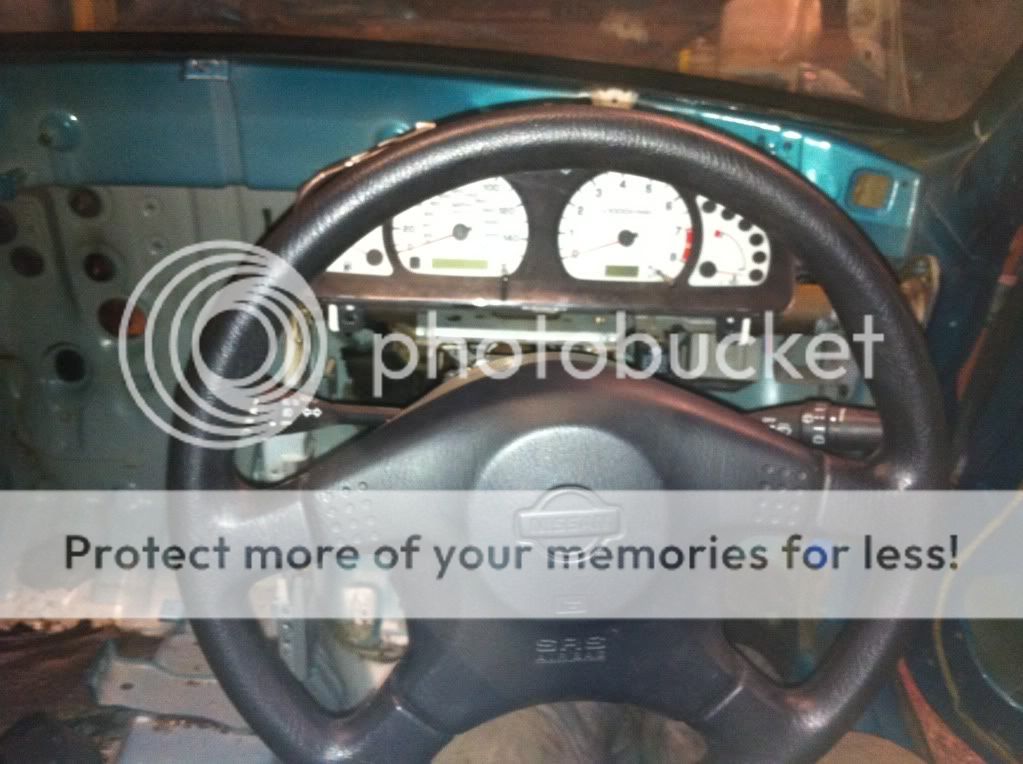
After that was done, the micra steering wheel and indicators were replaced with ones from an Almera, along with some GTi clocks.
IMG_0512.jpg


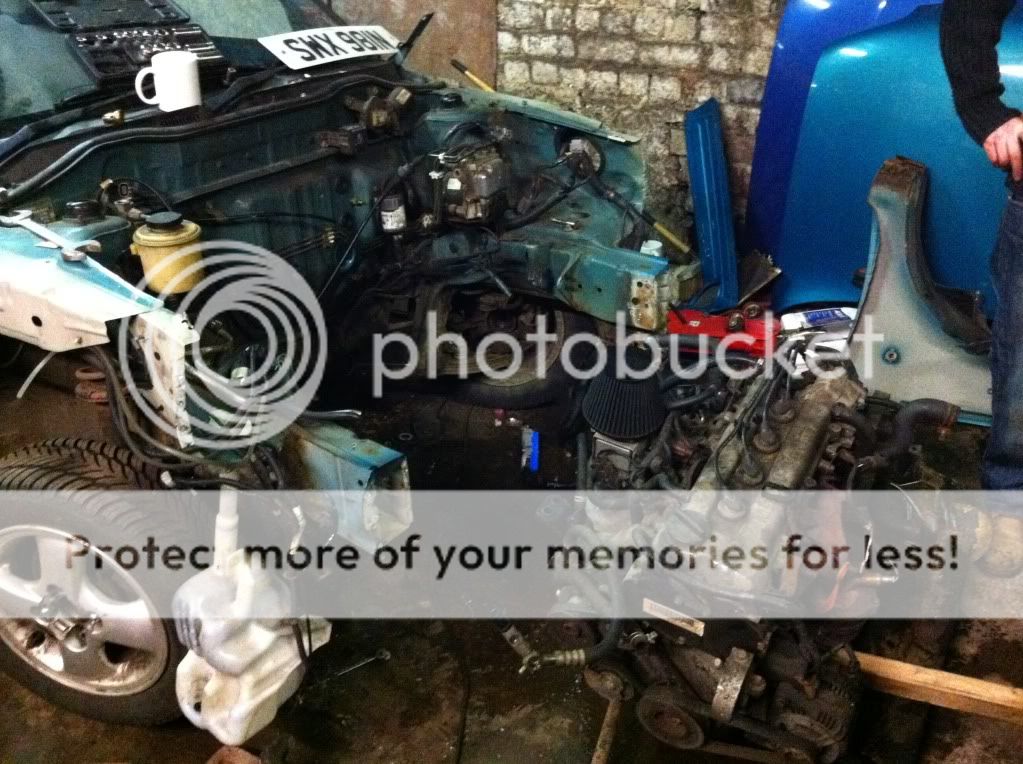
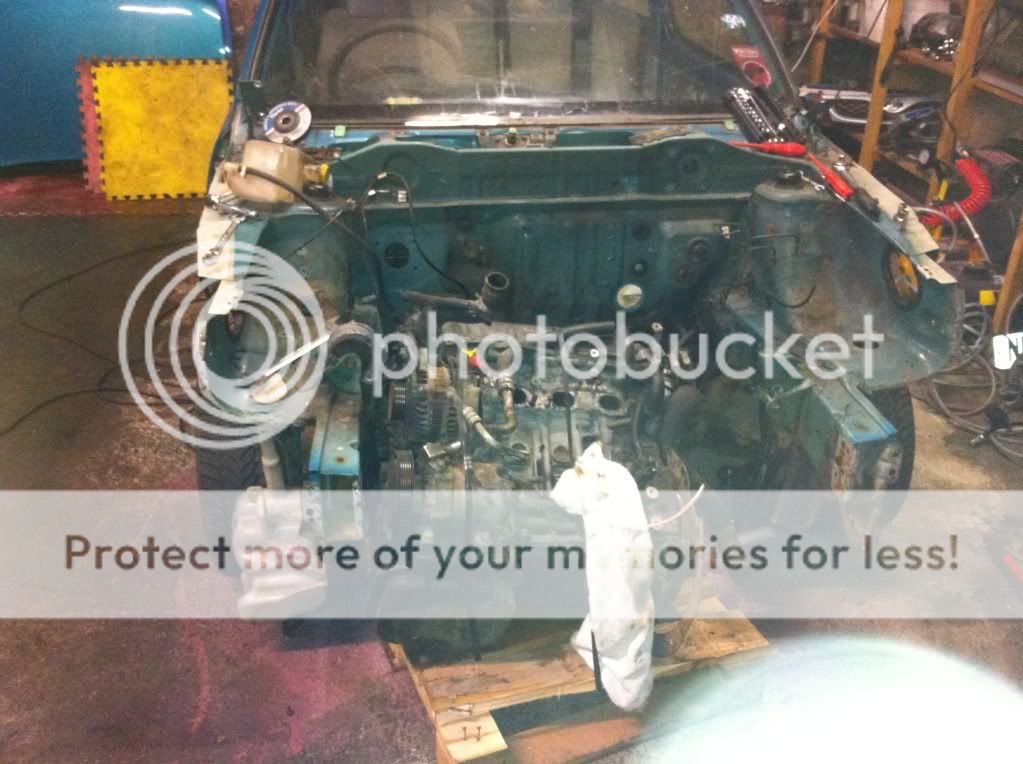
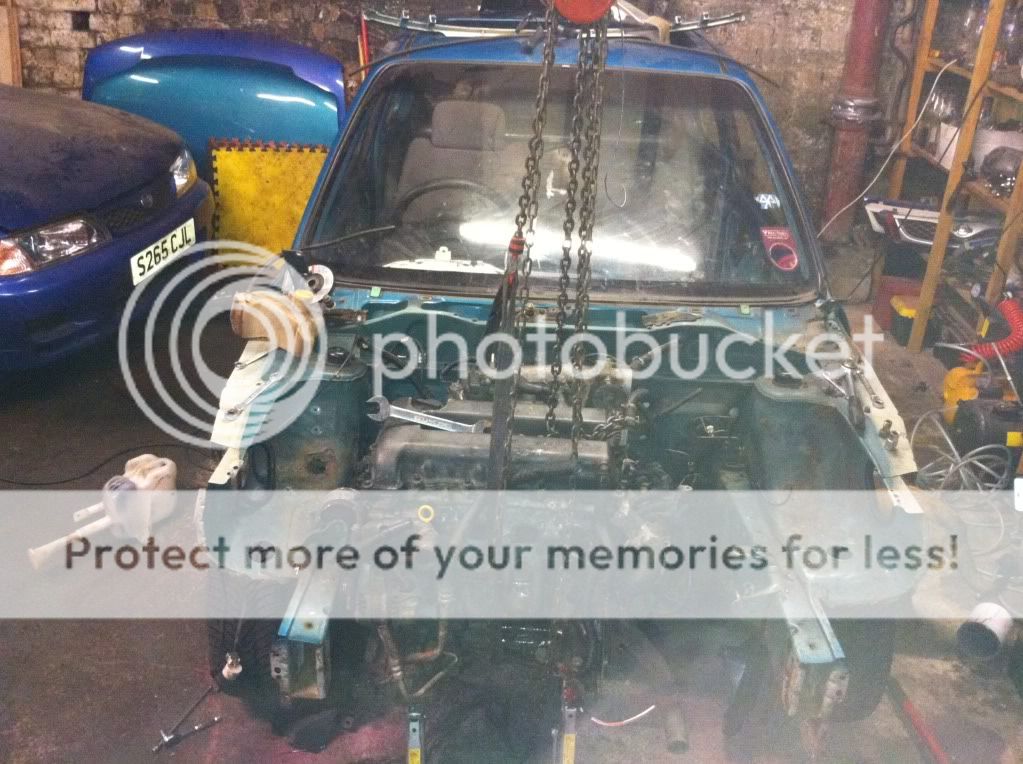
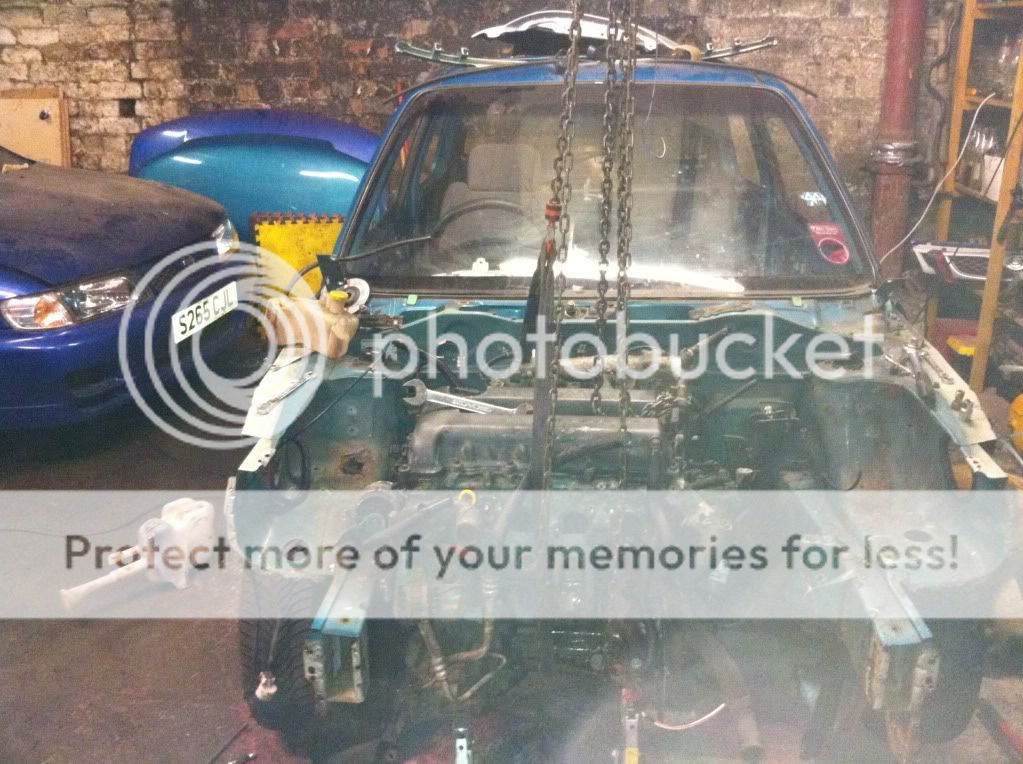
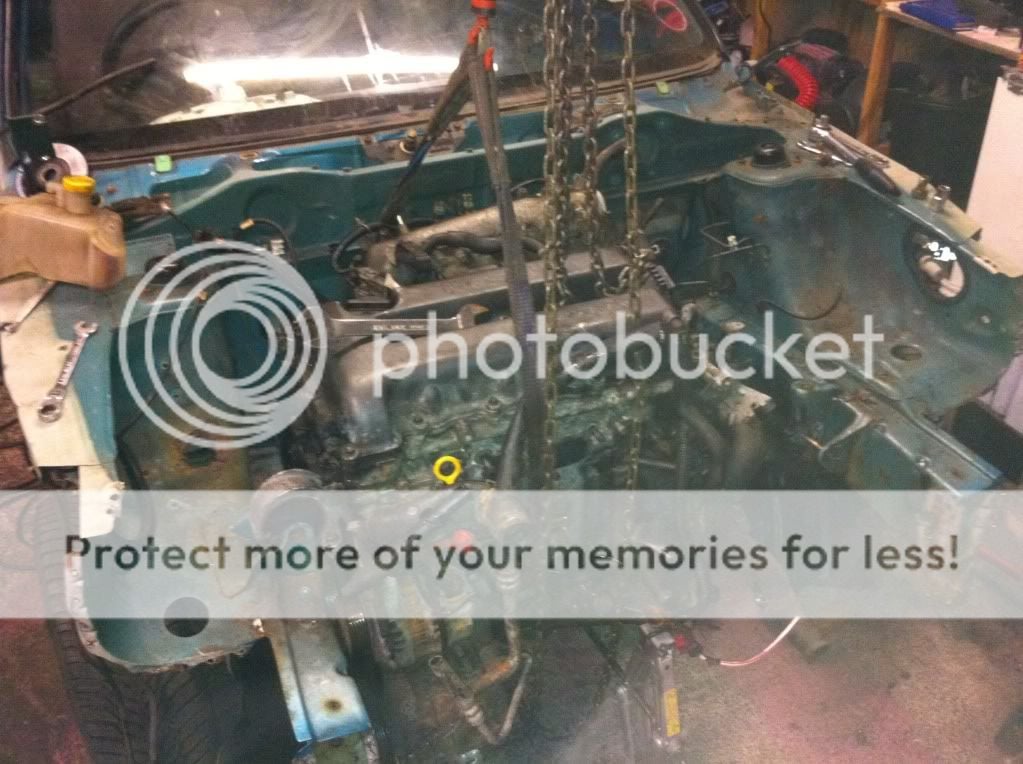
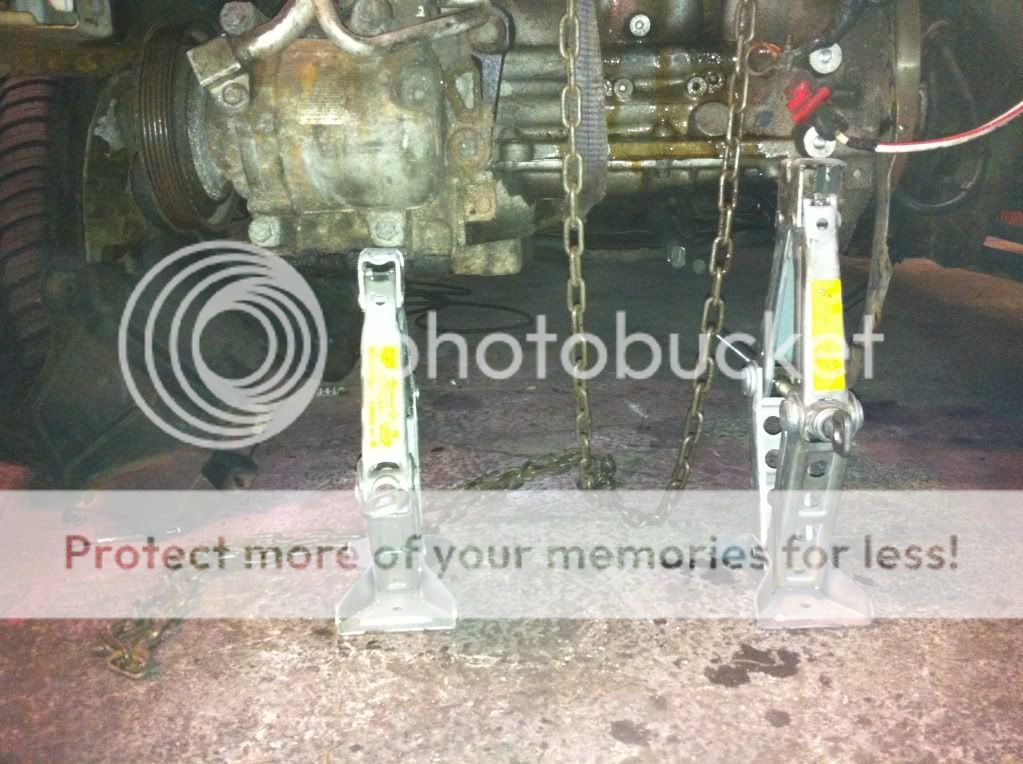
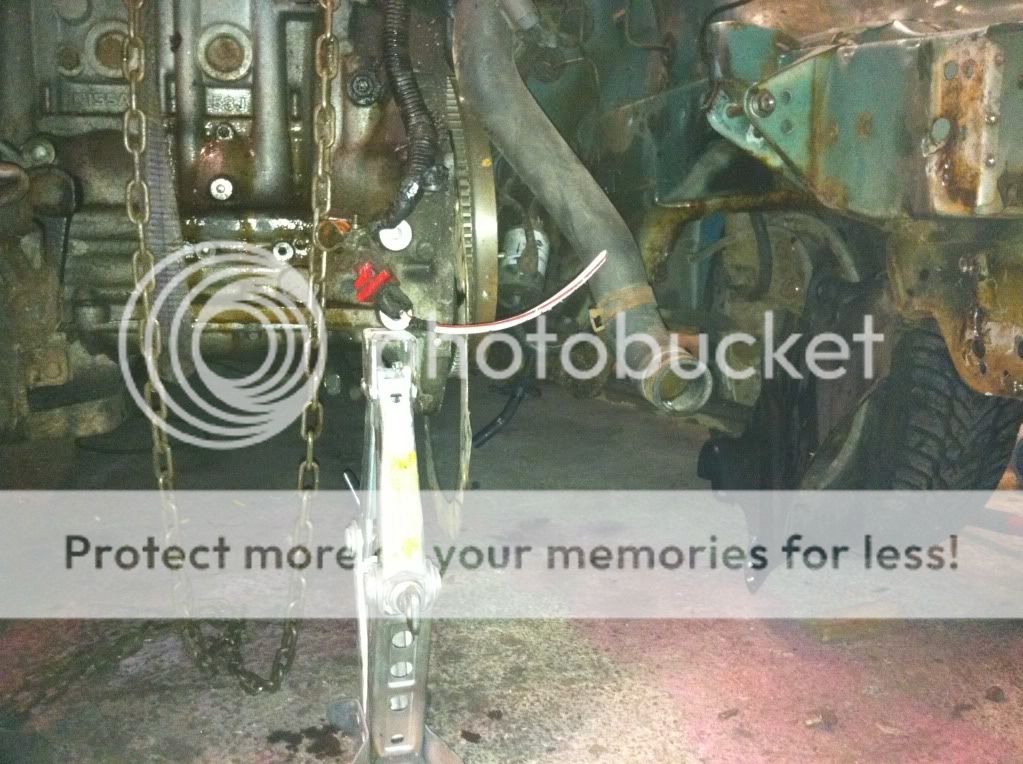
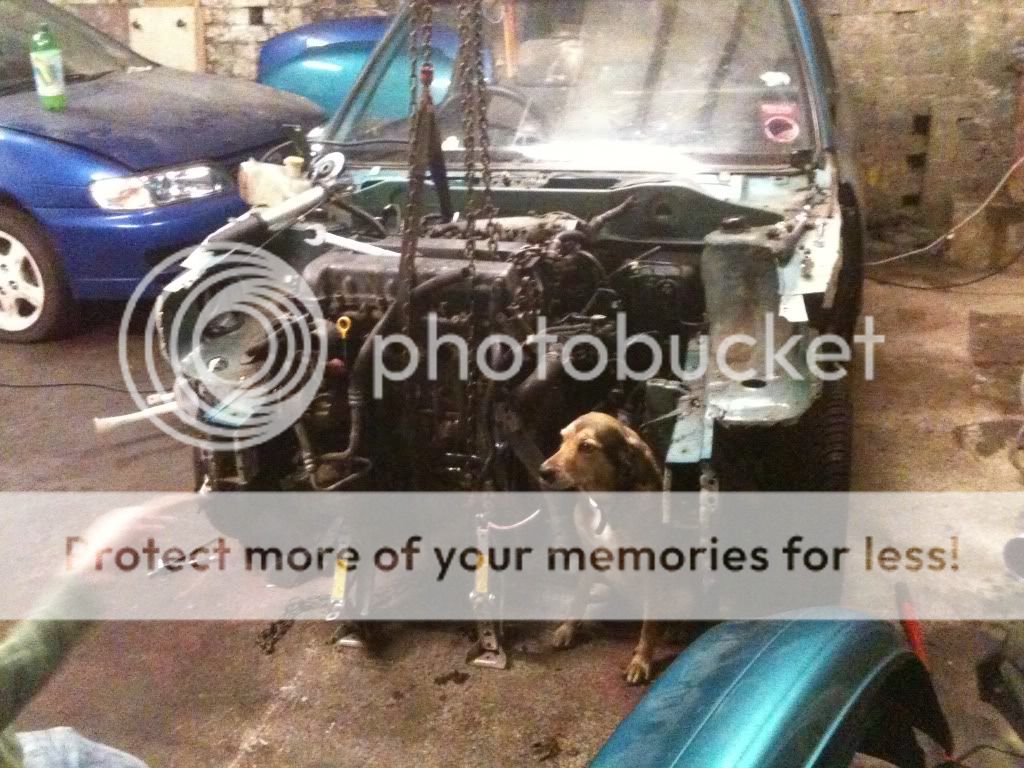
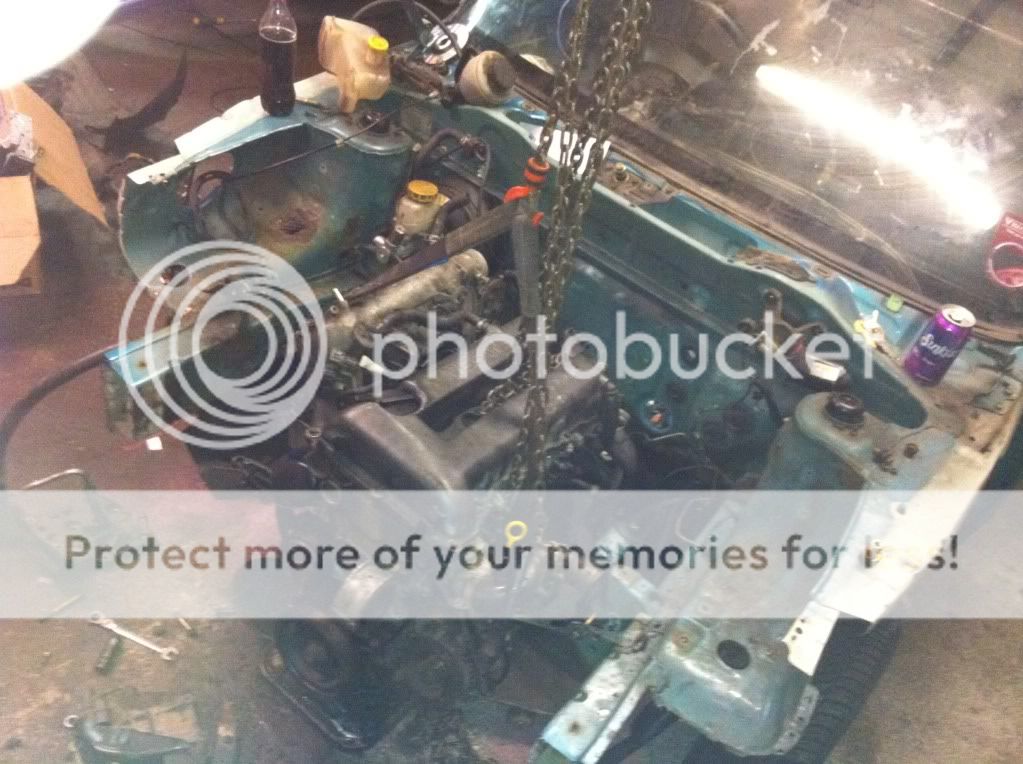
Then the fun began, The engine pallet was pushed into the engine bay just to get it out of the way but then was lifted up into place and bolted onto the car (Y)
IMG_0510.jpg

IMG_0520.jpg

IMG_0521.jpg

IMG_0522.jpg


It was then jacked up into the right height.

IMG_0524.jpg

IMG_0525.jpg


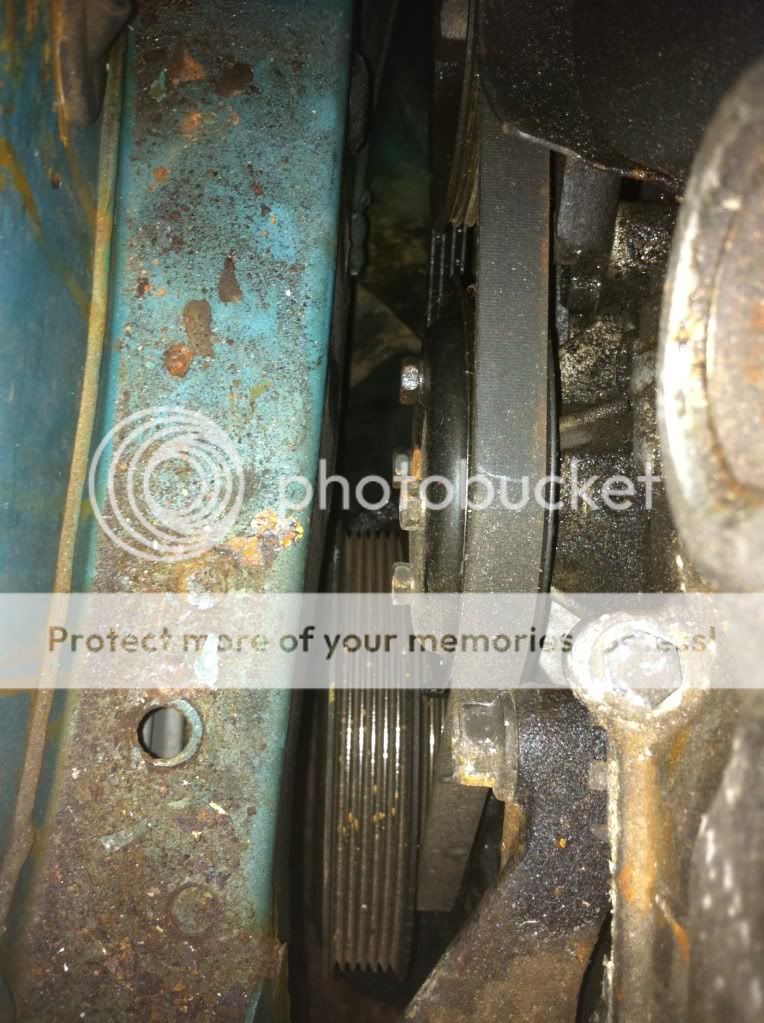
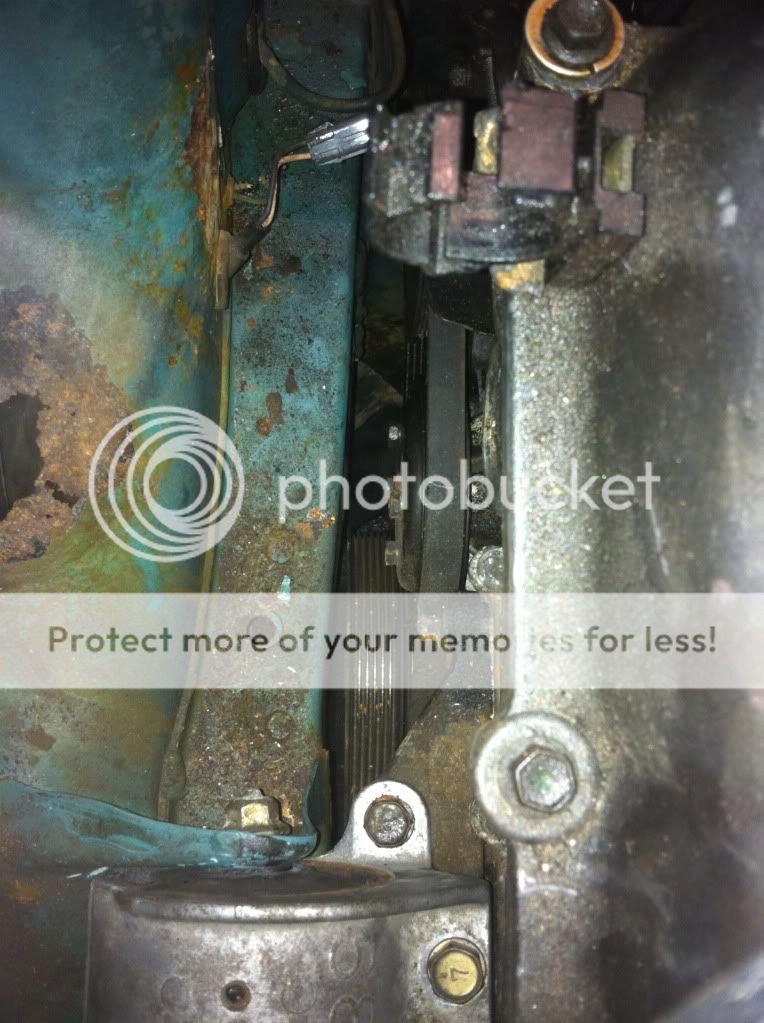
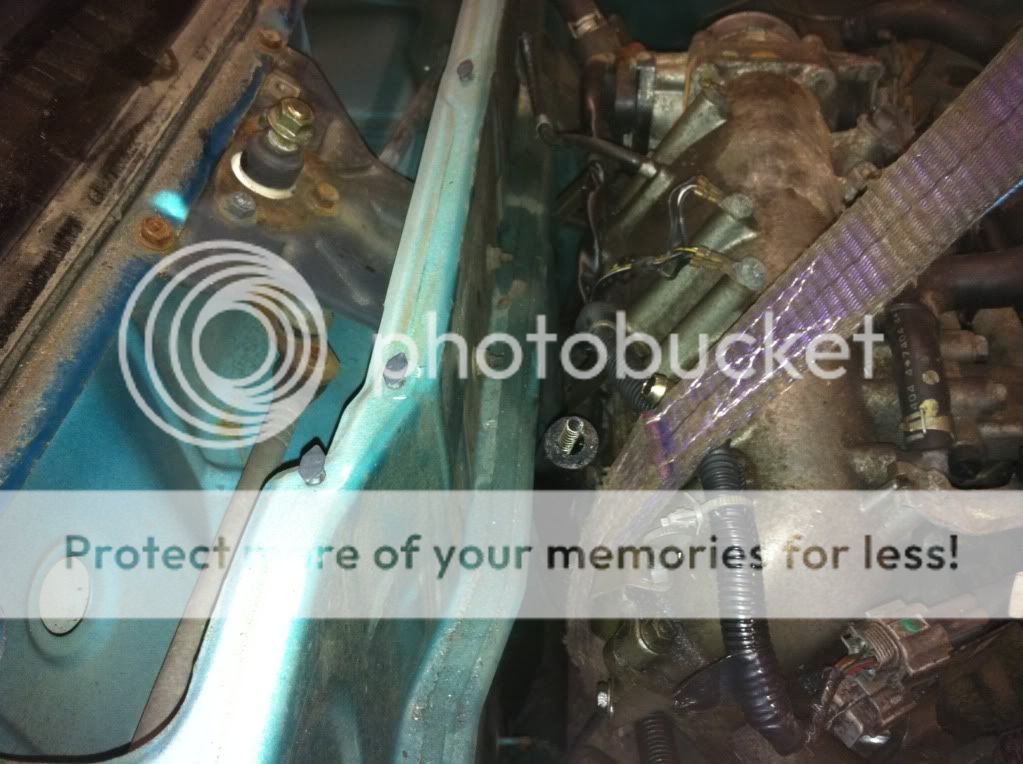
Its a veerrryyy tight fit on the drivers side with all the pullys, maybe a bit of hammering should get some more clearence.
IMG_0516.jpg

IMG_0515.jpg

IMG_0519.jpg


And clearence of the plenum,

IMG_0527.jpg


We decided to install the custom dog-box we had floating around
IMG_0745.jpg


Unfortunately it has a lot off tranny losses and has to crap every mile or so... so off it came, soon to be replaced with the Almera Gearbox.
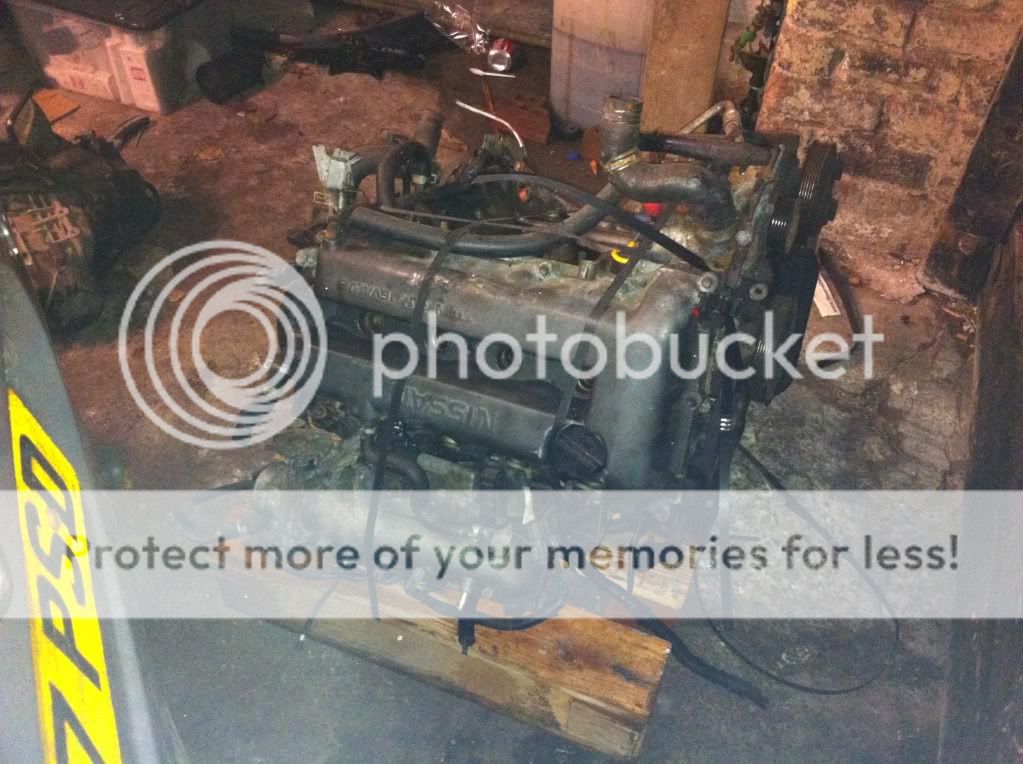
I also started on removing the wiring loom from the donor car, the blue one you can see sitting in the background. Its fate is to be scrapped with parts going towards getting the micra running.
R.I.P S265CJL. 18.0 seconds to 14.9 in your lifetime. along with 4 engines.

We have decided to use the Almera engine loom, and interior loom and just splice into the loom that runs the stuff backwards of the dash (lights, fuel pump etc...)

When the gearbox was roughly put into place, we realised that the gearbox side mount would be needed some fabrication doing.
So far the conversion is going well,
 
looking good scott (Y) i think i would have used the 1.3 g/box personally (to gain more clearance) and used a GA flywheel (redrilled for 8 bolt fitting)
 
looking good scott (Y) i think i would have used the 1.3 g/box personally (to gain more clearance) and used a GA flywheel (redrilled for 8 bolt fitting)

Never knew the CG box would fit, but when we measured the length of each gearbox, there was only an inch or 2 diffrence in length, and the driveshafts were pretty similar in terms of length and thickness.

She doesnt add much. Normally cant handle the power and has to go eat.
 
Cool upgrade then, 160 horse power and 1 dog power :D.
 
Ok update time.

All necessary wiring was removed from the Almera today and inserted into the micra. Everything was put into place. Really all that needs done now is to connect to an engine loom and join it to the back wires and it should start when required....
IMG_0547.jpg

IMG_0548.jpg


It will then be joined to this big mess....
IMG_0549.jpg


We also hit a snag today regarding the brake master cylinder. The Almera one fits fine without an engine in there. But with the engine in that place ^^^ it fouls on the whole unit. The Almera Brake master cylinder sits a good 2.5 inched further forward than the Micra one. So weve decided to swap to a non-ABS setup from a Micra.
 
I keeping my eye on this thread! Always wanted to see an SR20 done form scratch. You planning on running a turbo aswell?
 
this is looking good and you know your stuff for only 16 mate big thumbs up (Y) if only i had space and a mig/tig id be well happy
 
thats not a title which can be chased on a low budget project like this.

Dave has been a great help to us through his knowledge, both with the micra and my pulsar builds.

Cool make it your own (Y)

And like Will said if I had the space and the equipment :down:
 
Status
Not open for further replies.
Back
Top