• Please only use these forums for blogs, they are not a discussion forum

PollyMobiles Rebuild

Pollyp I know you will know the answer to this, what size are the bolts that hold on the front anti roll bar please?
I have one to fit but am missing the bolts.
Many thanks rct

Sent from my SM-G900F using Micra Sports Club mobile app

hi, just returned from holiday.
I think the chassis bolts are M10x1.25 fine metric bolt with 14mm head.
for the drop links I used some M10 threaded bar to replace the old rusted one
 
2016 Road Trip

Mon 3rd Oct

Met mark & aled at a Sainsbury in chester.

1.jpg


driving towards holyhead via the A55, we had a fun blast through a few tunnels. I'd never had though we'd have long high speed tunnels in the UK other than the one I've seen over in germany.


we had some food & chat at a cafe stop.

IMAG4922.jpg
IMAG4924.jpg


followed aled back, it was getting dark. we took a wrong turn that was a dead end so I had to reverse in the pitch dark along a narrow one-way country road back onto the main road, which was tricky with candle-lit reverse lights.
visiting the Horseshoe Pass first time at night was interesting. the b&b was in nearby town at the bottom of the hill.

IMAG4929.jpg


Tues 4th Oct

Heading south, I refuelled at wrexham then drove down the horseshoe pass in daylight

2.jpg


I noticed this odd knocking noise during the suspension rebound.
stopped over to check all the coilover nuts are tight, then I found the RH top mount nut was actually loose. no longer knocks after tightening.

IMAG4930.jpg
IMAG4932.jpg


heading through mid wales avoiding main roads, I discovered some nice twisty, tight, hilly B-roads which was a gr8 blast with kasandra

IMAG4936.jpg


now noticed there's an odd knocking when on/off throttle (like when my lower arms had previously snapped).
really needed a pee and not many services around and couldn't find many suitable places to do a whizz so had to hold another 30min till the next garage, which didn't have a toilet but further into town I found a tesco.
whilst at a flat tesco car park, jacked up the car to find what's knocking. the rear mount was still solid and top mounts all solid, but then looking down I spotted the lower brace had a gap from the LH lower arm front mount, oh dear I forgot to tighten that bolt. :rolleyes: It could've rattled off badly.

IMAG4938.jpg


in the afternoon I tried to google some b&b for the night but there's a big issue cos my crap giffgaff phone can't get any internet in the welsh countryside so I can't search for places to phone o_O
spotted a travelodge but it's £55-60 a night :/
even resorted to phoning parents to help google some phone numbers on their PC.
eventually phoned this odd guest house in swansea, the guy sounded indian and took my card details.

arriving at a very busy swansea during rush hour, it was like a hilly london.
the car still had this odd on/off throttle knock even after tightening the loose top mount & lower arm.

arriving at the guest house, I had a bad feeling about the place. it looked like a rough taxi place and afew black/muslim groups walking out.
I felt like an odd asian walking into some dodgy place. rang the bell and an old fella gave keys number 8 and vaguely pointed out where to go.
erm so forgot where to go and confused, I thought he meant goto door #8 next door and room 8.
walking past, I saw ppl in the windows.
oh gawd this is my social fear, so do I go into door #8 and share a house with all sorts of strangers?! I was almost freaking out.
ok went into the hallway of house #8 but there's a closed door below and upstairs are another closed doors numbered 1 & 2. wtf? o_O

went back to clarify with the guy and he meant go upstairs to room 8 in THIS building, ahh. jeez I almost could've walked into someones house lol.
a normal room with an awquid door access. had food and a quick nap.

Wed 5th Oct

woke at 4am I really didn't like the place or area and was concerned bout where I parked kasandra in view of a dodgy area, my paranoia and anxiety was in overdrive :(:oops:
so thought fook the brekky, I paid by card on phone already, leave the keys on empty reception desk and getthefookoutahere.

so through a dark 5am morning I drove north.

3.jpg


it was a long tiring drive. the bright headlights behind me on a fast motorway was making me nervous so tried avoiding motorways only to end up getting stuck in stressful Cardiff traffic near morning rush hour. once past cardiff it was alright.

stopping near cheshire, I just wondered over to this field tree and saw a herd of curious cows heading over here. they had that "WTF is this guy?" look. one curious cow stepped forward and was soo excited it pissed itself lol. so funny. :D
nice seeing you cows but I gotta go, and they start moo'ing

IMAG4945.jpg
IMAG4946.jpg


arriving at a stunning lake district via the M6, just surrounded wall-to-wall with luvely mountains:cool:

IMAG4956.jpg


checked in at keswick

IMAG4961.jpg


it was such a perfect sunset time & place I found this country road for afew shots and phwoa took some stunning photos of kasandra :cool::D:)

IMAG4969.jpg
IMAG4973.jpg
IMAG4978.jpg


Thurs 6th Oct

heading north, learning to avoid staying in major cities so booked a place in Kilmarnock

4.jpg


before heading off, I found this flat car park and checking out whats knocking & rattling.
both driveshafts have this tiny play along their length but is snug axially, prob normal.
but found the knock noise could be from a worn loose LH front strut. I can rock the wheel at 12/6oclock and see the strut at full droop nudge slightly whereas the RH side is still tight snug.
I think the damper top bush or piston is worn slack so may need an expensive repair/replace.

IMAG4980.jpg
IMAG4982.jpg


visited some hills near windermere

IMAG4990.jpg
IMAG4991.jpg


arrived at langside b&b in Kilmarnock. saw they had a nice porsche. this place is absolute fab and highly recommend.
had a big flat parking, picnic bench in the field, I had a twin bed, a nice shower bathroom and a whole kitchen to cook & clean in, all for £45.
really luv this type of fully furnished independent place where it's like a home from home, so I cooked a meal and ate on the bench outside looking at stars :cool:

IMAG4992.jpg


Fri 7th Oct

last few days of the trip, lets visit scotland so headed towards Inverness

5.jpg


going past glasgow I went via the hilly sweeping B-roads. the clutch was getting heavy so I stopped & reoiled it.

IMAG5000.jpg


near Tay Forest Park on the B846 I came behind this dark blue BMW 550d and just like any beemer driver tries to overtake anything with their puwer and blast into the straight distances but with me close behind imo he was taking it too cautiously in the corners, really annoying how they're always tapping the brake lights.
it was so much fun chasing behind him for 30mins through the twisty hills till we got back to the boring A9.


on the A9 I only just realised I've only got 1/4 tank and the only high octane station is near inverness, so I had to drive very carefully to make it.

Sat 8th Oct

heading back home, thought I'd pass by Knockhill circuit. it's a short hilly track like cadwell

IMAG5008.jpg


after tiring drive home, checked the catch can and it caught 45ml of goop after 1500 miles

IMAG5010.jpg
 
Great write up and pics Paul, looks like you had a blast ( odd nocking noises and dodgy Muslim digs notwithstanding ) I used to love the Lake District when I lived in the uk ( my dad was from Carlisle ) me and my mates used to try and get up there at least once a year to mountain bike, we loved Keswick for that.
I used to live in East Yorkshire so Cadwell Park was my local circuit, been to many a bike race there, even went to a scooter race once, surprisingly quick for small air cooled two strokes ( though some of the top class super modified where liquid cooled ) but the lean angles the guys where getting on old Lambrettas and Vespas ( even with full bodywork and wide foot boards ) was the real eye opener.

thx steve. out of the 6 days, most of the journey was boring motorways & A-roads & traffic bit every now n then there are these nuggets of gr8 moments when I encounter an awesome challenging piece of road, or somewhere scenic to photo the car.
found I really don't like the stress of driving into busy major cities or walking into crowded social places. prefer a more peaceful independant quiet place to do my own thing.

the lakes is so beautiful to watch & drive around when the weathers gr8.
mid wales is more rural, foresty, green, hilly and quiet.

cadwell is a nice rollercoaster of a track although maybe it was bad luck but something always goes wrong when I go trackdays there.
I saw some scooter/vesper racing at croft during petrol&piston show and they really lean into the corners :)
 
Looks like fun, some great roads and great pics there :)

thanks alot. some of those gem of a road were alot of fun to drive spiritly around. and I'm amazed at how photogenic she was at the gorgeous Lakes when the lighting was just right, even though she was filthy dirty from miles of driving :)
 
quickly checking over the car tday, the wheels and driveshafts don't have much play or rumbling so dunno what's causing the highspeed right turn wheel-bearing rumbling.
this catch can hose near the dizzy has split abit so no good for the PCV flow, simple cut & reclamped.

IMAG5011.jpg


I think I've found the on/off throttle knocking/clunking noise which is this metal piece in the front mount that I wrapped celletape around to snug the fit.
over the miles the tape had worn off and allowing the piece to clunk around the bore.

IMAG5012.jpg


I'm gonna remachine a new better fitting piece on the lathe,
move the center-beam frount mounting bracket so that plastic coupler ain't at such odd angle trying to rip the upper bracet off the gearbox,
and then helicoil the rounded bolt hole in the gearbox.

the worn slack front left damper shaft obviously won't help but at least it ain't the main cause of the clunking and it ain't leaking yet.
 
Great write up as always Paul, glad you and Kasandra managed to get away for some quality time together doing what you do best.
Can't see any of your holiday pics Paul. The vids are fine and so are the pics you've just put up.

Sent from my Nexus 5X using Micra Sports Club mobile app
Same here - I thought it was just me (others seem to be getting them OK).

Sent from my HTC One M9 using Micra Sports Club mobile app
 
so here's the front mount with the cellotape worn off and 0.5mm of slack

IMAG5013.jpg


machined a tighter fitting collar

IMAG5014.jpg
IMAG5015.jpg


the engine block bolt holes are rounded off

IMAG5019.jpg


so got an M10 repair kit

IMAG5022.jpg


cba to remove the intercooler & bumper to use the hand drill

IMAG5023.jpg


so welded a nut on the end

IMAG5025.jpg


and drilled the hole by hand with a spanner :D

IMAG5026.jpg


tapped

IMAG5027.jpg


insert helicoil. had to finish off the threads with an M10 tap to make the bolts fit

IMAG5029.jpg


front mount fixed an all assembled

IMAG5032.jpg
 
Last edited:
fitted onto Neils car and it's so much neater now. I noticed that the plastic JDM cover have the brass threaded inserts molded into it so I didn't have to clean & tap it, I just simply bolted the mounts on, easy.

IMAG5057.jpg
IMAG5059.jpg


later on, I followed Neil & Martin through the North Pennine roads and there are some fabulous bits. it was a damp greasy day so my stomach was abit nervous about if the car can make it round some of these fast blind corners. up the steep damp hills the fwd struggles with traction whenever I hit boost. was loadsa fun and good to know such roads are only afew mins away.

 
Last edited:
wanna get the bike running to exercise but this metal/metal chain guide is kinda noisy so wanted a plastic lining.

13906679_10153547055166017_1993474701978429805_n.jpg


didn't have any tubes the right size and machining it on the lathe is a pain,
so decided to 3D print the sliding guides & mounts instead :D

IMAG5061.jpg


mounted and works gr8 and quieter.

IMAG5062.jpg
 
Ralph needed some Alu end caps for carbon tubes making so verified the design spec with him

14686383_10153732584271017_303734890_n.jpg


he needed it in 7075 alu for strength so order a rod from ebay

IMAG5065.jpg


machined & faced the rod flat. noticed that 7075 cuts soo much better n cleaner than the softer cheaper stuff

IMAG5066.jpg


pilot hole

IMAG5067.jpg


10mm hole for the carbon tube

IMAG5068.jpg


machined the outside to 12mm

IMAG5069.jpg


parted off

IMAG5070.jpg
IMAG5071.jpg


tapped

IMAG5072.jpg


finished & posted

IMAG5074.jpg
 
the other day I was hitting boost and then cruising but noticed I was smoking alot of blue behind (oh gawd better not be the turbo or engine or overheating :rolleyes: )
nope temperature & mixtue was normal, so pulled over and lotsa smoke out the bonnet o_O
opened bonnet expecting the worst, and spotted the dipstick had popped out and spewed oil over the hot turbo & alternator making the smoke.
either I didn't push it all the way back on or the blowby pushed it off?
wrapped some tape for a snug fit to complete the trip.

so tday I gotta make a proper adapter to replace this temporary fitting.

1.jpg


after several attempts I machined this piece

IMAG5080.jpg


the o-ring seals the tube, keeping the stick in place with a snug fit.
the handle is threaded into the adapter

IMAG5082.jpg


the dipstick end is simply rammed tight into the hole and is pretty secure

IMAG5084.jpg


finished dipstick

IMAG5081.jpg
IMAG5085.jpg
 
recently brought this miniature action camera glasses to intergrate into my helmet

IMAG5034.jpg


took apart the controller & battery

IMAG5040.jpg


pin hole camera

IMAG5046.jpg


curious about the turbo waste gate, I mounted it on a support bracket

IMAG5086.jpg


and bolted it to the engine looking upwards at the waste gate arm from below.

IMAG5087.jpg


getting any lighting in that tight area was very difficult so the footage was dark but I can just about see the actuator twitching under boost :cool:

 
recently brought this miniature action camera glasses to intergrate into my helmet

View attachment 51851

took apart the controller & battery

View attachment 51850

pin hole camera

View attachment 51848

curious about the turbo waste gate, I mounted it on a support bracket

View attachment 51849

and bolted it to the engine looking upwards at the waste gate arm from below.

View attachment 51852

getting any lighting in that tight area was very difficult so the footage was dark but I can just about see the actuator twitching under boost :cool:


I did this too when I got my action camera! Quite neat seeing it working.


1993 Prefacelift GT15 turbo cg10de(t) @ 7psi
2001 Facelift cg10de
 
I did this too when I got my action camera! Quite neat seeing it working.


1993 Prefacelift GT15 turbo cg10de(t) @ 7psi
2001 Facelift cg10de

definately.
can just barely spot how my boost gauge goes upto 12psi and then the WG begins to open to vent away the excess puwurr before snapping shut when I lift
 
recently in the colder mornings, she didn't fire up as rapidly as the warmer days.
checking datalog, noticed it injects 25ms at 10degC, then 16ms at 20degC, then 10ms at 30degC, too much cold enrichment.

so I reduced the cranking injection and it's now injecting for 20ms at 9degC and fires up abit better.

 
reprinted the catch can with afew improvements.
lengthened the sealing lip to fit tighter in the jar to reduce leaking.

IMAG5092.jpg


now I can make my own custom size reinforcement tubes and this allows me to enlarge all the plumbing for less restrictions

IMAG5093.jpg
IMAG5094.jpg


old 8mm bore copper pipe vs new 11mm bore custom pipe

IMAG5095.jpg
IMAG5097.jpg


we'll see if it works better over the days
 
the chassis mounts on my headlights were cracked off long time ago and it's simply ziptied in place.
just saw on FB a guy was selling some preface headlights for a fiver :eek:
so I popped by sheffield to pick em up. he was breaking quite afew cars in the garden and trying to sell stuff off cheap.
he threw in some rear lights as well too and all for a fiver :D

IMAG5099.jpg


slight difference in sidelight position and these are manually adjusted whereas mine have tilt motors but that's a minor thing cos I hardly use the feature anyway and for £5 there's nothing to lose.
I'll check out if the tilt motor mechanism could be swapped over

IMAG5100.jpg


one of the clip mounts for the grill is cracked off but I'll find a solution

IMAG5101.jpg
 
dismantled the headlights

lights.jpg


removed my current headlights that features tilting motor (top) comparing to the manual headlights (bottom)

lights (1).jpg


difference in venting ports

lights (2).jpg


the tilting motor is attached to the lens via a groove & tongue so you simply rock & slide the motor along the groove till it detaches

lights (3).jpg


both headlights have the same glass lens

lights (4).jpg


and here you see the little differences in the features

lights (5).jpg


the sidelight wiring hole has moved (green), different main bulb holder (purple), notched hole for the tilting motor (red), and there's a locking tab for the tilt motor (yellow)

lights (6).jpg


gonna heatup & remove the lens next.
I believe I can dremel & mod the notched hole into the casing for the motor.
 
Ralph sent me a welded shaft that needed machining and a custom adapter made.

14915142_10153779851001017_7964953588050996614_n.jpg


centered the shaft on the chuck

14938215_10153779851041017_5581912652956879135_n.jpg


carefully machined the end down to exactly 4mm

14937402_10153779851036017_3768456801994677187_n.jpg


and made a custom coupling adapter

14479677_10153779851111017_414102739001211045_n.jpg
 
popped the headlights in the oven for 3min till it's hot to touch and the sealant turns to soft bluetack.
when it's just soft enough, I carefully lever the glass off the casing with a flathead

IMAG5123.jpg
IMAG5124.jpg


all headlights opened

IMAG5126.jpg


to remove the lens, popped this pivot balljoint out

IMAG5127.jpg


and screw these adjusters through the casing

IMAG5128.jpg


here on the manually adjusted headlights, the top corner steers the beam left/right while the bottom tilts it up/down

IMAG5130.jpg


on the motorised headlight, the top screw still steers the beam but the motorised lower point tilts it up/down

IMAG5131.jpg


another difference in the motorised headlight is this venting port

IMAG5132.jpg
IMAG5133.jpg


whie the manual headlight has a tube vent

IMAG5134.jpg
IMAG5135.jpg


the lenses are the same shape but use different bulb clamping designs

IMAG5136.jpg
IMAG5137.jpg


tilt motor attaches to the lens like this

IMAG5138.jpg


difference between the motorised (top) & manual (bottom) headlight casings

IMAG5139.jpg
IMAG5140.jpg
 
matthew elliot was after some inlet spacers, so brought some teflon sheet

IMAG5144.jpg


made a ducktape template from the inlet mani

IMAG5145.jpg


transfer onto the teflon

IMAG5146.jpg


drill holes

IMAG5147.jpg


milled the ports and it ready

IMAG5149.jpg
 
tried cutting the hole in the headlight to fit the tilt motor

IMAG5157.jpg


found afew more issues. the plug mount for the sidelights/indicators are too close and upside down on the manual headlights

IMAG5158.jpg


and there's not enough material for the motor too secure against, so this won't work

IMAG5159.jpg


trying to adapt a manual headlight to fit a tilt motor is turning out to be a PITA for just simply fixing a snapped bracket,
so instead lets just stick with the original headlight and simply fix the broken bracket. awaiting some special polypropylene epoxy

IMAG5160.jpg
 
this JB weld plastic bonder arrived, which apparantly can bond polypropylene

IMAG5161.jpg


gonna cut & swap this piece over

IMAG5162.jpg


bonded in place and so far it's holding

IMAG5163.jpg


also bonded all the bolts in place

IMAG5164.jpg
IMAG5165.jpg
IMAG5166.jpg
 
before reinstalling the glass lens, I thought there was barely enough glue in the housings to seal all around the glass so I warmed them in the oven to soften the glue into a very sticky blu-tack and then smeared all the glue from the manual headlights over to the motorised headlight housing.
be careful when smearing the very sticky blu-tack cos it peeled the outer skin of my finger from the inner skin :/

IMAG5167.jpg


now with enough glue, I warmed the complete assembly in the oven like this and then with hot squishy glue I squeezed all around the housing onto the glass lens

IMAG5168.jpg


headlights now bolted securely to the chassis

IMAG5170.jpg


fitted the new catch can top and even with a brief drive around town it now condenses soo much more water vapour now :)
aligned the beams using my laser level. all spot on now :cool:

IMAG5171.jpg
 
I noticed some oil vapour have always been leaking out the catch can screw lid down the side of the enclosure, maybe it's not fully screwing down (cos the screw top is also used to clamp the enclosure down) so the 3d printed top ain't fully sealed against the jar and leaking.

IMAG5188.jpg
IMAG5190.jpg
IMAG5191.jpg


the new design is definately catching alot

IMAG5192.jpg


after 200 miles the new catch can design has condensed 50ml of vapour from the crankcase pipe

IMAG5195.jpg
IMAG5197.jpg


the engine cover pipe only emits during boost but even this side has caught abit more than usual.

IMAG5196.jpg


I'll need to enlarge the enclosure hole slightly so the catch can lid fully seals up and then find another way to secure the enclosure
 
It turned out that the enclosure was abit too tall & rubbing on the chassis, so I trimmed it down and the catch can top can screw down fully now. Will see if it leaks again soon
 
On a personal update, some may know I've been suffering from anxiety for past 2yrs, which stopped me looking for work,
my life has stalled dead,
having awful 2am-1pm sleep pattern,
feeling tired with aching bum/leg muscles,
and my savings ain't looking good.

Went to a few therapists, even paid 4 some sessions, and nothing's changed except for wasting money.

But recently I've found some motivation to reorganise all my work HDD data backups, along with portfolio & CV, which has reminded me of how much stuff I've been through and my achievements :)

Once I've finished sorting it all, I'll then try to sort out a portfolio website I've always wanted to do.

Although I ain't job searching yet, a family friend who works at a jeweller's post room was looking for a helping hand over the Xmas shopping boom. Yup I'm free to help.

So now I'm actually getting up 7am to work 9-5 in a small quiet post room upstairs packaging shiny watches. Helps get me back into normal sleep times, back into a focused work discipline and get paid too, which is better than nothing :)

Hoping I'll eventually get back into a proper paid design job
 
Congrats Paul glad things are on the up :)

Sent from my SM-G920F using Micra Sports Club mobile app
It's a step in right direction.
Friends n family to the rescue again.

This feels like dejavu in my life.
2003 finished my Bsc degree but scared to work,
Then my best m8 got me into a call centre as my 1st job,
Before doing my Masters degree.

2005 did my Masters but couldn't find work,
Then my sister got me into her workplace as receptionist,
Before I worked as a designer in my 1st dream job in 2006.

And now after a mental burnout in 2015,
My sister's hubby got me into a jeweller's post room,
I wonder what the next step in this pattern is?
 
the catch can lid was still leaking some oil after trimming the enclosure, so I fitted an elastic band to seal against the glass jar

IMAG5206.jpg


and it's stopped leaking

IMAG5205.jpg


after another tank of fuel, 230 miles commuting, it's collected another 55ml of vapour. that's bout 240ml per 1000 miles.

IMAG5203.jpg


the only time it caught upto 330ml/1000miles was when it's crammed behind the front grill with chilled rain & air blasting through it but that was always hard to access.
the catchcan location behind the headlight's performing well now and easy to access.
 
playing with the lathe, I can cut some threads now. handy for when I make the lower suspension ball joint extension
Great to see that's still on the cards!

We cut threads using the lathe using the tailstock and taps and dies, the die you can push up flat and square using the tail stock, doesn't help with larger threads or unusual threads though.
 
Great to see that's still on the cards!

We cut threads using the lathe using the tailstock and taps and dies, the die you can push up flat and square using the tail stock, doesn't help with larger threads or unusual threads though.

aye, just prepping for when I have the right time & budget to make these extension bits.

I've got afew coarse metric tap dies & few useless imperial sets. using the dies are always abit fiddly to start, alot of hard work and sometimes ain't straight or concentric. making the threads on the lathe will help provide abit more accuracy & flexibility in the pitch.
 
after doing 206 miles, the catchcan has caught another 50ml of vapour (243ml per 1000miles)

IMAG5231.jpg


curiously found the gas canister is the same diameter as the glass jar.

IMAG5232.jpg


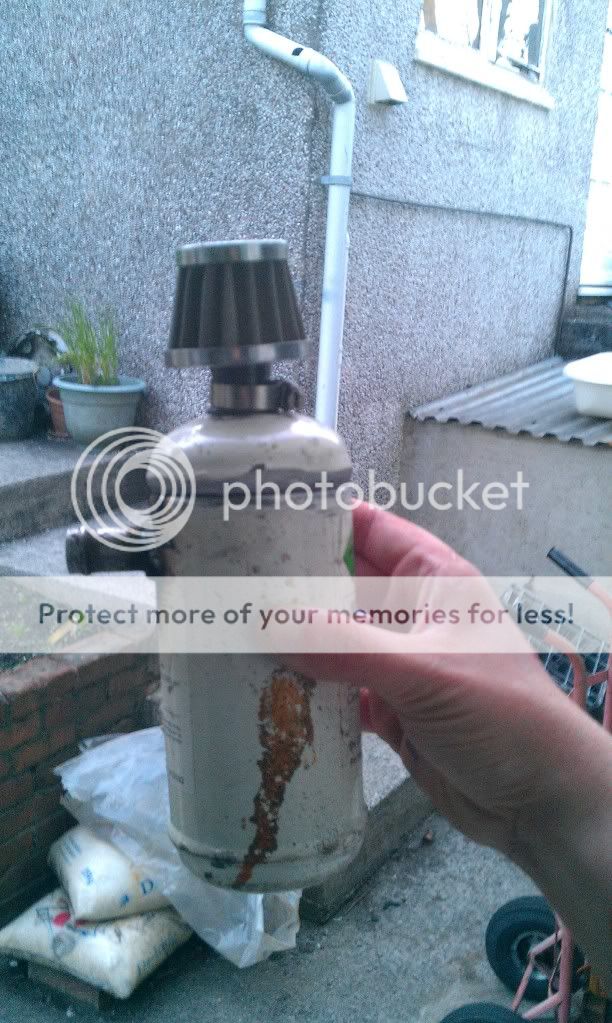
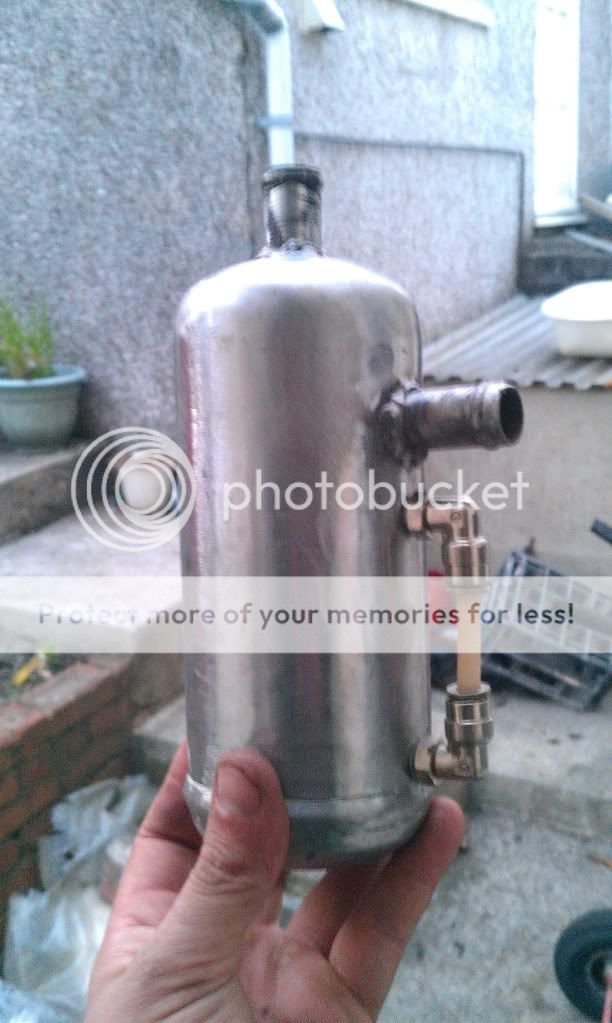
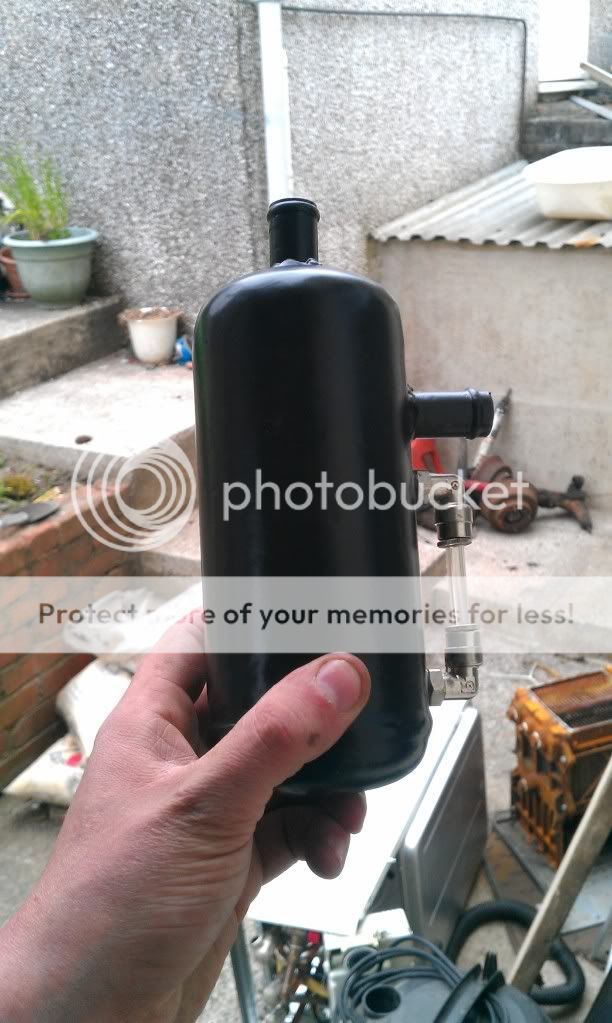
since steel is over 40x conductive than glass, gonna see how I can machine it into a catchcan container
 
Back
Top