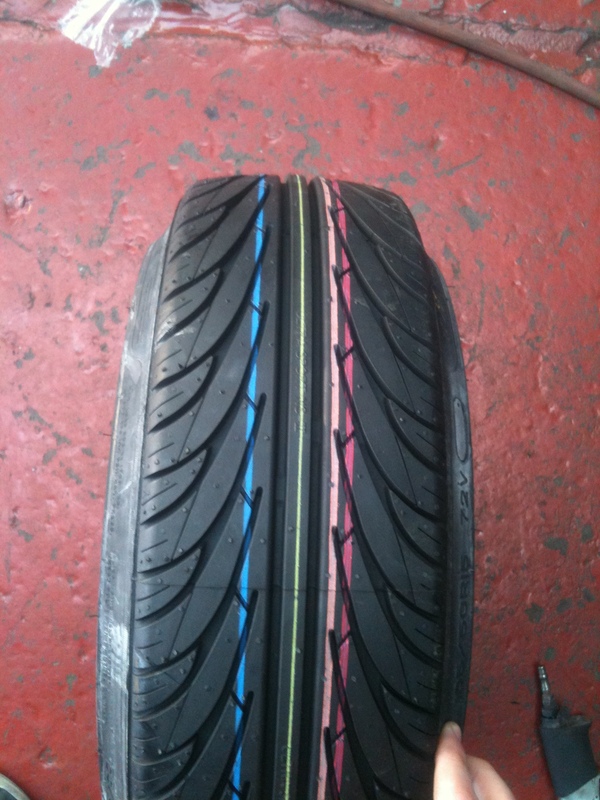
what did you do to your micra today ?

spent 6 hours washing,tcuting and cleaning the car.got sore fingers and stained red hands now lol.but also got a huge grin on my face as the car looks sweet.:D

Get yourself a dual action polisher, wash and clay the car, then polish my machine for a swirl free finish before applying two coats of wax :D Nissan paint is soft so doesnt take long to fully correct.
 
Get yourself a dual action polisher, wash and clay the car, then polish my machine for a swirl free finish before applying two coats of wax :D Nissan paint is soft so doesnt take long to fully correct.

yeah i was thinking as i was rubbing away with pure arm muscle how much easier it would be with the right tools lol.ahh well,its done now and looks really good to say its all been done manually.dont get me wrong,a machine will obviously do the job quicker and better i know,but i had to work with what i had and that was my hands lol.
 
Get yourself a dual action polisher, wash and clay the car, then polish my machine for a swirl free finish before applying two coats of wax :D Nissan paint is soft so doesnt take long to fully correct.

Those with solid colour twin pack have very hard paint. Use anything but a power mop and your arms will fall off :rolleyes:
 
I don't know actually, there seem to be quite a few variations in paint. Mine is a '94, so quite early and a lot of the old cars had missing paint above the rear tailgate where the robot was not setup properly. Mine has since been fully resprayed in Nissan white twin pack, this time properly, (just had the engine bay done at Matt Humphris), and the paint is good quality stuff.

I had a 95 1.0 LX in red and that was lacquered, as is my blue '96 GX but that's metallic. It would be interesting to find out for sure....

Attached is a teaser pic of the current build for the masses.....
 

Attachments

  • DSC04072.JPG
    DSC04072.JPG
    152.4 KB · Views: 301
I'm sure a paint guy would know, all I do is correct the finish :) shame paint is not what it used to be with all the health and safety and environment rubbish.
 
de-badged the rear. not sure if remove the rear wiper or not.

418111_10150561683796825_509706824_9274029_2004371870_n.jpg


de-badge the front. had holes hence stuck the MICRA from the rear to try and cover the holes.

401376_10150561684906825_509706824_9274032_2083919304_n.jpg


then fren came round so can have a play on some 17s. nice size but need higher profile tyres.
think ideal wheel size would be 17 7j et38, 8j et38 with 185 55 fronts and 195 50 rears (just guessing on tyres)

421040_10150561687831825_509706824_9274038_1705483400_n.jpg

They look good :) whats the standard wheel size for your car then? Ive seen a k11 with 17's on and it looked ridiculous! Maybe its the lowering that helps..
 
I'll ne rebadging the rear tomorrow so need a 'what will you do to your micra tomorrow' topic lol.
Like the wheels, look very similar to the fox racing ones I waxed up in the lounge last night, should have posted that in the 'what did you do to your micra yesterday' topic :)
 
Joe: oem alloys 15s, gold wheels i got on 15.

warpa: fyi (if you didnt know, not teaching you to suck eggs) i used tar remover to get rid of the adhesive, cloth to wipe and old bank card to scrape away adhesive. HTH :)

euro: private.. will sell for the right ££ ;)
 
Yeah some cheap stuff I bought last year, my wrapping is far from perfect but I'm getting there. Trying to decide whether or not to do the gear stick and handbrake surround next (if I have enough left)
 
Although i have a Frank modded manifold im still always on the look out for orher ways of doing things :D so today i found a ford focus manifold and thought hmmm, that looks very similar to the micra set up, got out the air saw and hacked it up. bit of flat plate now to make the mounting flanges :D

240220121594.jpg

240220121595.jpg
 
Yeah some cheap stuff I bought last year, my wrapping is far from perfect but I'm getting there. Trying to decide whether or not to do the gear stick and handbrake surround next (if I have enough left)

Looks good i like give me ideas for the doorcards lol I have a roll of it kicking about somewhere which is unused lol never got round to using it :p
 
So I thought I'd give the gear stick surround a go, got it as good as I could my hands were burning so had to stop
 

Attachments

  • image-1817623308.jpg
    image-1817623308.jpg
    430.8 KB · Views: 310
Ordered some rear shocks as the back end is starting to feel a bit skippy round corners sometimes. Ordered KYB Excel-G as misterauto.co.uk are having a 38% off shocks sale :).
 
drained and refilled gearbox with fresh oil.silky smooth gear change now :D
How easy is this to do?


very easy took me about half hour to 45 mins.

jack up the front of the car,and support on axlestands
then on top of the gearbox at the back end of the gearbox you will see the speedo cable where it goes into the top of the gearbox,its held in with a 10mm bolt.undu this bolt FIRST as if you drain the gearbox and cant get this bolt undone afterwards you wont be able to refill the gearbox with oil! (the speedo cable is tricky to see as its dark and concealed right at the top/back of the gearbox under the wiring loom and fuel pipes that go to the fuel filter but its easy enough to find)

once you have undone the 10mm bolt,carefully pull the speedo cable out of the gearbox and push it to one side.

then crawl under the car and locate the underside of the gearbox.along the bottom is a nut with a sunken square hole in the middle of it.this is your drain plug.get a 1/2'' socket bar and insert the socket bar directly into this square hole (you dont need a socket bit on the bar) and undo the drain plug.

have a bucket ready for the oil that will come out.

once its drained clean up the the plug threads and put it back in the gearbox.do not over tighten the nut as you may snapit or damage threads but make sure its tight enough not to leak.

then go back to the speedo cable hole and insert a funnel into the hole (you may not wish to do this but it reduces spilling your new gearbox oil over the floor.(or you could attach a long enough piece of rubber tube to the new bottle of oil and wiggle it through the hole and hold the bottle upside down till its empty)

Top up with 3.1L of 80w/90 gear box oil.(cost me £18 for 3 individual 1L bottles from local motor factors)

reinsert the speedo cable back into the gearbox and tighten up the 10mm nut.

double check your drain plug is tight and lower the car back down to the floor.

Test drive car for a few miles and ensure the gears all engage smoothly and there is no funny noises.and make sure your speedo works.

Once you get back home check for leaks around the drain plug and if you have done everything correct then job done!
 
Debadged the rear, did an engine bay and door shut detail, replaced broken wing mirror and bit that pleased me the most was grovelling under the car while on those cheap ramps from halfords and loosening the linkage on the gear change thingy, now it springs back into place in neutral :) Also clayed the car ready for machine correction tomorrow

Have got piccies but intraweb is down and am on phone :/
 
Internet is back up temporarily.

004hm.jpg

005lc.jpg


after a very quick clean;

008or.jpg

009cvi.jpg


door shuts cleaned;'
007pev.jpg


Will post a seperate thread of the full detail tomorrow in the k11 section:D

Forgot to add that it didnt need much clay, must have been a local drive as there was little contaminents in the clay.

006ahl.jpg
 
fixed my dash light bulb and no rear driving lights (not working) problem by re earthing the radio earth wire as previous owner had earthed it to the illumination wire and the dash lights/rear driving lights fuse kept blowing,so now i can see how fast im going at night and have working rear lights too :)

oh and removed rear window (back window) seal as it had shrunk and did not fit properly (lets hope no leaks,shouldn't do as the rear window is bonded/sealed in):)
 
Today, FINALLY got around to sorting my radio out, had to rewire it so it had constant power as it kept forgetting everything when i turned the car off!
Also booked in to see a mechanic at home to see about this oil leak... it was too wet for me to be fussing with checking under the bonnet today but i'll need to before friday coz its a 220 mile drive home to the mechanic and something tells me doing that with no oil in the box would be bad :s
 
hehehe busy day for all, those radio wires are right buggers if you get them wrong lol spent the best part of 3 hours sitting in my car the other week with a wiring diagram for the micra an one for the stereo trying to tape them all together, got it working, eventually.
Today was a devil, driving to my brothers sort it out make sure tis warm when he gets back from holiday etc, hear this horrible rattling warbling noise coming up my right side check my blind, no-one there, hit national speed zone, open it up a bit, sound comes back so I ignore it til I get to my brothers 5 mins down the road, drive it up onto a bunch of bricks for that purpose to see my exhaust snapped clean in the mid-section so nothing was going through the back-box at all, anyway just took off the hanging bits and ordered a new back-box and midsection from a local garage, should be here tomorrow =D been driving round all day sounding like a right twonk though!
 
Sorted the lowering on the SuperS, Matiz front springs and stock shocks on the front, Nismo springs and stock shocks on the rear, i think i have an even lowering on all corners (and cant go lower, i need to pass on some bad country roads):


IMG_0477.jpg
 
I have a solution to go even lower on country roads Arm :
1) Remove your front and rear nismo splitters
2) Send it to my adress
3) Make the car even lower with the cm you gained removing the splitter
4) Extra optional bonus step: also remove and send in the parcel the side rear wheels nismo spats
:D

An alternate plan:
same as above... bar 1
send to MY address :p

Over my dead body... :D :D
 
Sorted the lowering on the SuperS, Matiz front springs and stock shocks on the front, Nismo springs and stock shocks on the rear, i think i have an even lowering on all corners (and cant go lower, i need to pass on some bad country roads):


IMG_0477.jpg

wow that looks great,youve got the same setup (bar Nismo rear springs) as what im going to do and it looks great! i like the steelies too :cool:
 
Back
Top