Rob's boot install blog

Ok, slow day..

I was hoping to get everything carpeted today, but forget to get my floor out before i took my car to the garage!

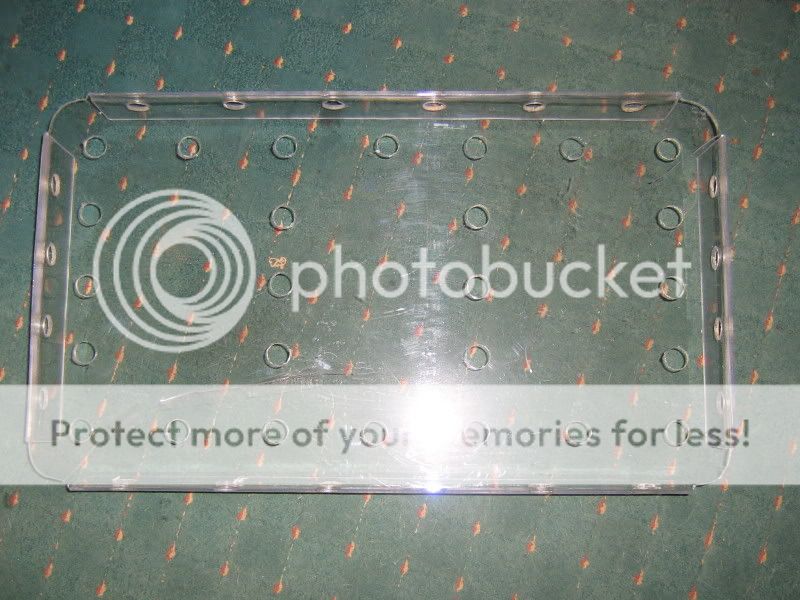
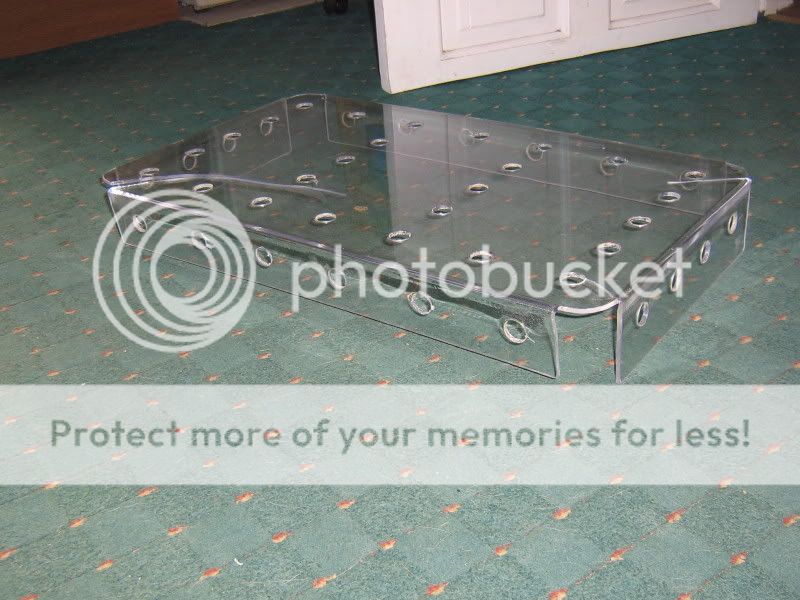
So all I've done is bend the amp cover into shape. It was perfect, then i decided to sand it to round the corners, and it cracked in a few spots:

IMG_0615.jpg


IMG_0616.jpg


Bit gutted it's cracked, but it's only there to stop my amp getting a beating and won't be in there very often, so meh. I have some 'sticky-back-plastic' (does it have an actual name?) i might cover it with, just to stop the cracks getting worse.
 
Bit of advice for your spacer rings, if you decide to smooth them in, when it comes to carpeting stick LOTs of glue on the ring and the carpet, then stick the carpet onto the ring, then use a hairdryer to heat up the carpet and work it round the angled piece, dont try and do it all in one go.
Use a stanley knife and use the bottom edge to push the carpet down. If im carpeting a piece like that at work i stick a scrap piece of carpet over the carpet im smoothing so i dont bald the finish product.

OR! you can allways carpet the spacer rings seperatley to make things quicker and alot easier.

Of course i dont wanna tell you how you should do your project, im just offering some advice should you choose to do it that way.
 
Rob, wish I'd read that before, i spent today carpeting! The rings aren't smoothed in, but I'm not too worried, I could always redo them with an angled side if I want too..

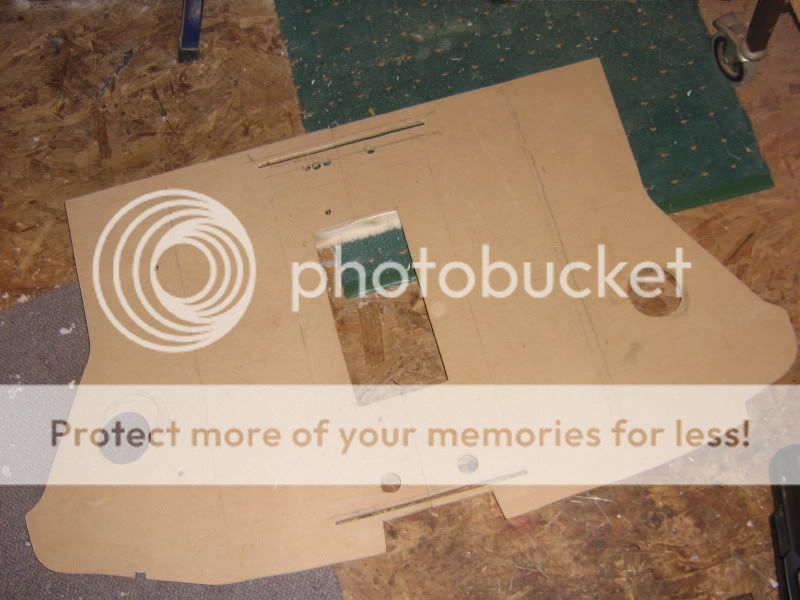
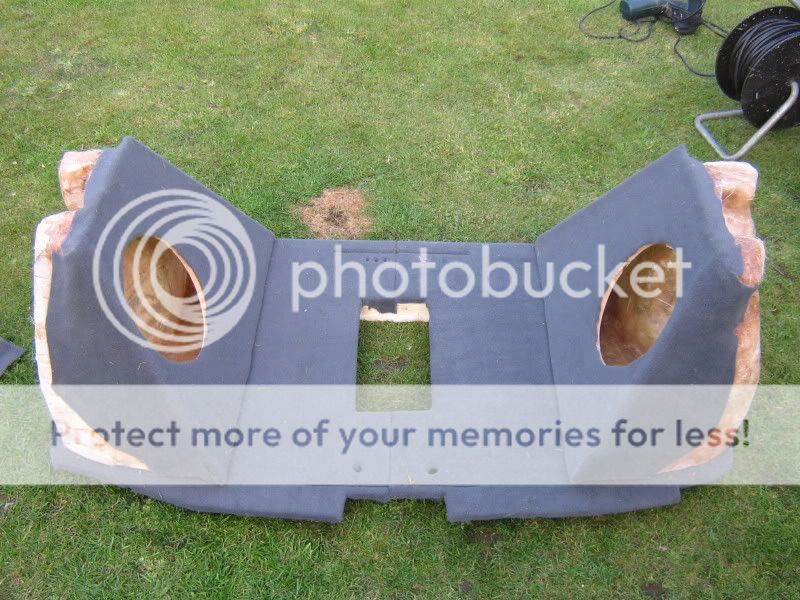
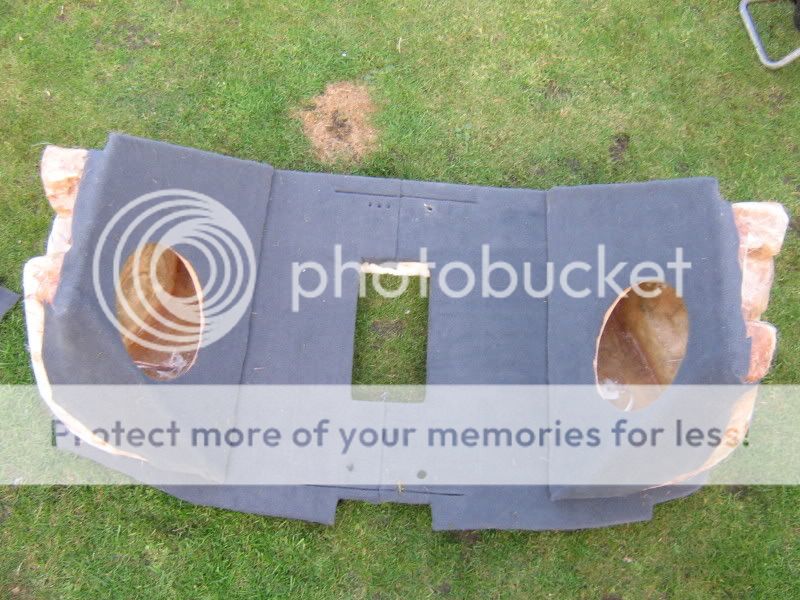
So, i cut out the rest of the floor:
IMG_0656.jpg


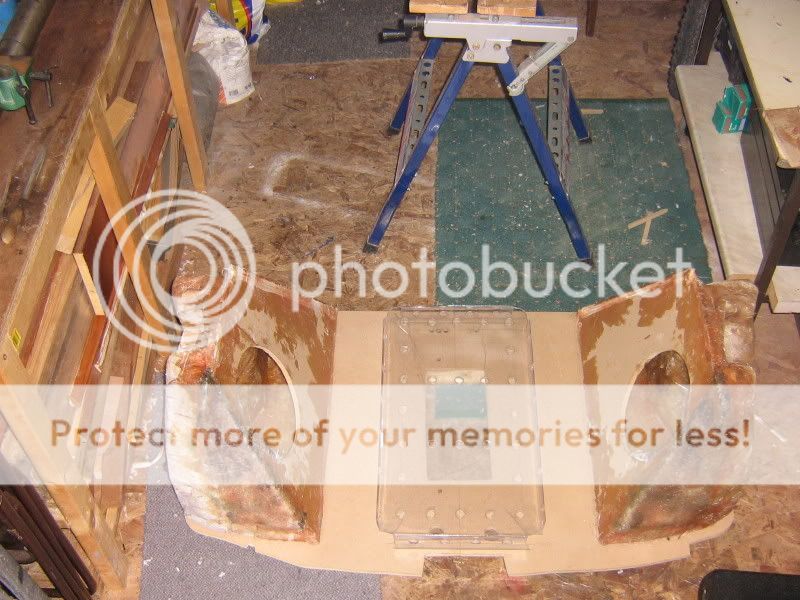
Mock up of the layout:
IMG_0660.jpg


And everything carpeted!:
IMG_0661.jpg


IMG_0663.jpg


I've cut out the spacer rings now, just need to carpet around the edges of them, carpet them, then it's just a matter of wiring it in! :)

Ooh, I've also come up with a new design for the amp cover, as I have enough plastic left :)
 
Not a bad job tbh mate. Especially if your not experienced with it. By my reckoning it will look good when its all installed, I know we've yet to see the finished product ;)

What were you using to cut the plastic? And same story for bending that also, use a hairdryer to soften it up otherwise it will be brittle and break again. Things like this its just a case of taking your time at every stage (Y)
 
The plastic was fine until i started sanding it after it was bent, i guess heating it up made it brittle..

I'll amke a wooden frame up and just have a plastic top to it :)
 
Ahh that actually makes sense lol. I get alot of experience in all sorts of fields as i build motorhomes, but working with plastic the way you are isnt something i do so im not 100%
 
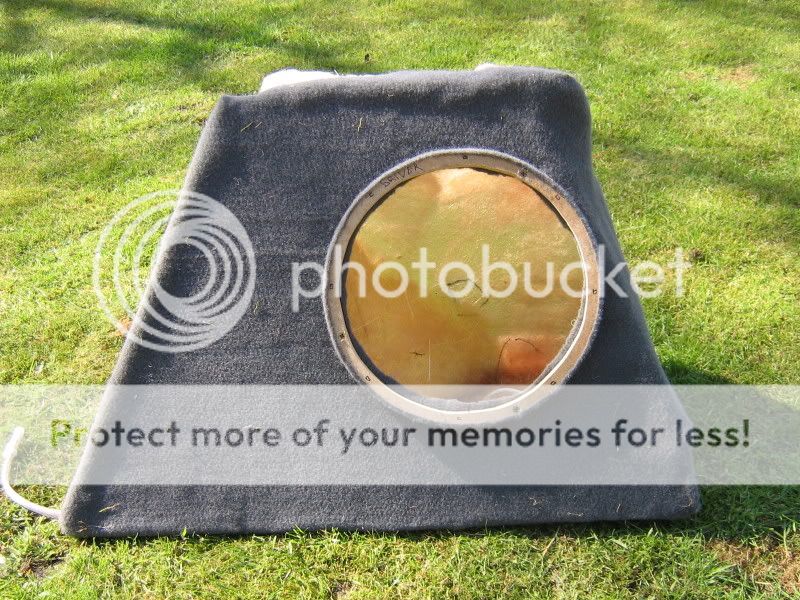
Cut out the spacer rings this morning:
IMG_0664.jpg


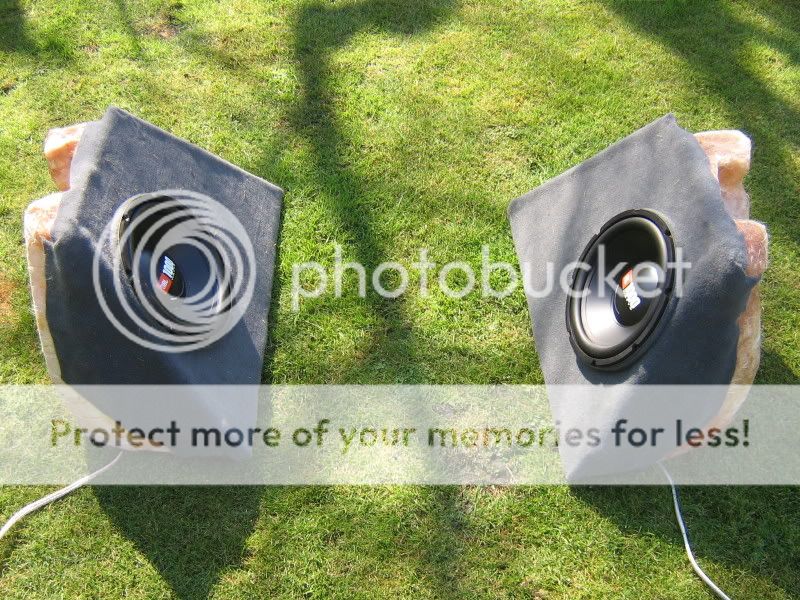
Then put the subs in place:
IMG_0666.jpg


And spent aaaages hiding the wires around my car, before putting it all back in :D

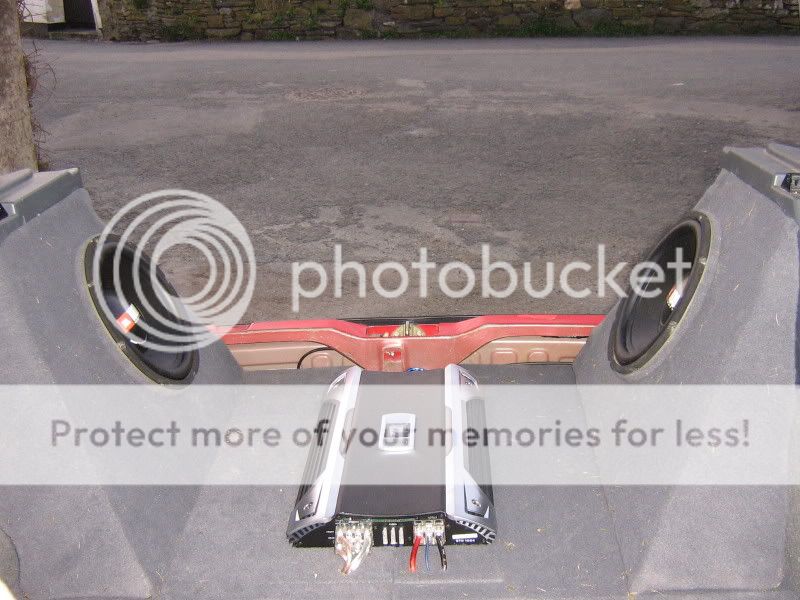
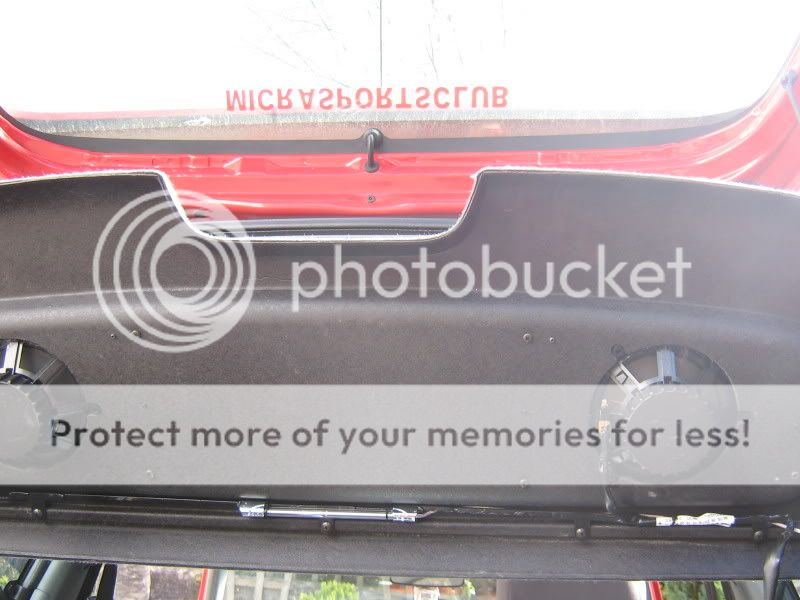
View from inside, seats down, looking out:
IMG_0670.jpg


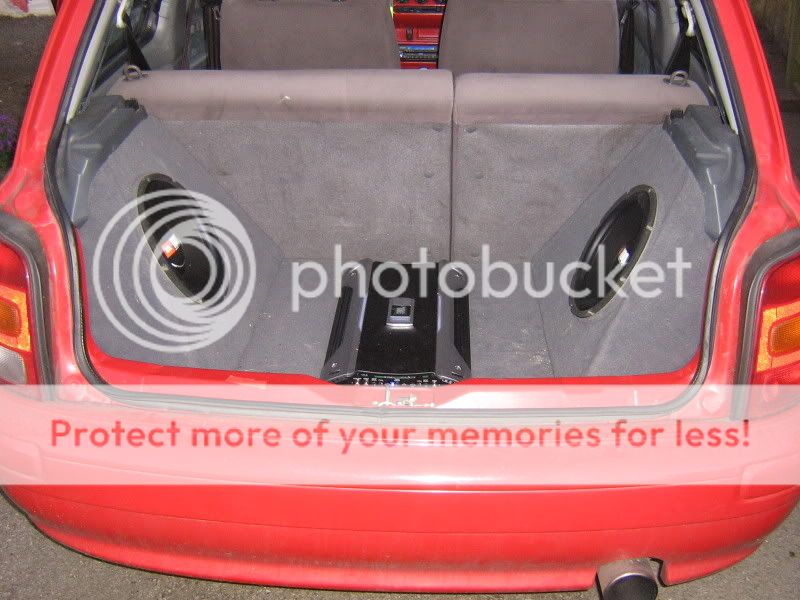
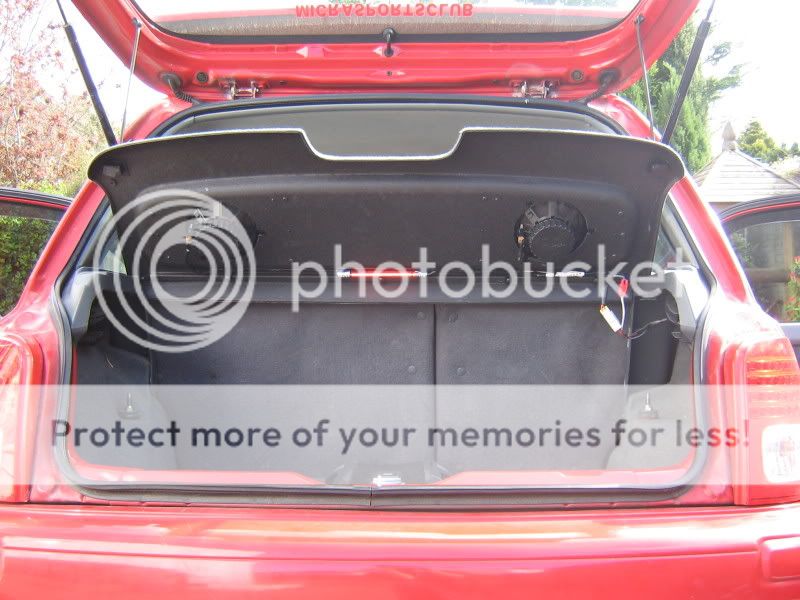
And from outside:
IMG_0671.jpg


Just need to set the amp up properly, and sort out a boot light :)
 
Cheers :D

Once the light's here I'll clean off the grass etc and get some better pictures! :)

Worst thing is, I gotta rip it all out again soon to fit my new rear lights lol
 
OMFG that is mint!!! i love that so much!!! it looks like a proper factory job and everything! if only you could have the subs say nissan then it would look like nissan had fitted it lol

how does it sound?

well done mate, you should do this as a job!
 
It's sounding alright at the minute, I know there's more to get out of them but I need to turn the volume up to set the levels on the amp, and I'm at my grandparents in a tiny village, so I'll go somewhere more open to do it later :)

I didn't note down any dimensions at all lol. I threw out all my notes as i finished with them!

And thanks for all the comments! :D

sooooooooooo gay ill have to measure it all now :)...only jokin mate..nice job i was thinking like youres but the subs facing upwards?
 
Light's finally in!

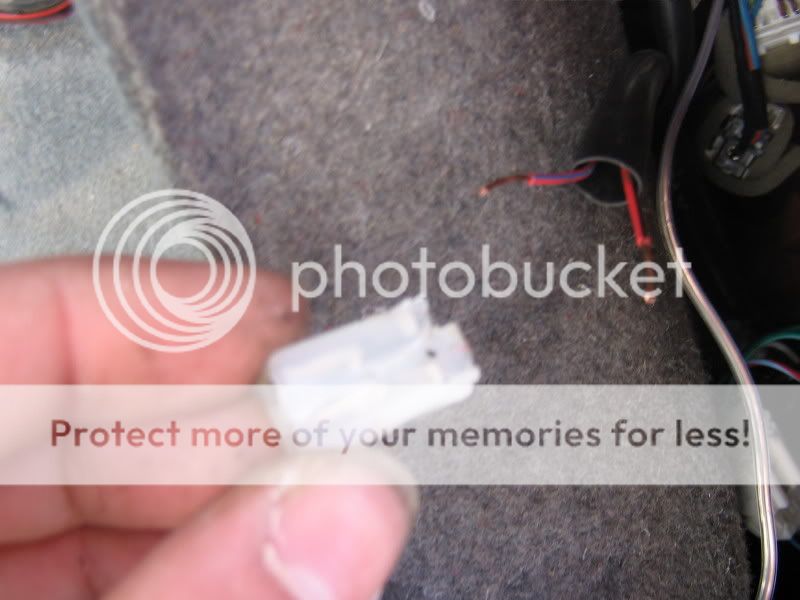
Started by cutting off the old boot light connector plug:
IMG_0679.jpg


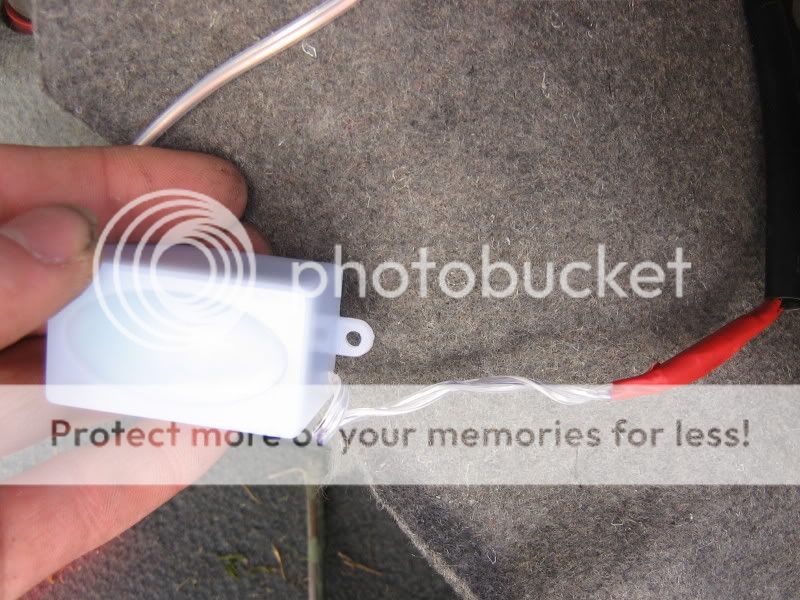
Then joined the Light's transformer box:
IMG_0680.jpg


That was double sided taped out of the way, and i mounted the light under the parcel shelf:
IMG_0681.jpg


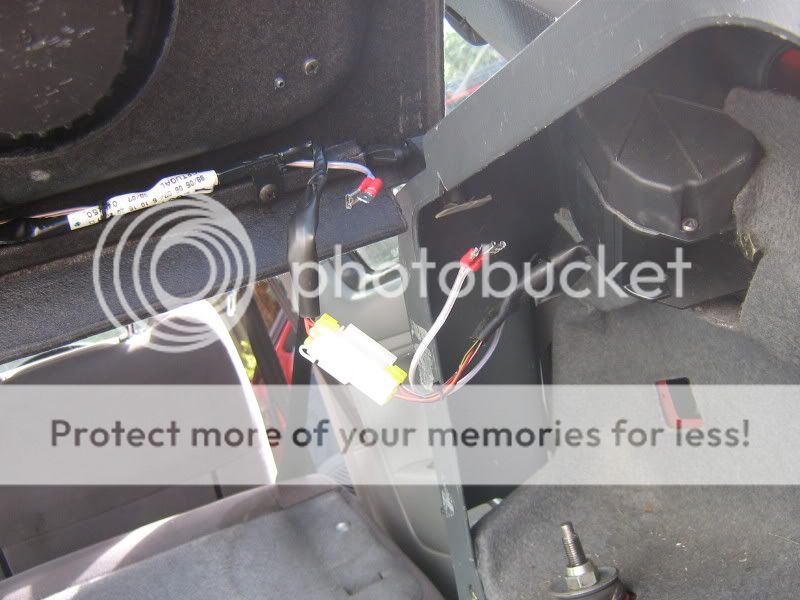
Then cut down the wires and added some spade connectors so I can still remove the shelf easily enough:
IMG_0682.jpg


And it lit up:
IMG_0685.jpg


You can't really see the light itself when you stand at the boot which is how i wanted it :)

I'm waiting on some bulbs before putting the subs back in, once they come I'll get some decent pictures, and some night time ones :D
 
Ah the old PRISM Cold cathode tubes, be careful with those as they're quite fragile, though they are very bright for the size that they are.
 
Back
Top