• Please only use these forums for blogs, they are not a discussion forum

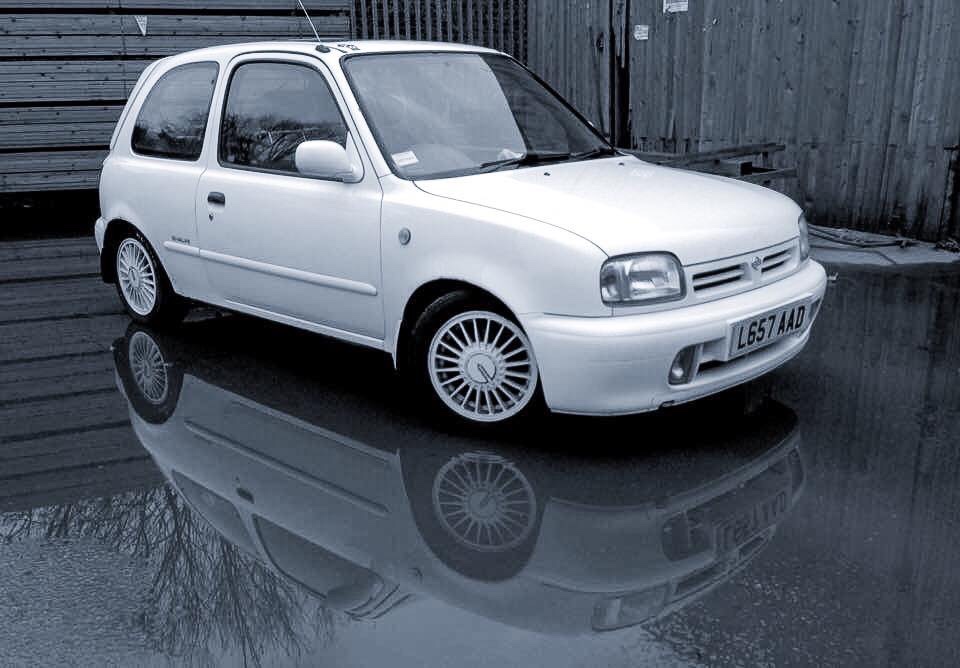
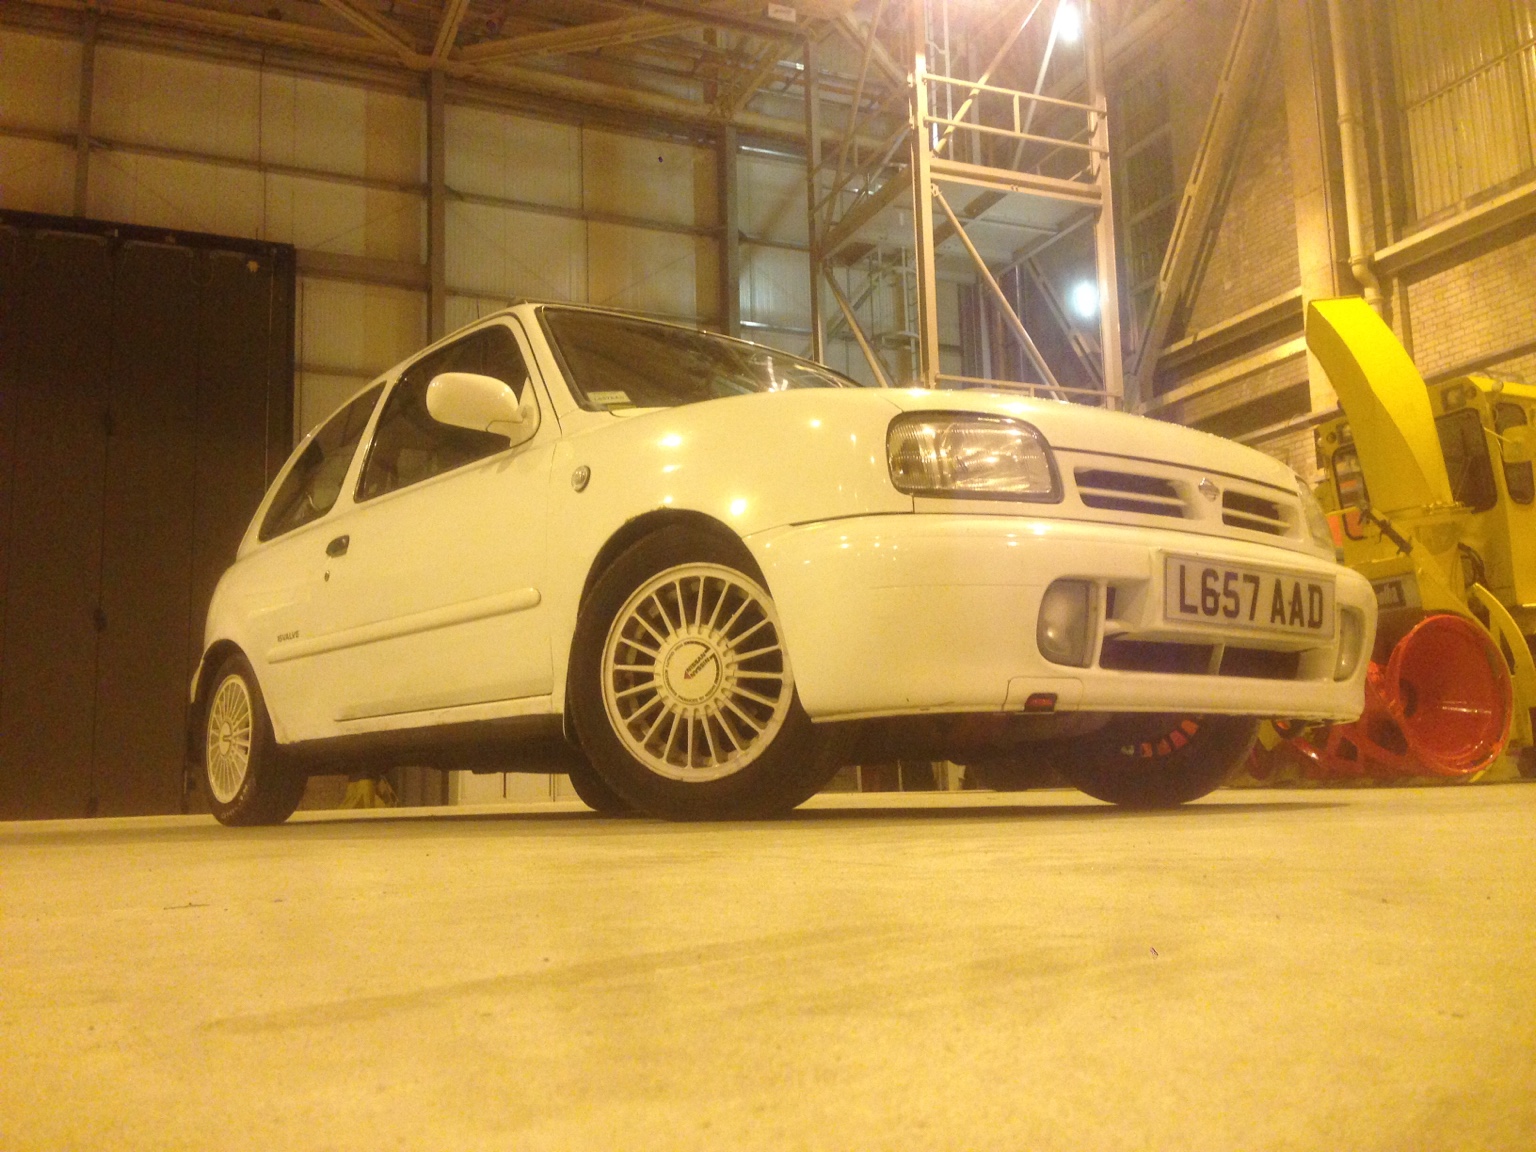
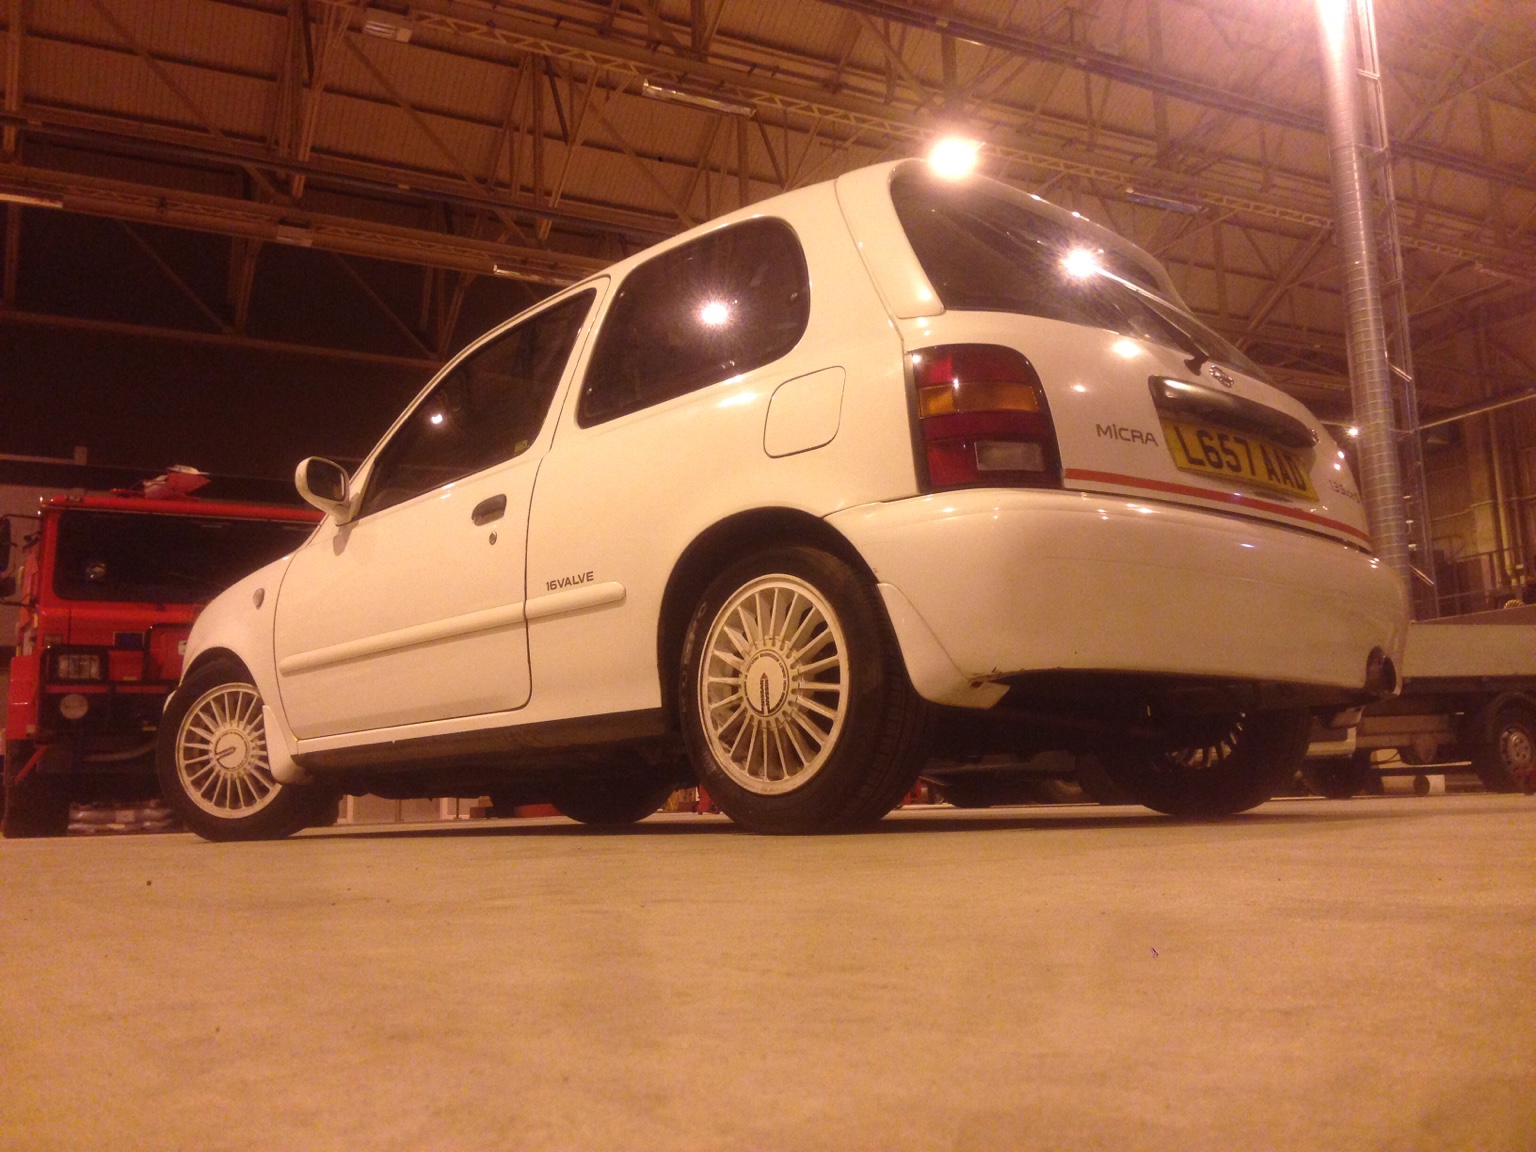
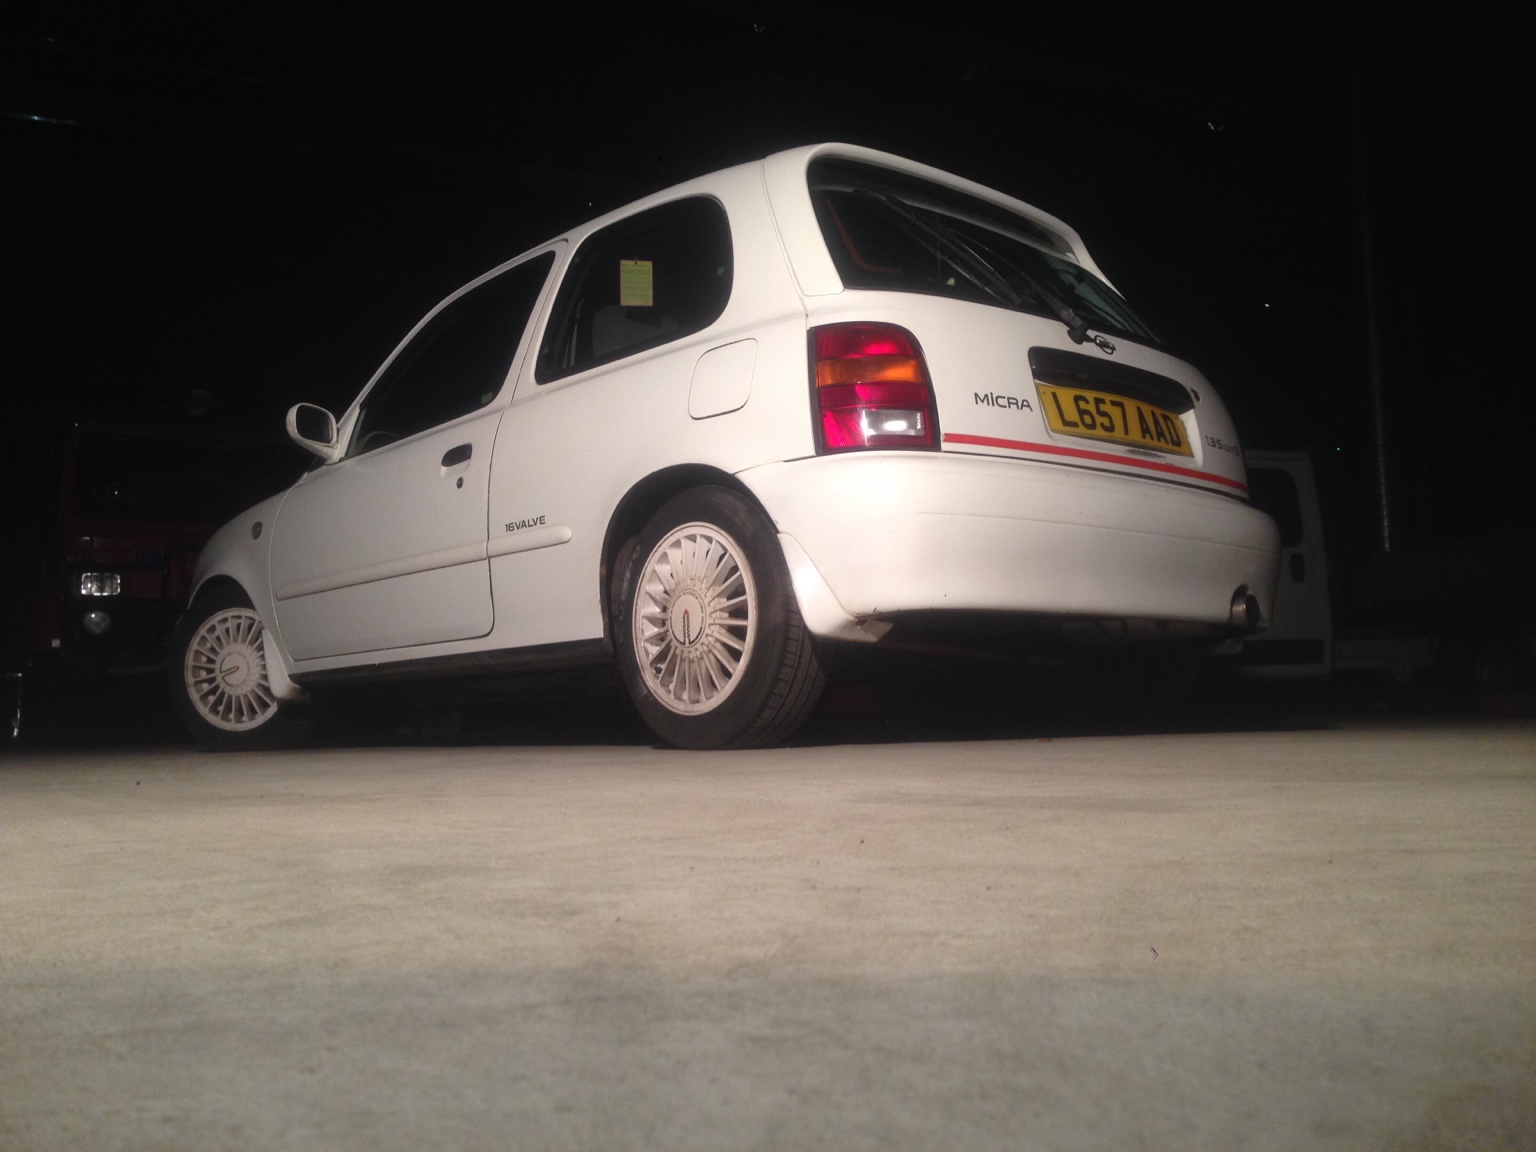
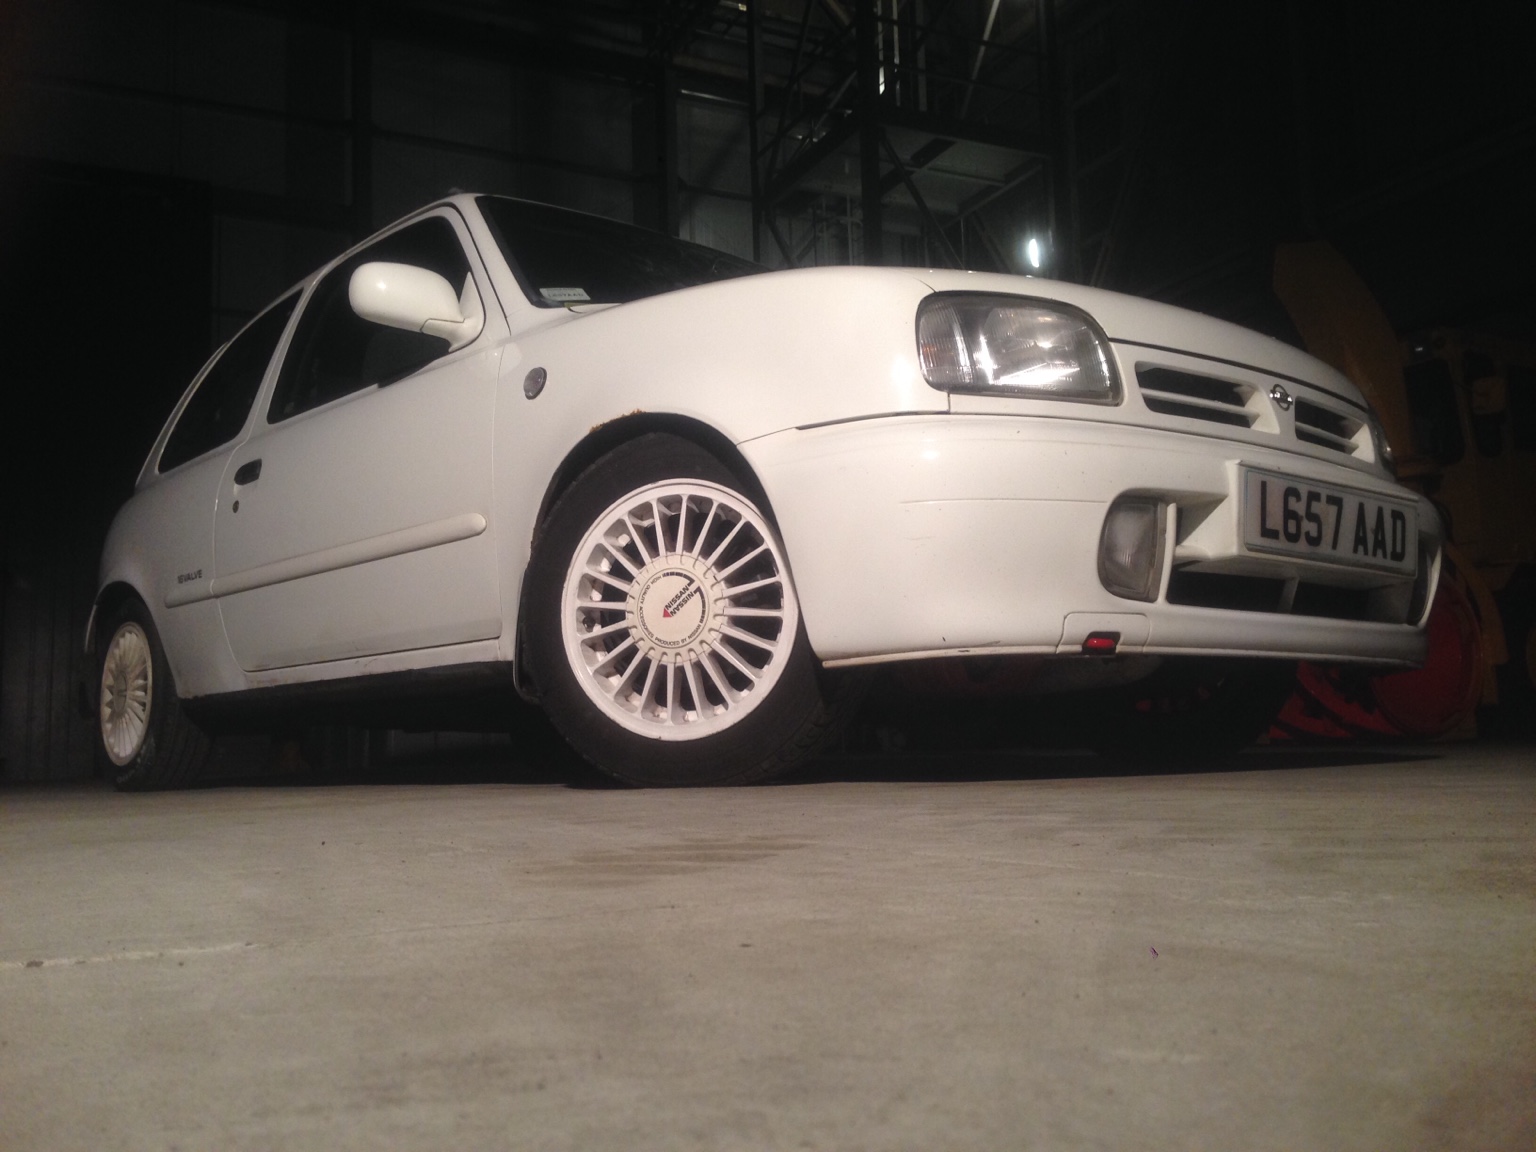
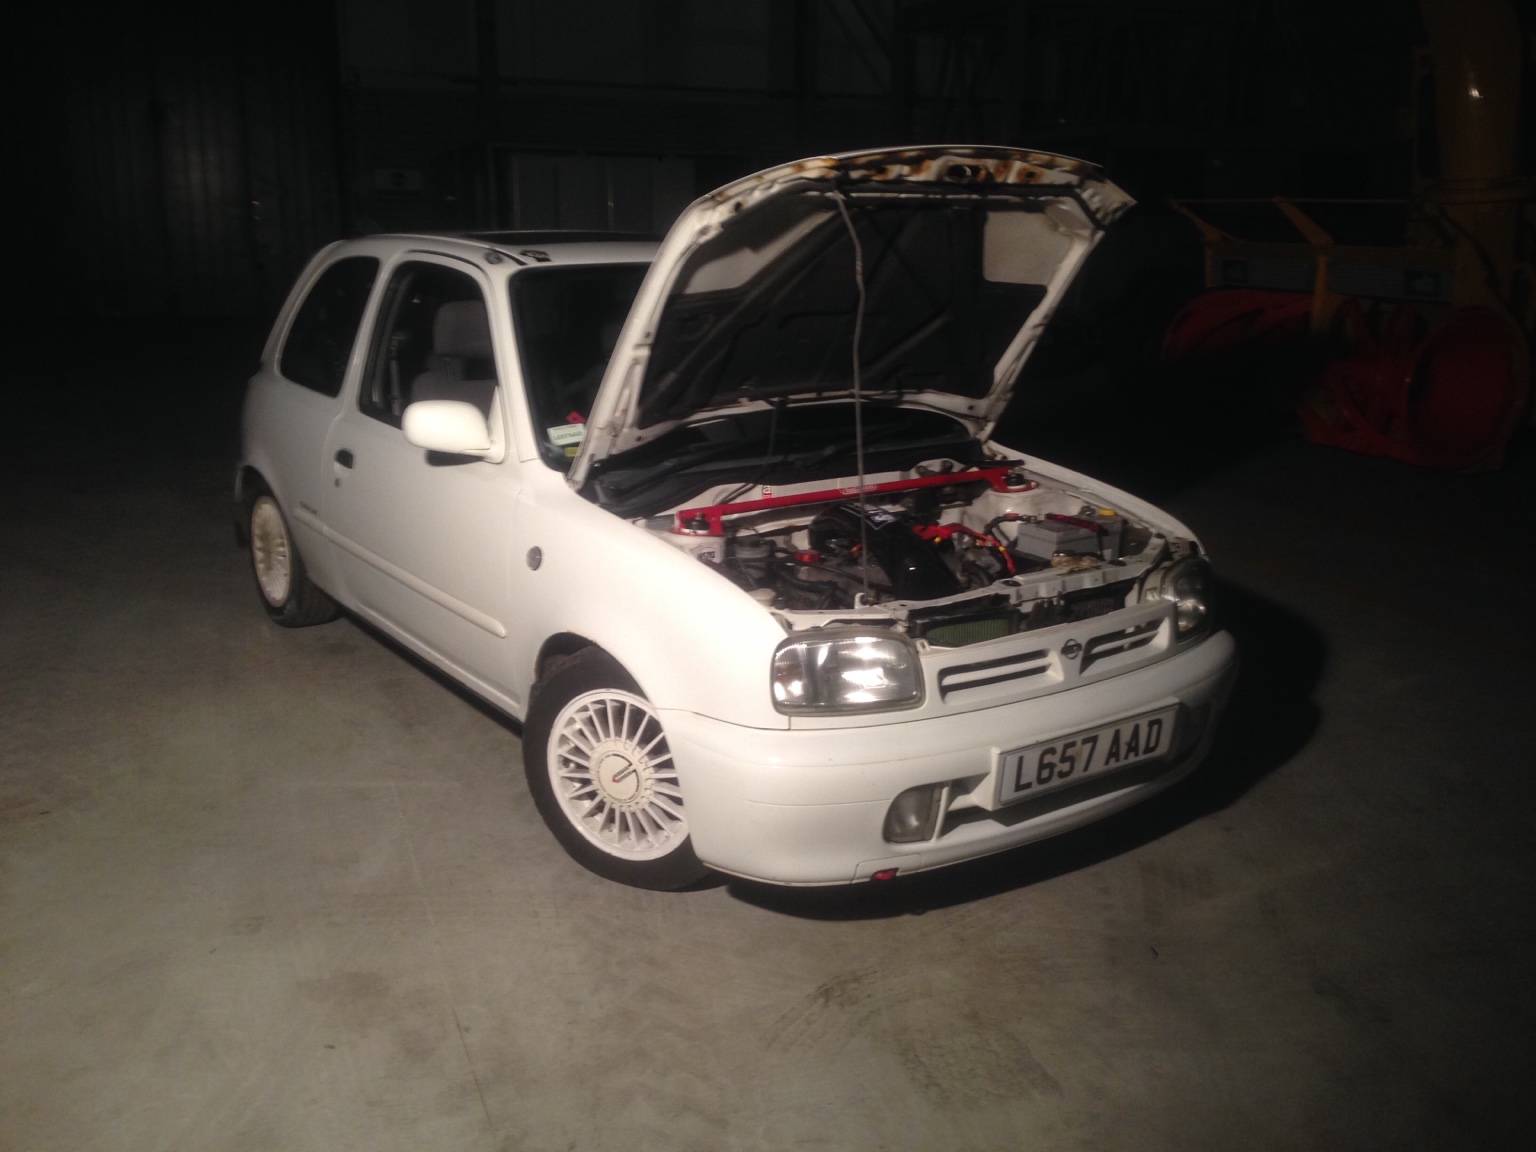
White Super S - Whiskey's Blog

Potentially Frank. I am struggling to think how it could be connected wrong because it's quite simple - three connections onto three different shaped connectors.

Potentially damaged loom.

Also thinking about the main negative for the battery - I have it bolted onto one of the starter motor bolts, I don't think this could cause an issue as it should all be earthed anyway but I may be wrong.


Sent from my iPhone using Tapatalk
 
Ahh okay, I could of sworn I bolted an earth back on the starter motor and onto the gearbox... Either that or the one that in was meant to bolt back onto the starter motor went to the clutch arm bracket on the gearbox...

Hope you find the problem, I can imagine how much of a pain it is after all the work you've put into it!
 
Yeah I have a large ring terminal, small ring, and blade on the starter, then main battery neg is attached to one of the starter motor mounting bolts.

The blade on starter is earthed to the chassis leg below battery. Cleaned all the earths too.


Sent from my iPhone using Tapatalk
 
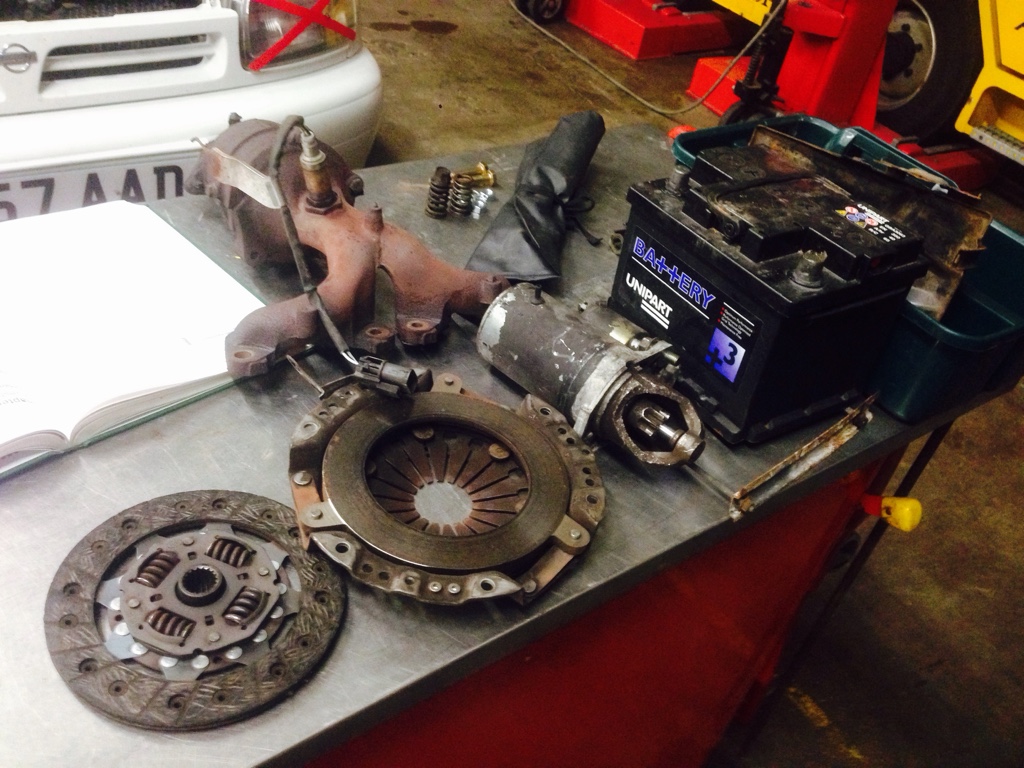
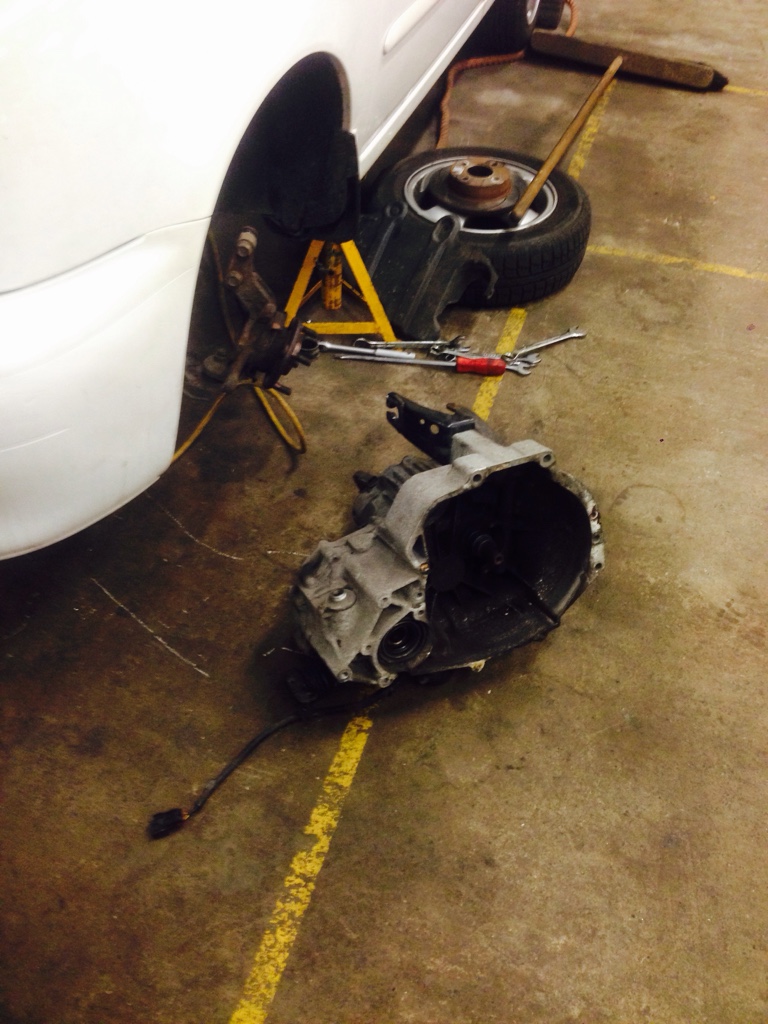
Good news - engine starts and runs. Took motor off and bench tested it to work a few things out. Did away with the blade earth terminal and it worked. Simple.

Bad news - makes a terrible noise. Part of the engine/box sandwich plate is bent and grinding on the flywheel teeth. Tempted to just run it until it stops. Investigating underneath and seeing where it is bent and where I can fix it.


Sent from my iPhone using Tapatalk
 
Short youtube vid of the terrible racket - which interestingly only happens now when the clutch is pressed.


Sent from my iPhone using Tapatalk
 
Pretty sure it's the thin black metal sandwich plate mate :)

Because the dowels were badly corroded we did smash it up a bit with various levers and chisels and so on :)


Sent from my iPhone using Tapatalk
 
Hey you're here and trying and that's half the battle!

I think if I just rev it enough and carefully grind the clutch into it in "bursts" to allow things to cool not much can go wrong.

I used a part-worn clutch so that owes me nothing, and I have a spare flywheel.

If worst comes to the worst I'll have to take the box off again but I'll try damn hard not to.


Sent from my iPhone using Tapatalk
 
if its fouling with a light touch of the clutch ? (the endfloat in the crank only needs light pressure) then i would say yes to the tin plate contact
but if it fouls when the clutch is fully open ? then i doubt it :)
 
Yes it fouls as soon as you take up the slack and start to actually apply pressure to the clutch.

When I first started the car it was grating then, even in neutral with no clutch. Now it seems that part has grated or bent out of the way, and it only does it on clutch movement.


Sent from my iPhone using Tapatalk
 
Long time since an update!

Where to start...

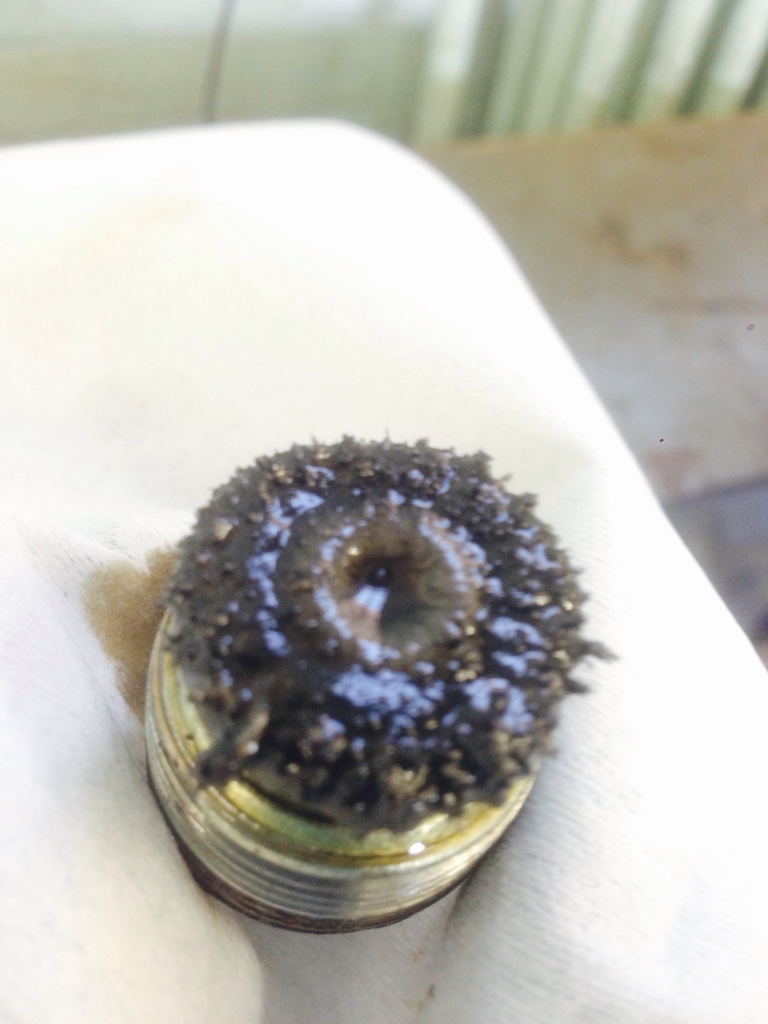
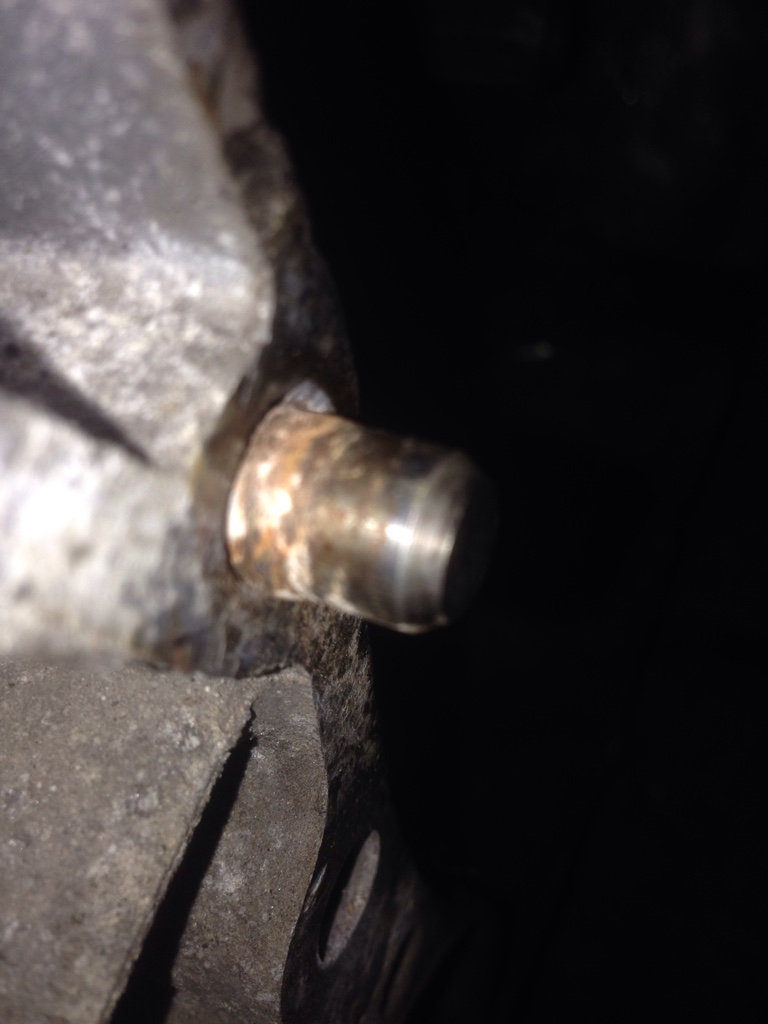
Here's my oil drain plug from the gearbox pre-clutch change, furry!
e1f59eb7048629bd6a0309db8e9466d7.jpg

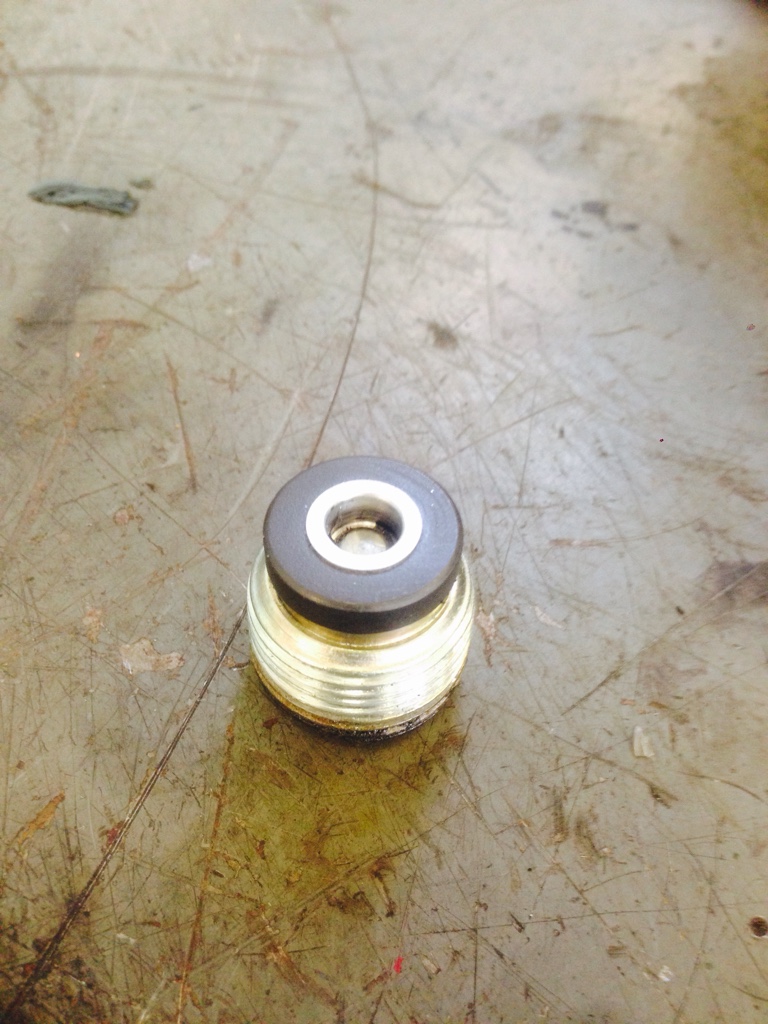
This is what it looks like clean
380aa2dc5699a4f5f72ee7c38dbc2608.jpg


a634cab67354dab6919eab7c743c87d3.jpg
52fdb7de5f10d9f9b335995fb1e8bf17.jpg
fe431a2d8db478de0537f14581dfdf94.jpg


The next pic is of the very corroded and totally seized dowels which put up a serious fight!

f23b288b862722f94639b229a8d22f81.jpg


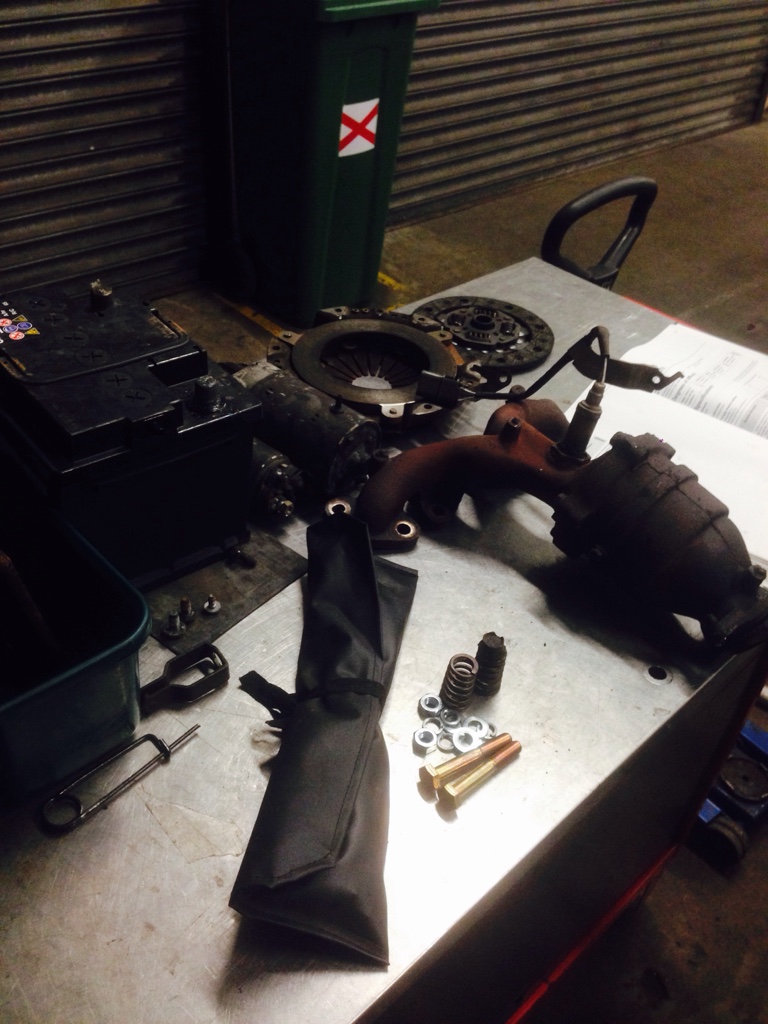
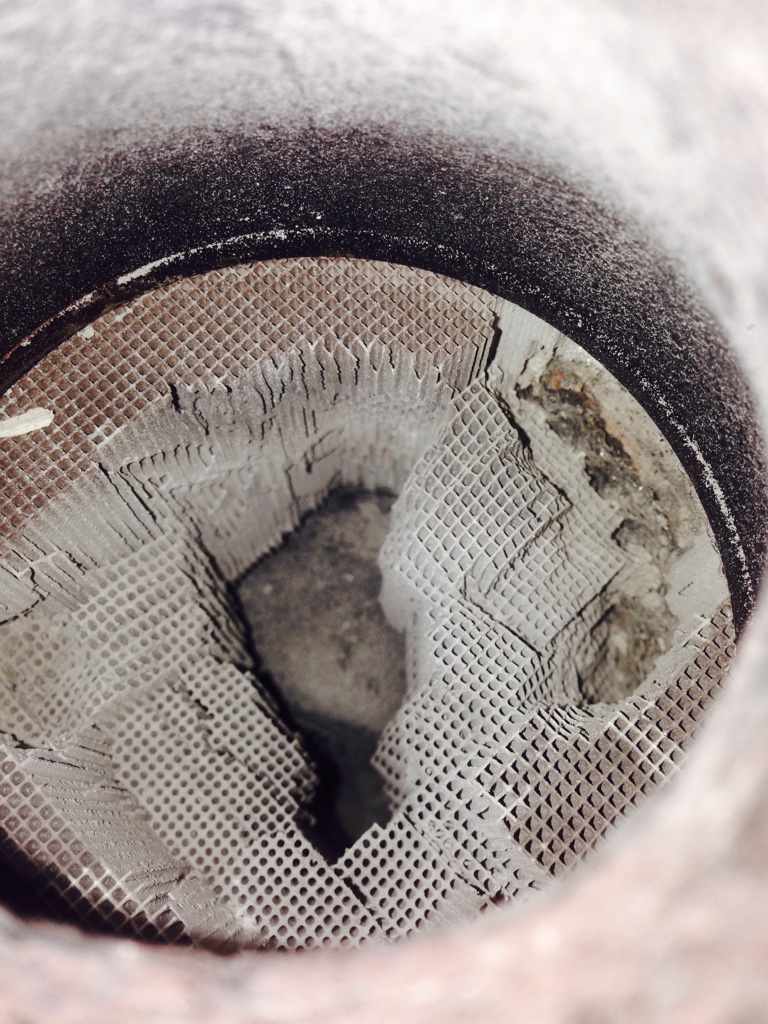
I also smashed the cat out of the manifold, here's a pic in the middle - I got rid of it all.
f6c621653700e394e71002a86c2b3a38.jpg


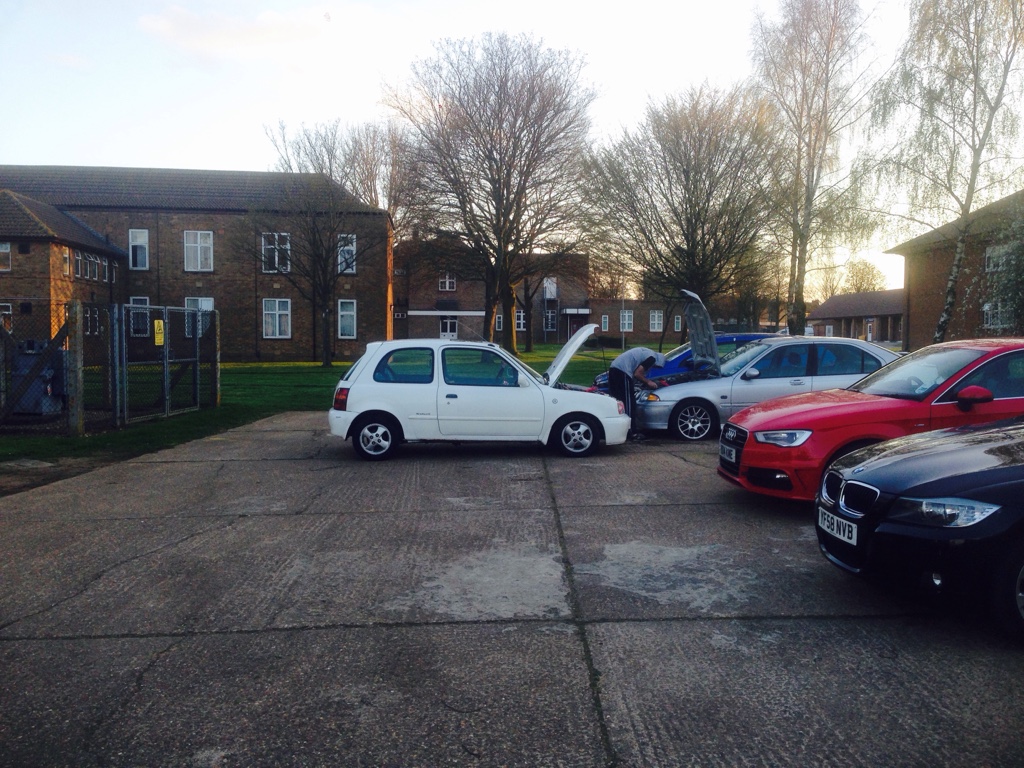
I rescued my friend's totally dead MG. Micra power!

326d418470f0b04e5599b2f4975e988f.jpg


I gashly reprofiled the throttle spindle for increased airflow; stock:

9c9c01692f7319e52c6d6dac23484ab9.jpg


Gashed:

b2273d8a197f4ae097752499d52f29c0.jpg


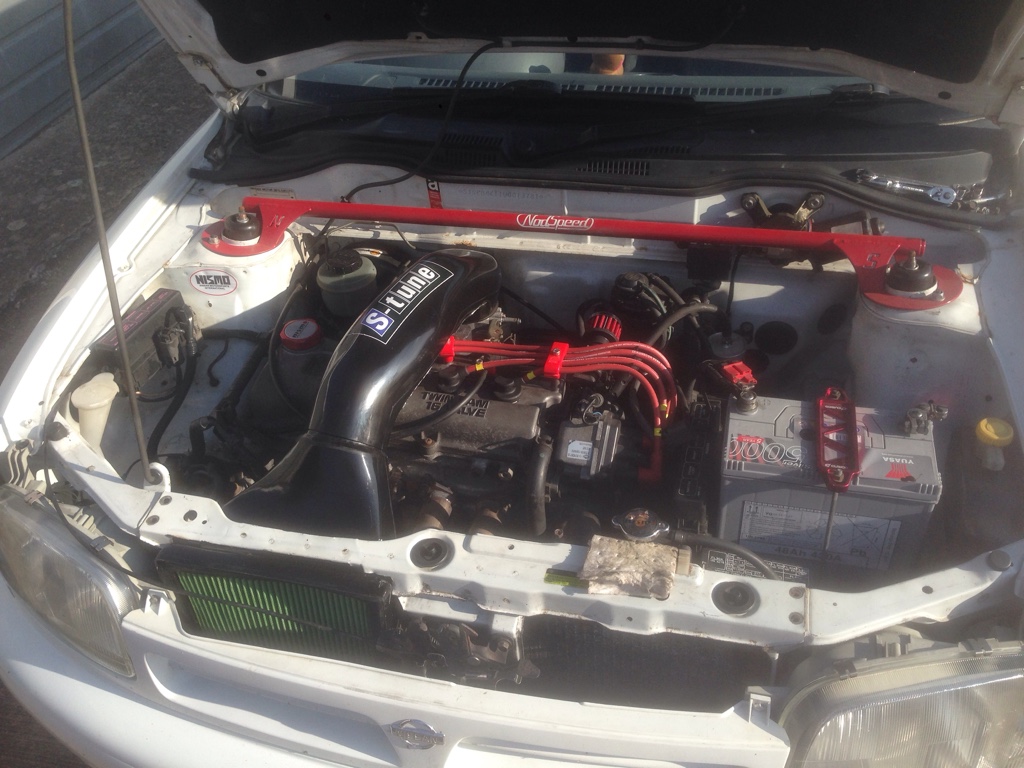
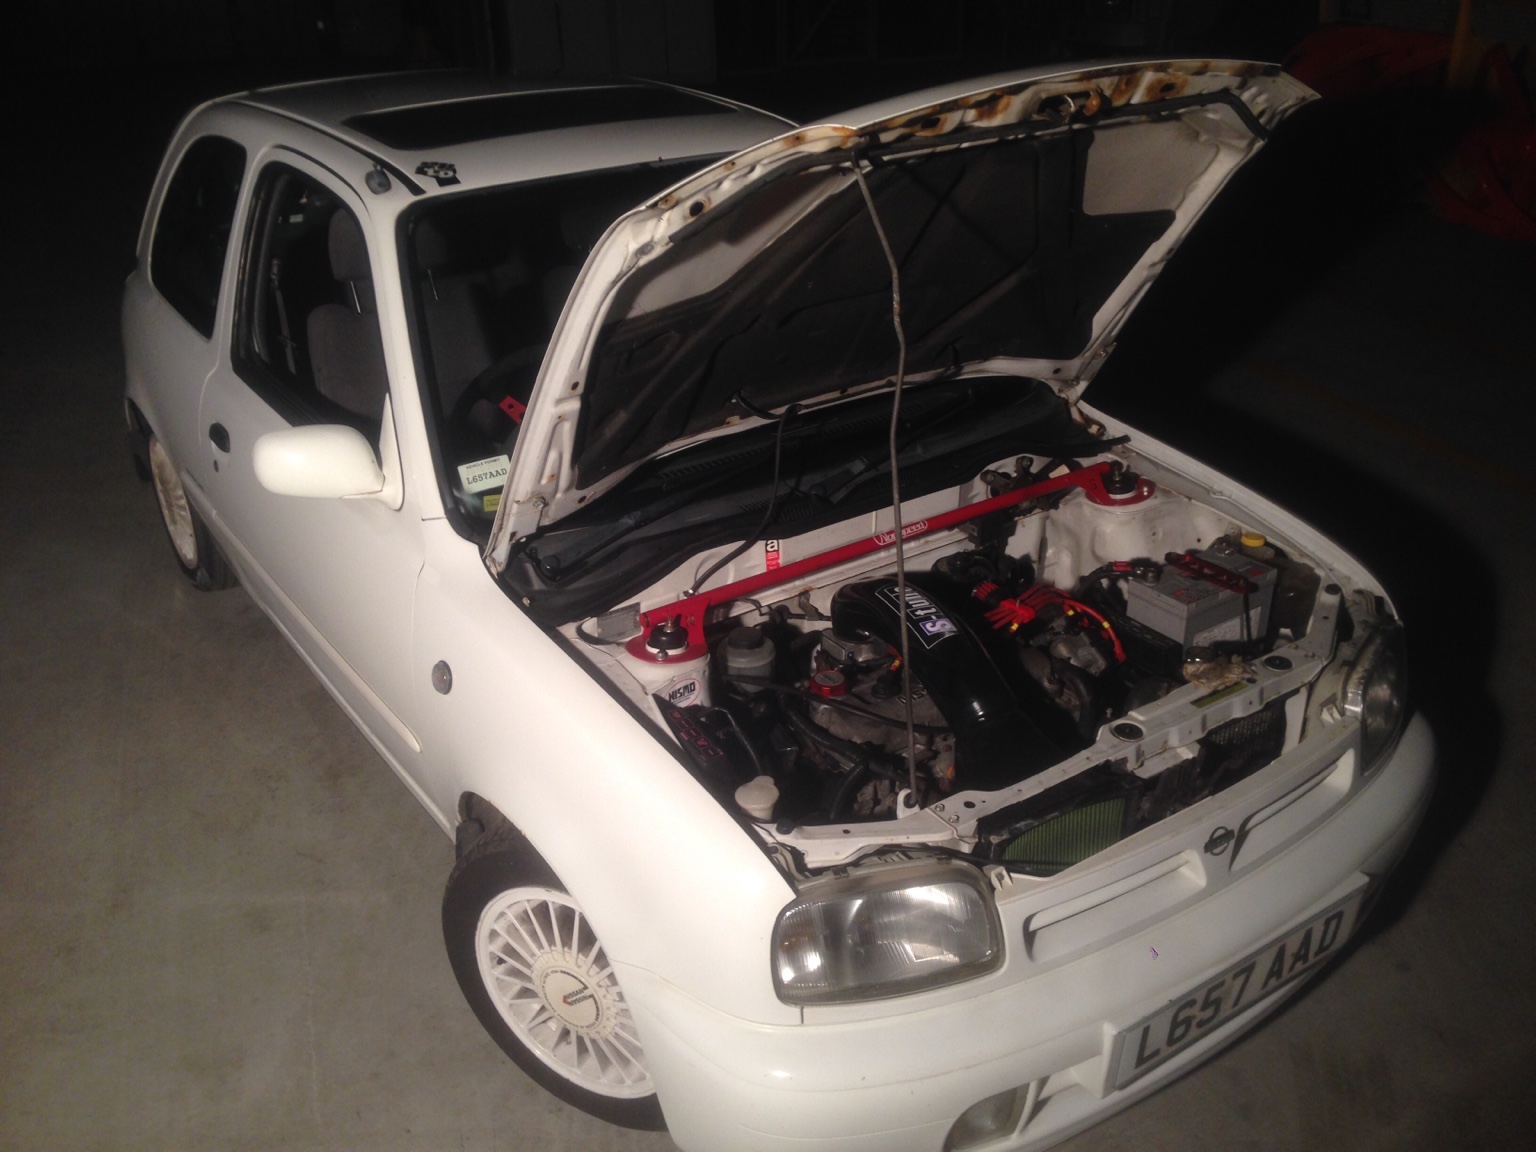
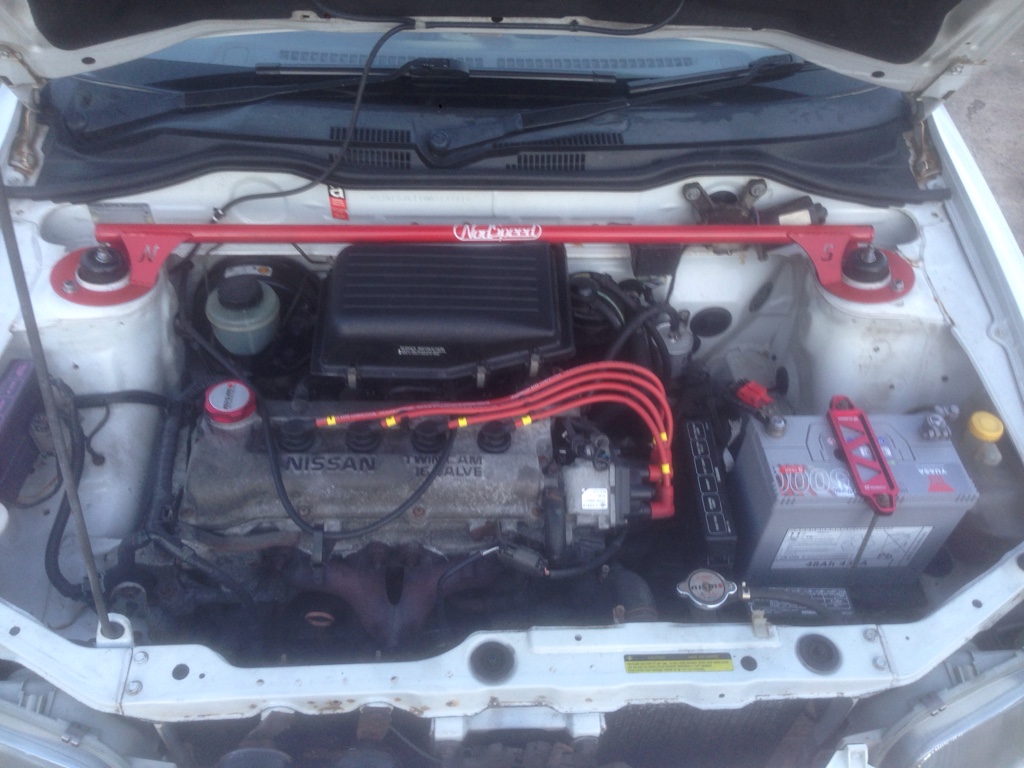
I added red ebay tacky stuff and some magnecor leads to spruce up the bay a touch.

28f12aa334cc598869780b2c9913f627.jpg


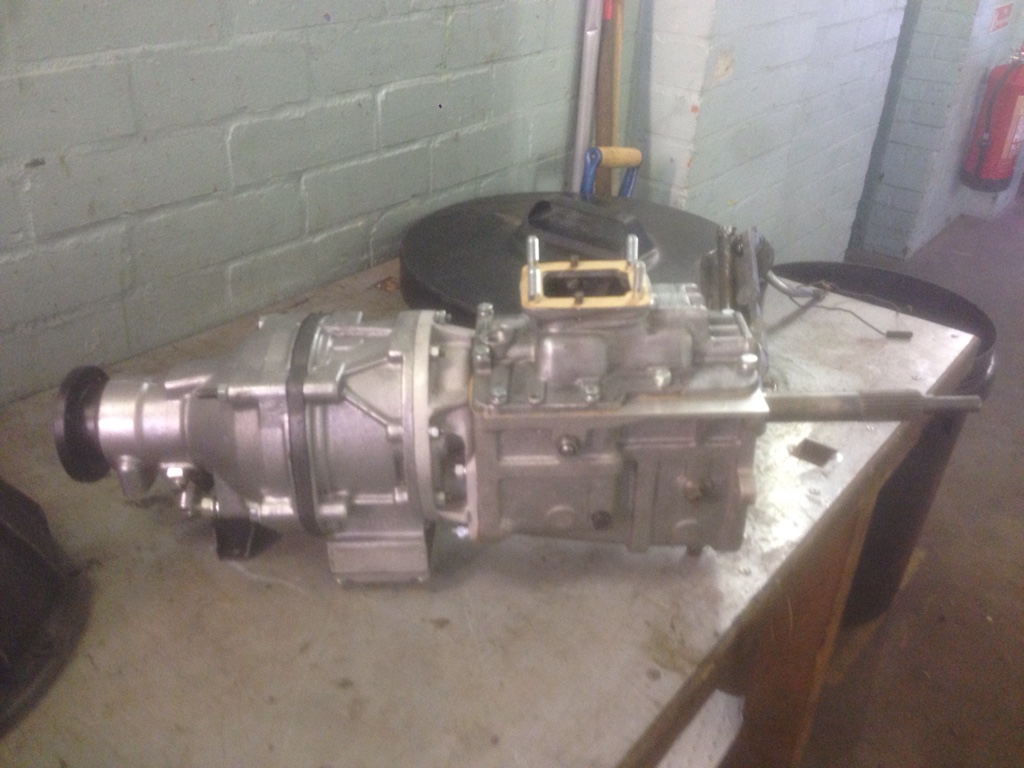
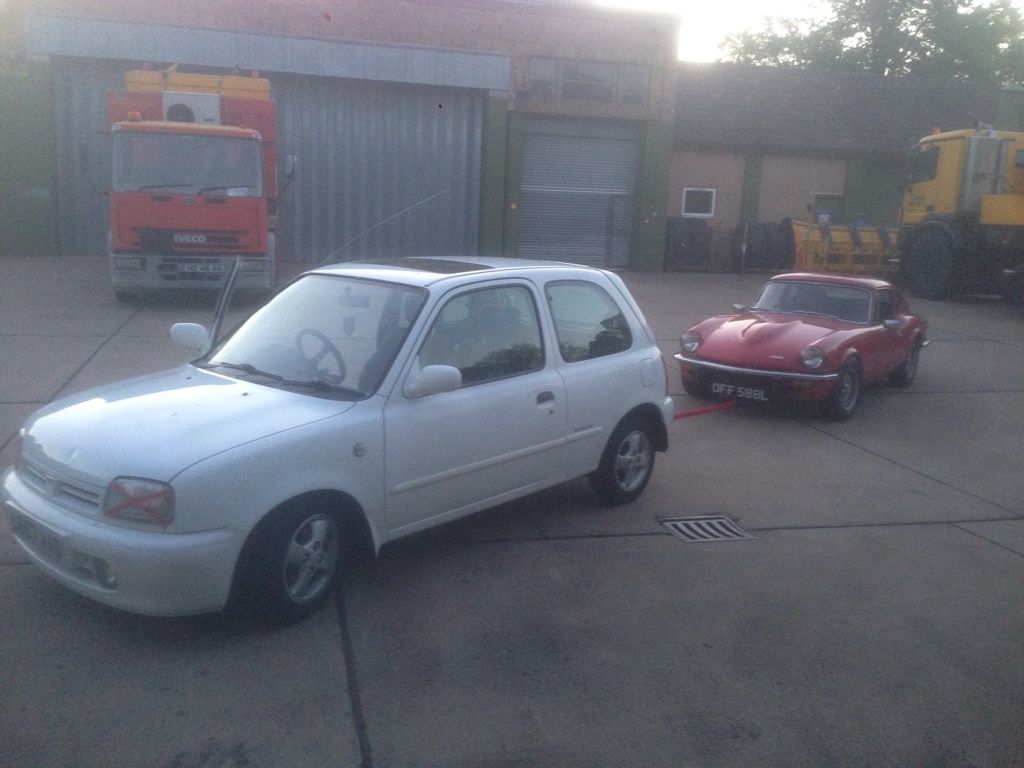
I did a little towing of my other car, and I fetched myself a gearbox!

5d6f47d3e939055ad0b3d1514bc46b94.jpg


91d175e3ebca947f71073e03181a10be.jpg


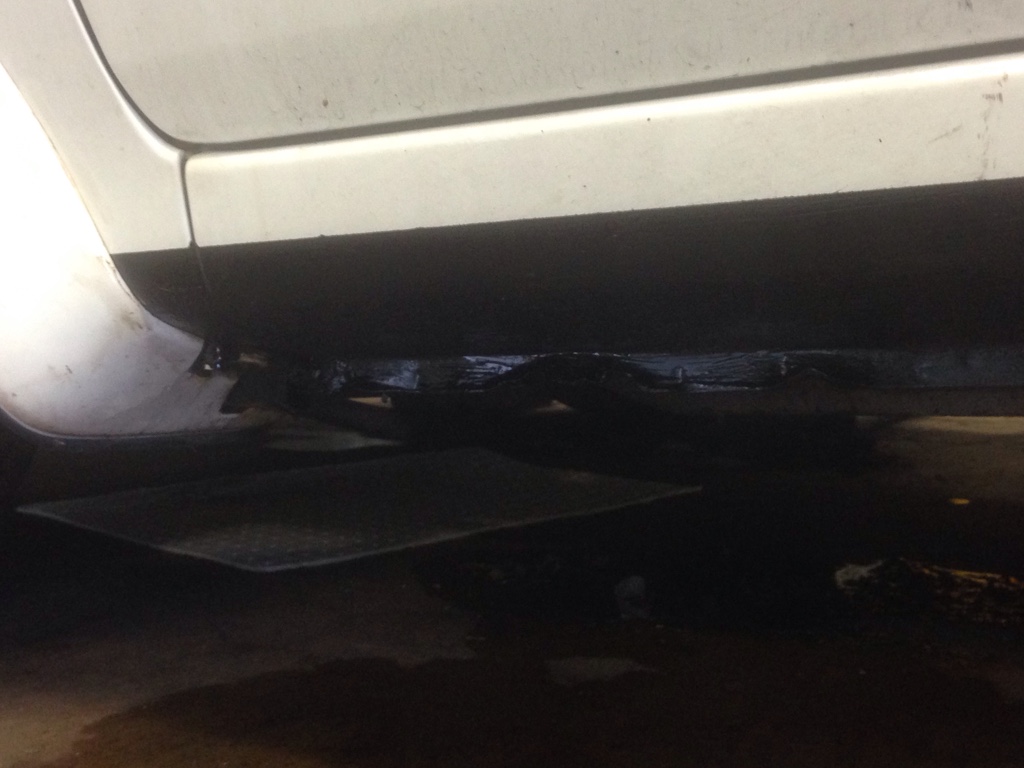
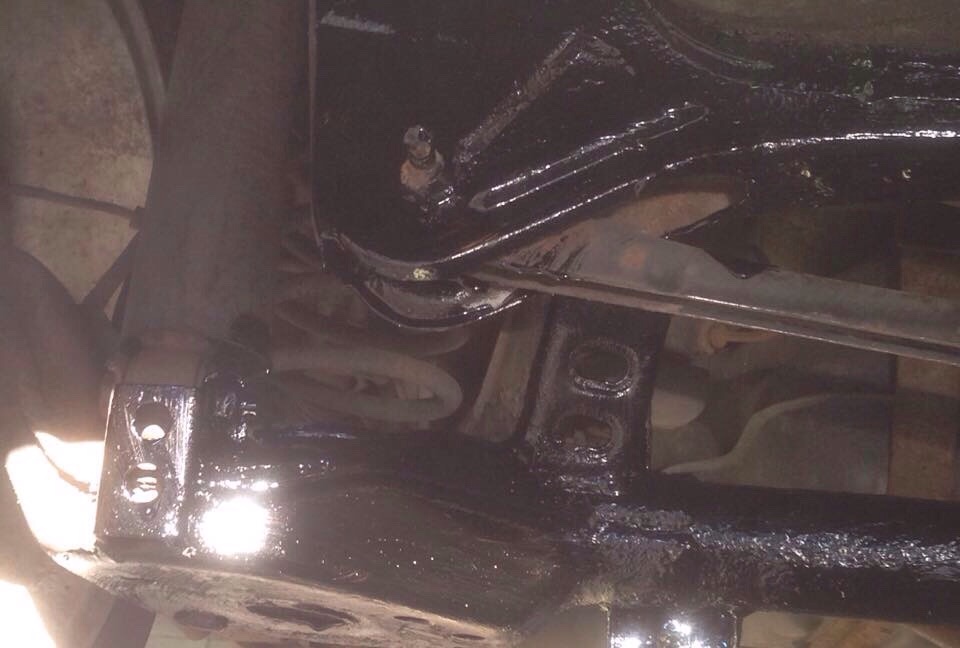
I also did some preservation of the sills and underside in general, hard work with the wire brushes, and some proper hammerite underseal. I also drilled through the sills and fitted extensions to the sunroof drain tubes.

e03292897b8d5100cfe09cca117b3709.jpg


f81a734e7b36a62f5ca6fa55a6df18e8.jpg


2d6a4ff036525fdeef7d4214ec1425c9.jpg


09732c33137bede1a58343bce422ddcb.jpg


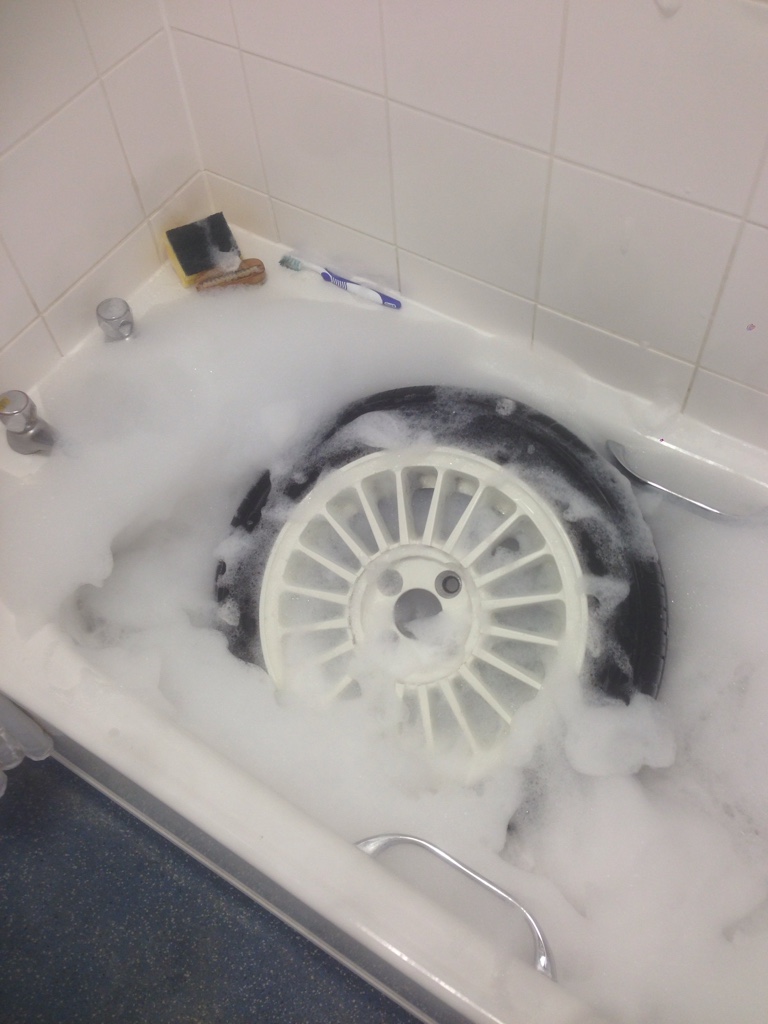
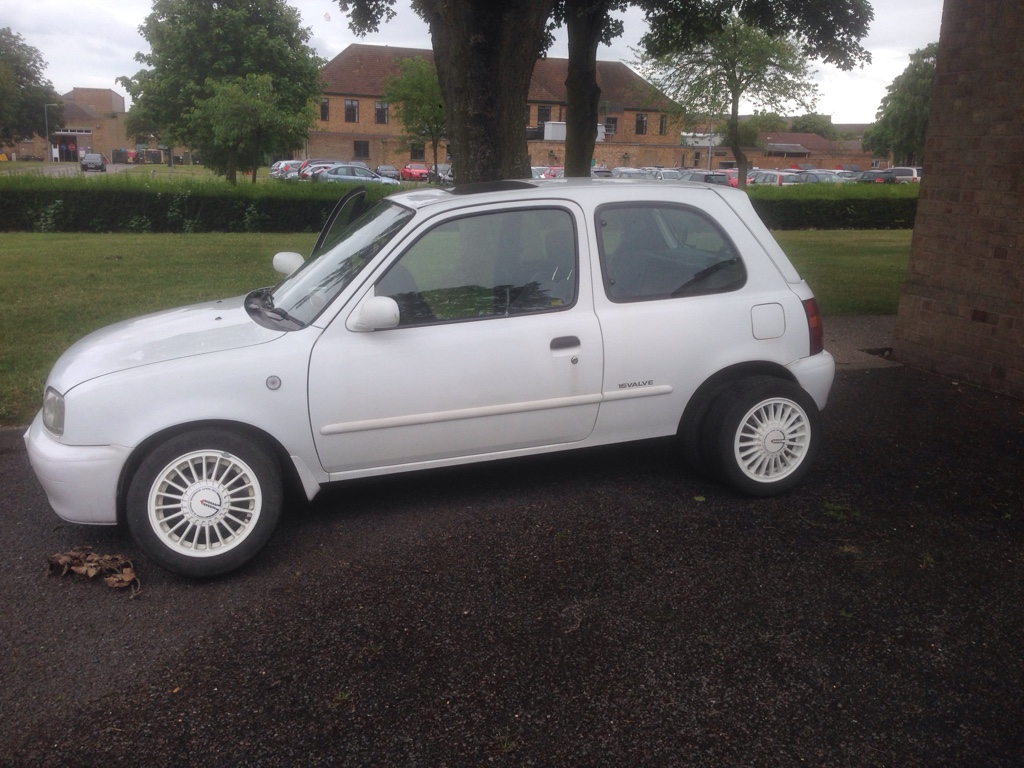
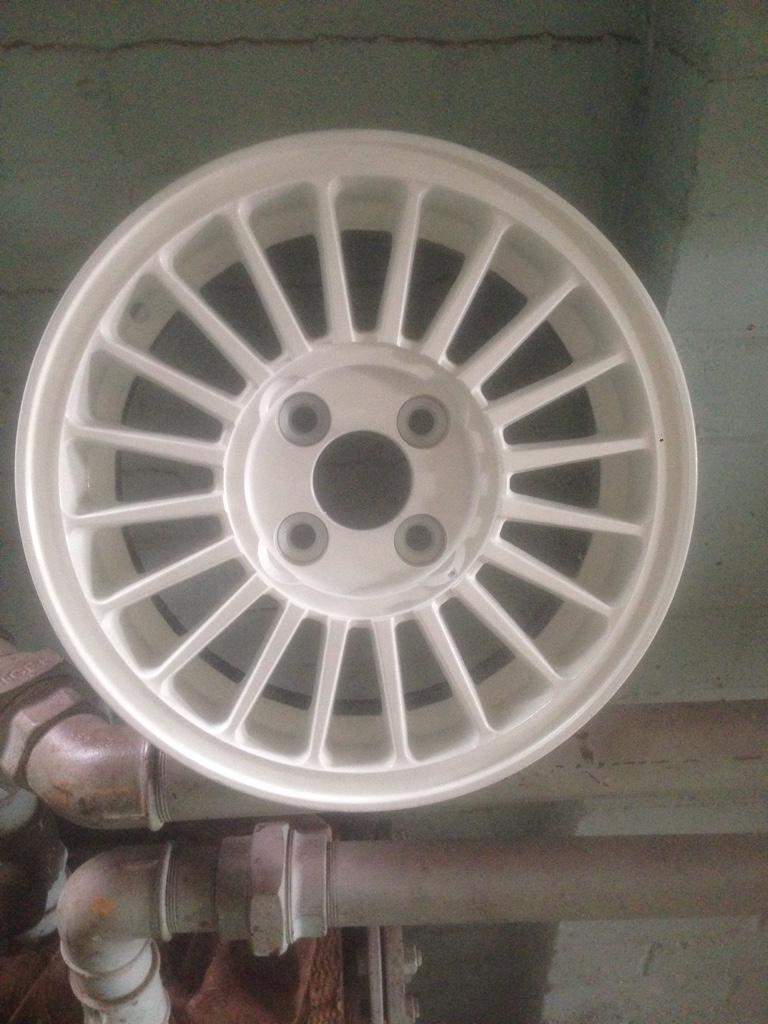
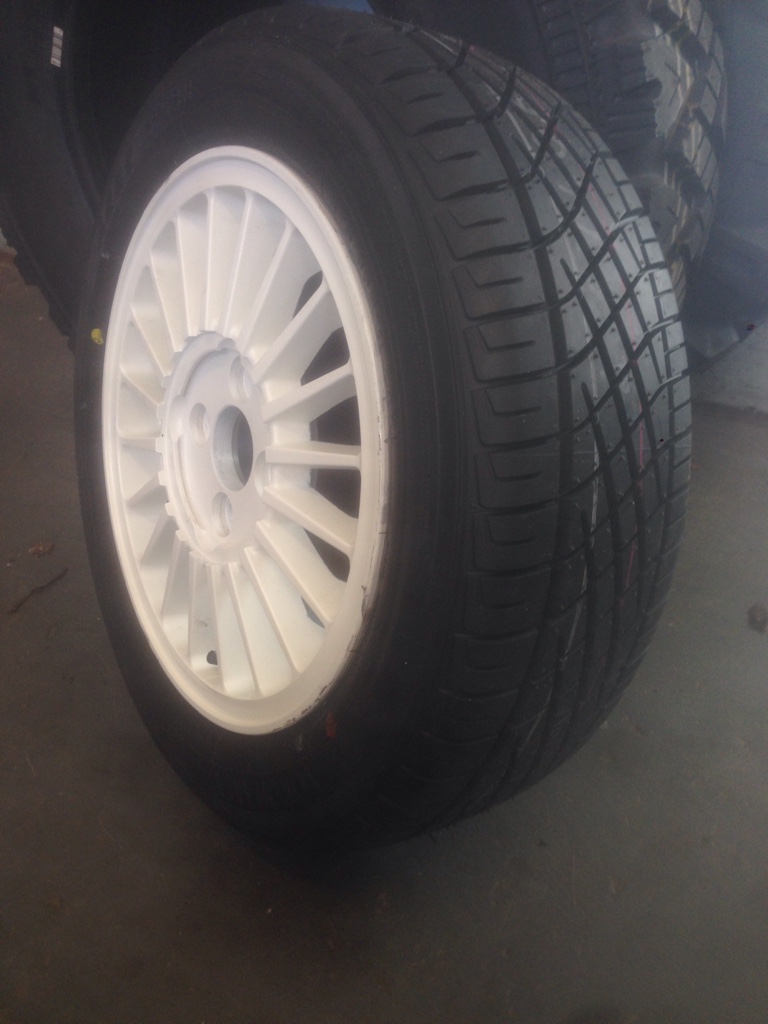
I bought some rare March K10 alloys, promptly took good care of them!

1b6e322d8290dd85ee8ea4e1ce212906.jpg
97592e2811d98de66b6a477937b7b022.jpg
355ae5c765202f89f6a0588f95e484cd.jpg


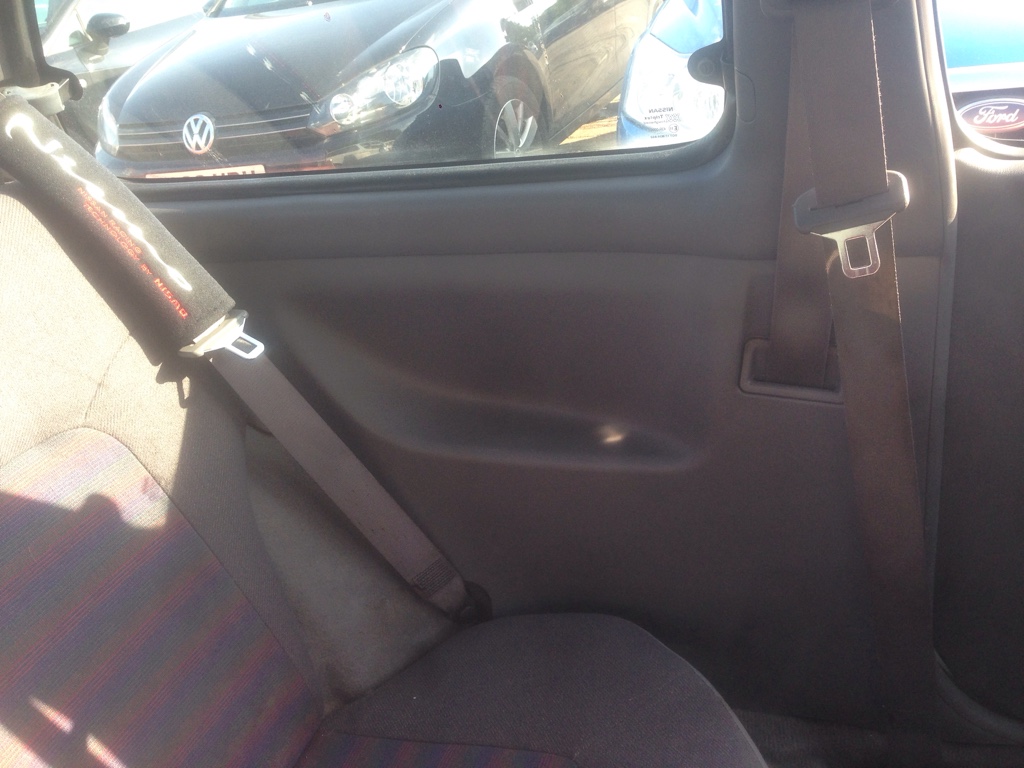
Also swapped out the rear door cards for sexy pocket models, uber luxury!
 
Last edited:
@Zazee I think with the cat out it sounds meatier and burblier, with it being pretty deafening at some revs/gears, loud spot at about 5,000rpm in 2nd and 3rd and quietens back down after that. Must be something to do with harmonics.

Gained a bit of top end speed, but definitely lost a bit of low-end torque up hills and such. I think the wide open space created by hollowing the cat very negatively affects exhaust flow at lower revs - hot, dense exhaust hates going into a large surface area or pressure drop, and then going somewhere restricted again.


Sent from my iPhone using Tapatalk
Ahh cool! Interesting :) do you think maybe having the second cat decatted as well would give the entire exhaust system less restriction and therefore more power overall?
 
Second cat removal would likely fail the MOT but I'm not 100% on that. It would probably be louder, more powerful again but also lose more torque low end.

With exhaust systems it's important to try and keep the internal diameter the same all the way through - this is why 4-2-1 manifolds work well with their flow.


Sent from my iPhone using Tapatalk
 
Ah whoops. First is already gone. Still got my second.

How do people pass with 421's and stuff then?


Sent from my iPhone using Tapatalk
 
This past weekend I did some more stuff.

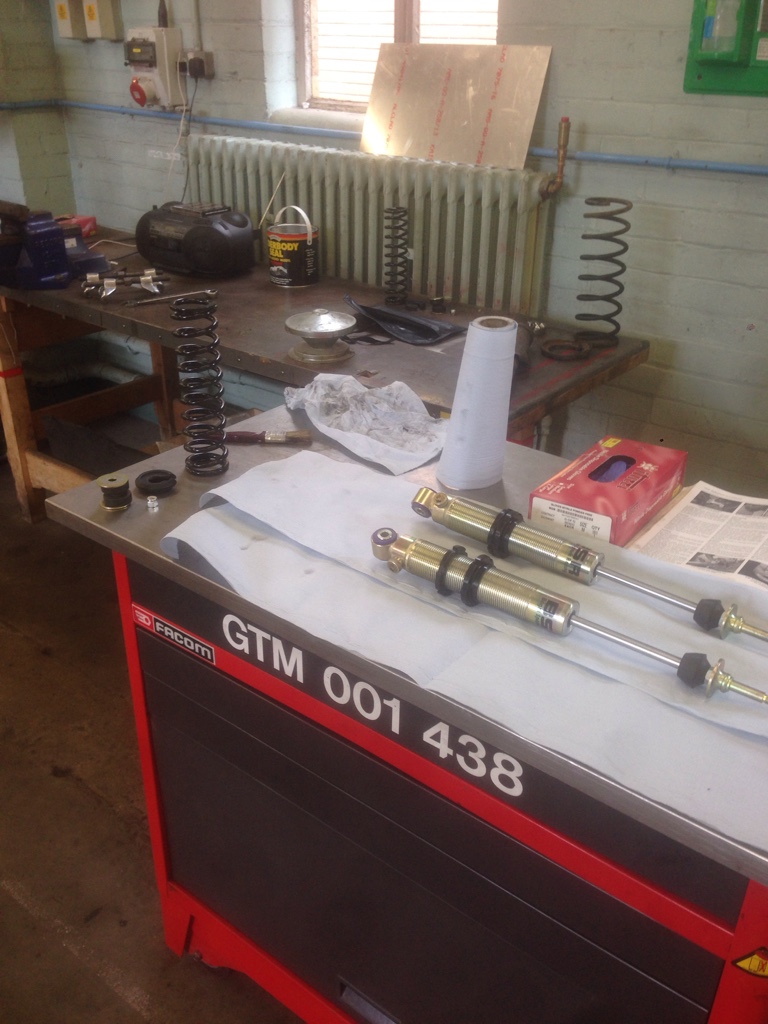
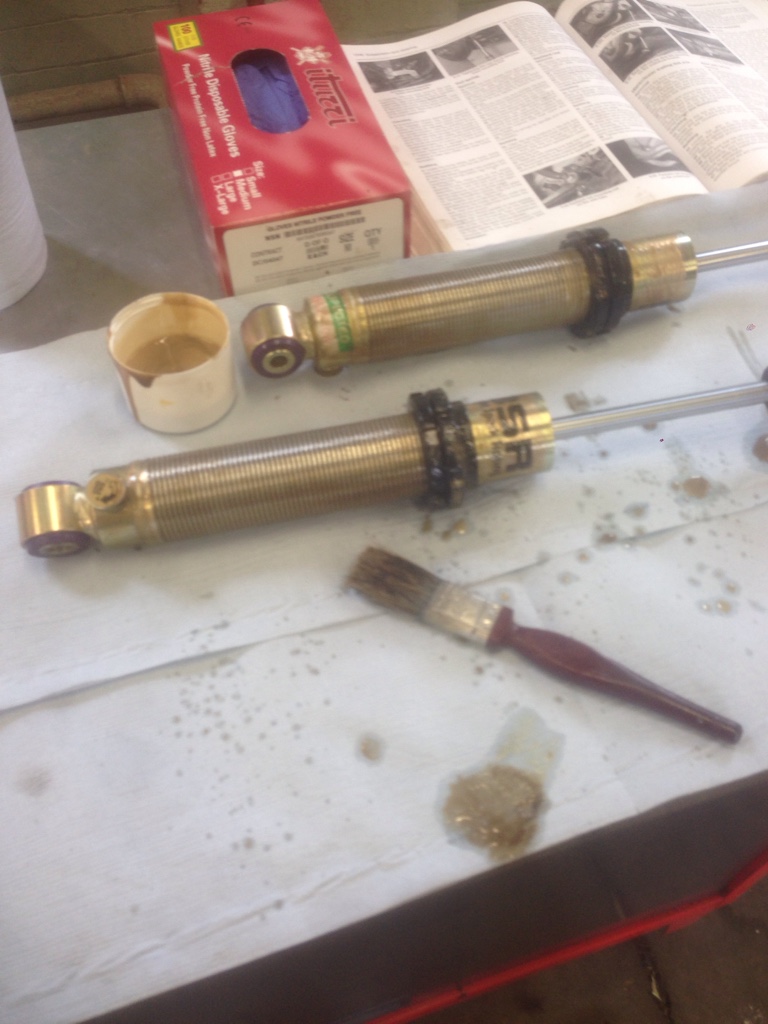
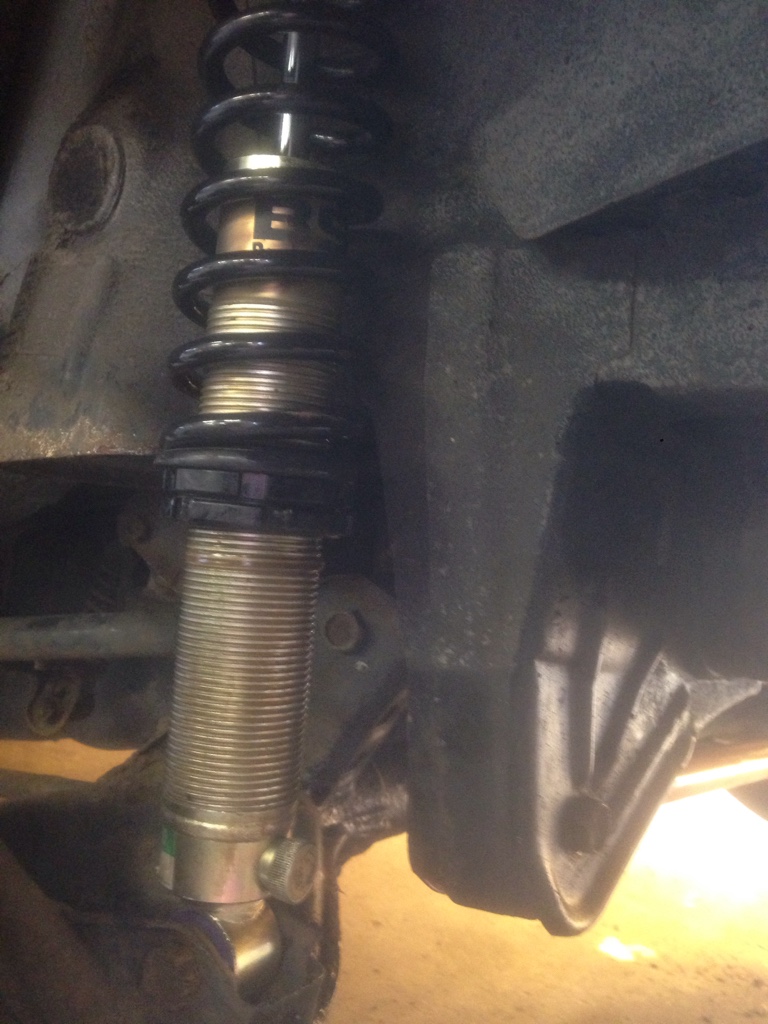
Fitted rear BSR Coilovers. GAZ Bodies and components, re-valved to suit the K11. Went fairly smoothly, took an afternoon overall.

529be59ece56761b6d93a55e9e8d3314.jpg
4747e5e47f7939298facd3c3fa33ff9c.jpg


I painted the threaded bodies with a sort of waxoyl type preservative. It dries to a tacky wax and has served the fronts well.
78b62e5458e6743be5b8164049e9a71a.jpg


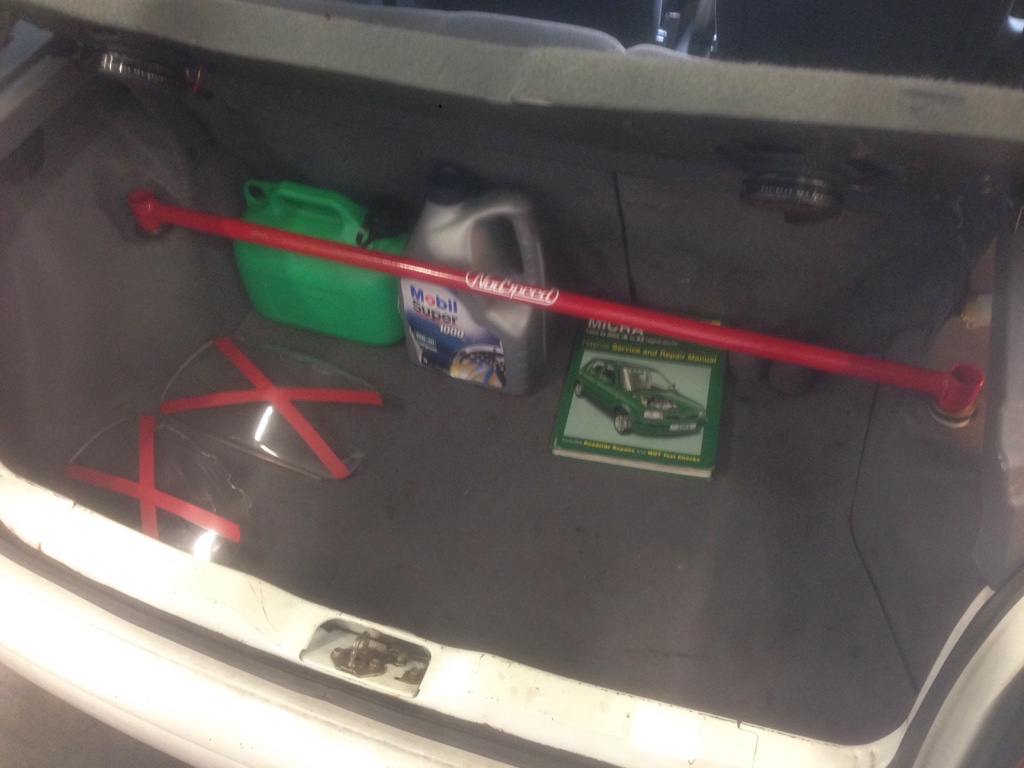
I also painted and fitted the rear strut brace. I'm trying to convince myself the boot space division is useful, you know, to stop stuff rolling around and that, but it is pretty restrictive haha.

5f3a536ecf4505ef68fb9142e4e5f855.jpg


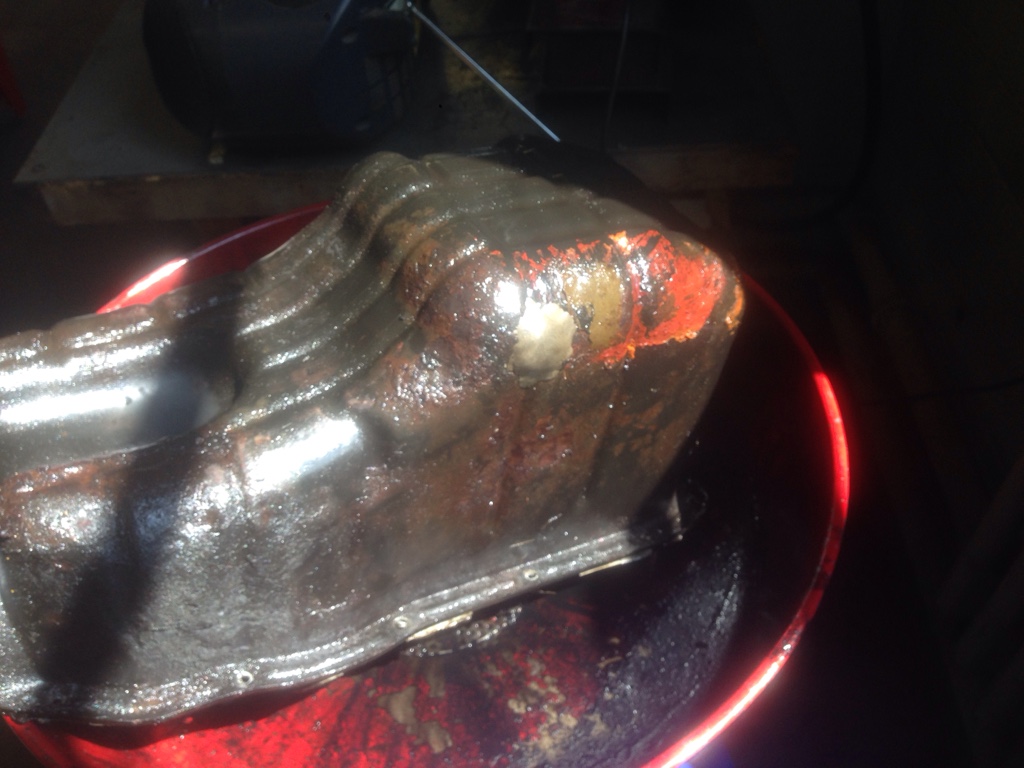
After that on Saturday, I spent Sunday trying to put an end to oil loss. The sump previously got a pinhole in it, so I used Araldite to plug it which seemed perfectly OK for a temporary fix. A year and a half later it was still strong and I hadn't bothered my arse.

The sump was definitely leaking though, bathing the alternator and the entire underside of the car in oil, leaving puddles and drips. Generally, it was in very crusty condition. So I formulated a plan...

I had a spare engine in the garage, who's sump seemed much better. Not perfect, but better. I'd take that, clean it up and paint it, then switcheroo and sort it out.

Old sump
6980e4422c071fad8e639107b9a3f700.jpg

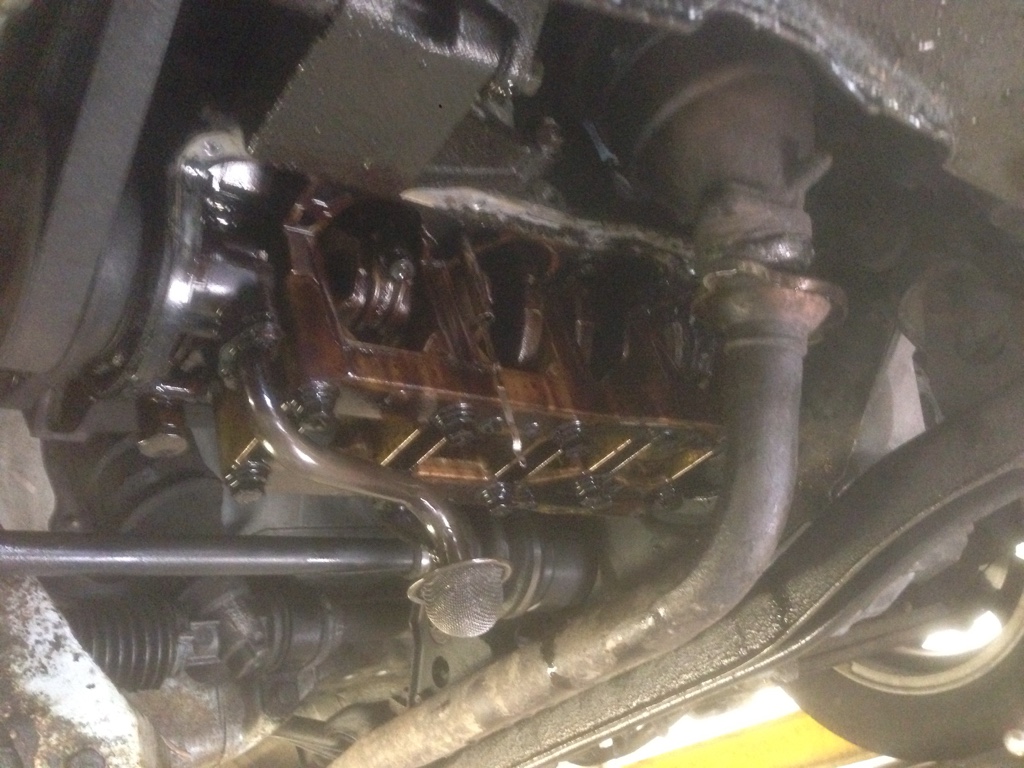
Engine turny bits
df568d505c05ec497bc798baa9ca54b8.jpg

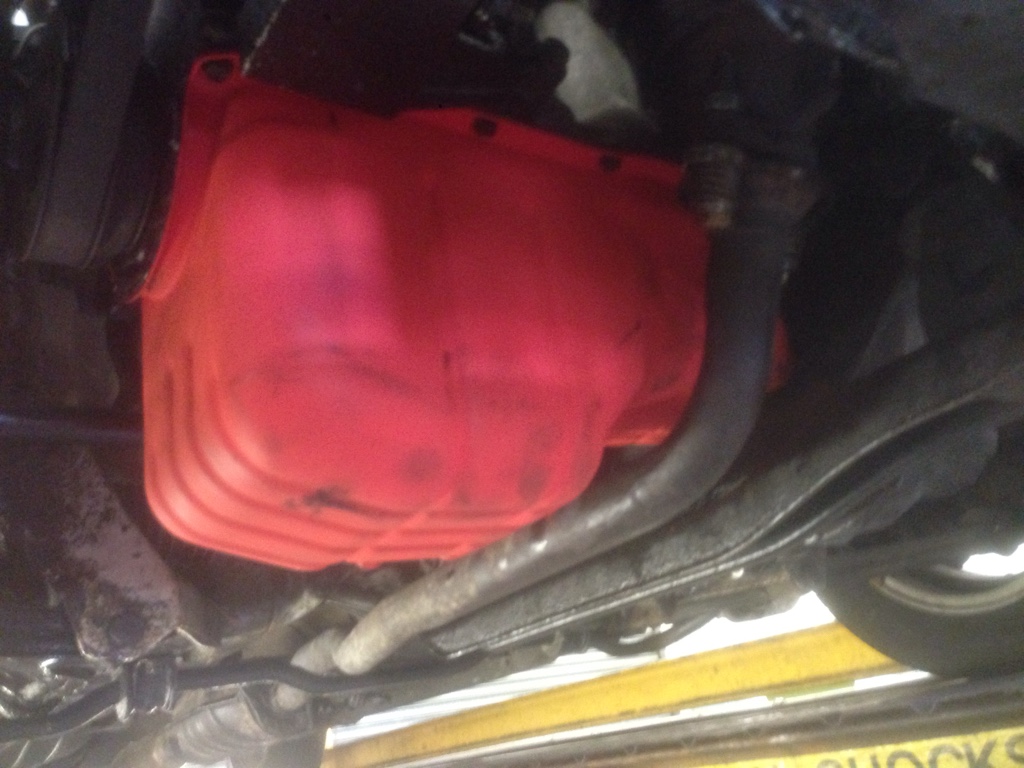
And "new" sump, painted in Halfords High-Temp red, as it was the only suitable thing I had left.
493efe81f5a201a70cd717823afdff76.jpg


However, on testing it leaked from the engine and gearbox mating side. I'm pretty confident that it's because I didn't seat the rubber semi-circle sealing strips properly, so next week I'm planning on sorting it out, for now, the car can lay quiet.


Sent from my iPhone using Tapatalk
 
Took the sump off again, played about with rubber strips and sorted it out. Sealed properly and everything's all OK now.

Had a JanSpeed stainless system delivered. Manifold, downpipe, Sports Cat, midpipe and backbox.

Fitted it this evening, however got an issue with the Lambda Sensor hole not allowing enough space next to the engine & box subframe/rail thing.

Hopefully my racecar friend has a spare Lambda Bung lying around I can use tomorrow to plug the hole while I work out a real fix.


Sent from my iPhone using Tapatalk
 
Janspeed fitted, running well.

Videos of that;


Also had an issue where the rear damper mount rotted underneath where it was near impossible to see. The mount came through the boot mid-corner.

Thanks to a strut brace and beam axle though, disturbance was minimal and I was able to nurse it slowly home.


Some welding and fire...


Finished repair;

96702259205b33794d7f363a562147c0.jpg


Sent from my iPhone using Tapatalk
 
Been a long ass time since I wrote anything here. Got a few spare hours so here goes.

Rewind back to my last entry and I was preparing to go to JAE 15 for my first ever Japanese car event, with the MSC. About two weeks before, my rear suspension collapsed and I was absolutely heartbroken. Without ever lifting the carpet I didn't know if the damper mounts were replaceable or part of the monocoque. I thought it was game over for this car and the whole build.

I was wrong

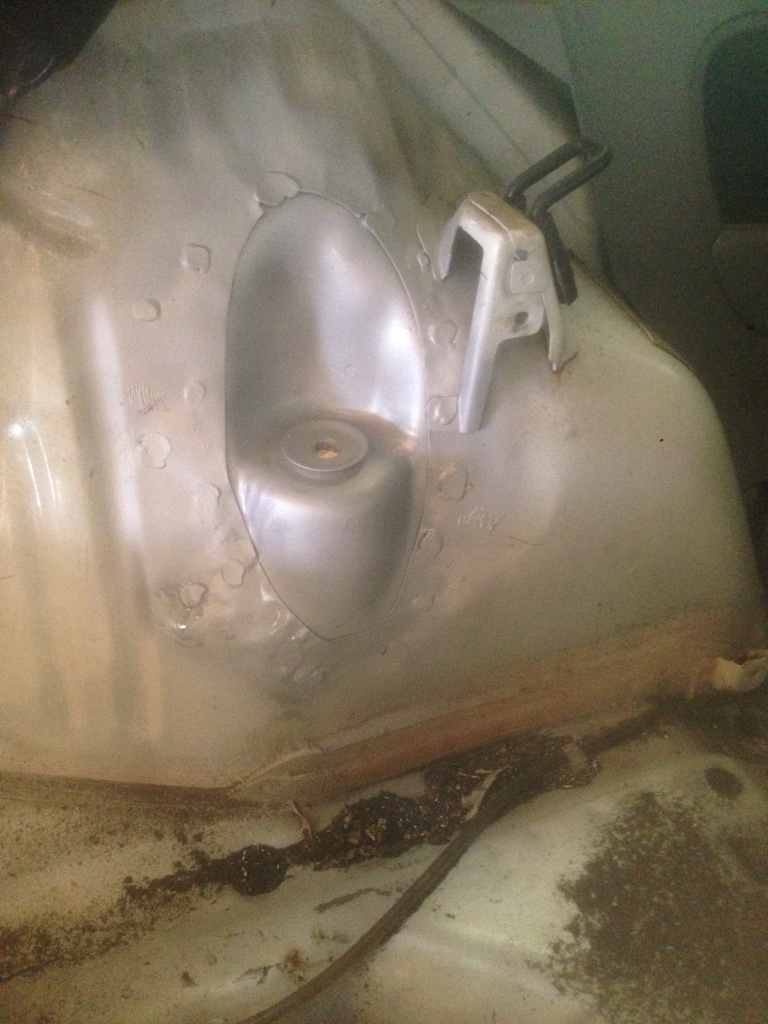
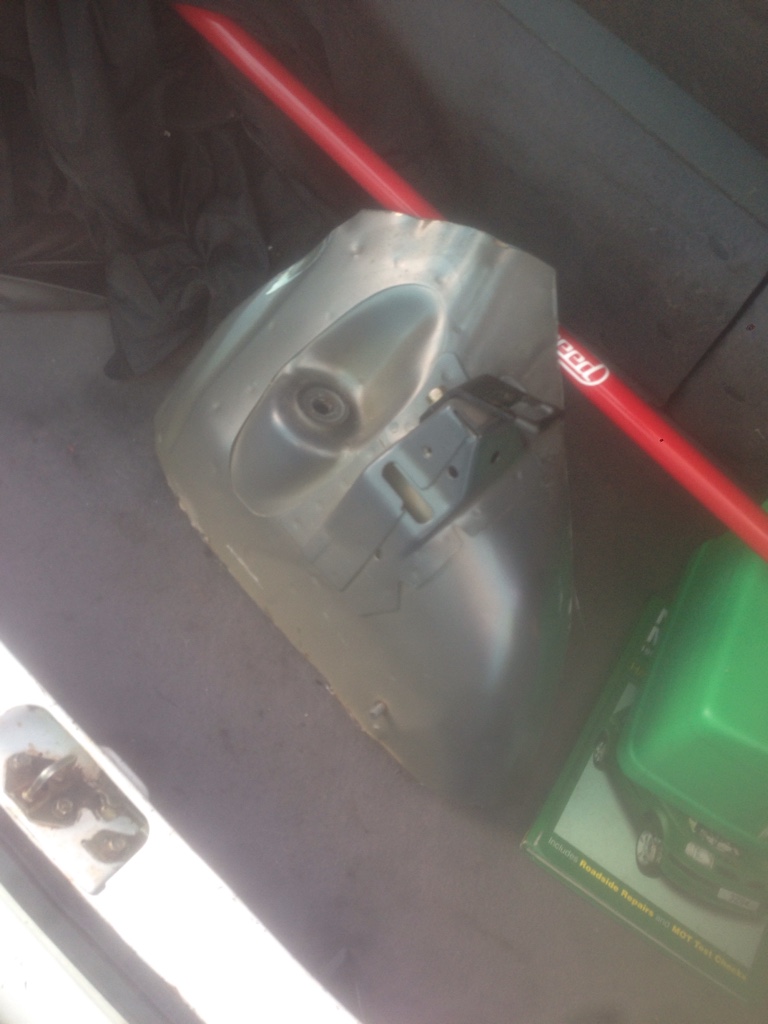
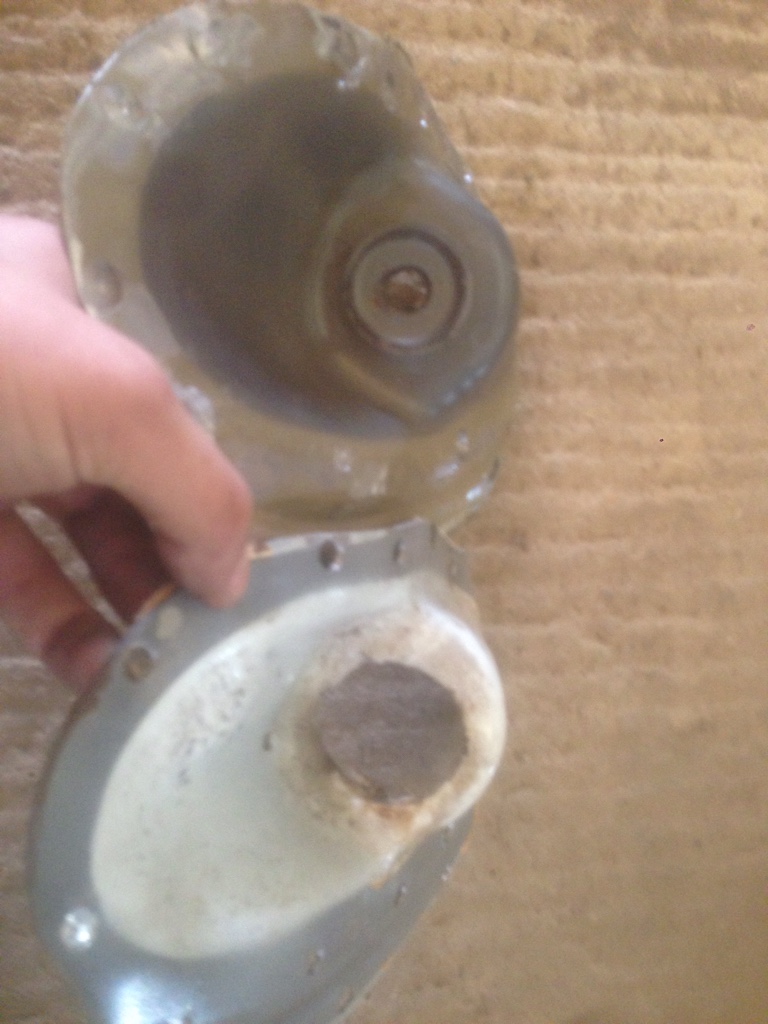
The rear damper mounting is essentially an inverted cup with a 10.5mm hole through the centre. A cup-shaped penny washer is tack welded to the top for the upper damper bush to sit in neatly.

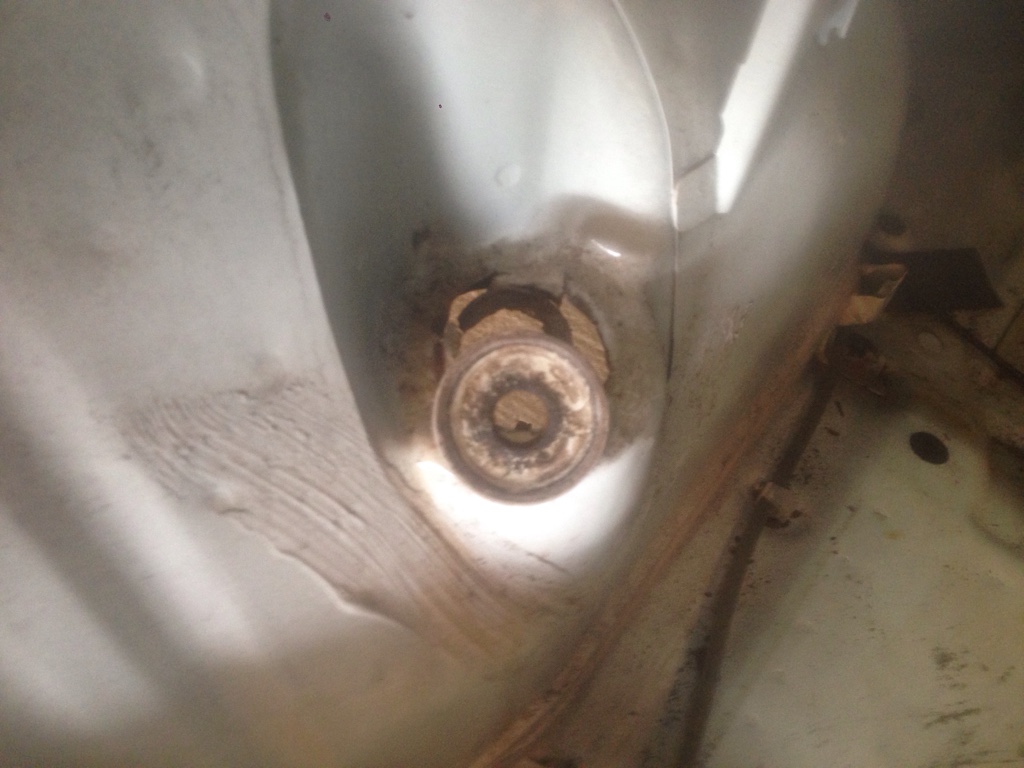
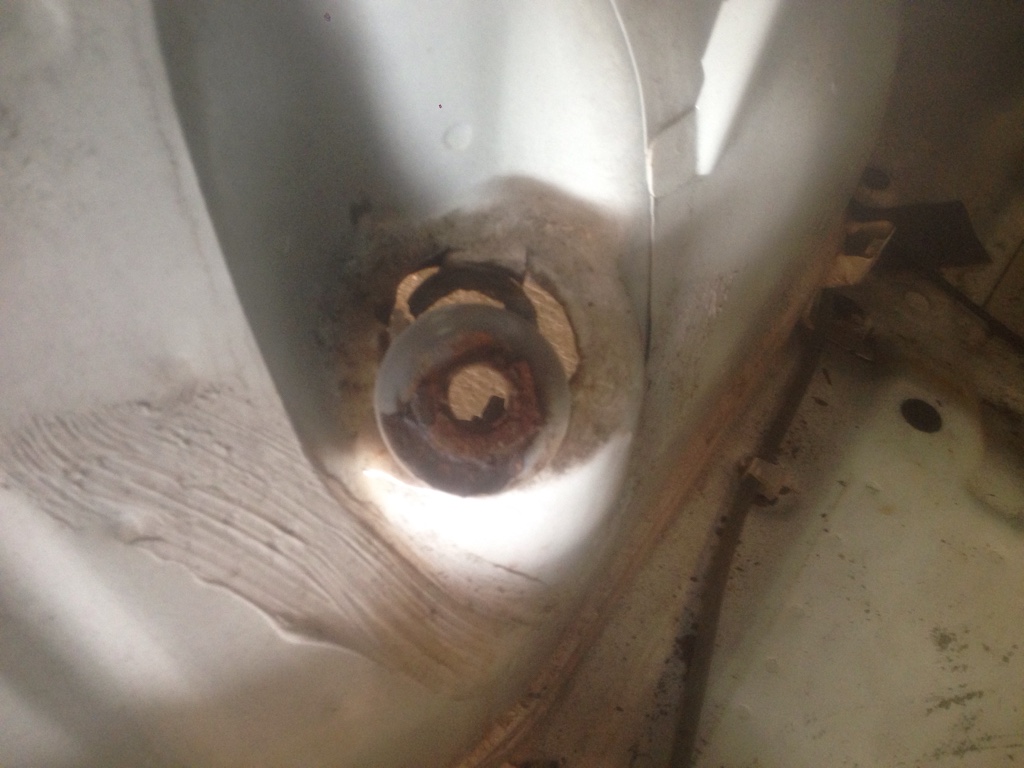
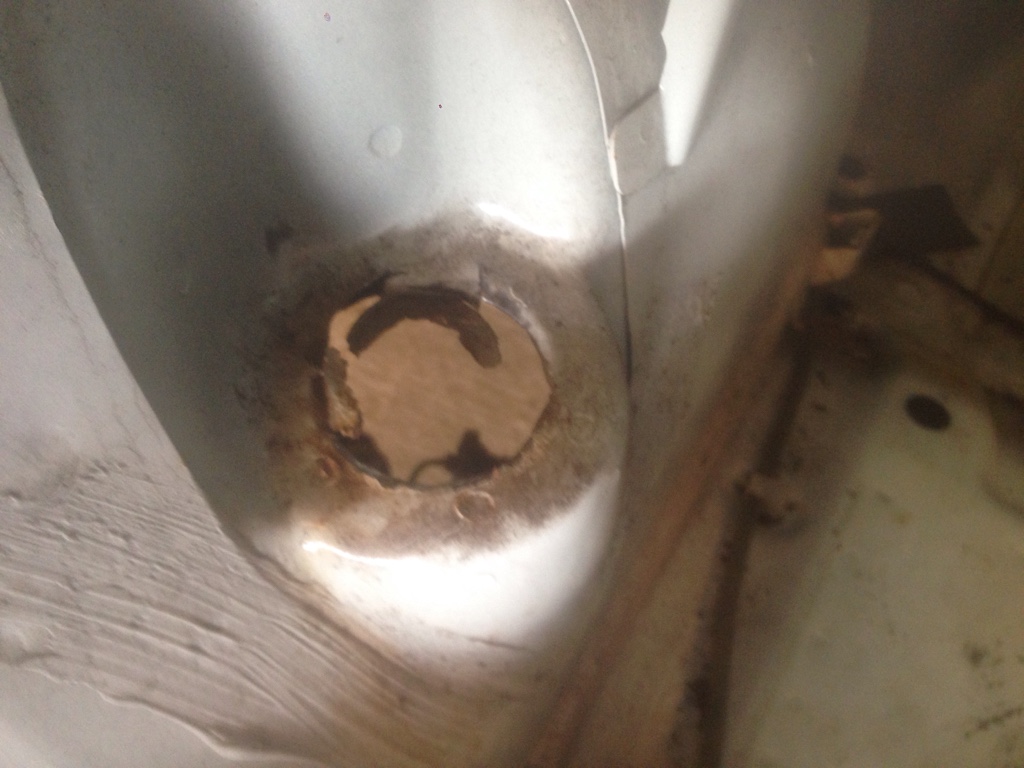
Stock dampers have rubber boots which cover the exposed rod from dirt and stuff. These boots reach all the way up into the underneath of the mount and trap a lot of dirt and moisture around the top. This starts rotting out from the underneath. With how the washer is tacked on inside, it's impossible to see without removing the dampers and inspecting from underneath, hardly a routine task I'm sure you'll agree!

As such, this corrosion went undetected. Picture time!

62999f8c0389253c2271a3267bcc9d7f.jpg
d76fc8f77ce313369883e11d472ea9fe.jpg
860ab0828d7ac0db2ad814e0aaac9b69.jpg


Pretty bad, eh? I guess the combination of rust and then extra stress (I fitted coilovers, so the rear mount was now taking ALL suspension forces as there were no separate springs) just was too much for poor old Marceline. Yeah. That's her name.

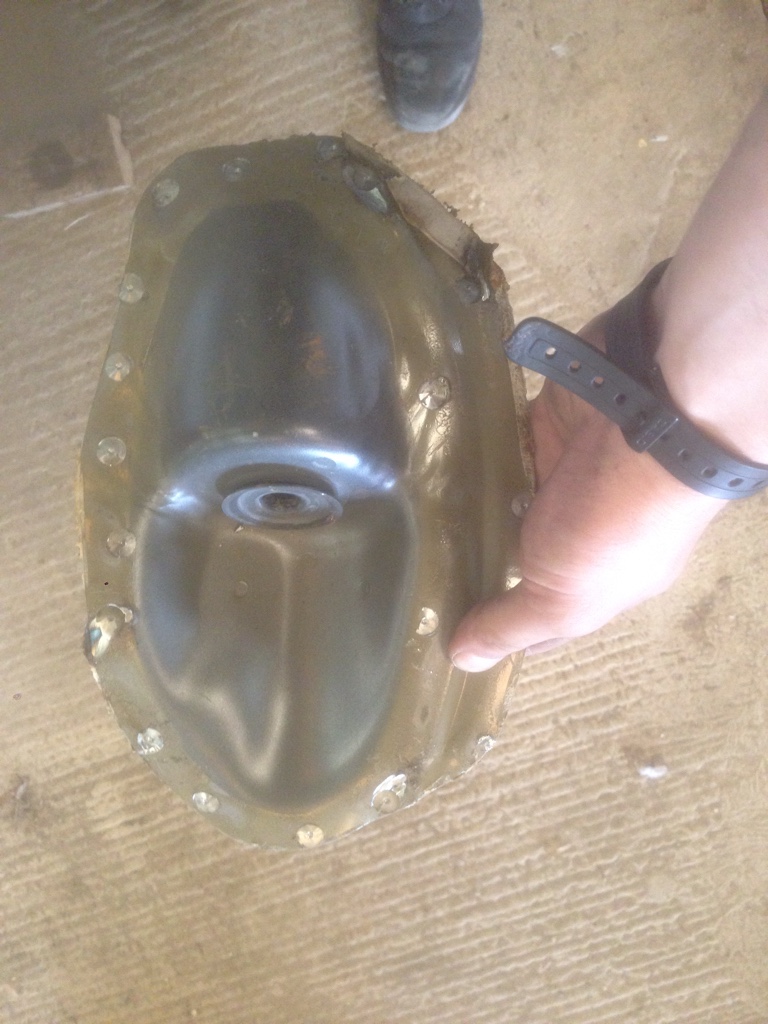
Fear not. The damper mount is spot welded in as part of a double thickness oval-shaped panel from factory. I went to the local yard and found a lovely rust-free number from a facelift Sport shell.

Using a petrol Stihl saw I cut the whole arch out, ready for the more delicate panel extraction back at base.

72ceea629663f3b030edcda3118ba014.jpg


Using a pillar drill and a spot weld bit, which is specially shaped to remove material in a uniform way
(it's got a point for easy centring and the cutting surfaces are flat, to cut through the weld neatly and level)
We removed the "new" panel from the surrounding arch.

4b8e7543a70daf23728d95bad195b461.jpg


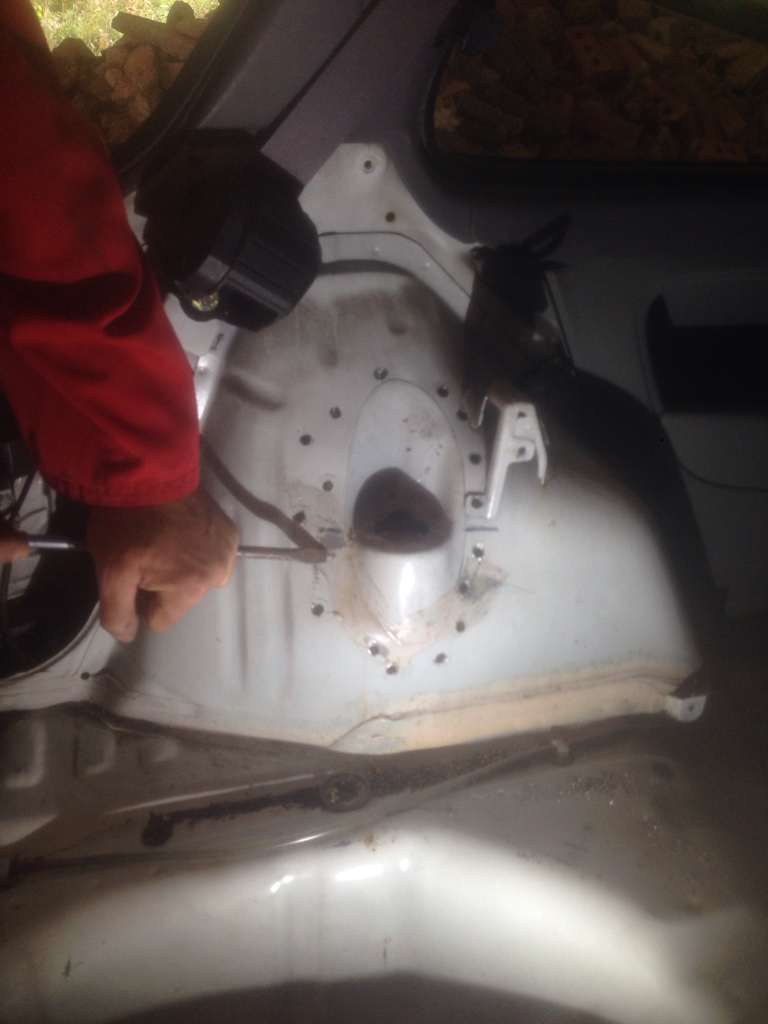
Then using a battery drill and the same bit, we removed the rotten panel from the car. By using the special bit, you don't drill completely through and just take the weld away leaving the chassis of the car intact.

At this point you also have to gently work your way around with a lever, such as a sturdy flat screwdriver, to feel for any weld not completely removed, and prise off the factory panel sealant.

5c45ca19bce641678527e470080e0f43.jpg


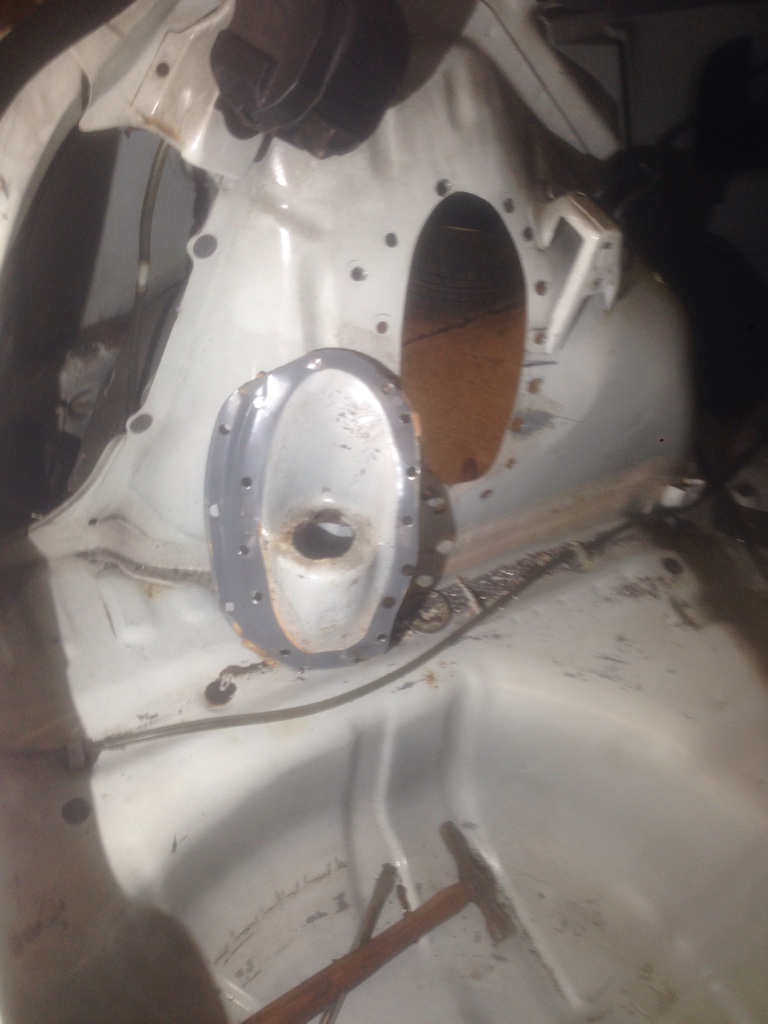
Et voila!

baf5cb9a2a4528122d74dcd194dbdd79.jpg


With the panel removed, it's quite interesting to physically feel the difference in metal strength. The oval damper panel is twice the thickness of the arch, plenty sturdy enough for suspension loading as long as it's not rotten!

Comparison shot from above as seen in the boot;
71b377307b1f5af8626123b4a5a1ff31.jpg


And what you see underneath;
ee206802336bd9922aafbcffdc73091f.jpg


Finally we grind all the hole areas free of paint using a "flap wheel" to ensure good shiny metal for weld quality.

Before we start welding we disconnect the battery, and also the alternator. Some alternators have diode packs which are sensitive and can still be fried even with the battery disconnected. It's just a precaution really.

Also very important is to clear the area of fire hazards. As it's the passenger side, this includes the fuel filler pipe. Remove the filler pipe and withdraw, then seal the open tank pipe, we used a rubber glove and tape to seal secure. This prevents any unwanted explosions, death, maiming and injury. Carpet and back seats moved away too.

Keep an eye out for small, localised fires caused by the factory panel seal burning as you weld. Try to keep these under control, although they're not a massive problem.

To position the panel, you can make use of the factory paint lines. The lighter edge on the panel should be completely obscured by bodywork. An assistant will be required. Using a suitable long tool like a hammer or screwdriver, get them to apply pressure from the wheel arch side to keep the panel in place while the first few welds tack it in place.

Apply weld from the outside of the holes inwards. Move around the panel in opposite directions, applying the weld and heat in different areas to minimise distortion and warping.

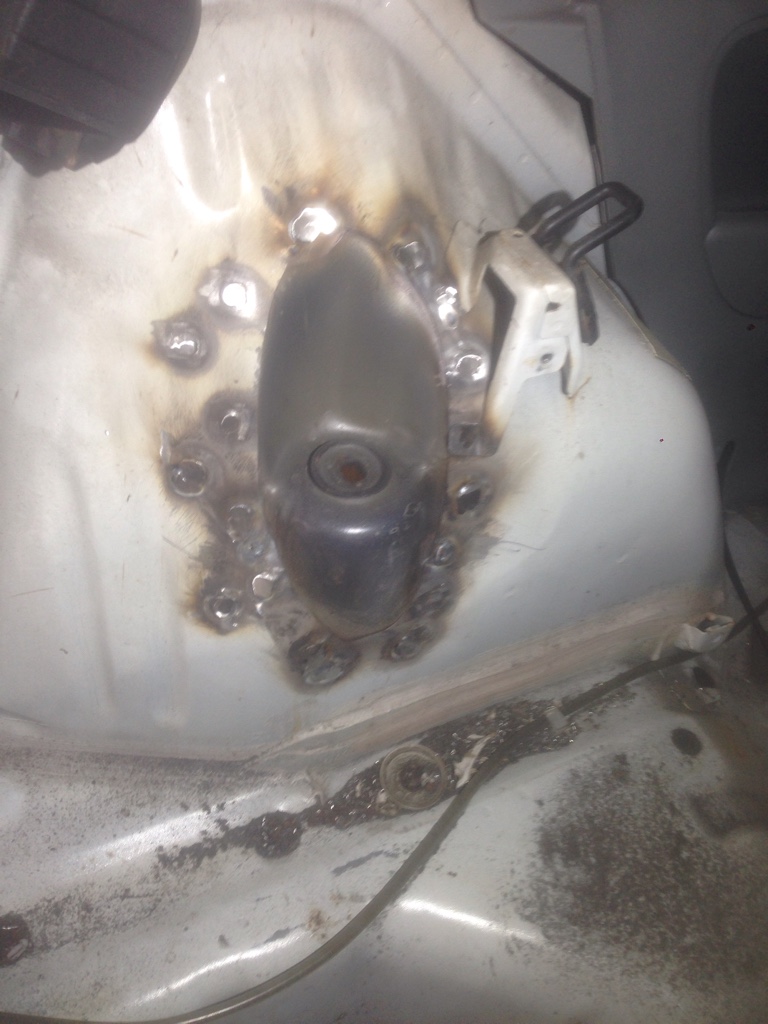
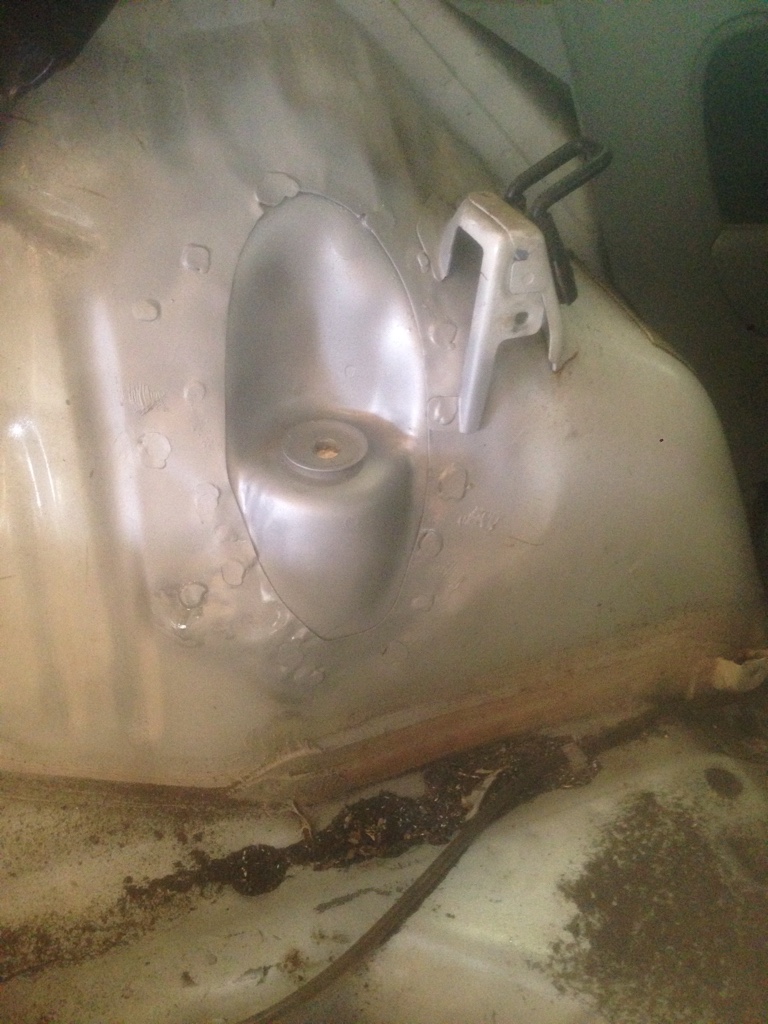
You may also need to do a few welds in the wheelarch if you have drilled through, or not all the holes line up. (Factory spot welds were done by eye and not machine, hence they're a little bit random between cars)

3f8d79edf1740b99e6fe911bb8329e37.jpg


a339ae4153c972b6e28762153740dc10.jpg


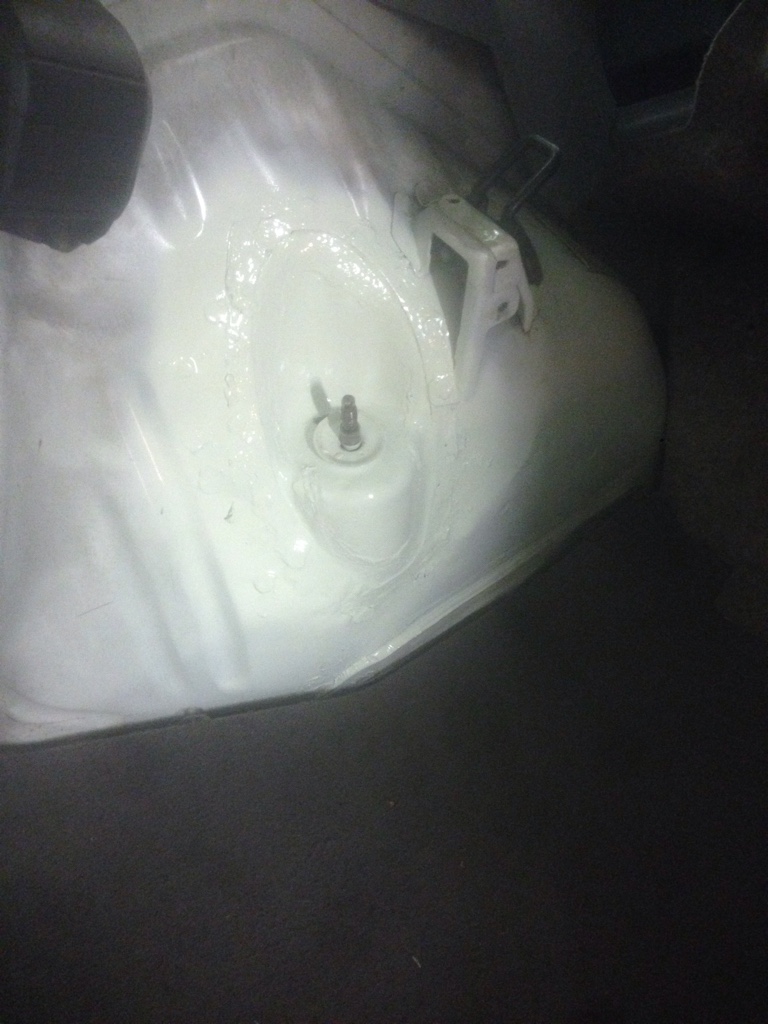
As soon as it's done, get some thick seam sealer brushed in there to protect your lovely handiwork. Primer, and paint. Waxyoyl or stonechip the underneath.

a4b50cd114e7186d3297602882d71d31.jpg


Finish!


Sent from my iPhone using Tapatalk
 
JAE was getting closer but my lady wasn't quite ready. Three days before and I found the passenger front wheel bearing was totally shagged. Rapid ordering of parts and strip down, a rave against time! The to-do list was;

Paint all March wheels and fit new tyres ready for show,
Replace both front wheel bearings,
Clean and polish and display the car

The time? 3 whole days to fit it in.

b871b56c65fad5eda050ddf421abcee8.jpg


e23300269655b6e11b4921a1724f3223.jpg


I managed it- just. Was too rushed and stressed to take pictures and document it though. Basically just followed the Haynes anyway. I went for Yokohama A539 tyres and they are simply amazing. Best tyre for the road I've used. Good wet and dry, and just excellent on the limit.

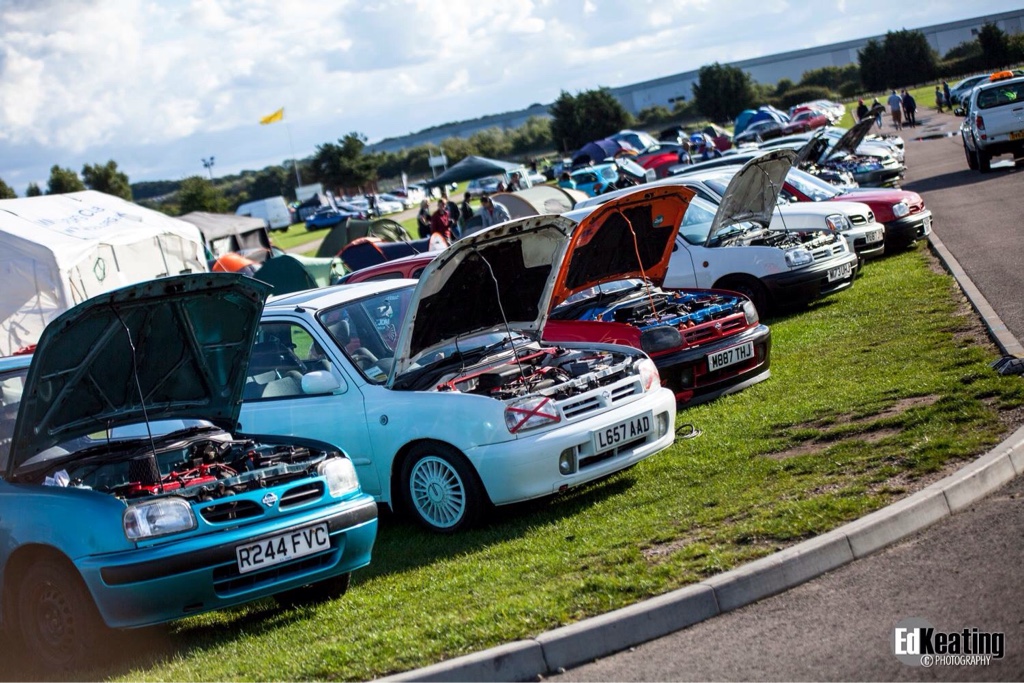
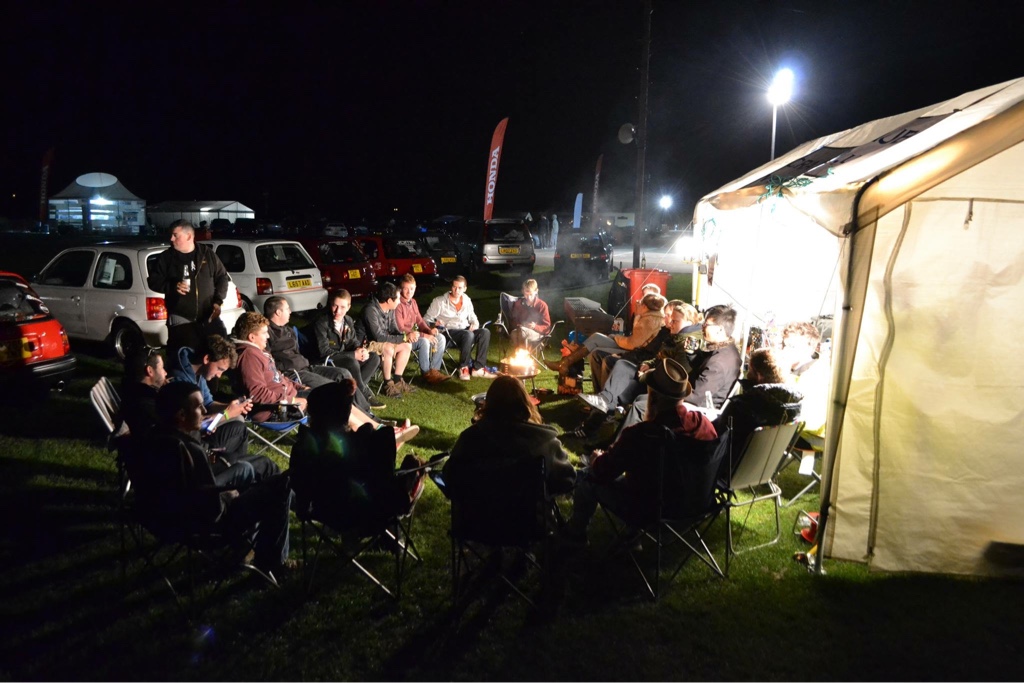
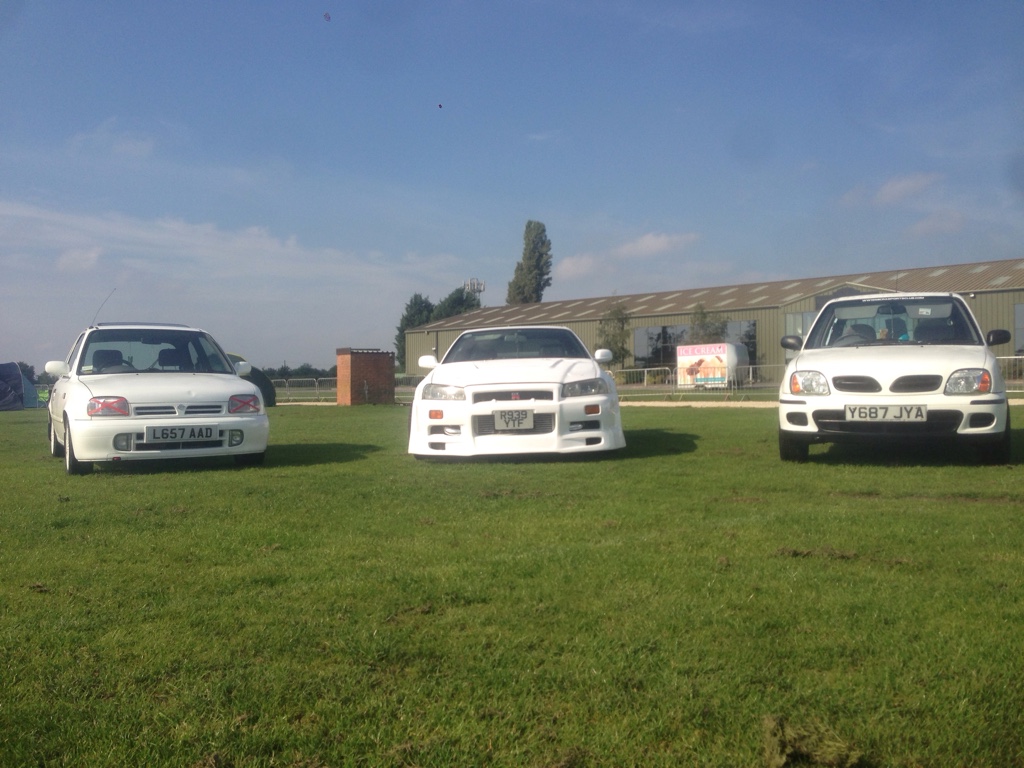
So, after that I cleaned up the car and the bay and stuff, generally tried to make her look good and presentable for JAE. I had a 4-day ticket and lots of beer. I was the first Micra there, with Chloe and Tom close behind.

290dca3a471c813a991637392d47f42c.jpg

ed544b56ef3820507fd02e5d22e48301.jpg


Here are some general pictures from JAE. Not all of them are mine, but they're great pics and give a good feel of the event.

5271a1486a75fd844624a4bed32bbd98.jpg
01488d3a2e7dce12488584a6ce1cb7d6.jpg
56d6e7f0d7c5e5940924ed5716019b79.jpg
fa3e62c102b050016571af09af2fffe6.jpg
543235a4b2724f9c3738104d93925ff7.jpg
2810bce60e3b66ab538b23719d8fc7d6.jpg
26e55219a0ae9ee44f905032ffb73838.jpg


Sent from my iPhone using Tapatalk
 
Post JAE I was a little embarrassed by all the great cars and trick modifications I saw. I did a little A4 spec sheet for my car and it made me realise just how many parts I own but haven't yet fitted. So I cracked on with Group A airbox installation. I thought this would be a breeze but I was so wrong.

Initially, being designed for a Micra I thought it would be a straight fit, but it's not. You have to cut a lot of the slam panel away and also the bonnet catch backplate. It's not really a problem but was a pain, as I quite like my car and felt a bit bad about cutting bits off.

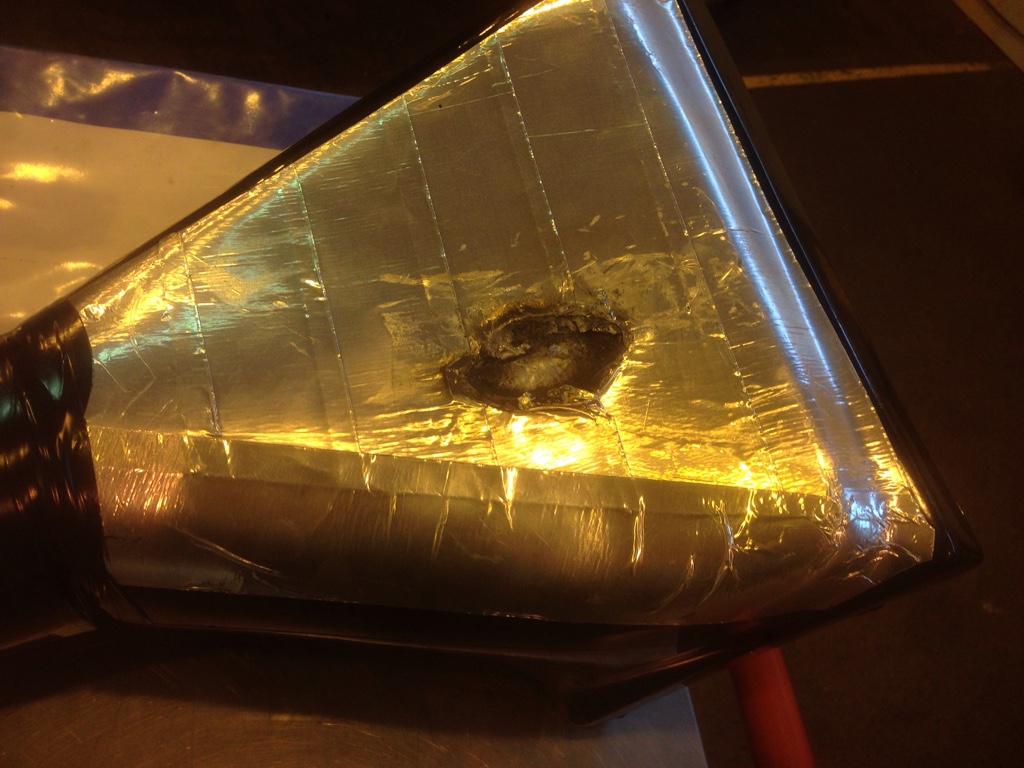
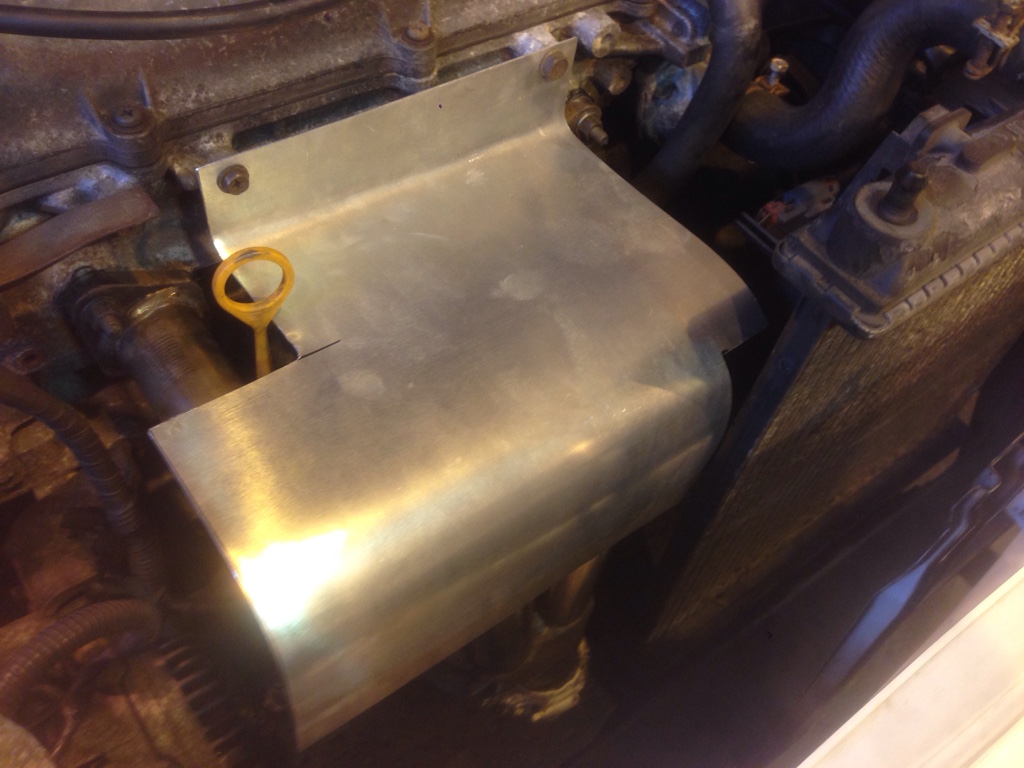
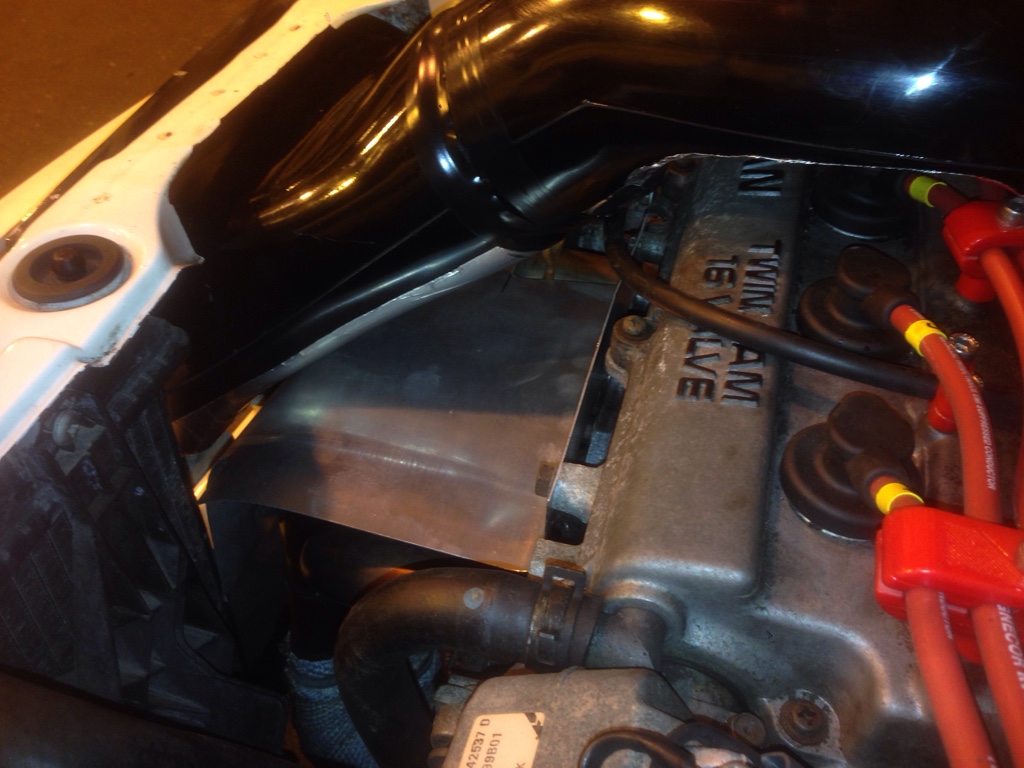
I got it squeezed in, and the Janspeed manifold is bulkier than the stock item, so it touched the bottom edge of the airbox and burnt it :(

1495191ca7d3490de68000fd389d9c30.jpg


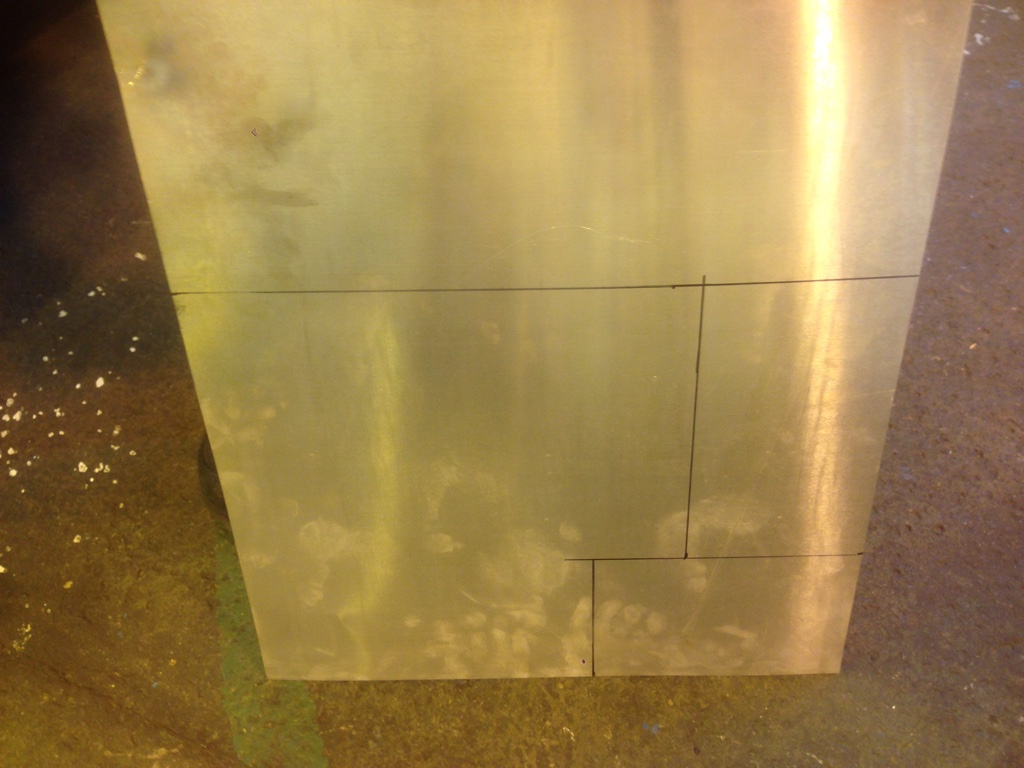
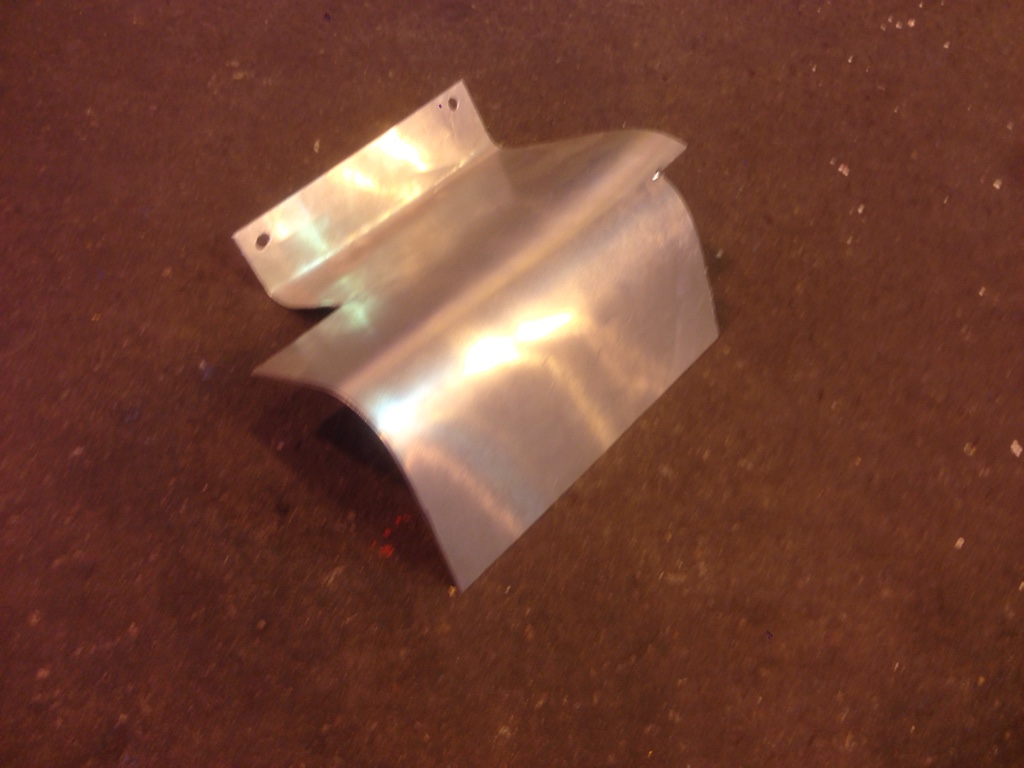
Tried patching it and adding more shield tape but this did not work. A heat shield was necessary so I made one quite crudely.

5df9093252c1ef5a717df925bdb504f5.jpg
38d8435dd983041e14d307eba3755f7b.jpg
0dc2dbefa4c0dfb07ea1d8786016b633.jpg
4874212870961baba5f5c64e2bc1b2dd.jpg


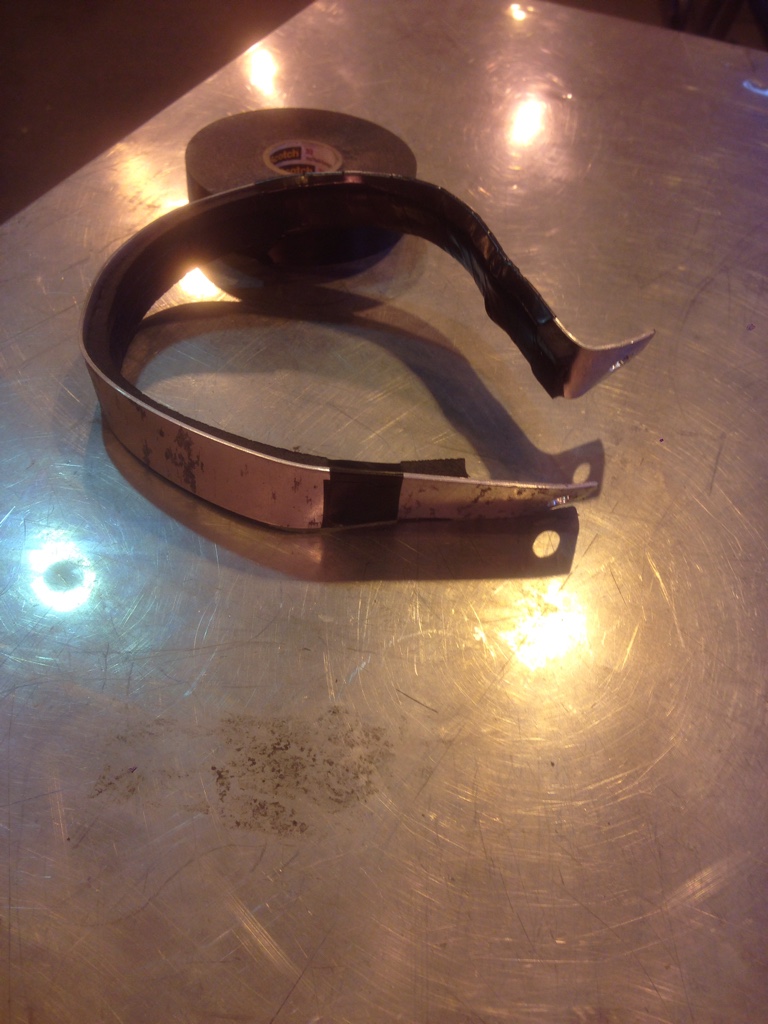
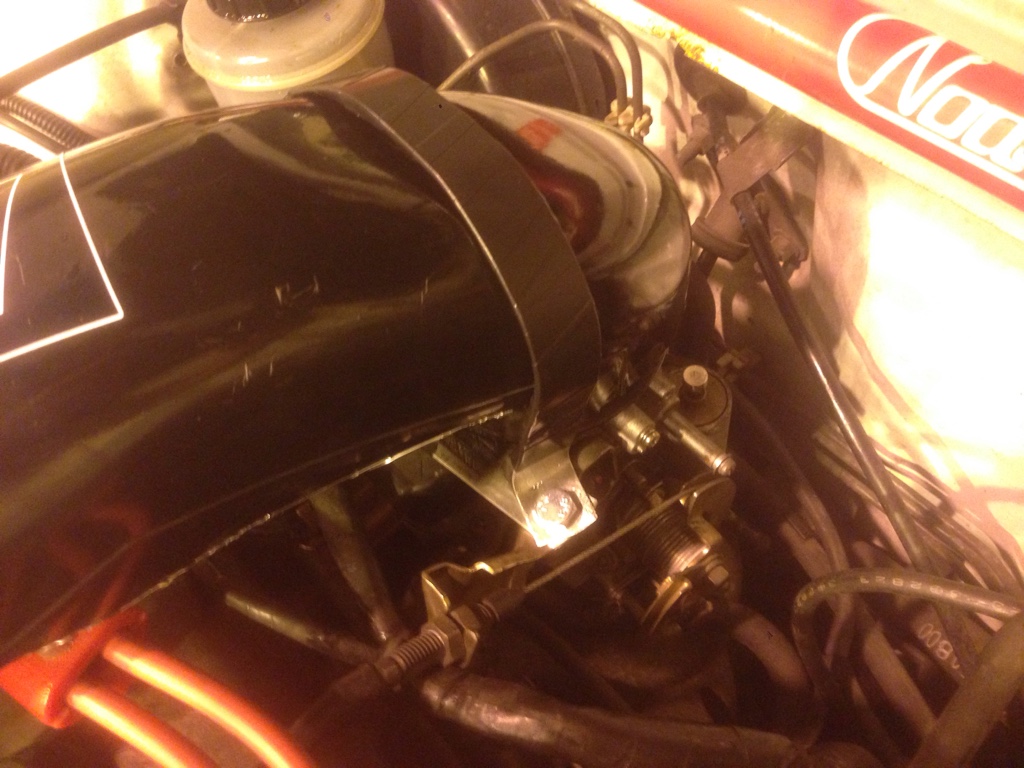
The shield works lovely. I also made a bracket to hold the upper pipe to the throttle body more securely. Thin sheet aluminium with foam on the inner edge and wrapped in tape. It bolts on to the throttle cable holder/bracket.

fd9e81c05d1e034f3925f1409cdde35b.jpg
30c16267d9ece1fb08db062833ea6b48.jpg


There we are. Something like done on that job.
adea6418c734f24b4c929ee807ccd73f.jpg


Noticeable improvement in noise and power. Great modification. Tweaked distributor timing to give a better power band.

Also repaired horn wiring. I had an annoying fault where the horn would only work intermittently. I was convinced the problem was with the aftermarket horn button and steering wheel, as that was all I had fiddled with. On closer inspection I saw that the dual-horn had at some point been replaced, and the wiring was awfully bodged in. They had cut a middle section of insulation, and "tapped in" by badly soldering a piece on.

83113b389e901954e356071d6d9f72b8.jpg


I cut all the wiring and crimped new connections in place. Working and much better.


Sent from my iPhone using Tapatalk
 
Oh, also I recently fitted a GA15 Throttle and GA14 Injectors. Quite easy as it's just 1-for-1 really.

I had to swap the pulley for the throttle cable off the GA15 as it's a slightly different design and put a CG pulley on, and removed the waxstat and bypassed the coolant pipe.

I also used an impact screwdriver to loosen the fuel injector screws. They were quite tight and soft metal so best to be cautious.

Aaaand I think that brings us up to date... For now.


Sent from my iPhone using Tapatalk
 
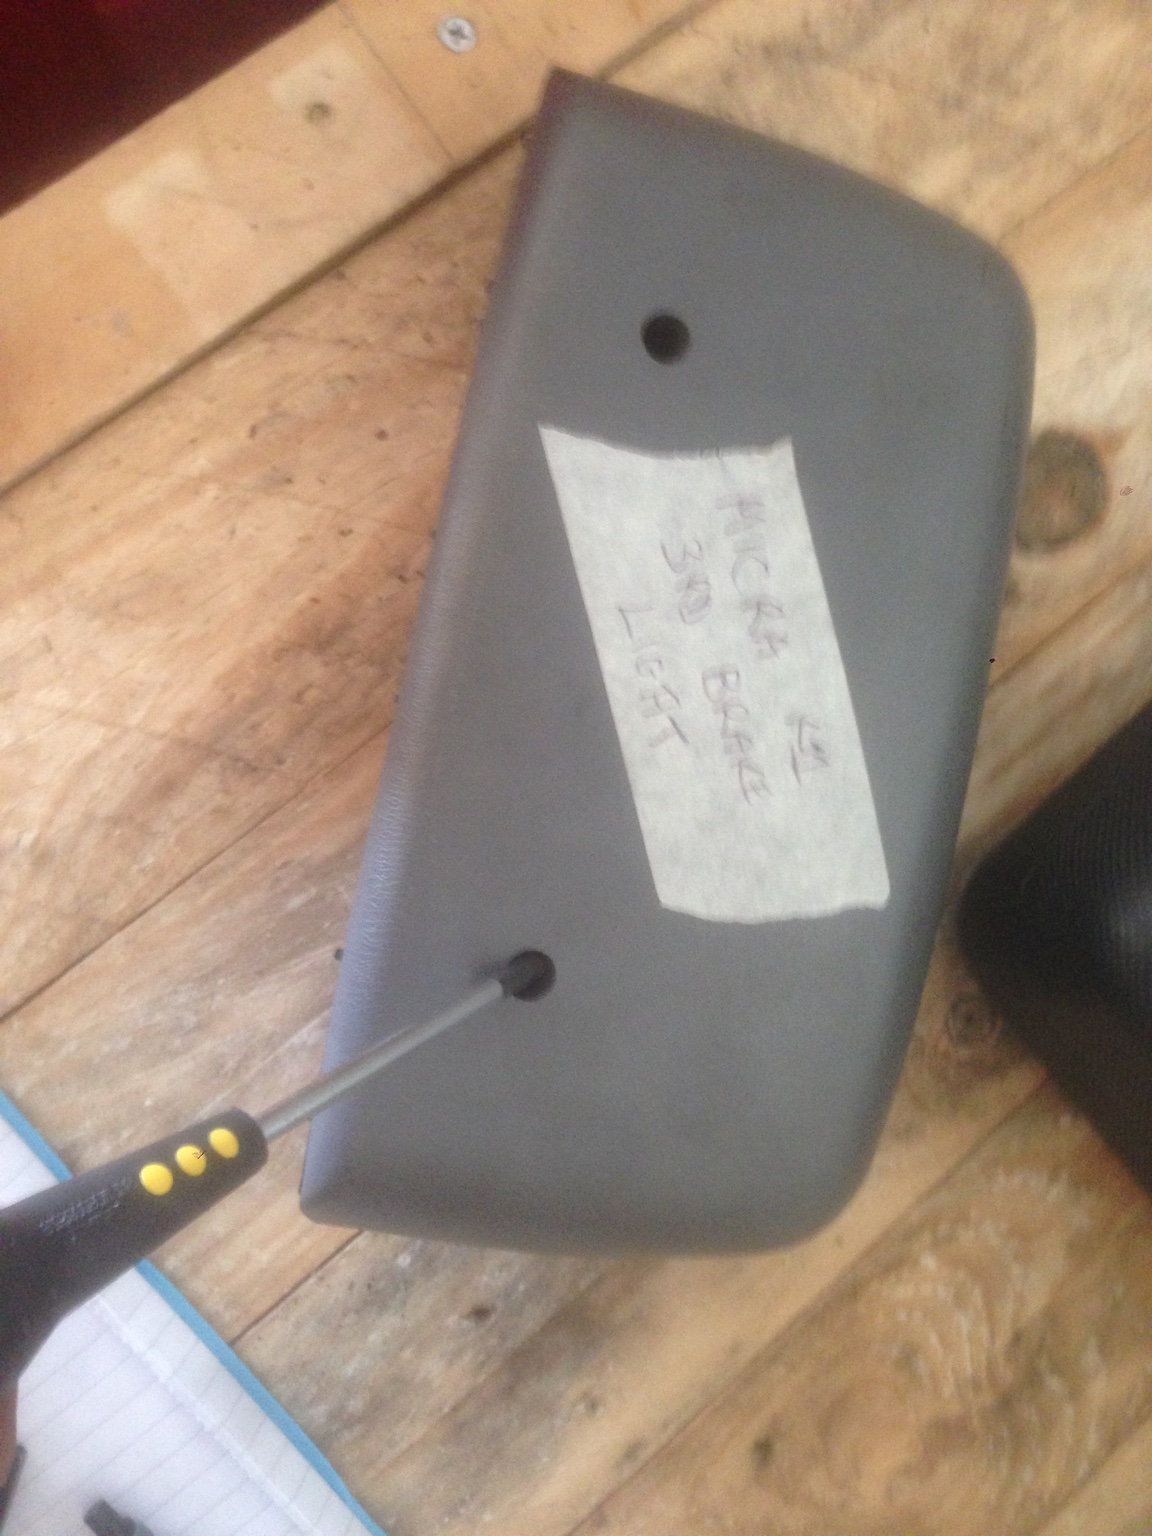
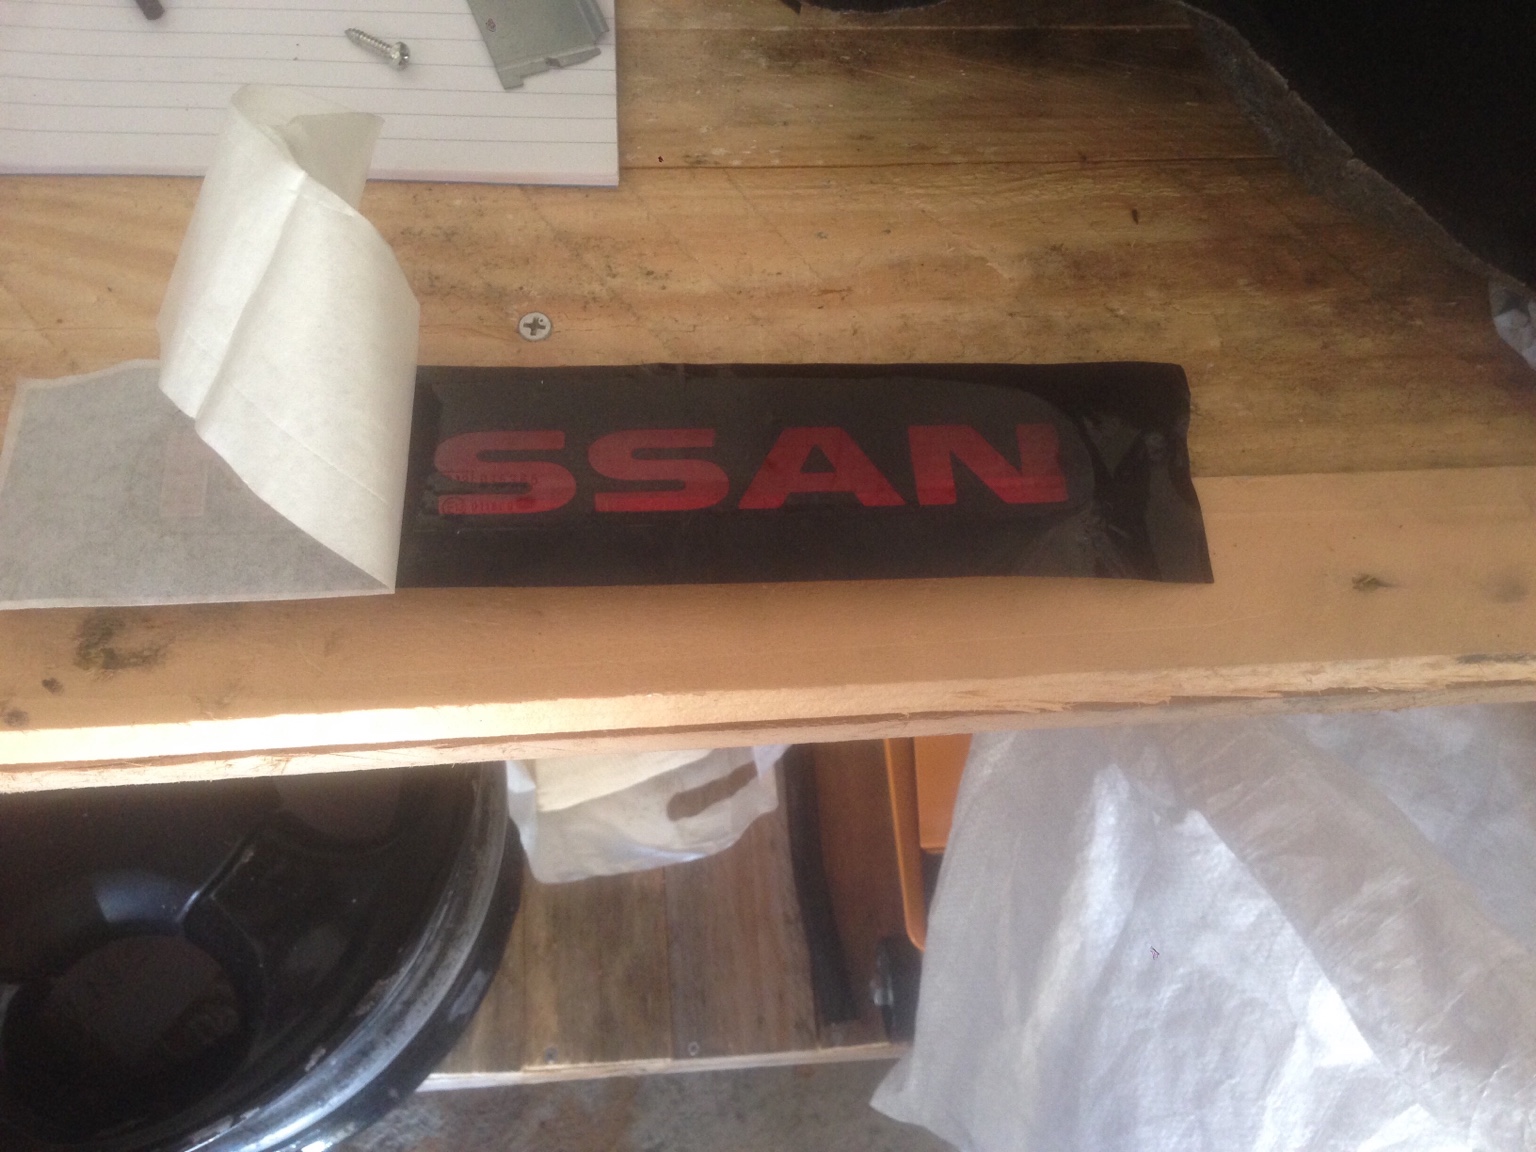
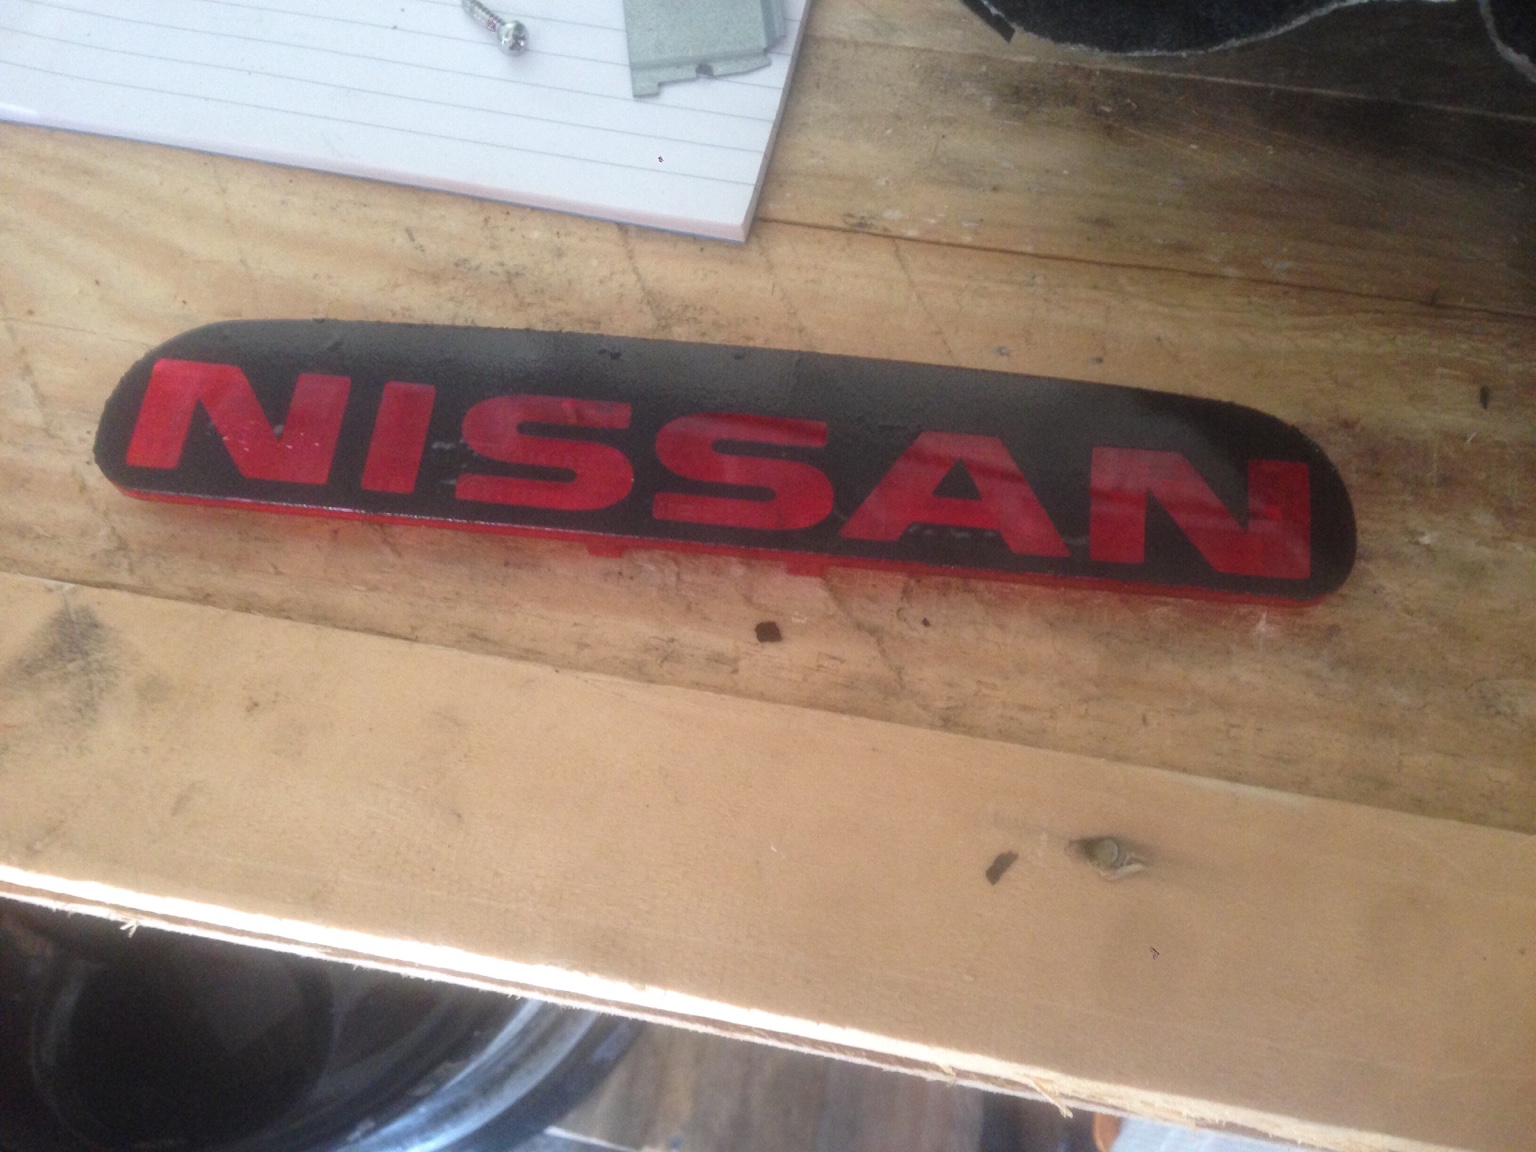
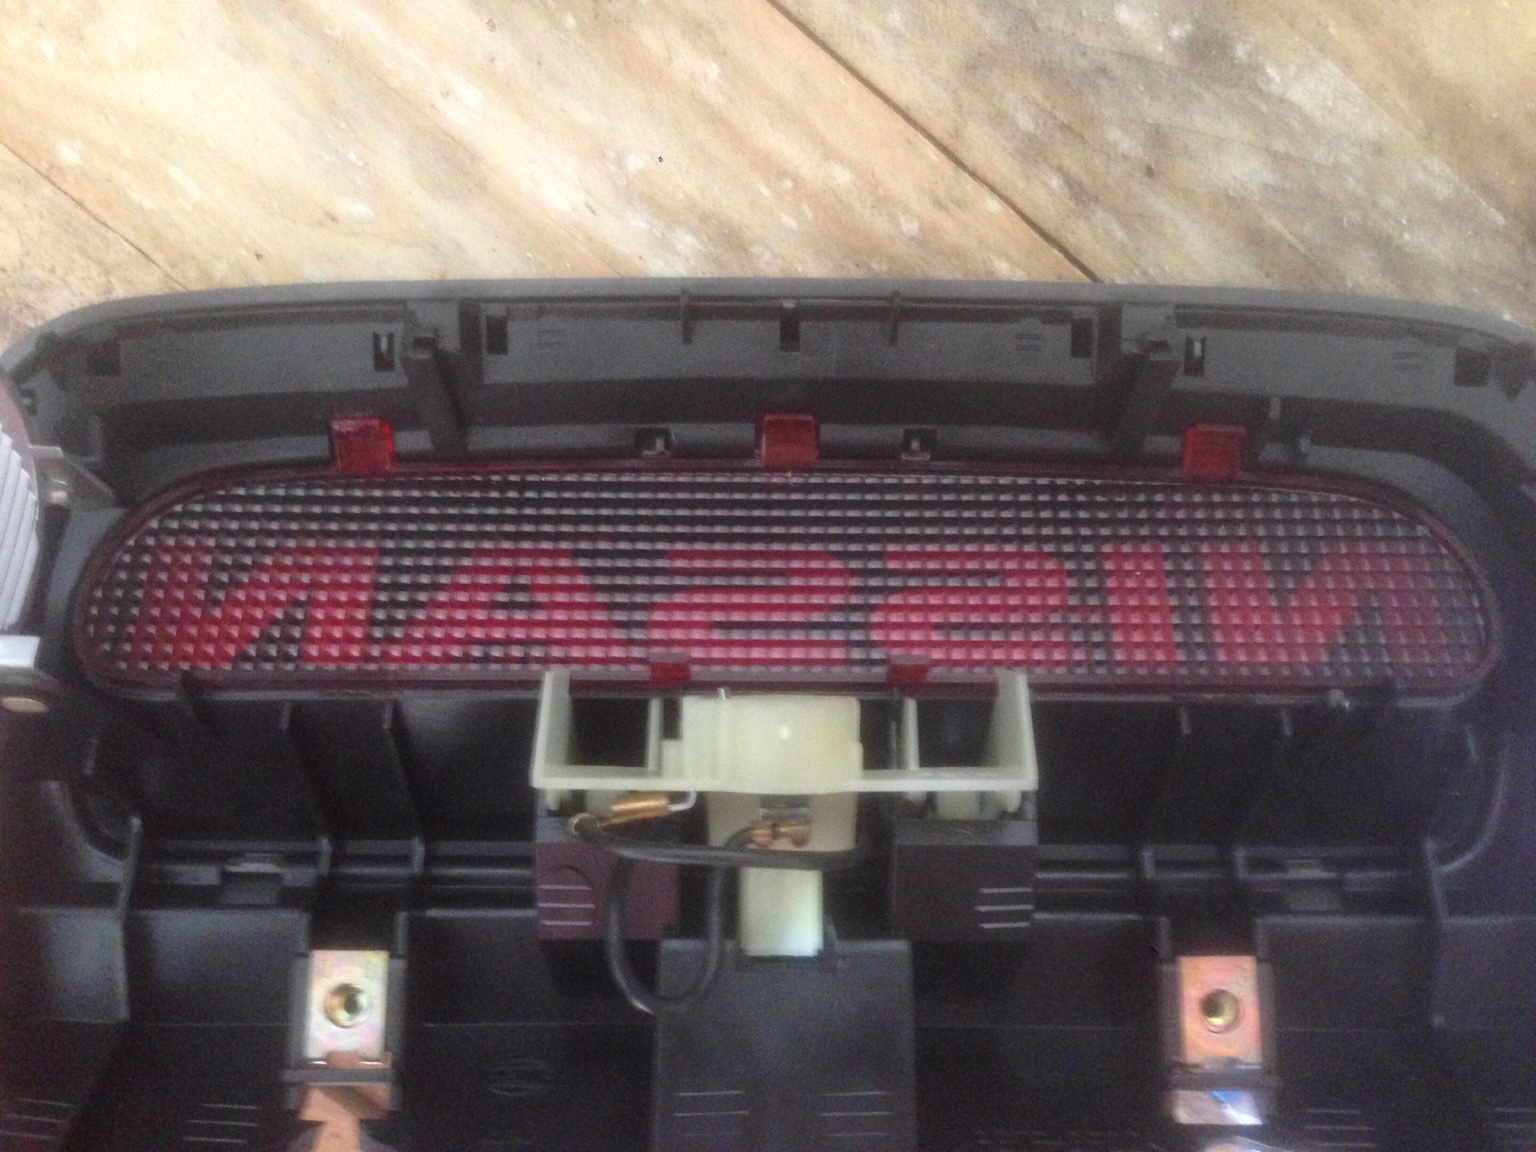
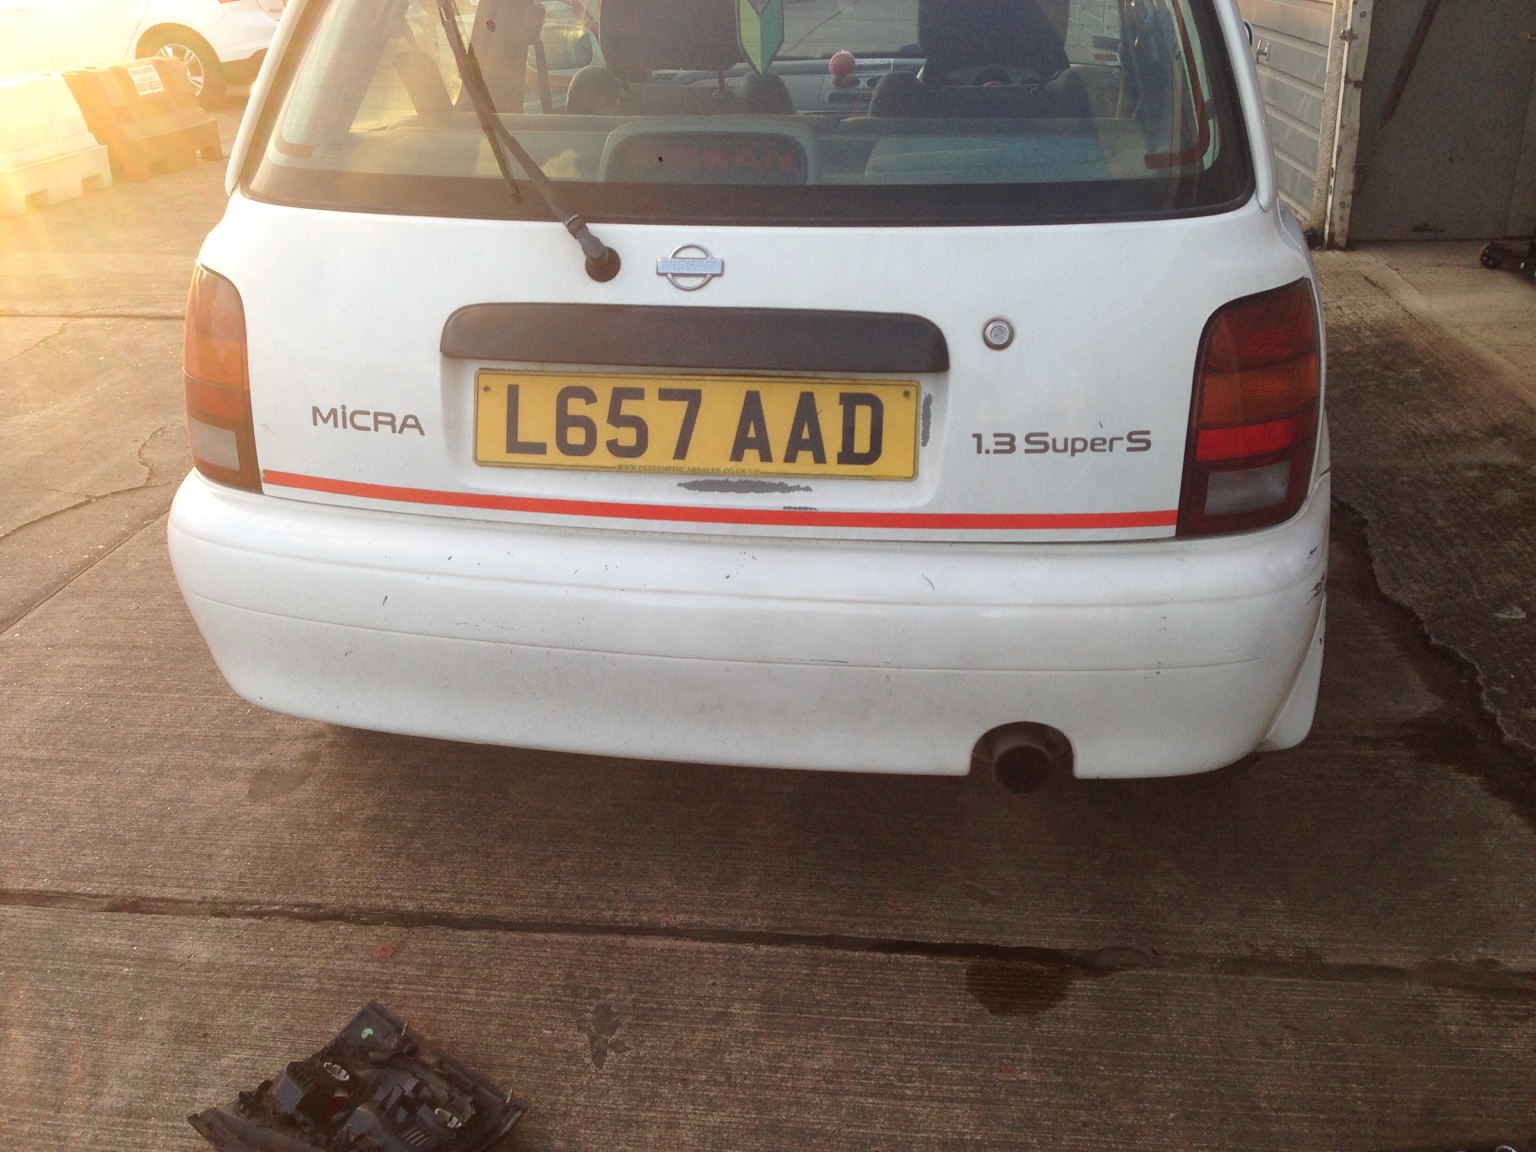
Weirdly my car had a cut out in the shelf for a third brake light but no light... Got one from a scrapper and wired it in, with totally badboy Nissan decal so people know what they've been overtaken by.

f58fc9f1265ffdbdf0d033ad25e36daf.jpg
a158d4aa35d3e4898c8f9a2b929aaee0.jpg
6b53499ea00eef49729c4a95771e968b.jpg
2923190cb59e4d1c6dbe92daf56456e6.jpg


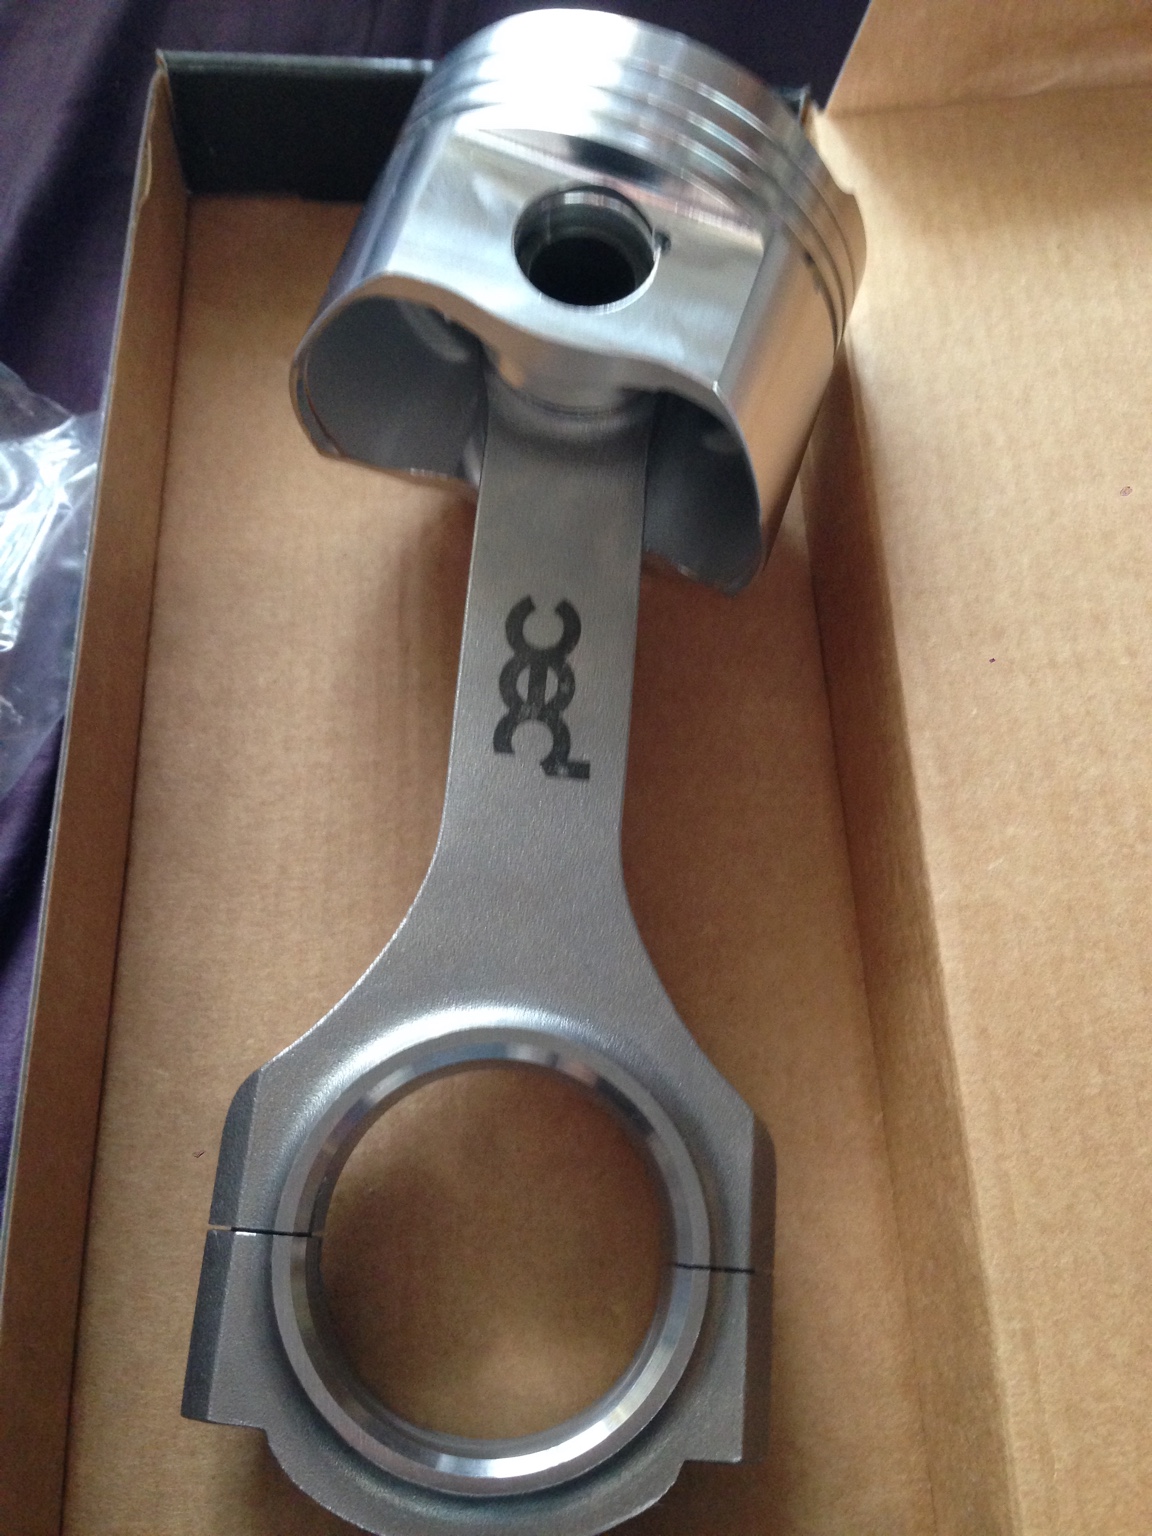
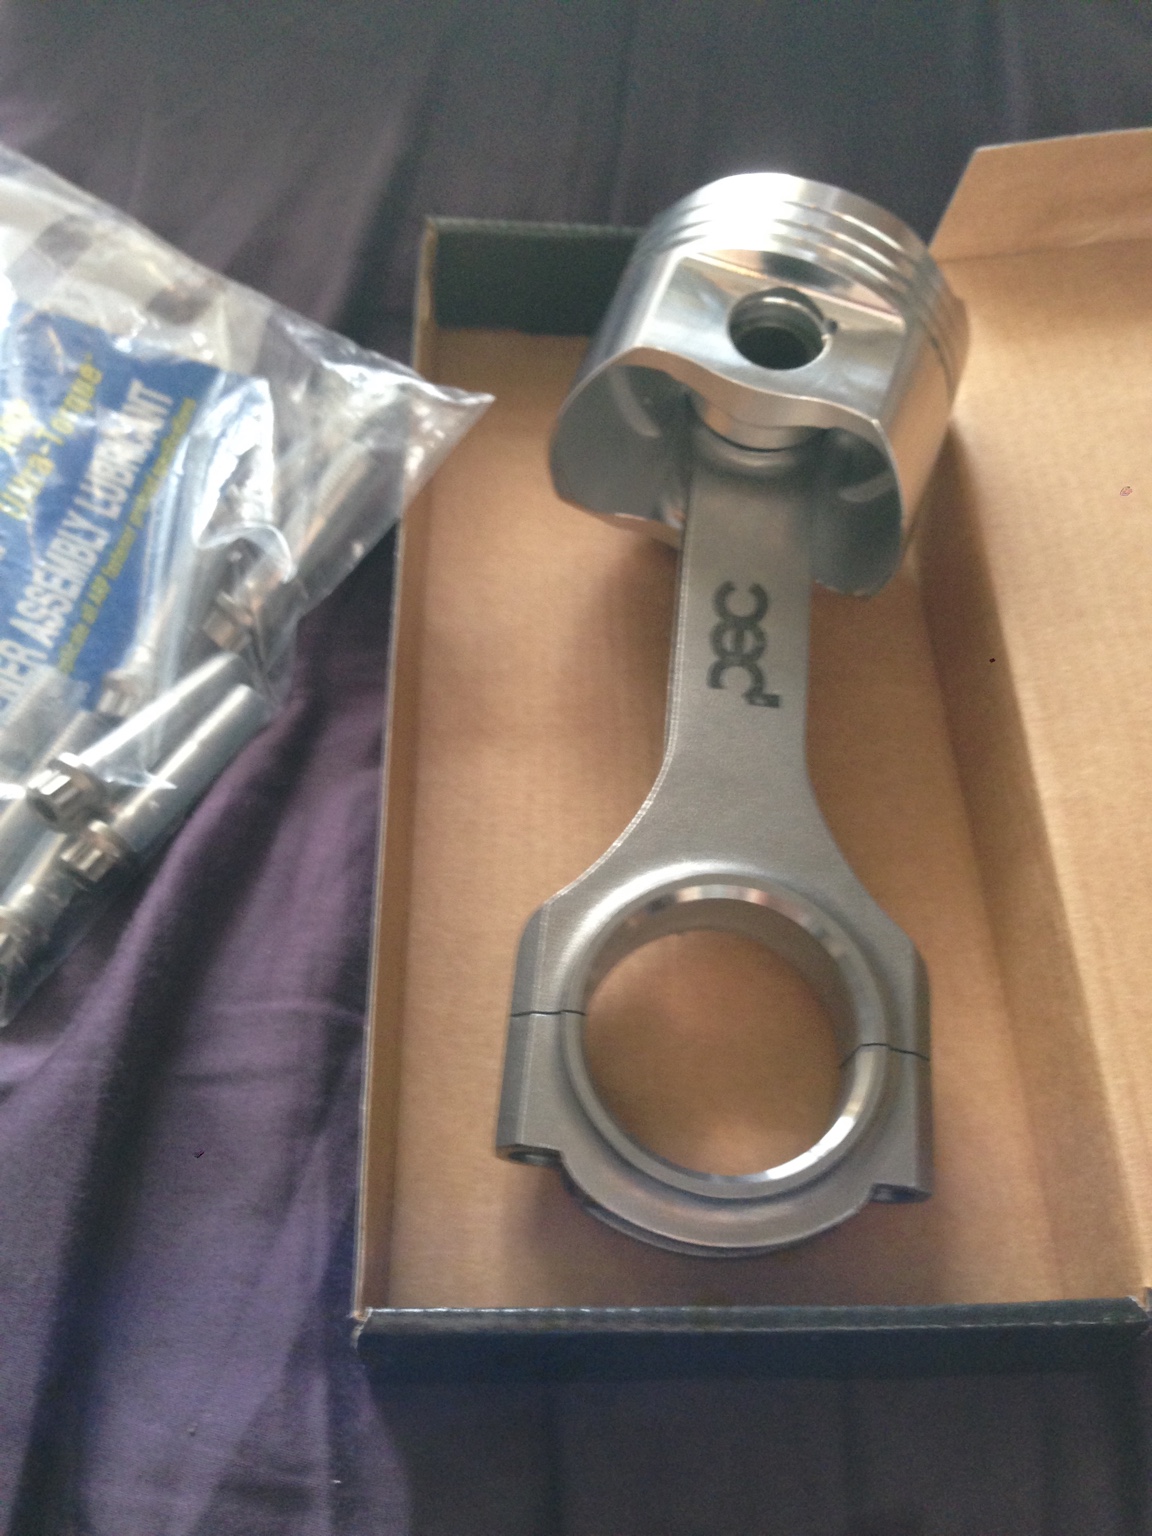
Also received my new kick ass conrods for the high compression screamer, with ARP Bolts and ultra-lube

7d885fb15b046f3bd5cc58e0654566f4.jpg
3052911e6915979c2835eebc207a4173.jpg


Sent from my iPhone using Tapatalk
 
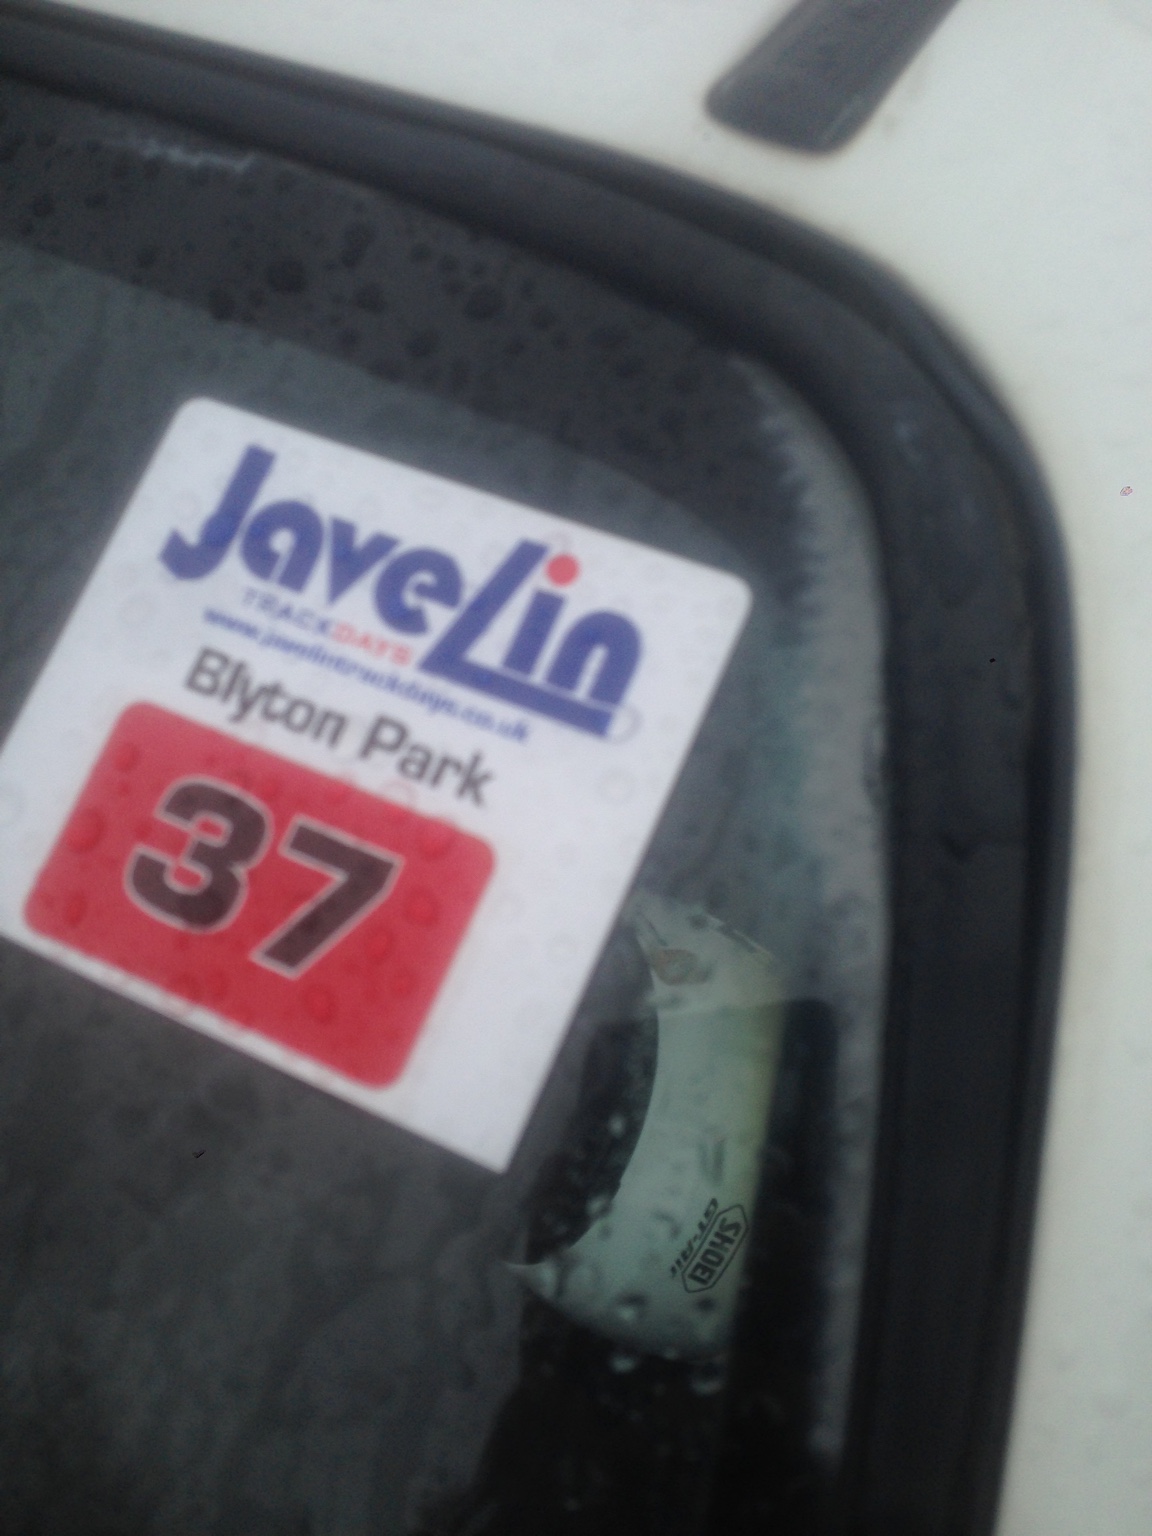
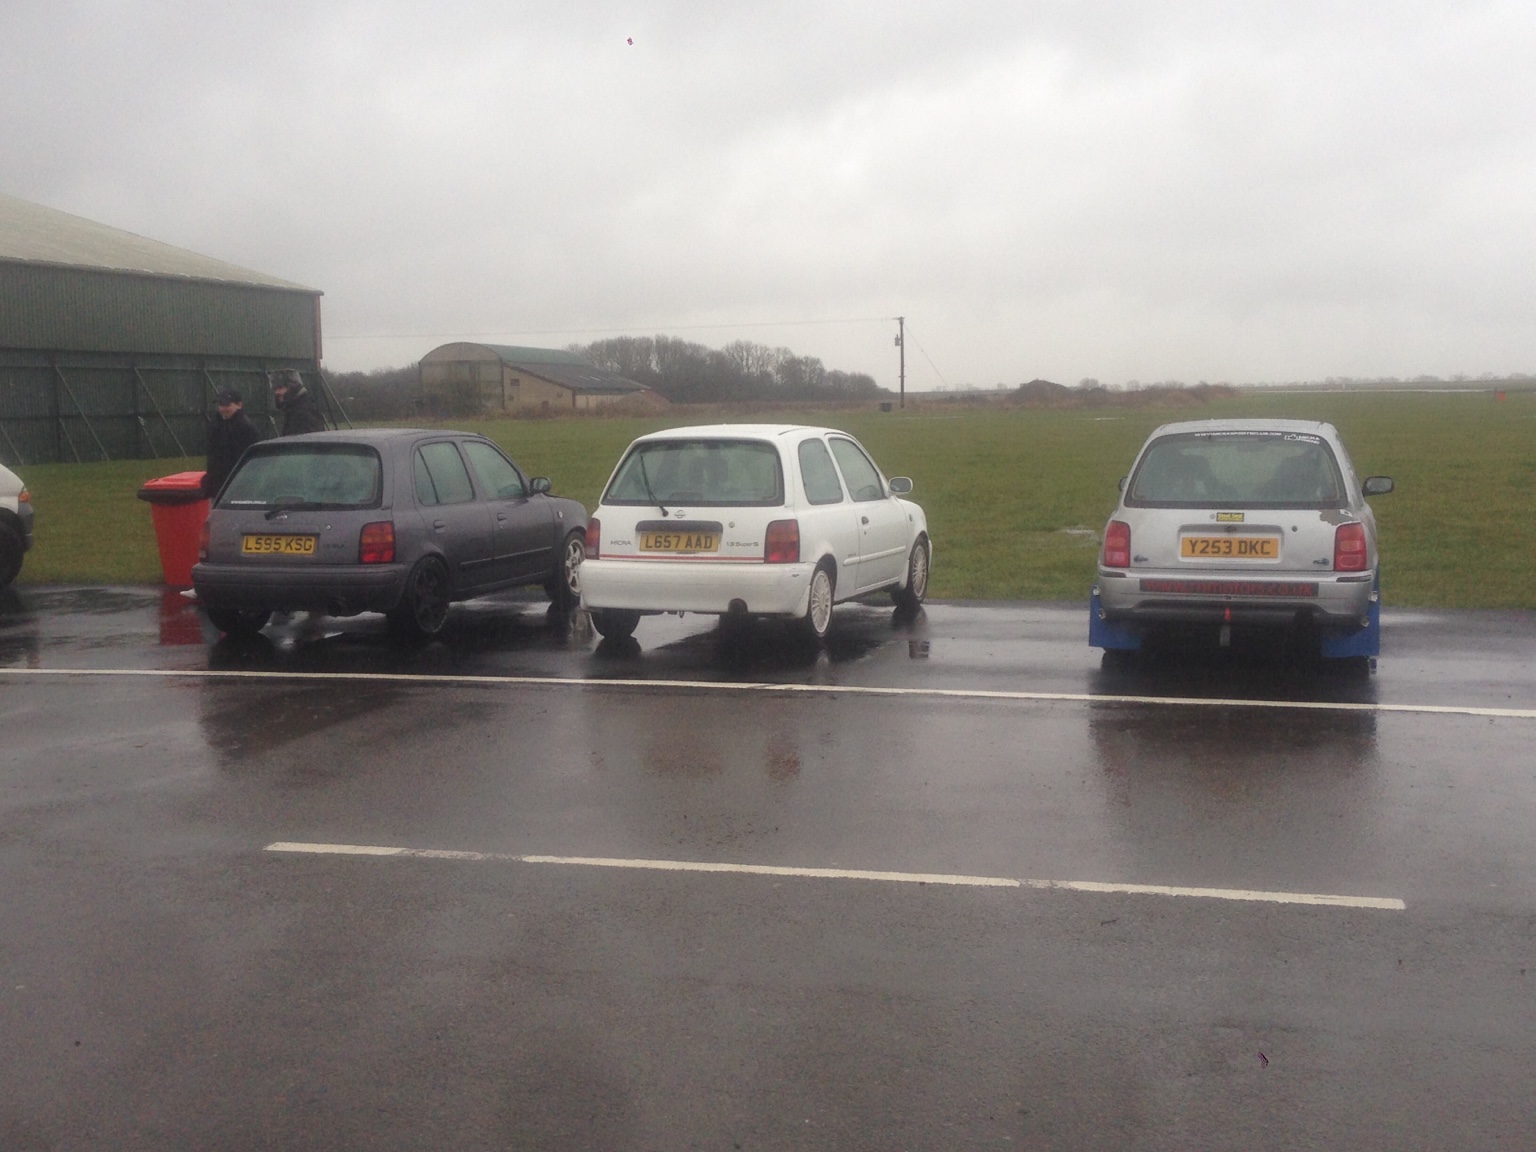
Did my first ever Track day at Blyton Park with Paul Li, Andy Gray and Alex Mill.

Was a soaking wet day and I learnt a lot and had buckets of fun. I think because I'm still on skinny tyres/wheels and used normal road tyres the water displacement ability was a bit better than some of the grippy track style tyres others were using. It enabled me to be fairly competitive! Even over took a Lotus Evora at one point and then promptly got into a hairy slide, haha.

The car had a lot more potential than I was willing to push though. I need lots more practice!

445baf8deced474c6481536c21e42a9f.jpg
ca7ba54b53d52d9420bbf32bac2d8027.jpg


Some general photo-shooty pictures I did

17334680833b4755f3112057359ef8d8.jpg
f369e0499f600a5db6fdd614dcb3de86.jpg
e0cade958fff61e316c22765a4a43687.jpg
cdcb64ee069b434fb0545aa2f4e11e3c.jpg
c70d8865331a33e53986c4ed595f36e8.jpg
3ea8ee12dfe88ad660d4c1f3246acecb.jpg
0b38cd5a2463680cc0954c4defcb30c2.jpg
4309030a210e090314b4c8c479833082.jpg


Sent from my iPhone using Tapatalk
 
Very jealous!
Can't wait to see what you build up

Build will likely be slow as hell, everything's so damn expensive. Newly single though, so while I'm heartbroken I do have ****loads more money. Every cloud and all that.

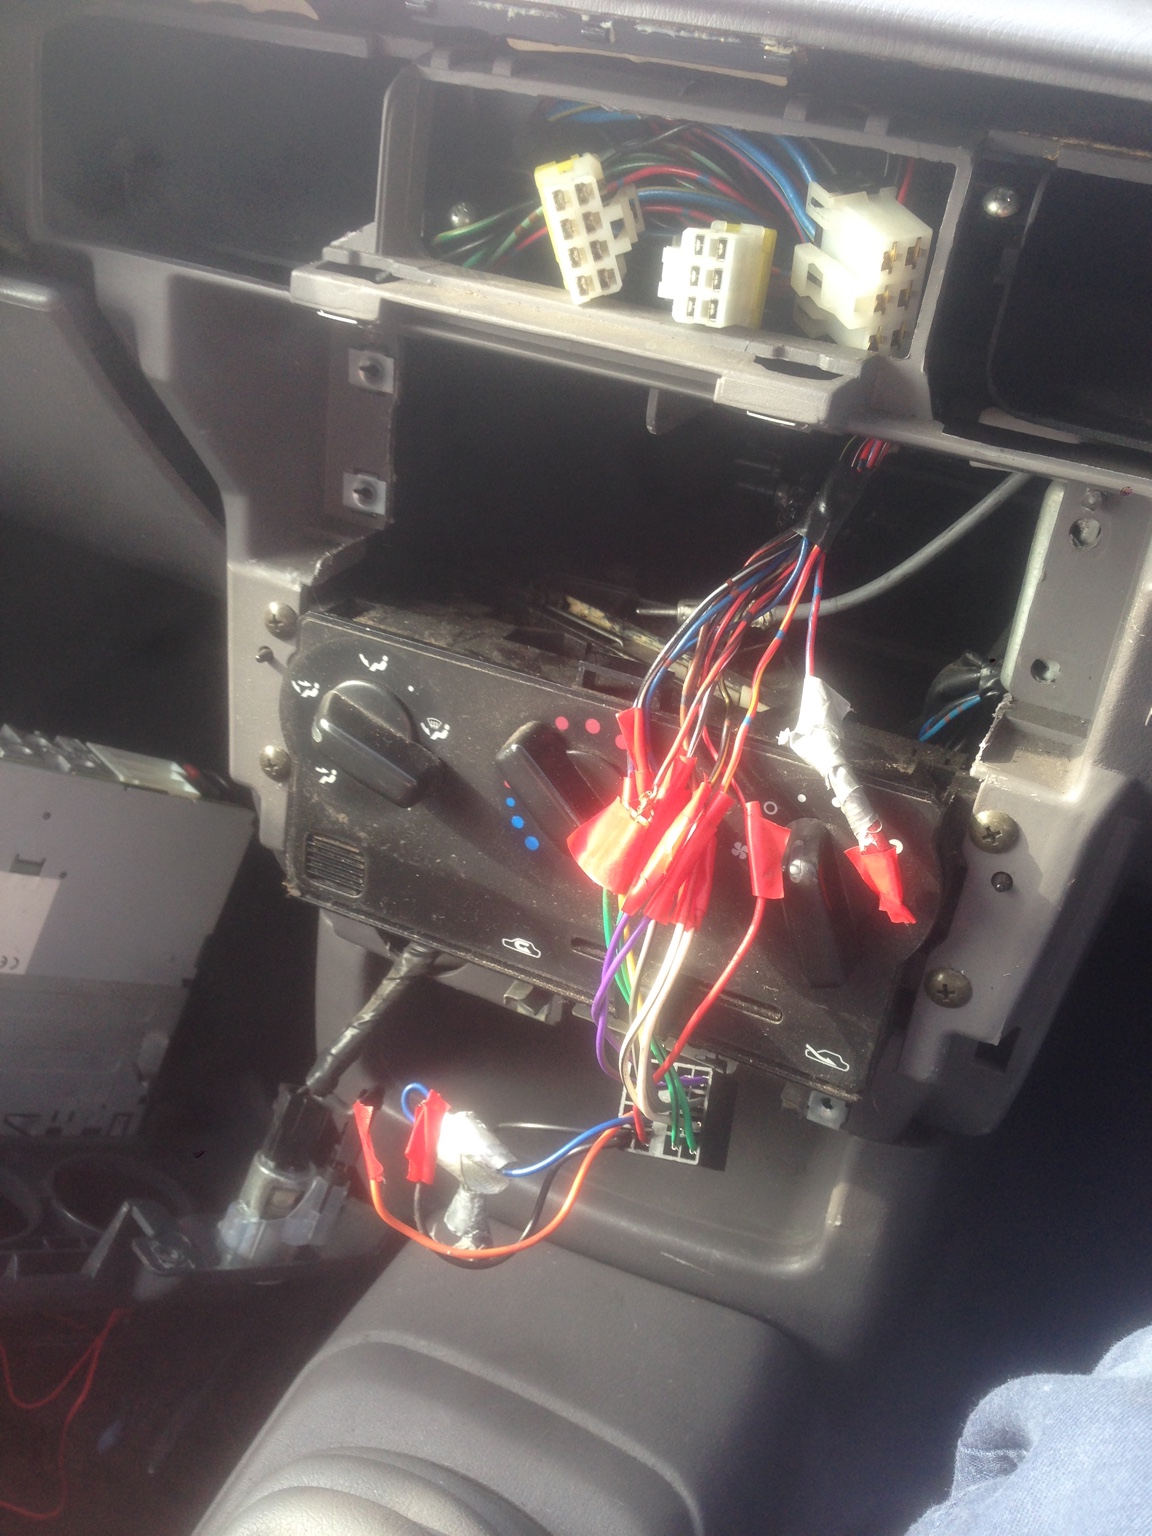
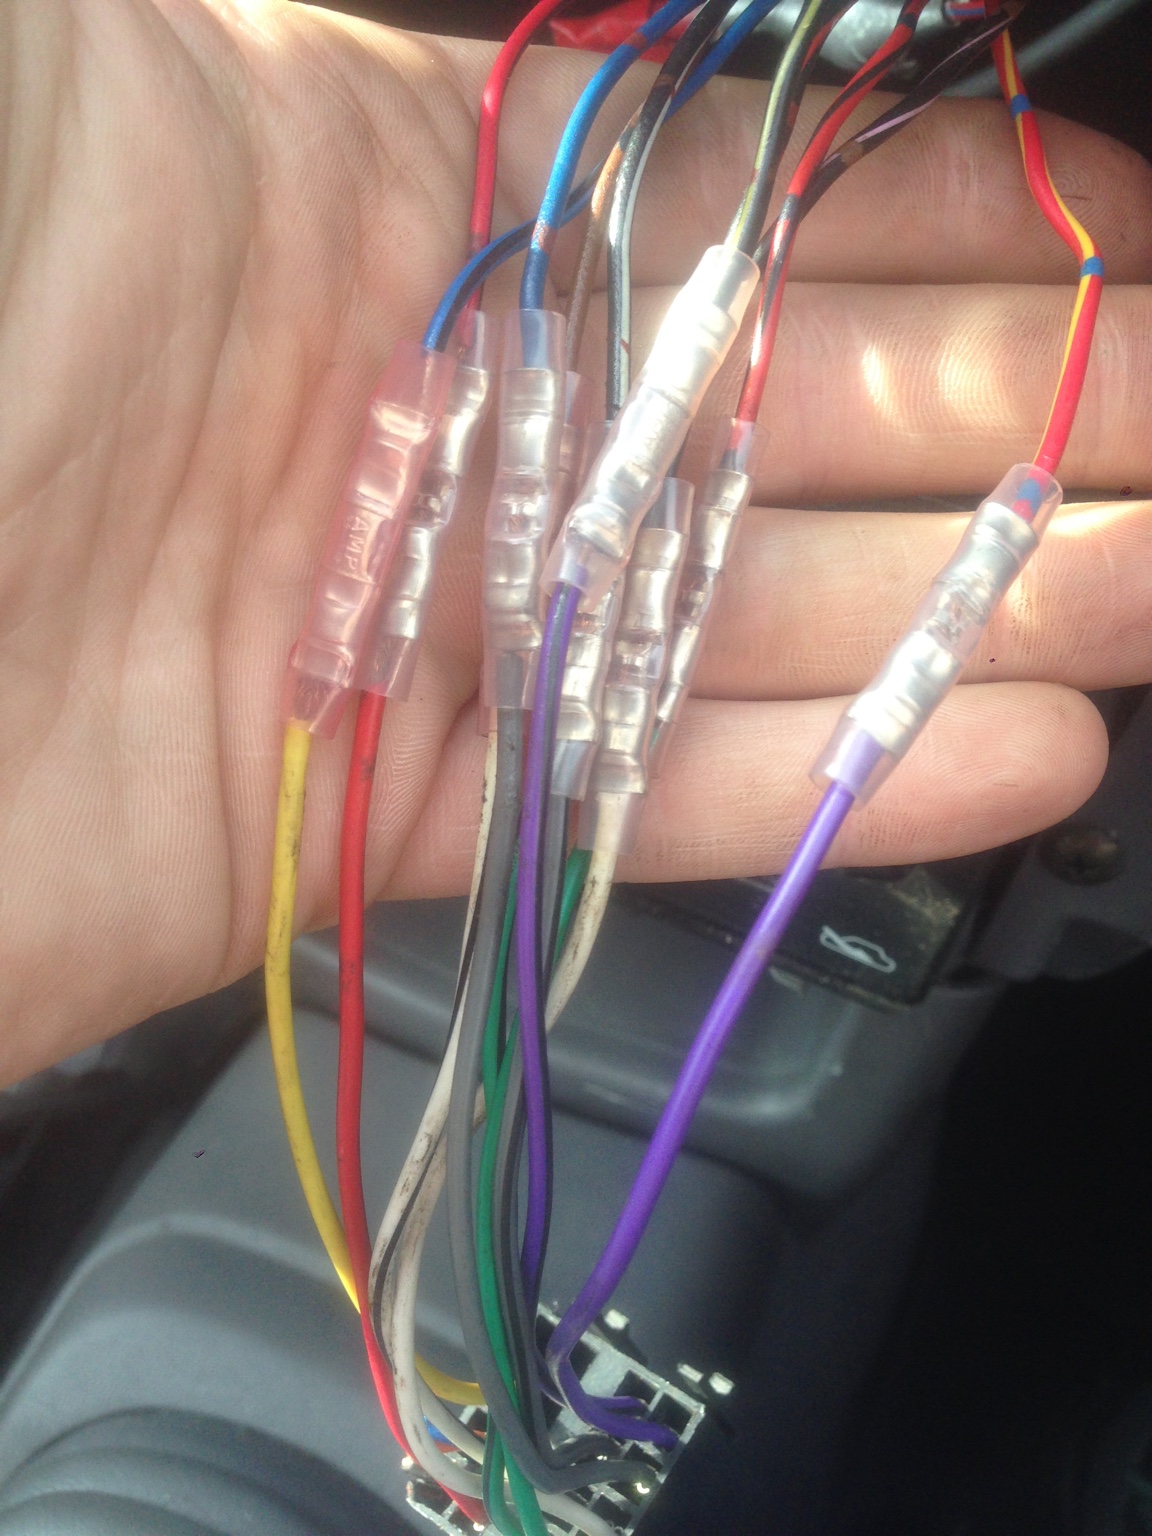
Radio had been badly twist n taped by previous owner.

534b14c0635a2bcb2a1a96c25ca83434.jpg


Fixed that

4ce18ee2dcaf087808c090ff336eecd0.jpg


Fitted Euro spec drivers tail light to achieve symmetry. Used a red bulb in the reverse holder to keep Fog Light legal etc.

fcf3df554dc2fcd570d217a00055fc89.jpg


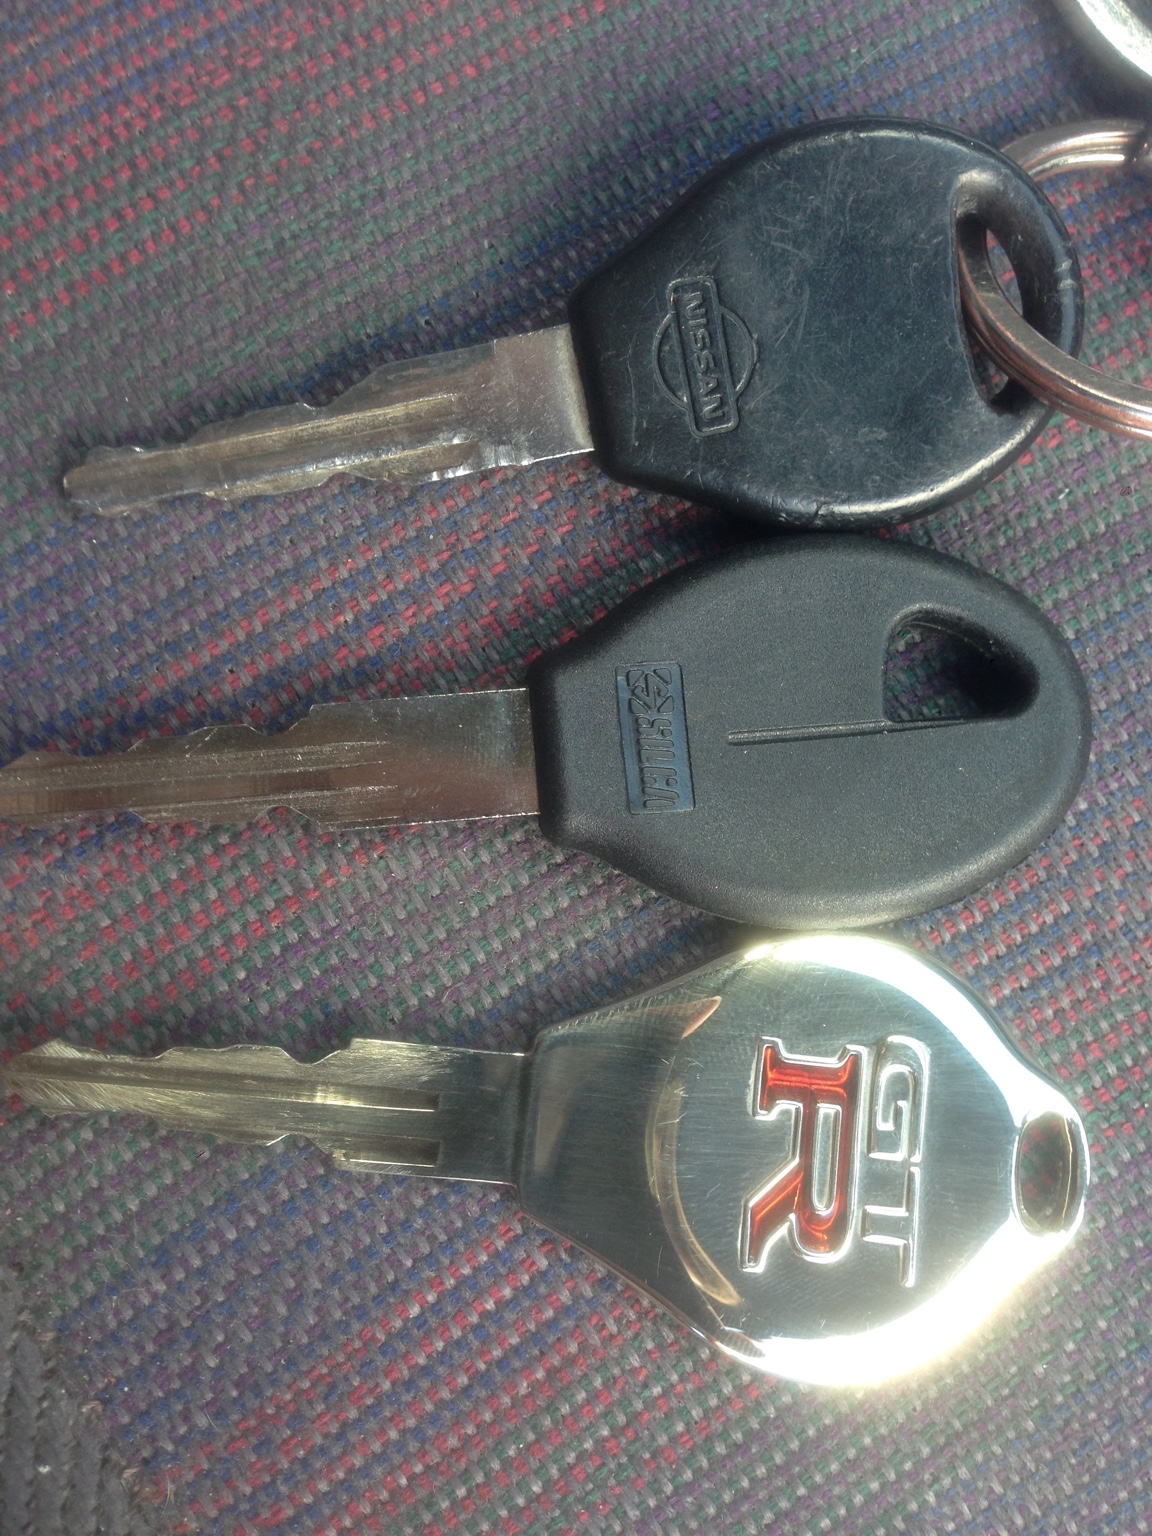
Had an R32 Skyline GT-R key cut for the car. Just a cool little luxury touch :)

d78c34d4fd3c6184190907302933a18b.jpg


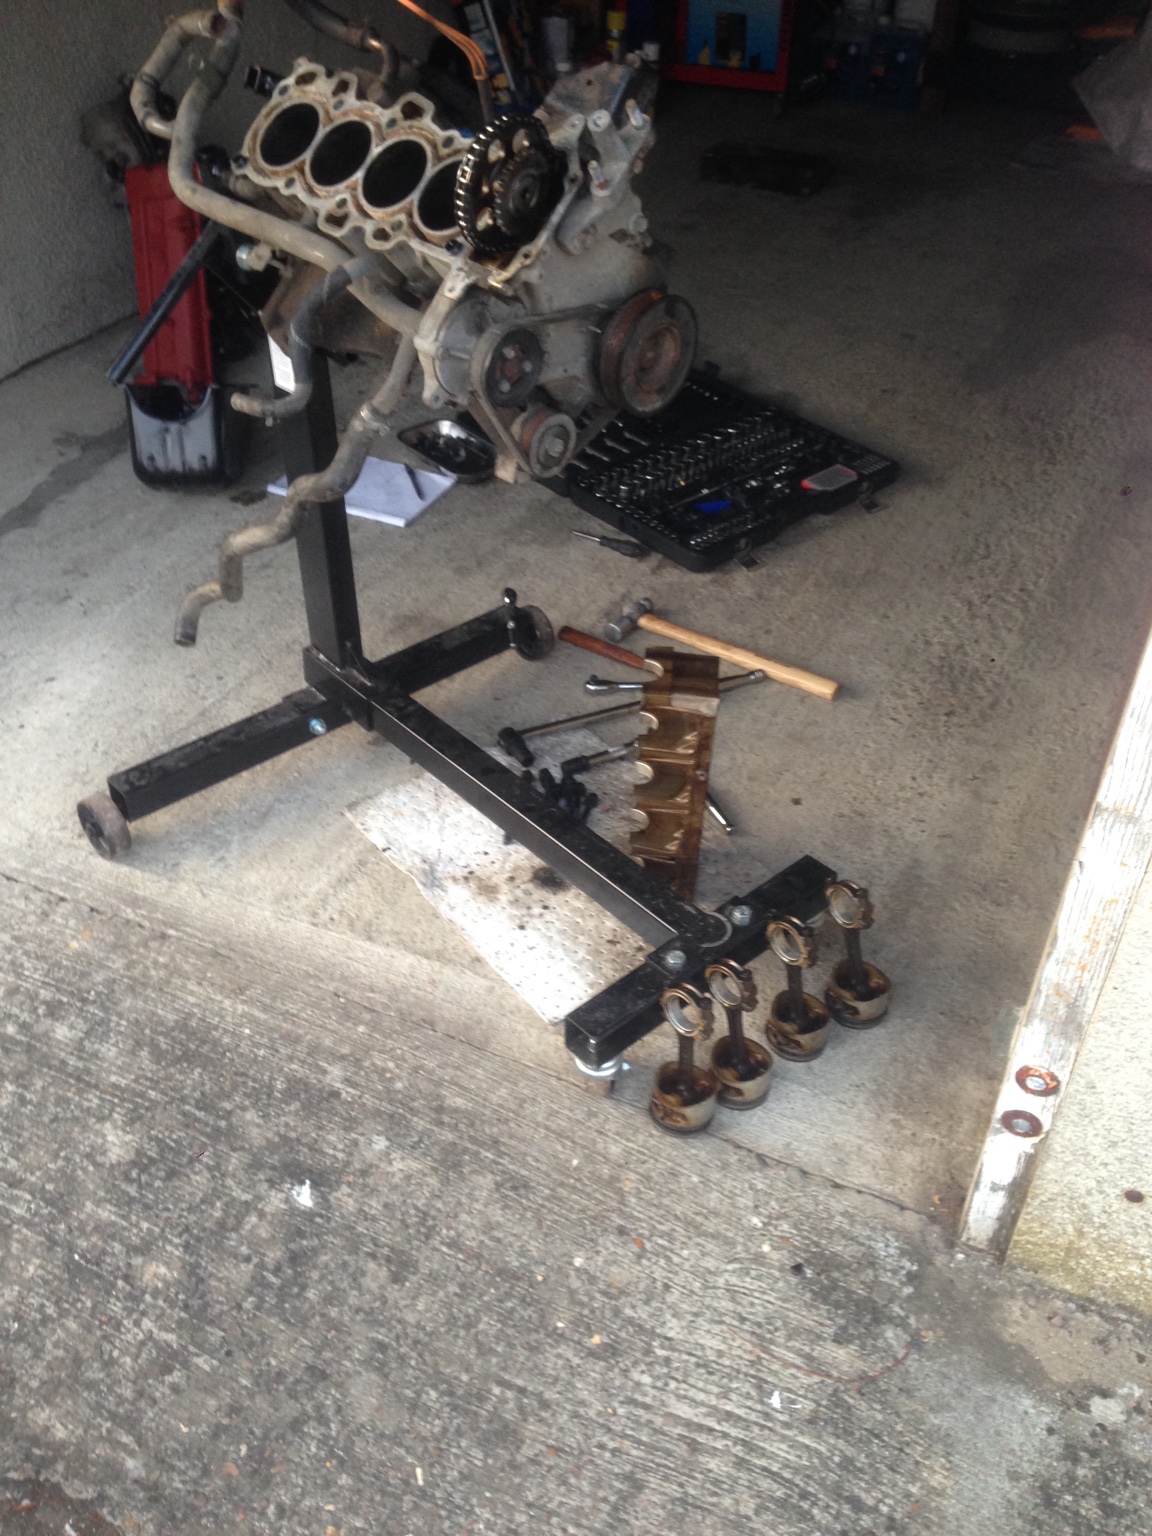
Removed old pistons. Found a chap who has a use for them, so he'll take them off my hands...

1fdb2561d78b09332ebd9360fdaacd35.jpg


Sent from my iPhone using Tapatalk
 
Fitted braided rear brake hoses, bled the brakes up really well, also had to change Driver's wheel bearing again only 9 months after previous one! Last time it was a cheap ebay one and rushed two days before JAE... Bad part or my mistake in fitting? Who knows. Bought a more expensive item from Euro Car Parts with Lucas on the box. A brand I recognise this time so hopefully a bit better quality... Passenger side one is still fine. I wonder if the longer driveshaft on the driver's side is a factor in the wear?

Pedal feels really good now. Car stops nice and straight, locks up easily but is controllable with less pedal pressure and stuff... Just really good!

Also acquired some Pulsar brakes but until I get a 14" spare wheel I'm avoiding fitting. Also moving house soon so that will likely put stuff off even more.

a341f351edc6630b5a98f54e588ddd2d.jpg


While doing the job mentioned above was looking around and checking stuff. Noticed passenger tyre worn close to the limit and odd pattern of wear. Booked car in for laser alignment. Garage showed me the screen. Both wheels were toe-ing left by 1 degree each!

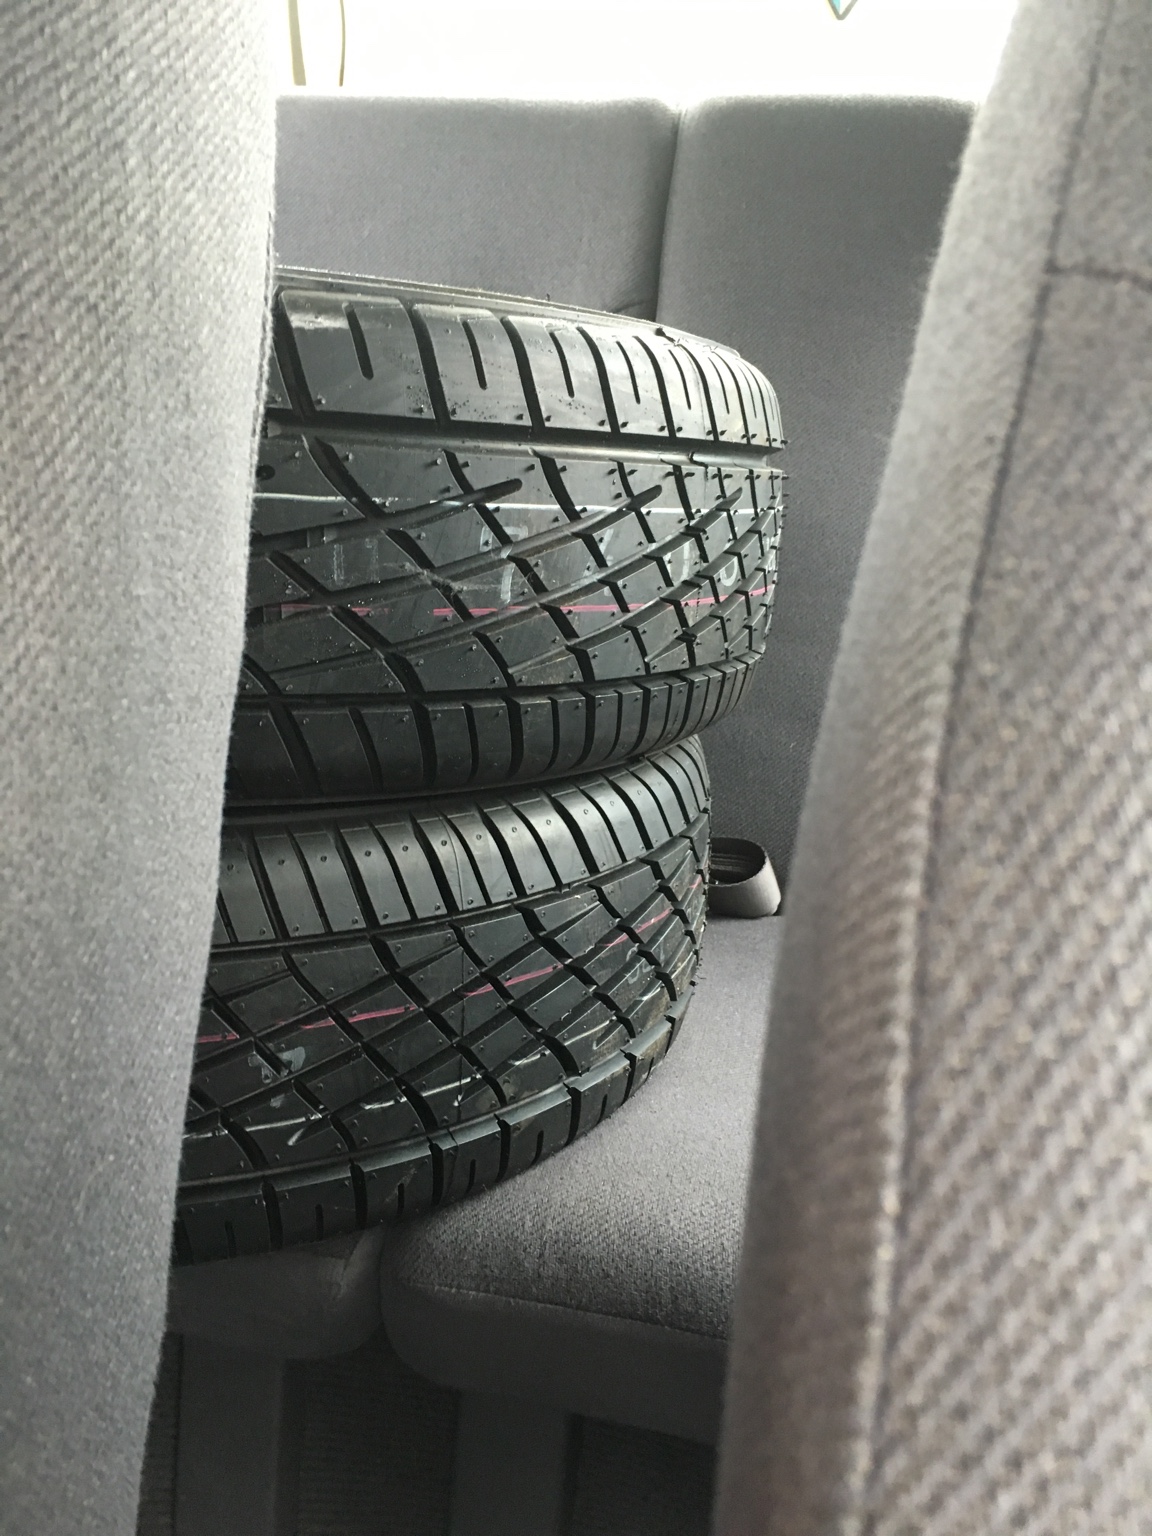
Ordered new tyres. Yoko A539 again. Served me well last year.

24dca33ca26337650705e6dbd9bbe9b8.jpg


Sent from my iPhone using Tapatalk
 
9329fc0d33f1278970efe97dd40b11d6.jpg
d6cf0cac53edc44726db1014a1760fa1.jpg


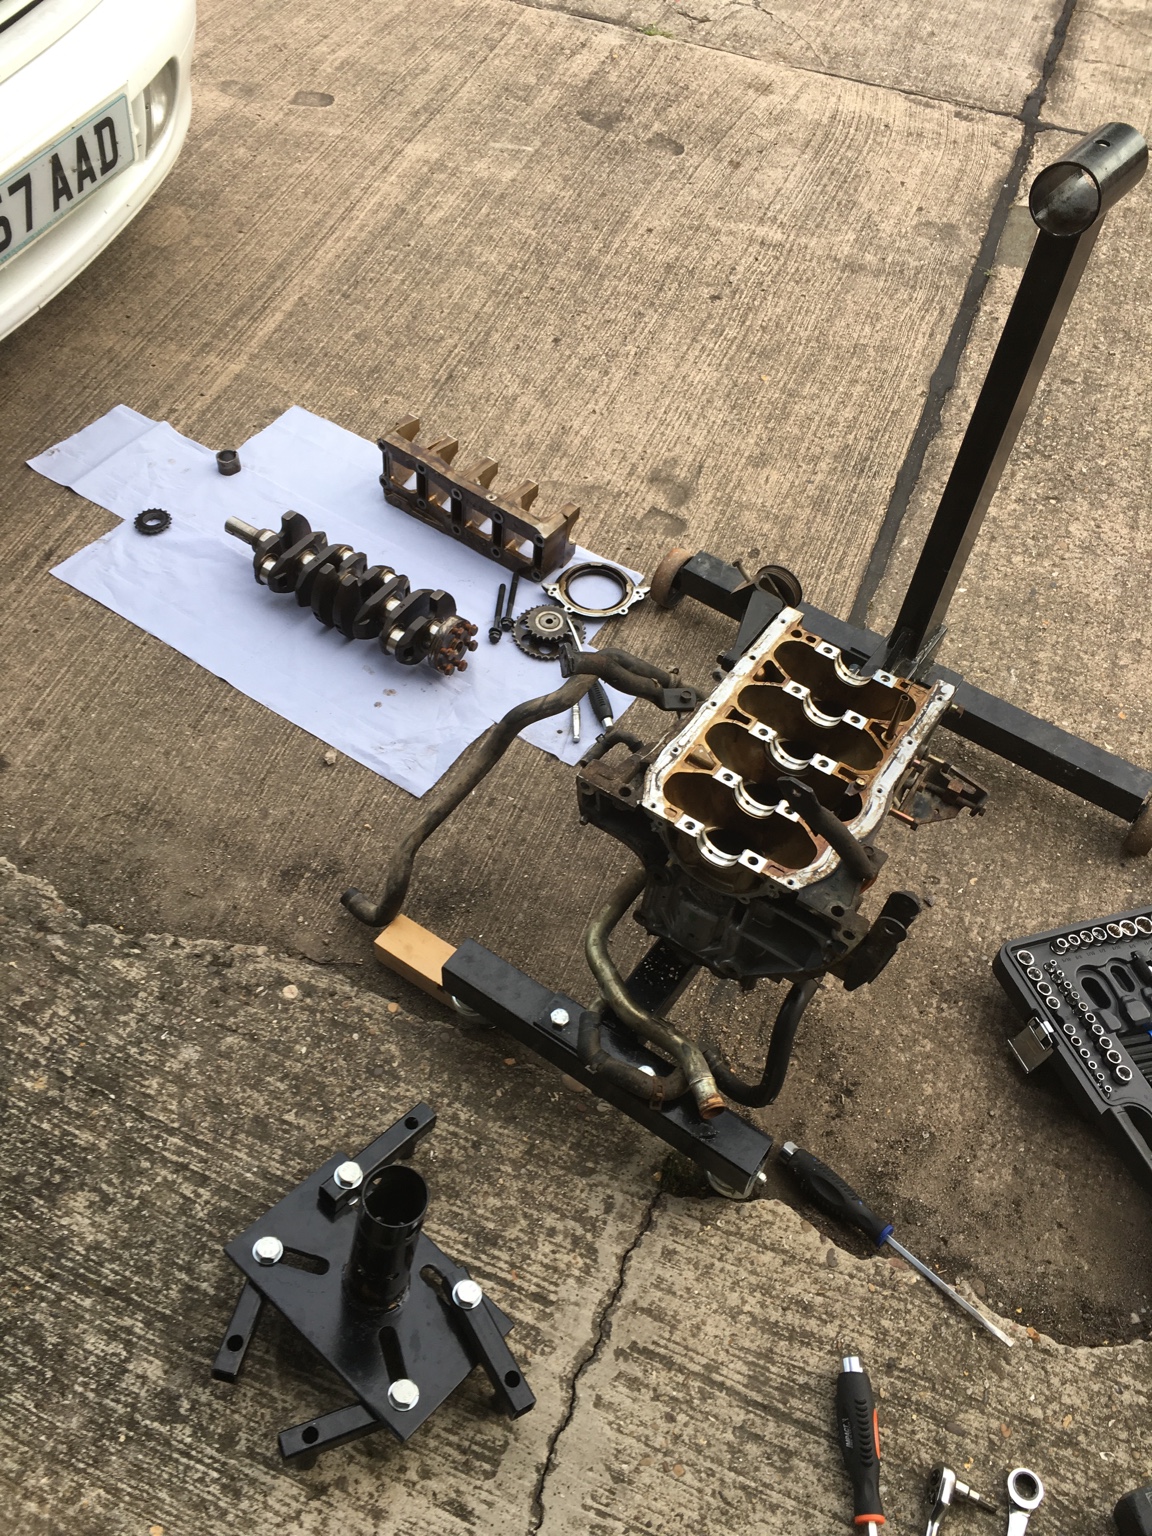
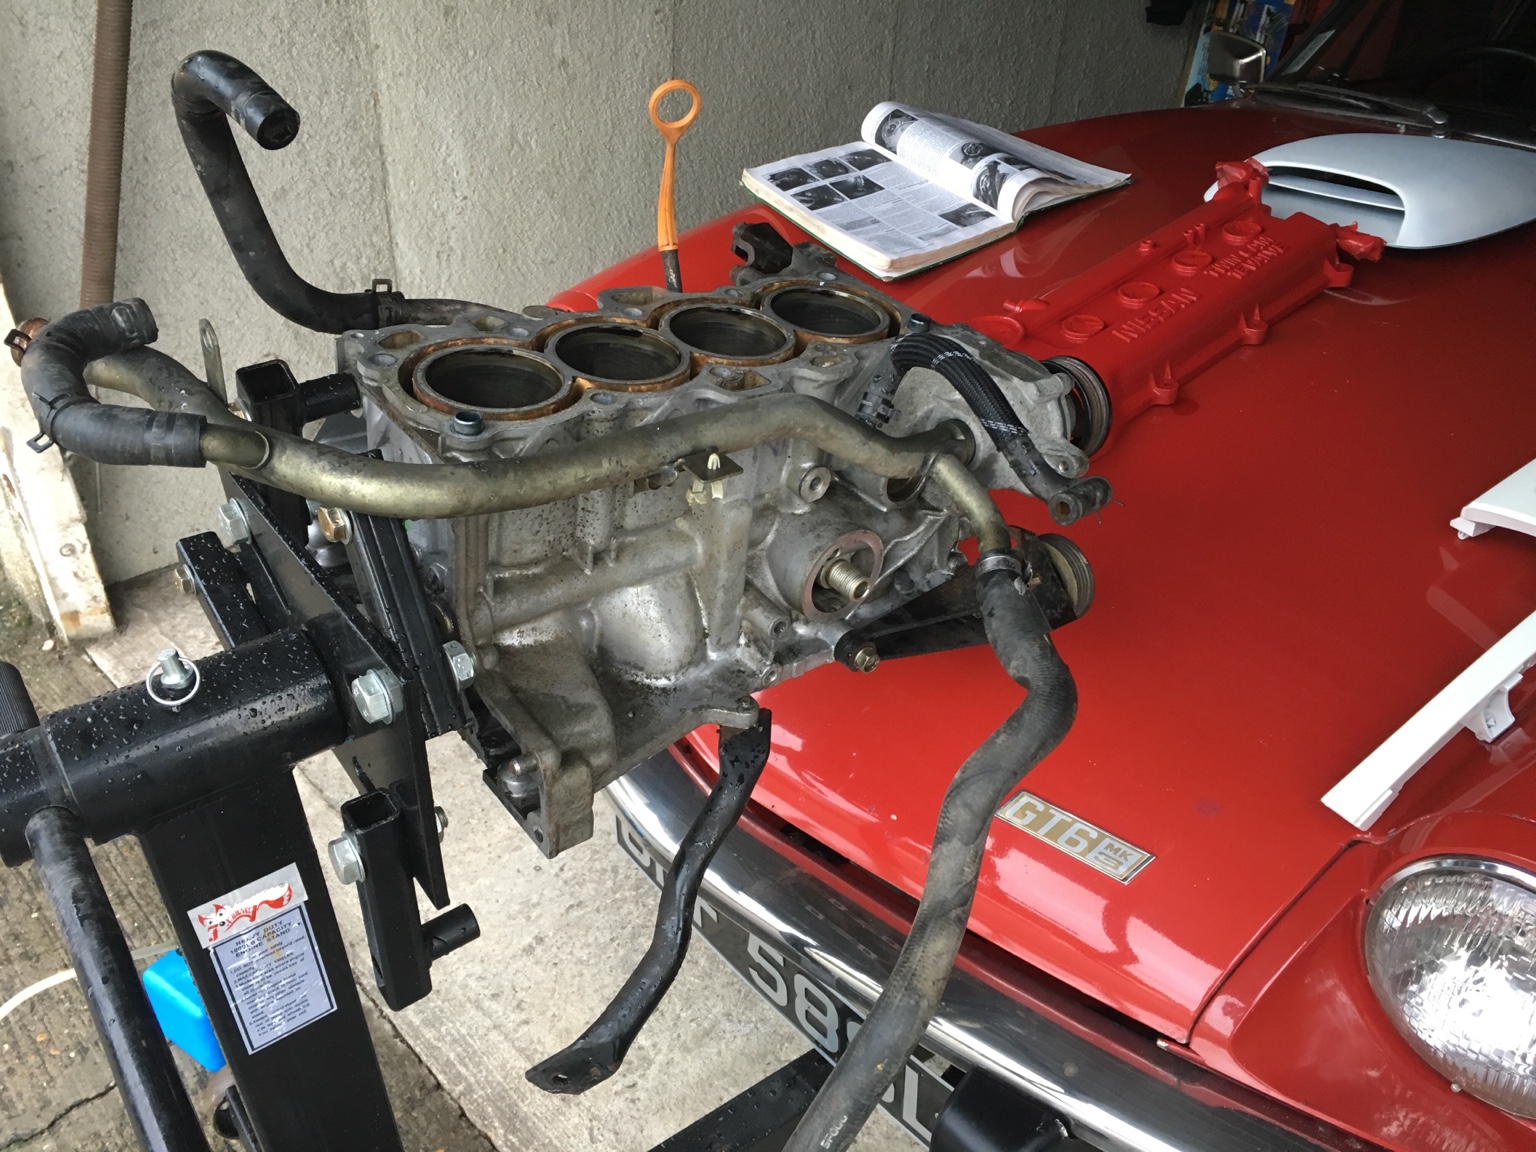
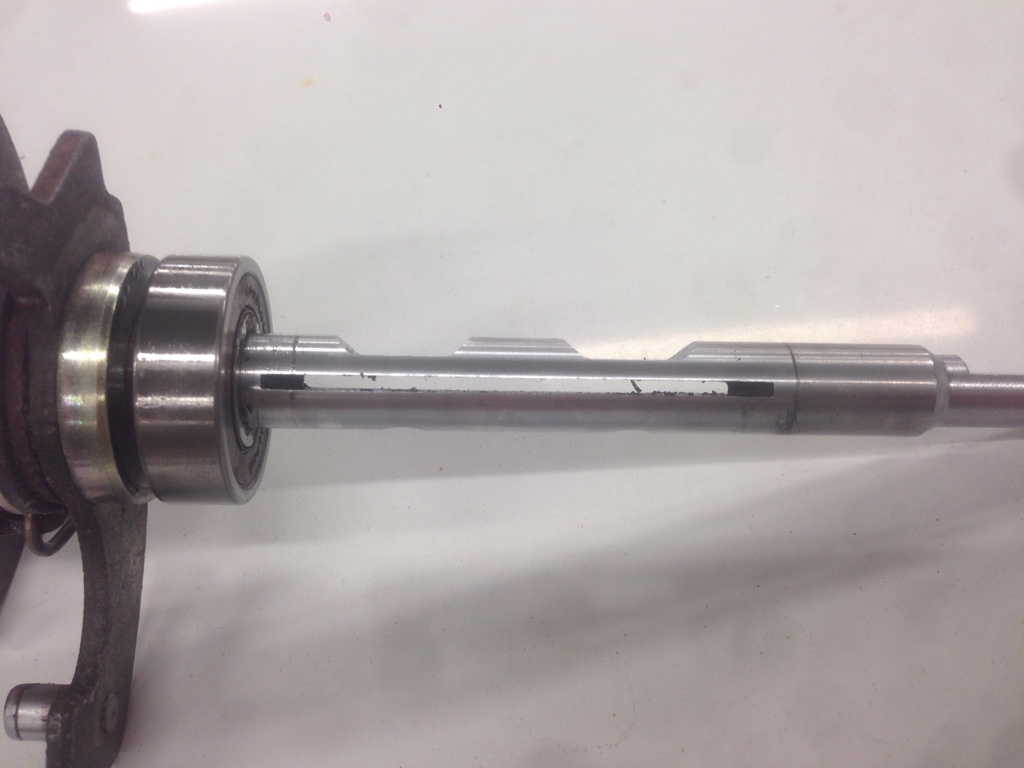
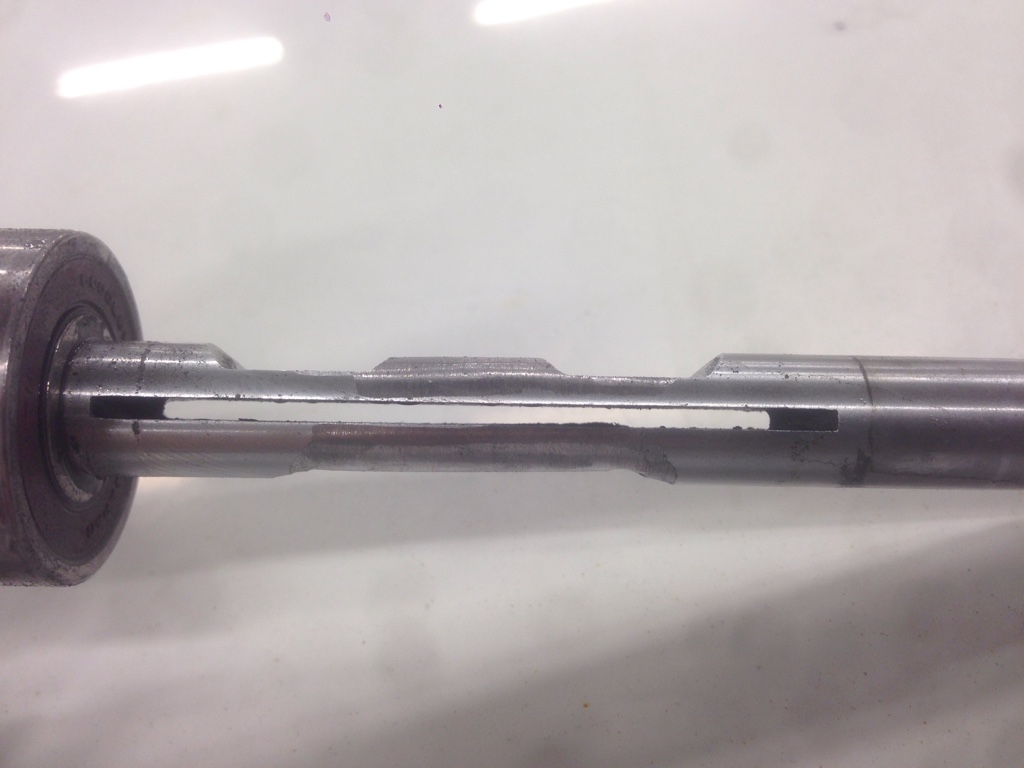
Stripped a bit more of the block. Gonna check out the oil pump and order new bearings and stuff soon.

Main things I need are the head gas flowing and some camshafts. Settled on the billet items from PiperCams because I want this thing to run and run in the high revs. (6-10k rpm) then the engine will be mostly complete for the big bits.

Then I'll machine my rods down and balance the whole rotating assembly, double valve springs and knife edge the crank and stuff. In the right order, obviously.

Going to take a while to save up the funds like.
b87960a80e0d63a78bae051b50b553c7.jpg


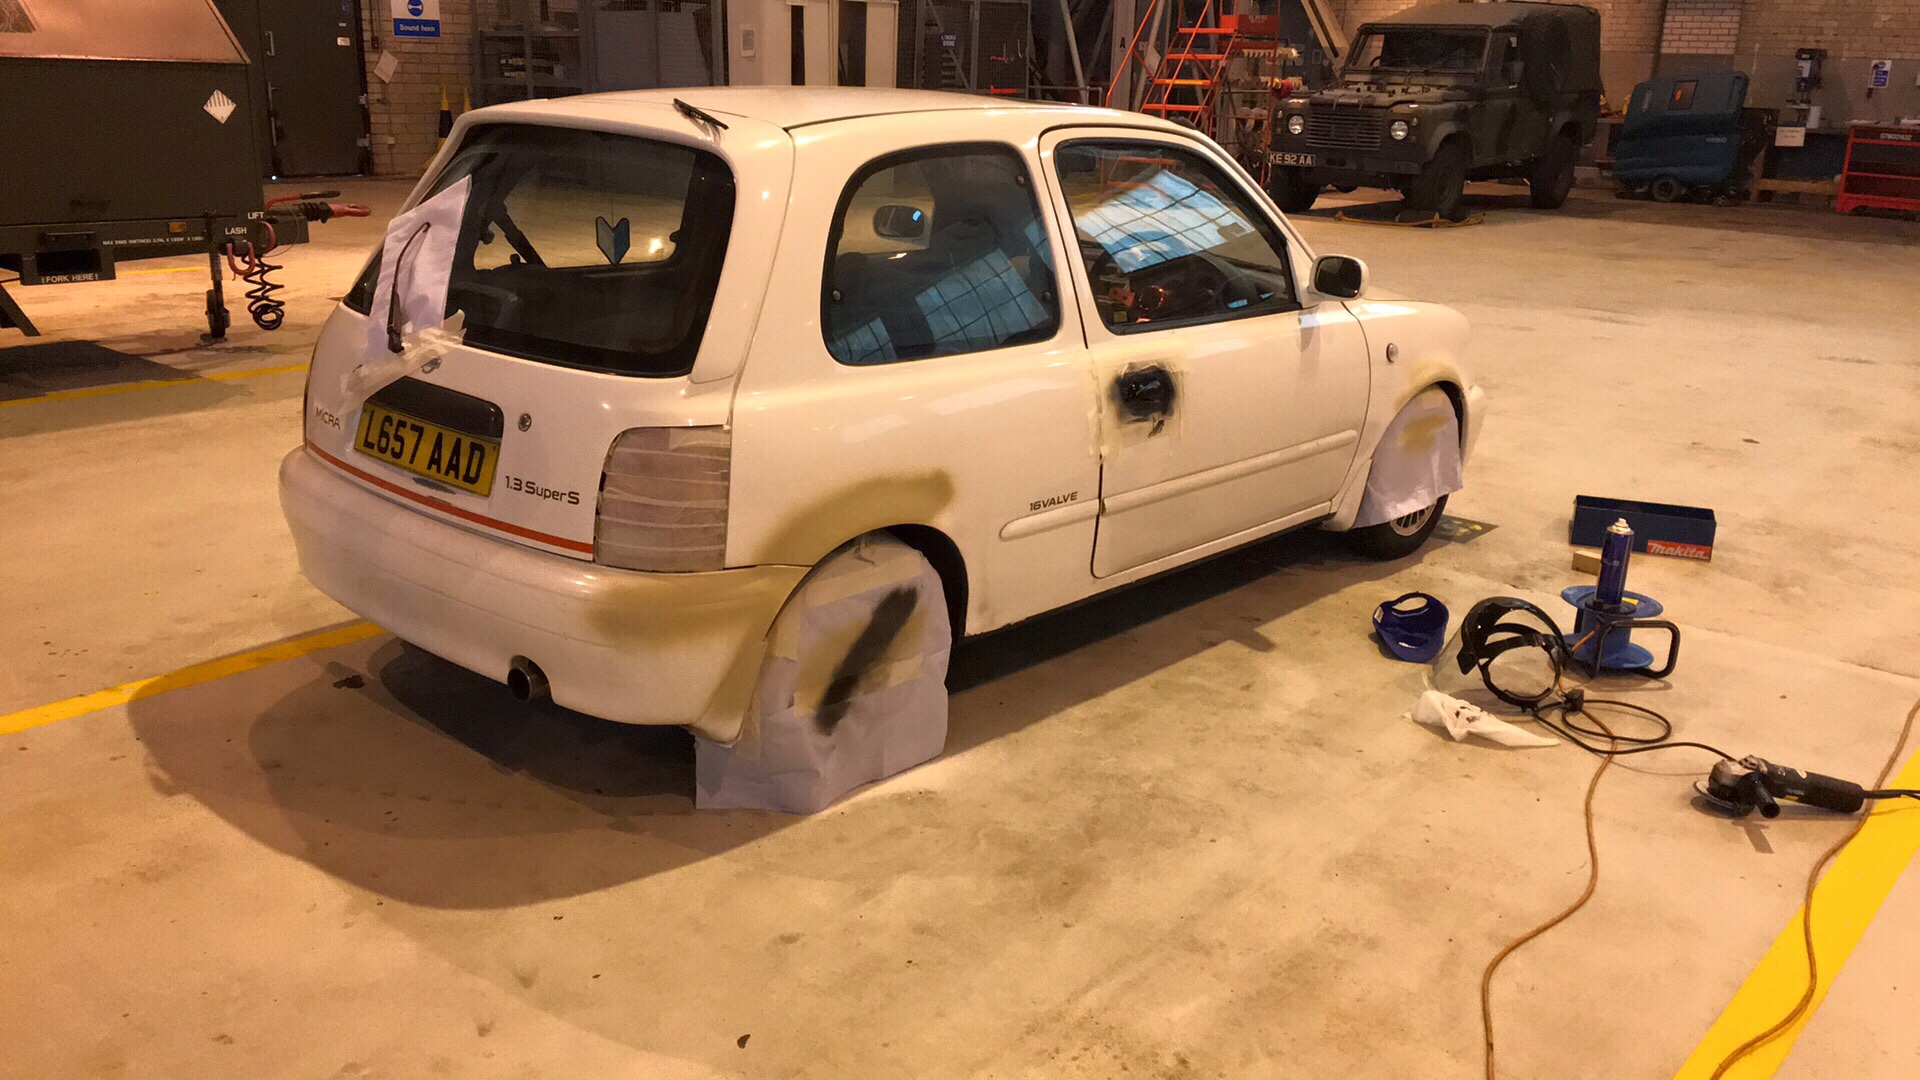
De rusted the arches for japshow. Lacquer is pretty dull. Hope it will polish up ok after a cut with the buffer.

Also painting a bunch of body parts like a midspoiler, grille and scoop.


Sent from my iPhone using Tapatalk
 
Still in daily service as my only roadworthy car out of six, currently, hah!

Still got all the same plans and parts, however since I bought N240 RAP I'm in the process of light restoration on that before swapping all the bits over and getting rid of this car one way or another.
ec537a3d8863a8297a3da1c6593e1df6.jpg


Sent from my iPhone using Tapatalk
 
Back
Top