Been a long ass time since I wrote anything here. Got a few spare hours so here goes.
Rewind back to my last entry and I was preparing to go to JAE 15 for my first ever Japanese car event, with the MSC. About two weeks before, my rear suspension collapsed and I was absolutely heartbroken. Without ever lifting the carpet I didn't know if the damper mounts were replaceable or part of the monocoque. I thought it was game over for this car and the whole build.
I was wrong

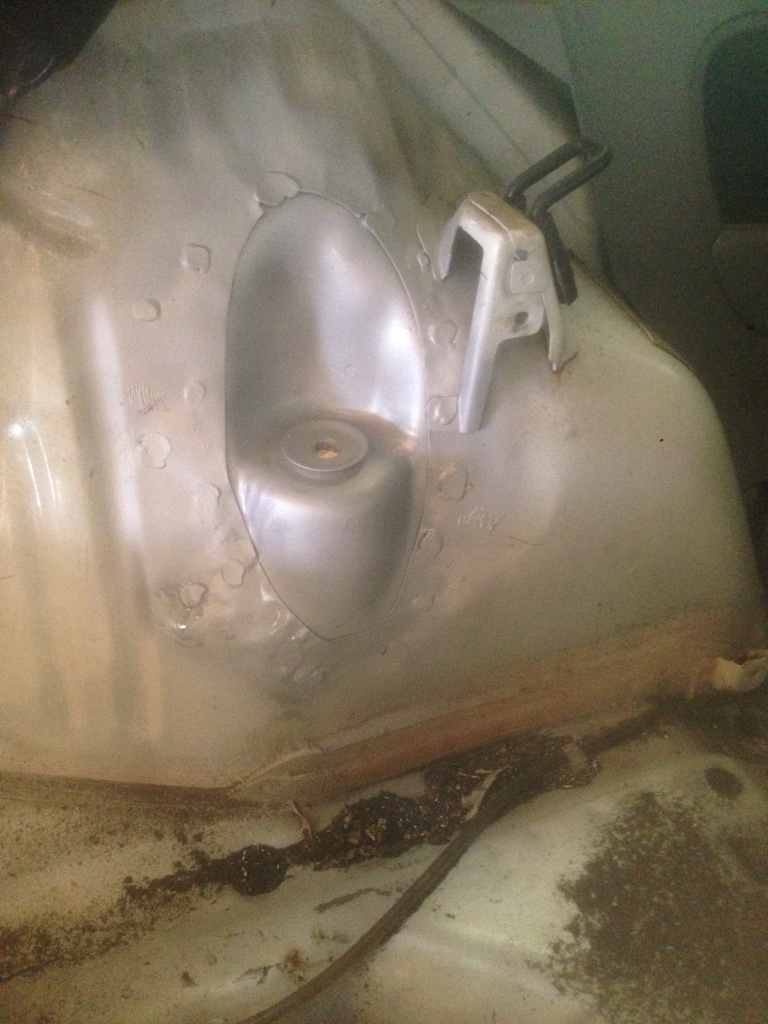
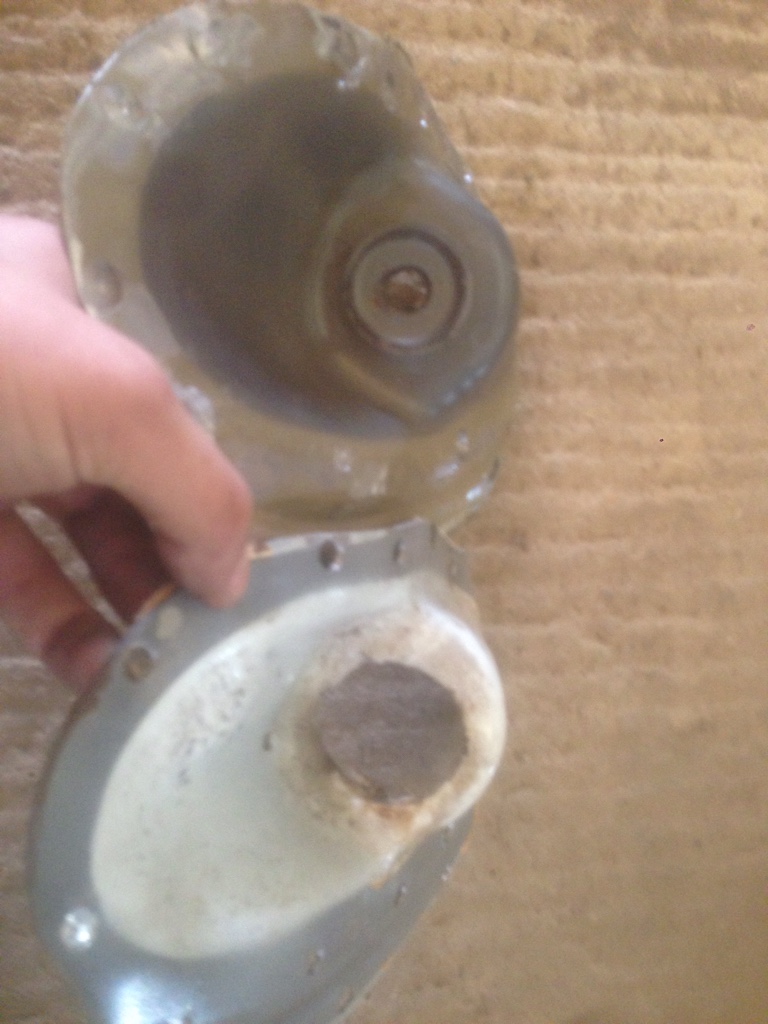
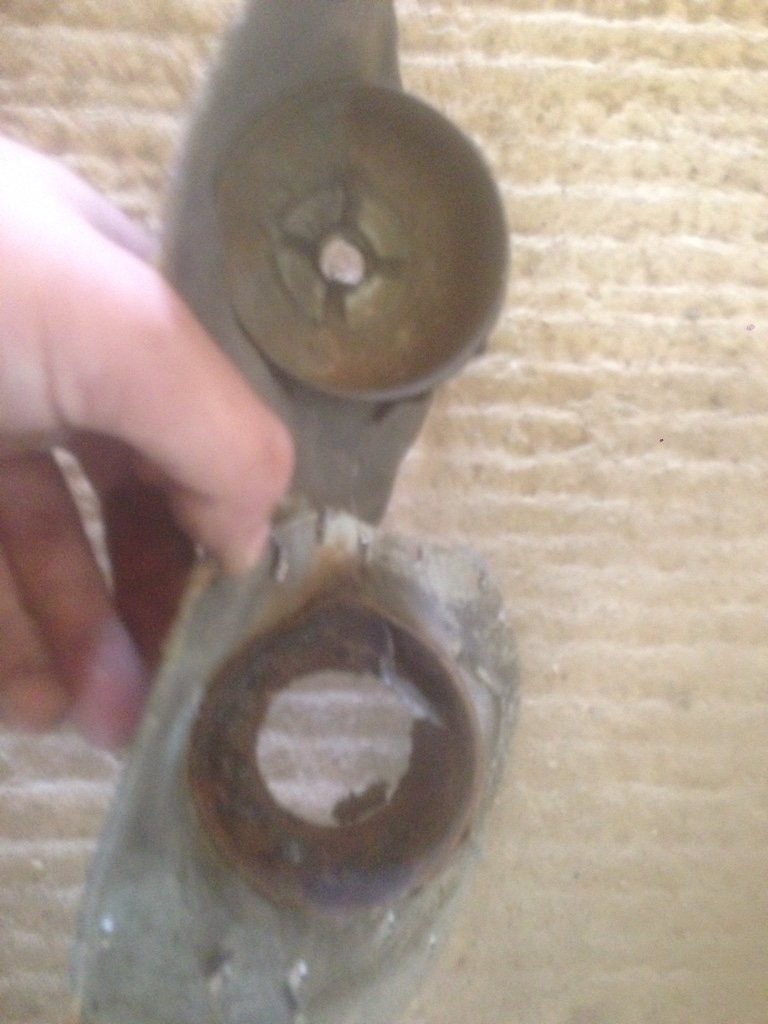
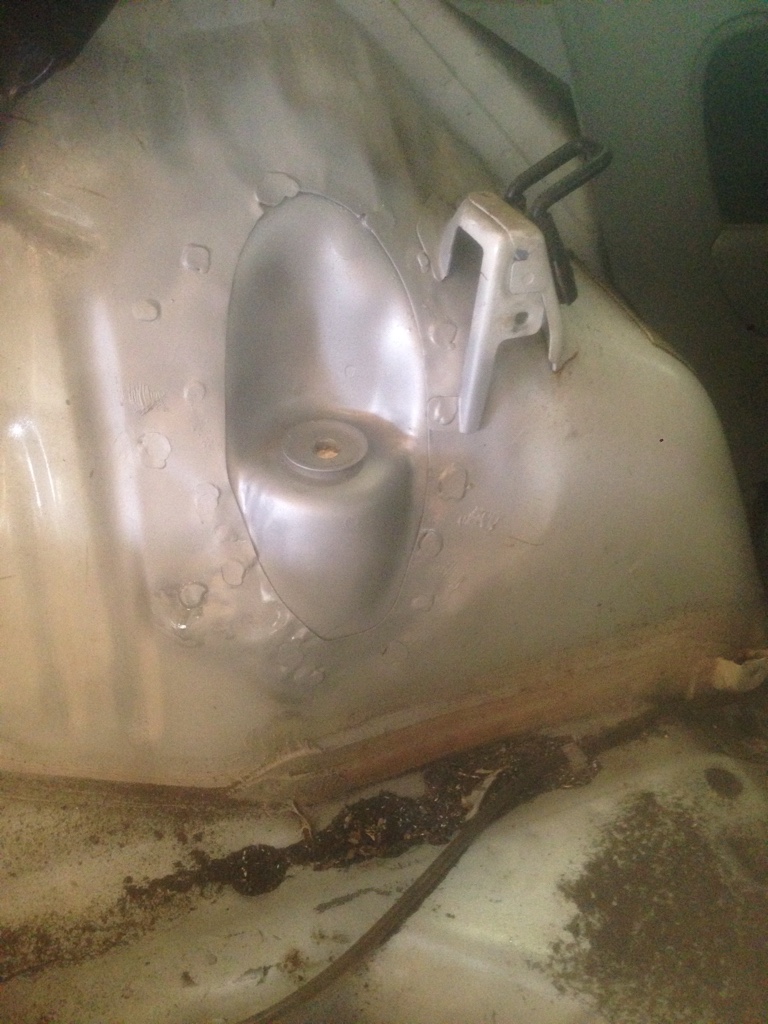
The rear damper mounting is essentially an inverted cup with a 10.5mm hole through the centre. A cup-shaped penny washer is tack welded to the top for the upper damper bush to sit in neatly.
Stock dampers have rubber boots which cover the exposed rod from dirt and stuff. These boots reach all the way up into the underneath of the mount and trap a lot of dirt and moisture around the top. This starts rotting out from the underneath. With how the washer is tacked on inside, it's impossible to see without removing the dampers and inspecting from underneath, hardly a routine task I'm sure you'll agree!
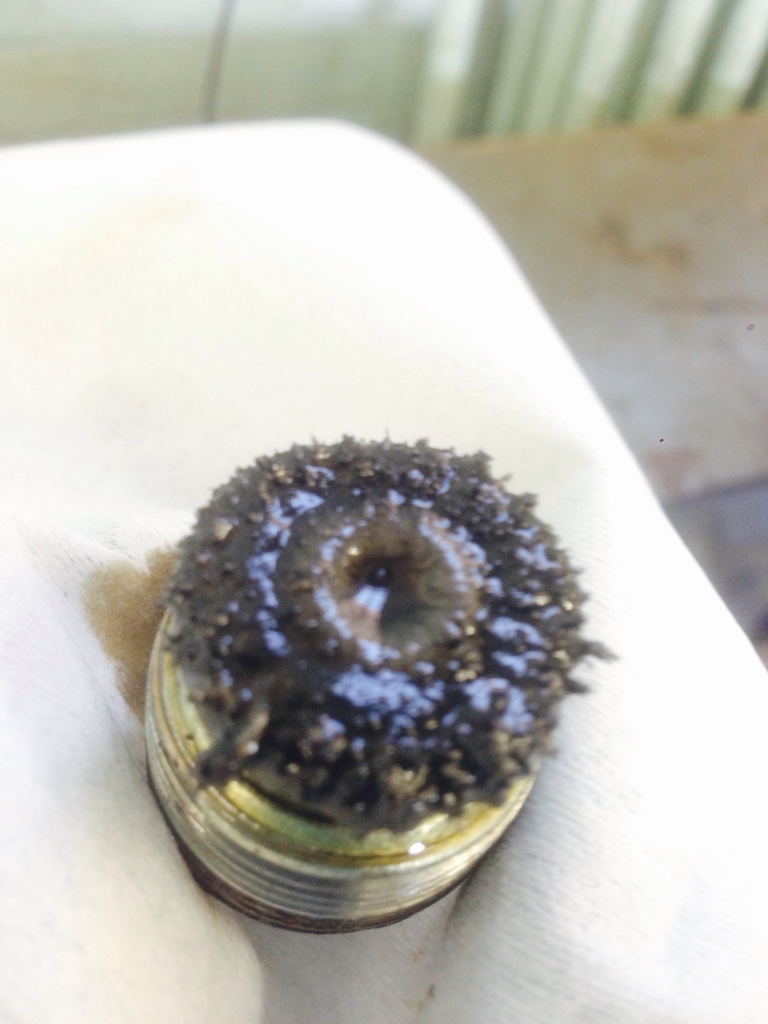
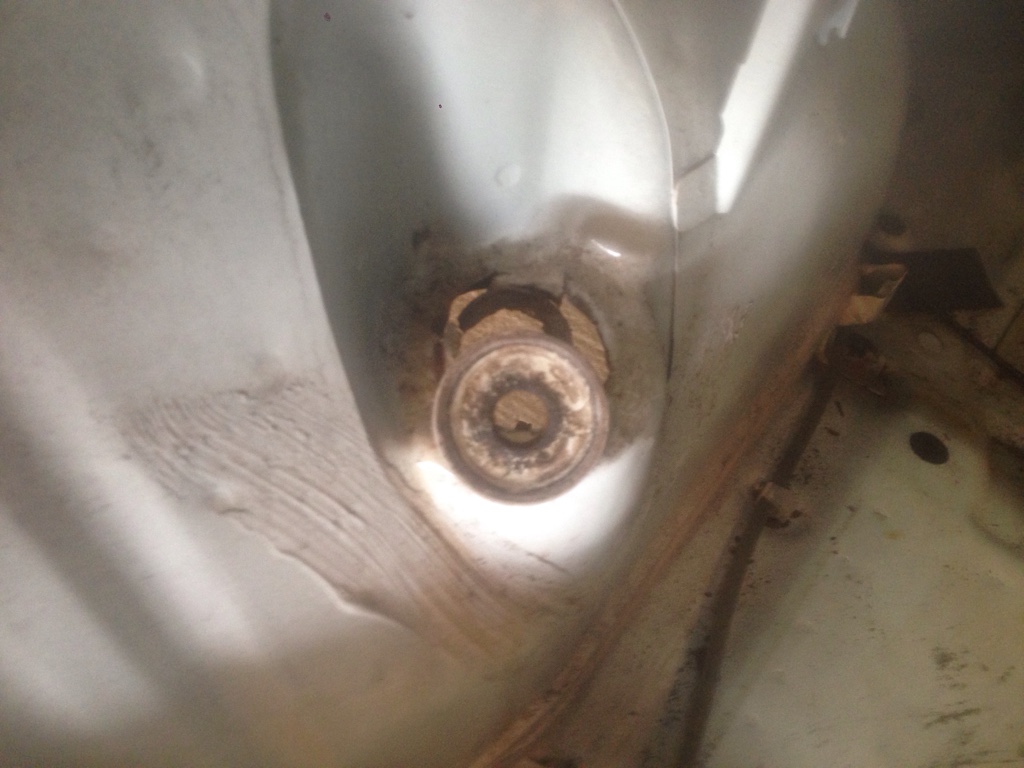
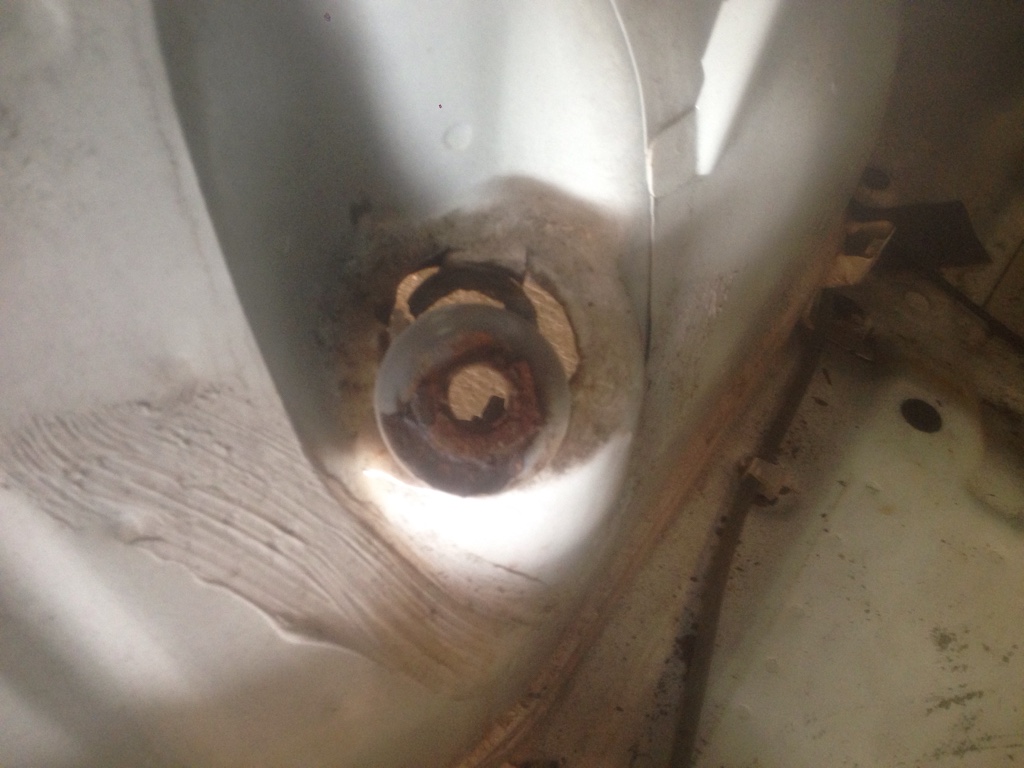
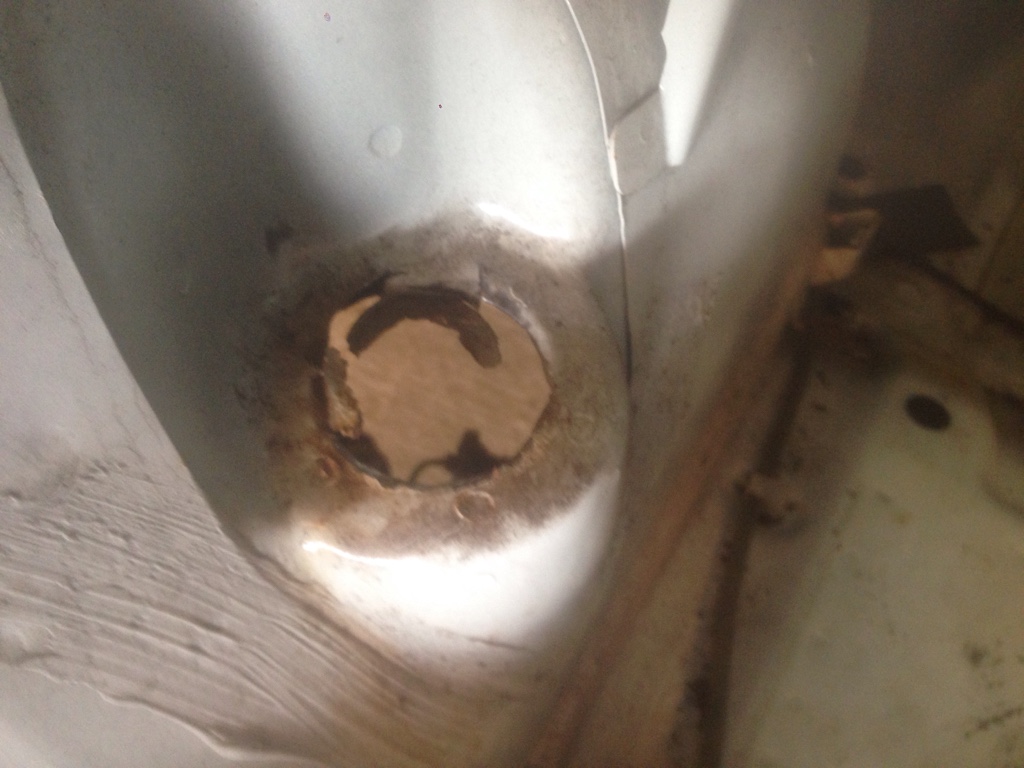
As such, this corrosion went undetected. Picture time!
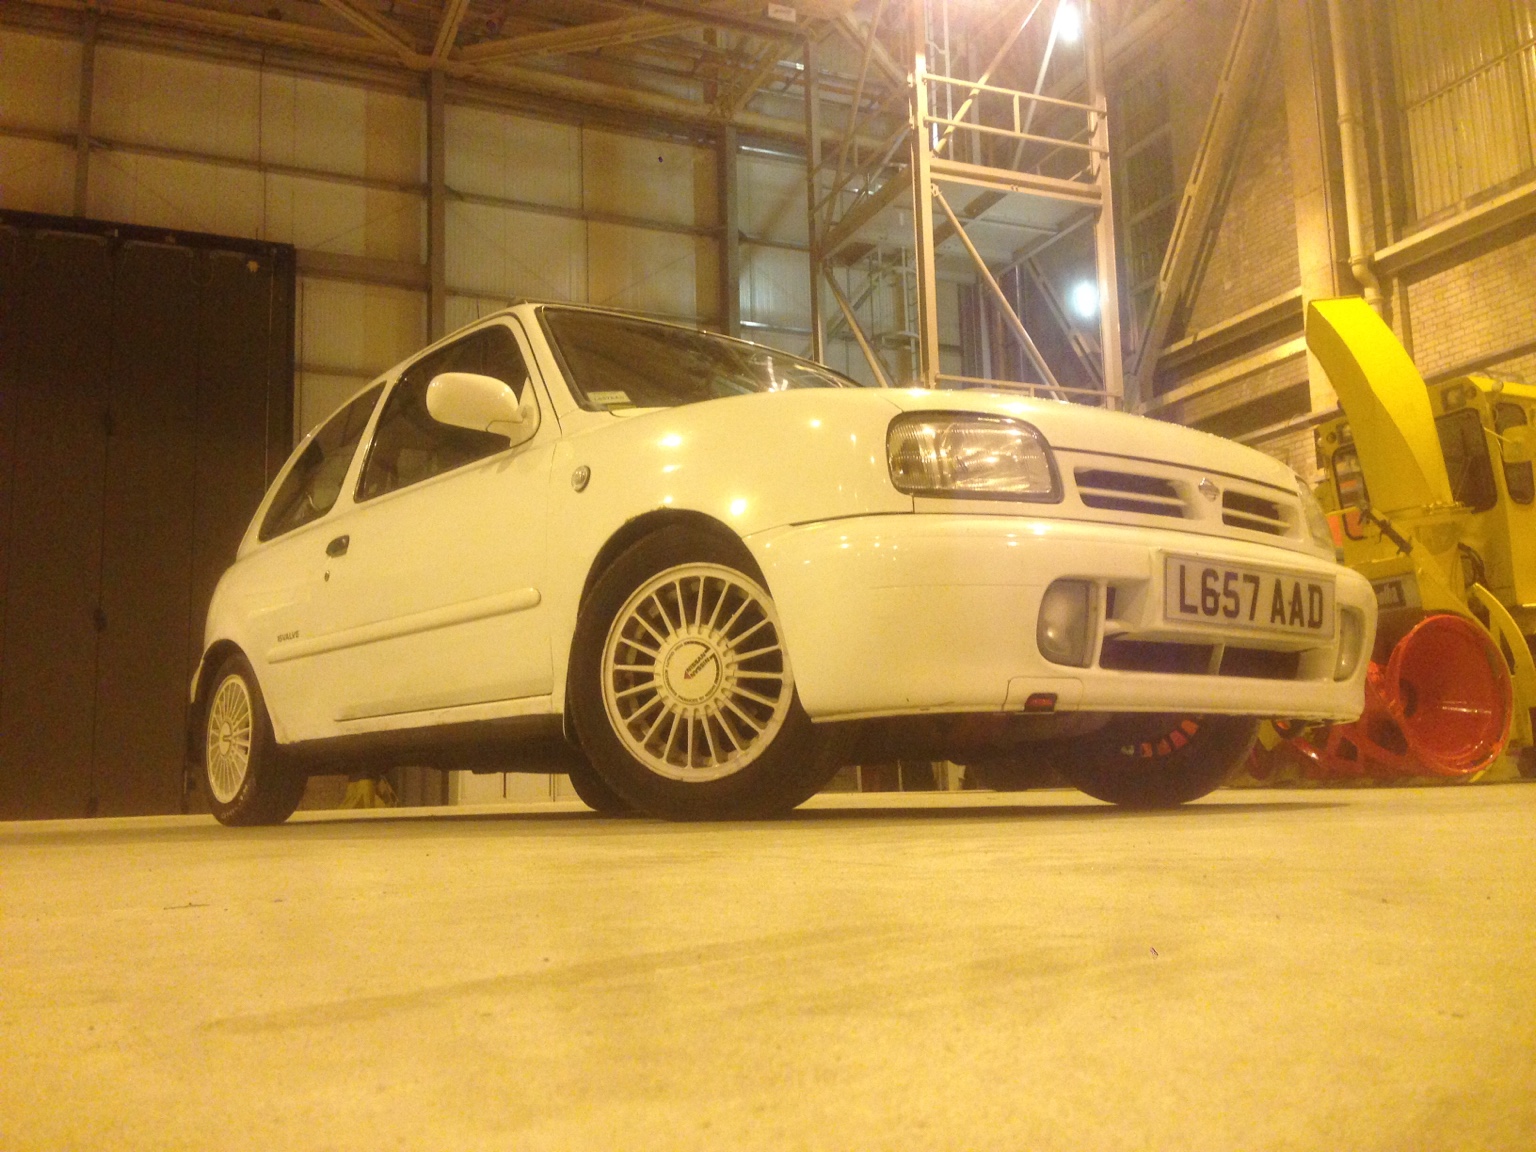
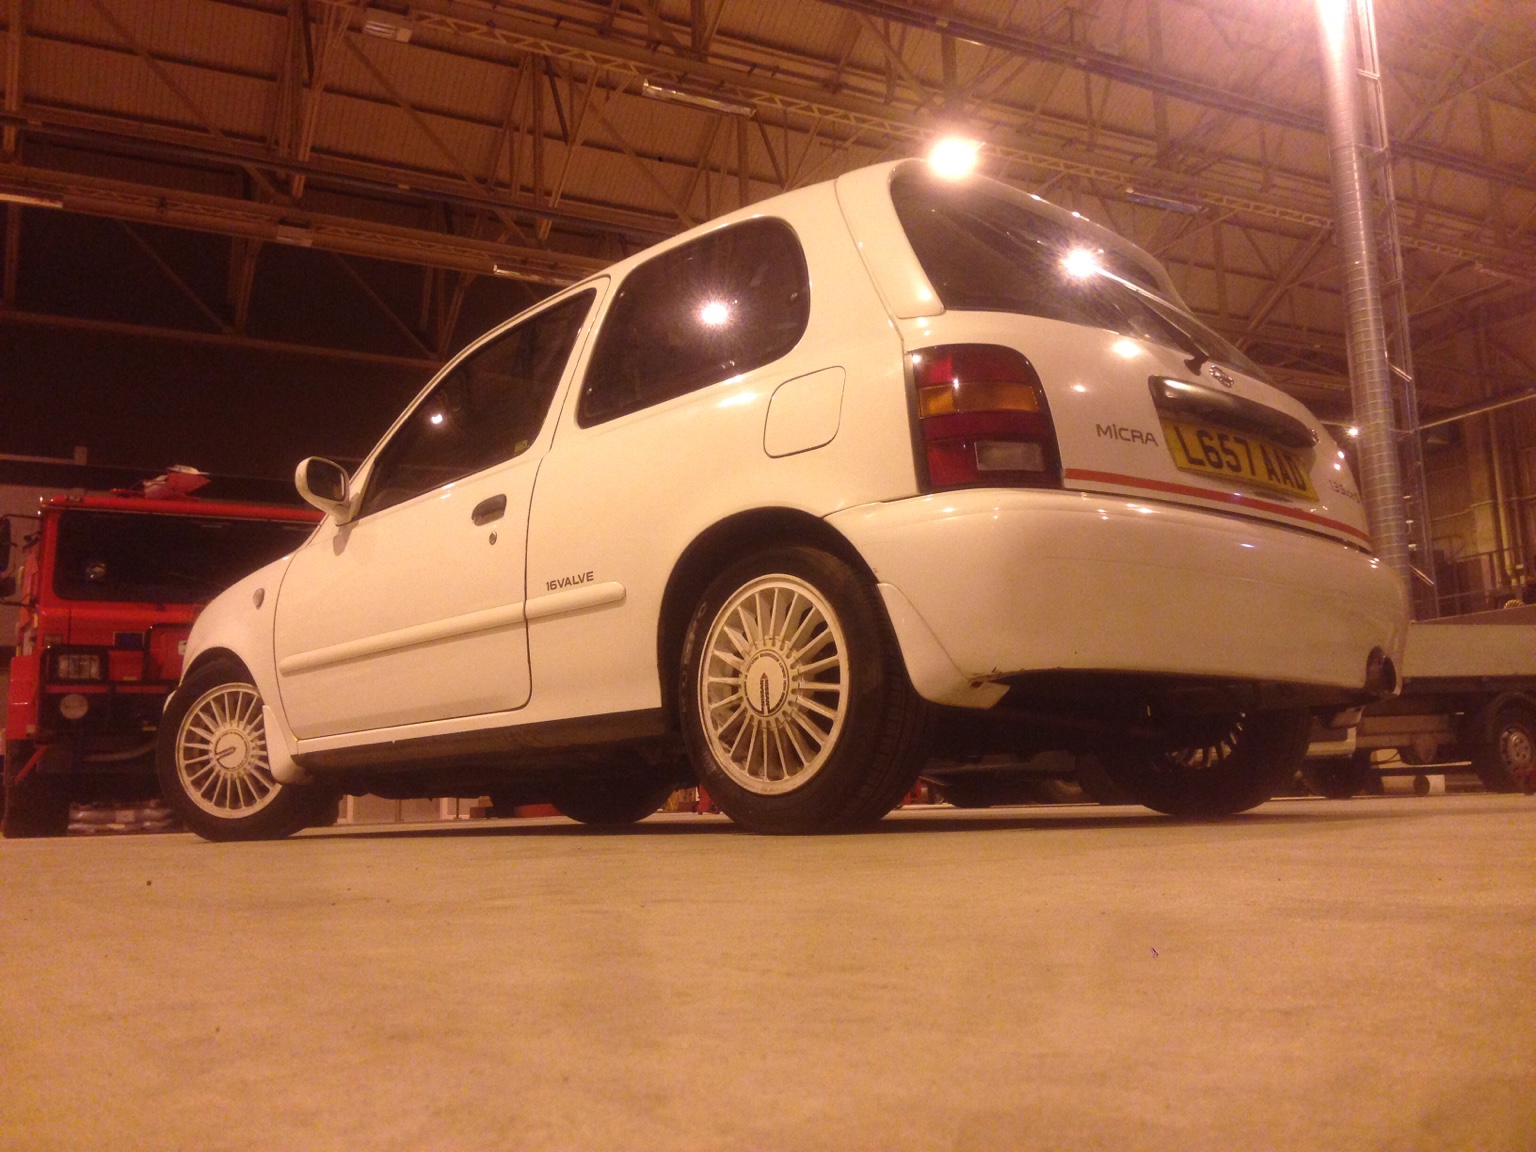
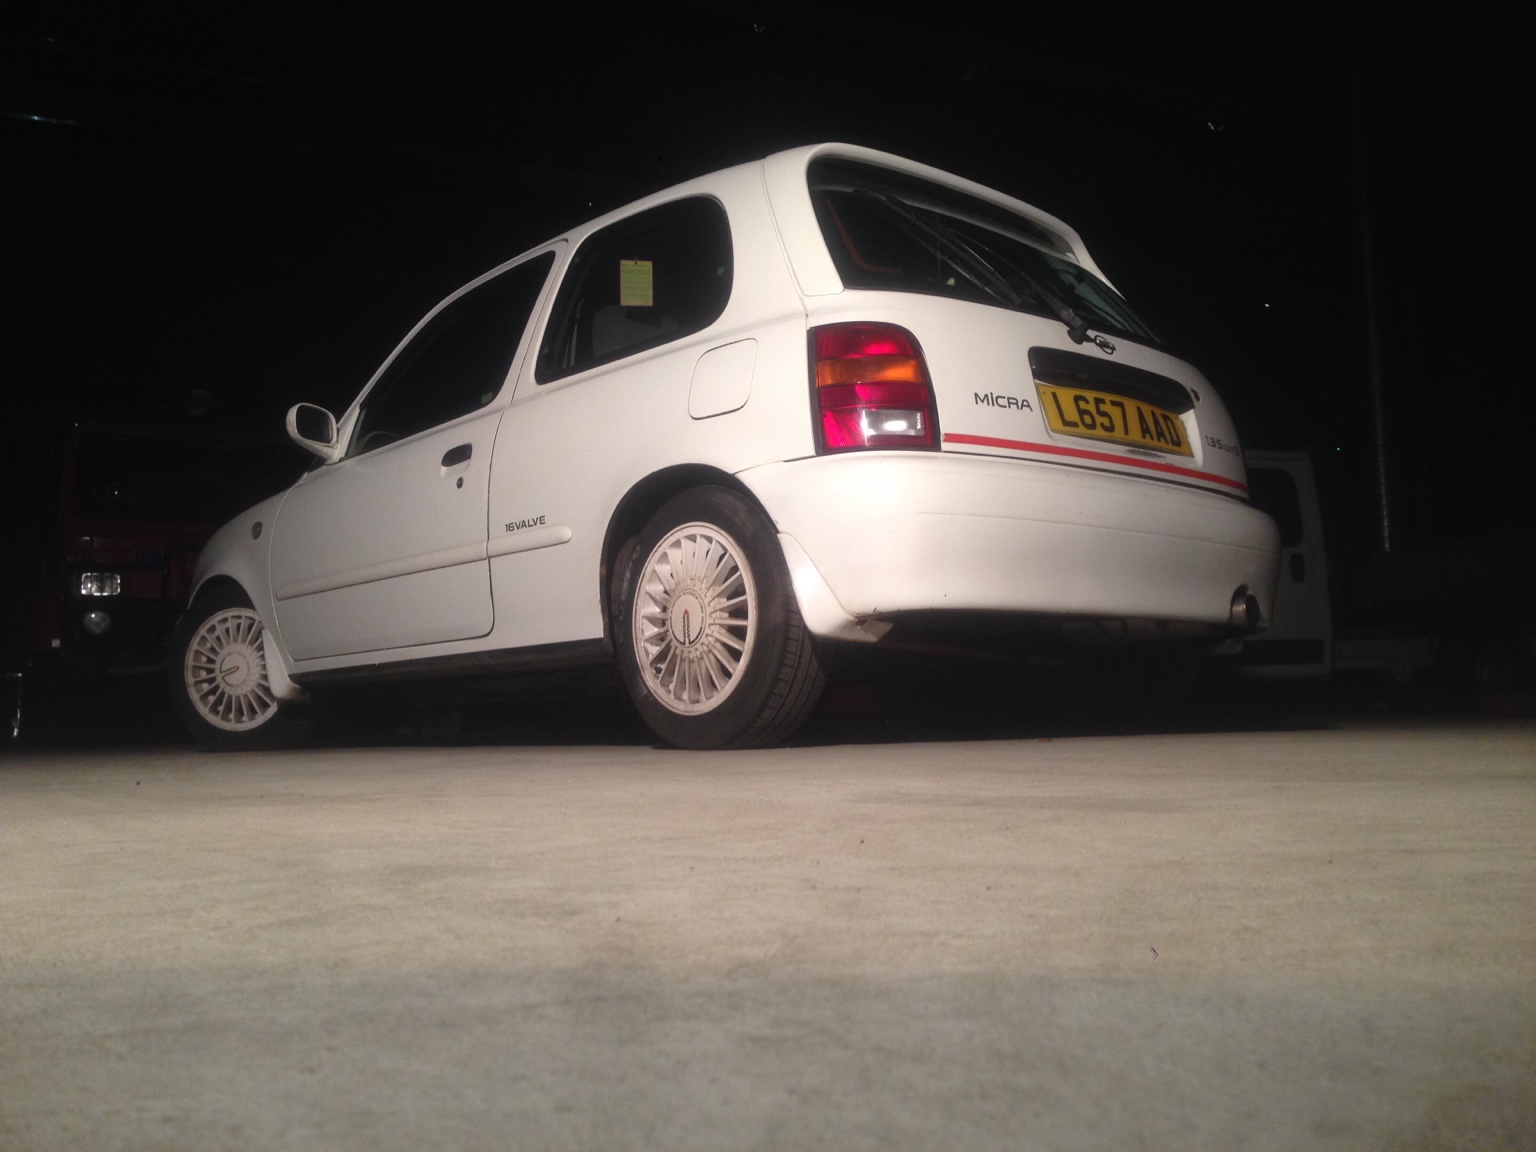
Pretty bad, eh? I guess the combination of rust and then extra stress (I fitted coilovers, so the rear mount was now taking ALL suspension forces as there were no separate springs) just was too much for poor old Marceline. Yeah. That's her name.
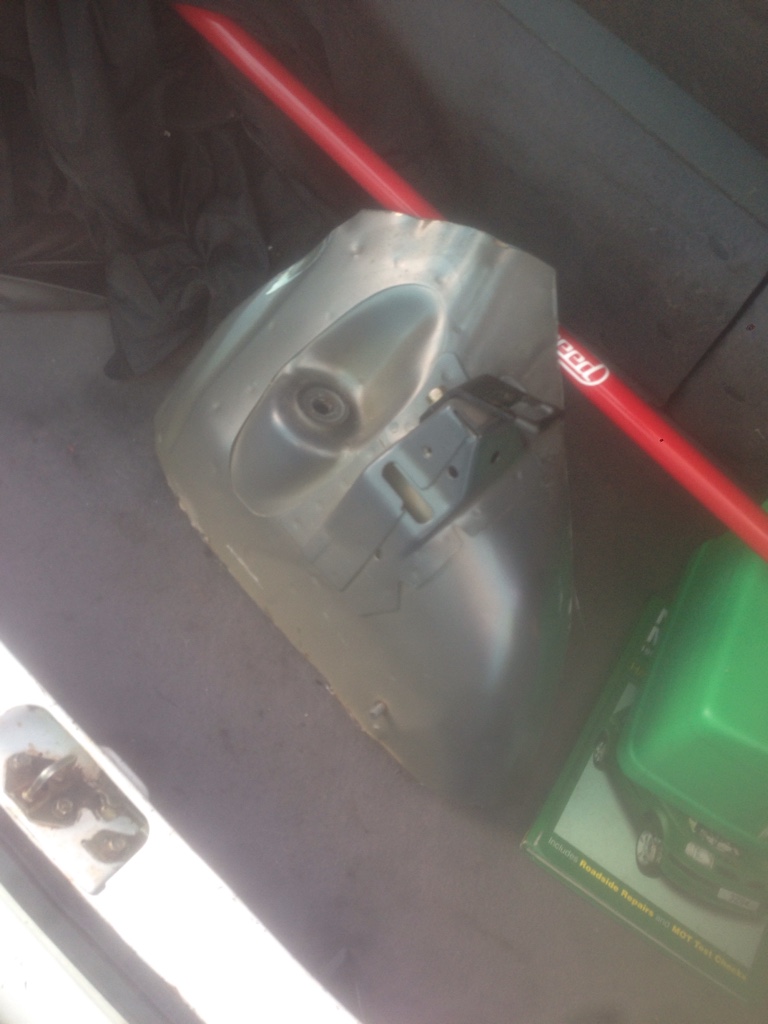
Fear not. The damper mount is spot welded in as part of a double thickness oval-shaped panel from factory. I went to the local yard and found a lovely rust-free number from a facelift Sport shell.
Using a petrol Stihl saw I cut the whole arch out, ready for the more delicate panel extraction back at base.
Using a pillar drill and a spot weld bit, which is specially shaped to remove material in a uniform way
(it's got a point for easy centring and the cutting surfaces are flat, to cut through the weld neatly and level)
We removed the "new" panel from the surrounding arch.
Then using a battery drill and the same bit, we removed the rotten panel from the car. By using the special bit, you don't drill completely through and just take the weld away leaving the chassis of the car intact.
At this point you also have to gently work your way around with a lever, such as a sturdy flat screwdriver, to feel for any weld not completely removed, and prise off the factory panel sealant.
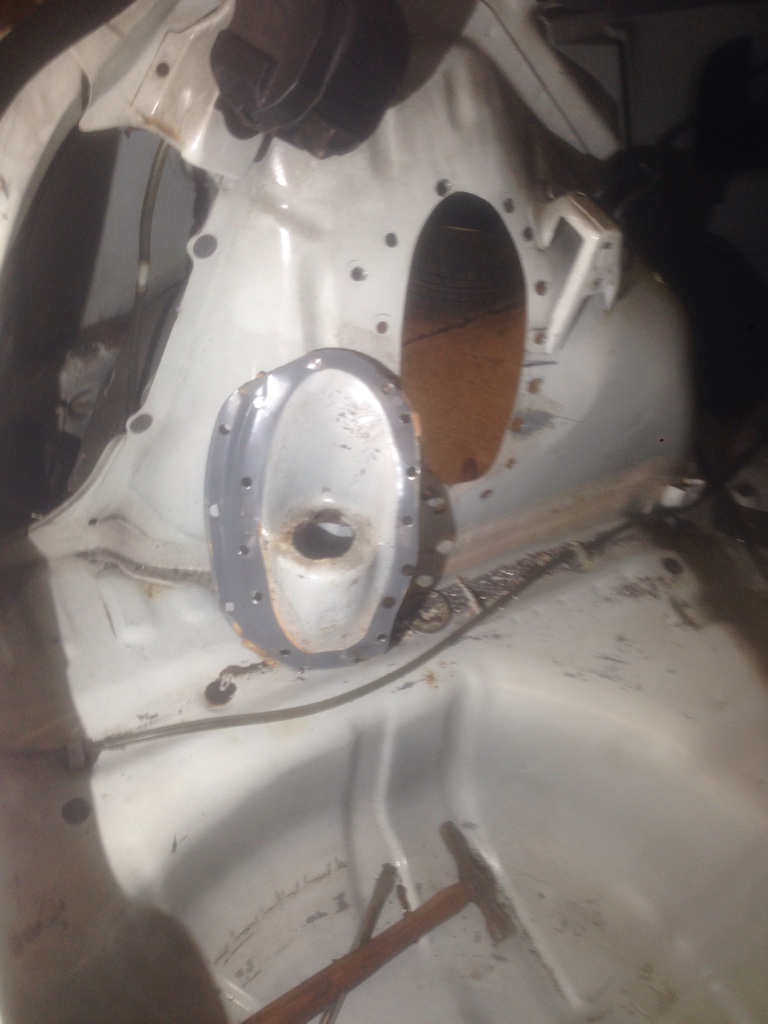
Et voila!
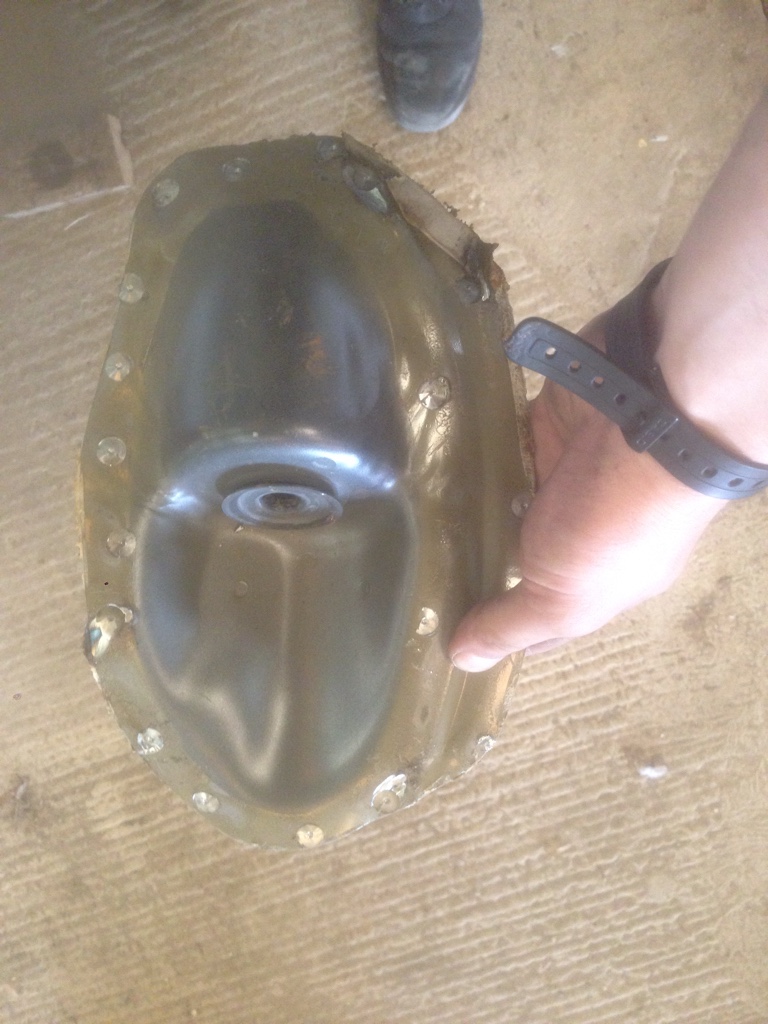
With the panel removed, it's quite interesting to physically feel the difference in metal strength. The oval damper panel is twice the thickness of the arch, plenty sturdy enough for suspension loading as long as it's not rotten!
Comparison shot from above as seen in the boot;
And what you see underneath;
Finally we grind all the hole areas free of paint using a "flap wheel" to ensure good shiny metal for weld quality.
Before we start welding we disconnect the battery, and also the alternator. Some alternators have diode packs which are sensitive and can still be fried even with the battery disconnected. It's just a precaution really.
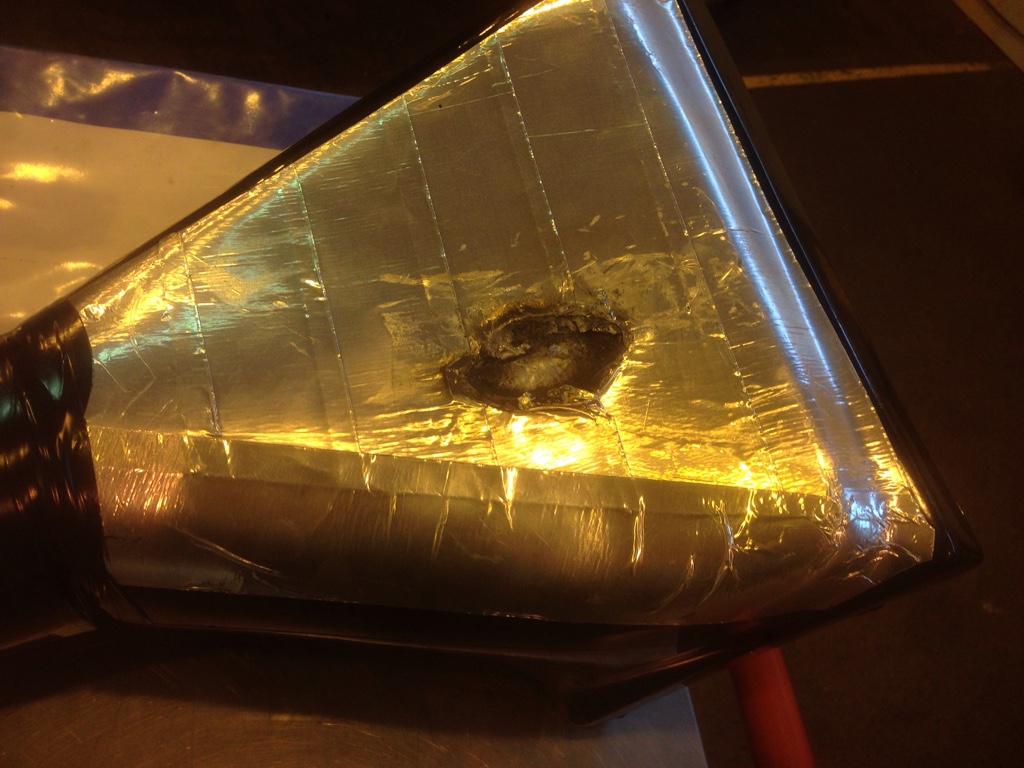
Also very important is to clear the area of fire hazards. As it's the passenger side, this includes the fuel filler pipe. Remove the filler pipe and withdraw, then seal the open tank pipe, we used a rubber glove and tape to seal secure. This prevents any unwanted explosions, death, maiming and injury. Carpet and back seats moved away too.
Keep an eye out for small, localised fires caused by the factory panel seal burning as you weld. Try to keep these under control, although they're not a massive problem.
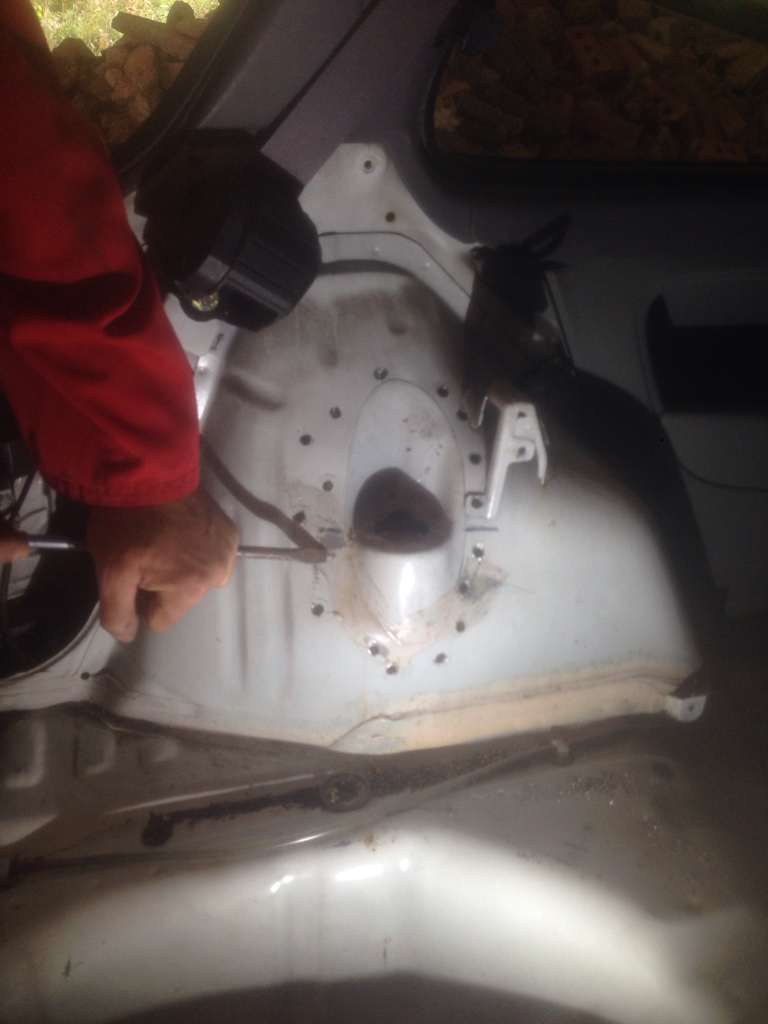
To position the panel, you can make use of the factory paint lines. The lighter edge on the panel should be completely obscured by bodywork. An assistant will be required. Using a suitable long tool like a hammer or screwdriver, get them to apply pressure from the wheel arch side to keep the panel in place while the first few welds tack it in place.
Apply weld from the outside of the holes inwards. Move around the panel in opposite directions, applying the weld and heat in different areas to minimise distortion and warping.
You may also need to do a few welds in the wheelarch if you have drilled through, or not all the holes line up. (Factory spot welds were done by eye and not machine, hence they're a little bit random between cars)
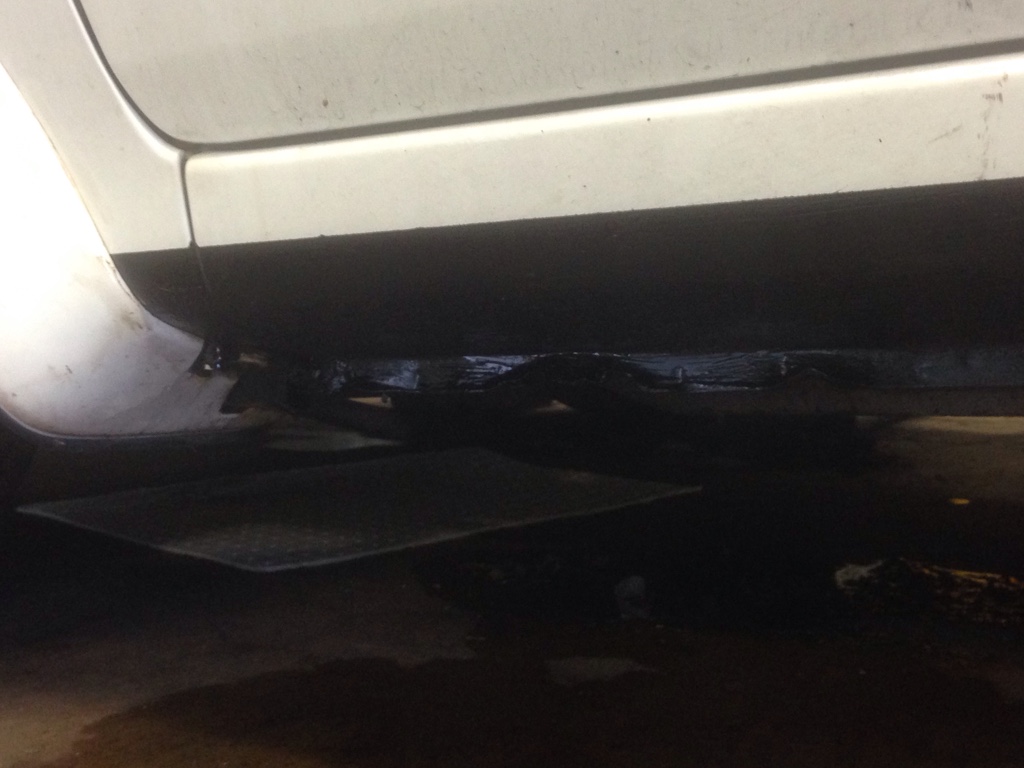
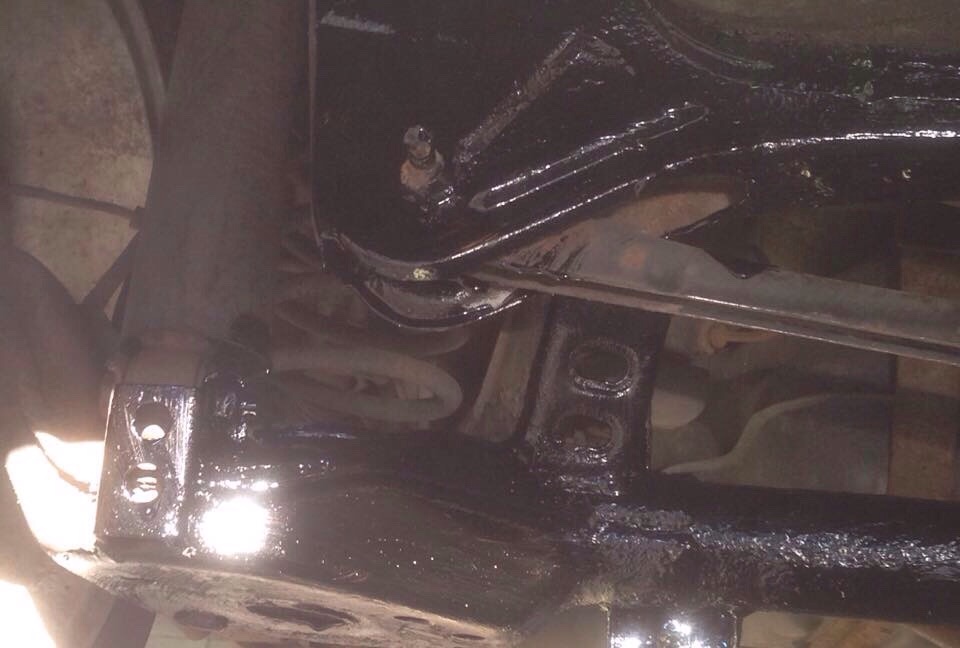
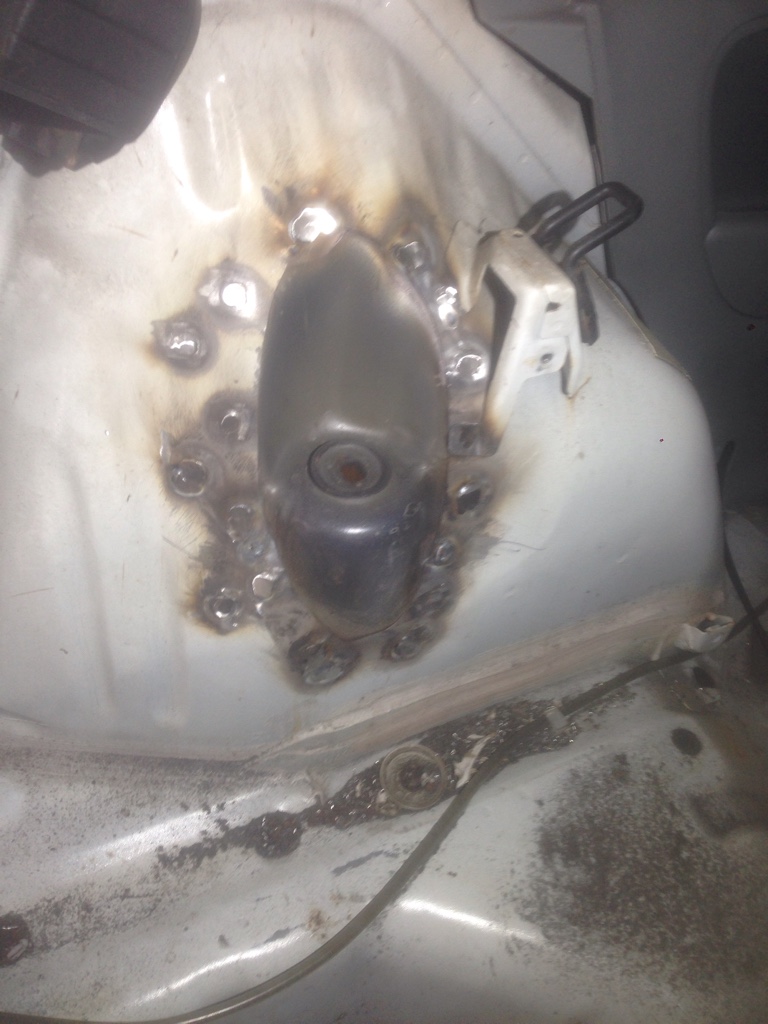
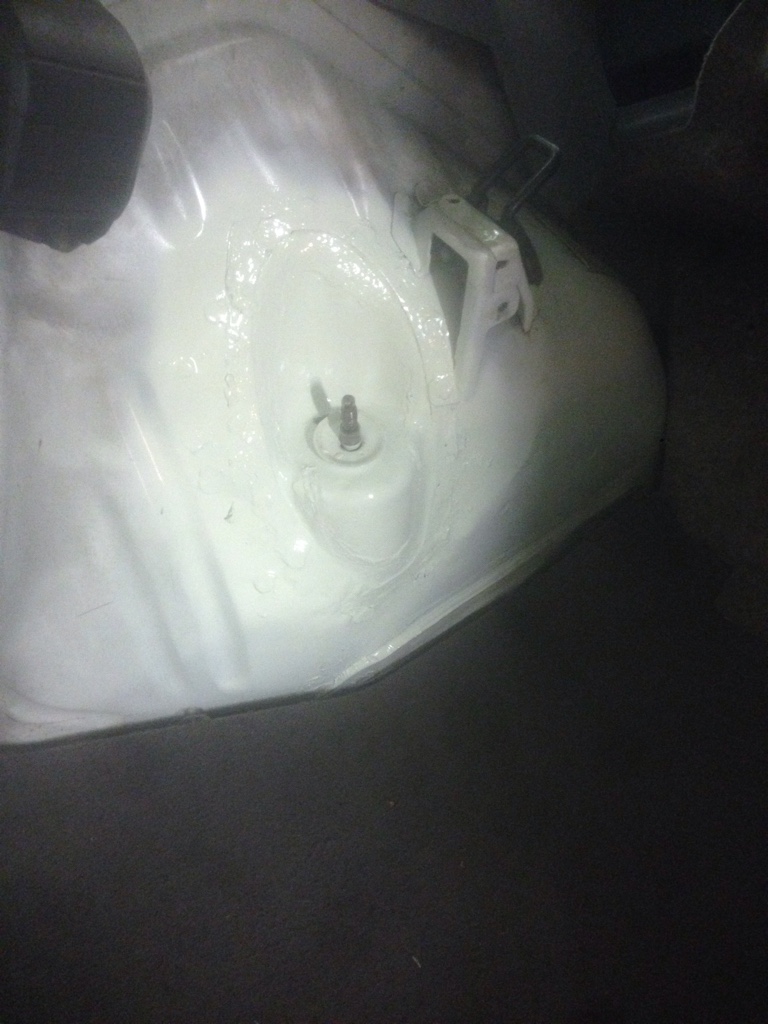
As soon as it's done, get some thick seam sealer brushed in there to protect your lovely handiwork. Primer, and paint. Waxyoyl or stonechip the underneath.
Finish!
Sent from my iPhone using Tapatalk

