• Please only use these forums for blogs, they are not a discussion forum

Phil's 'Mighty Micra' blog

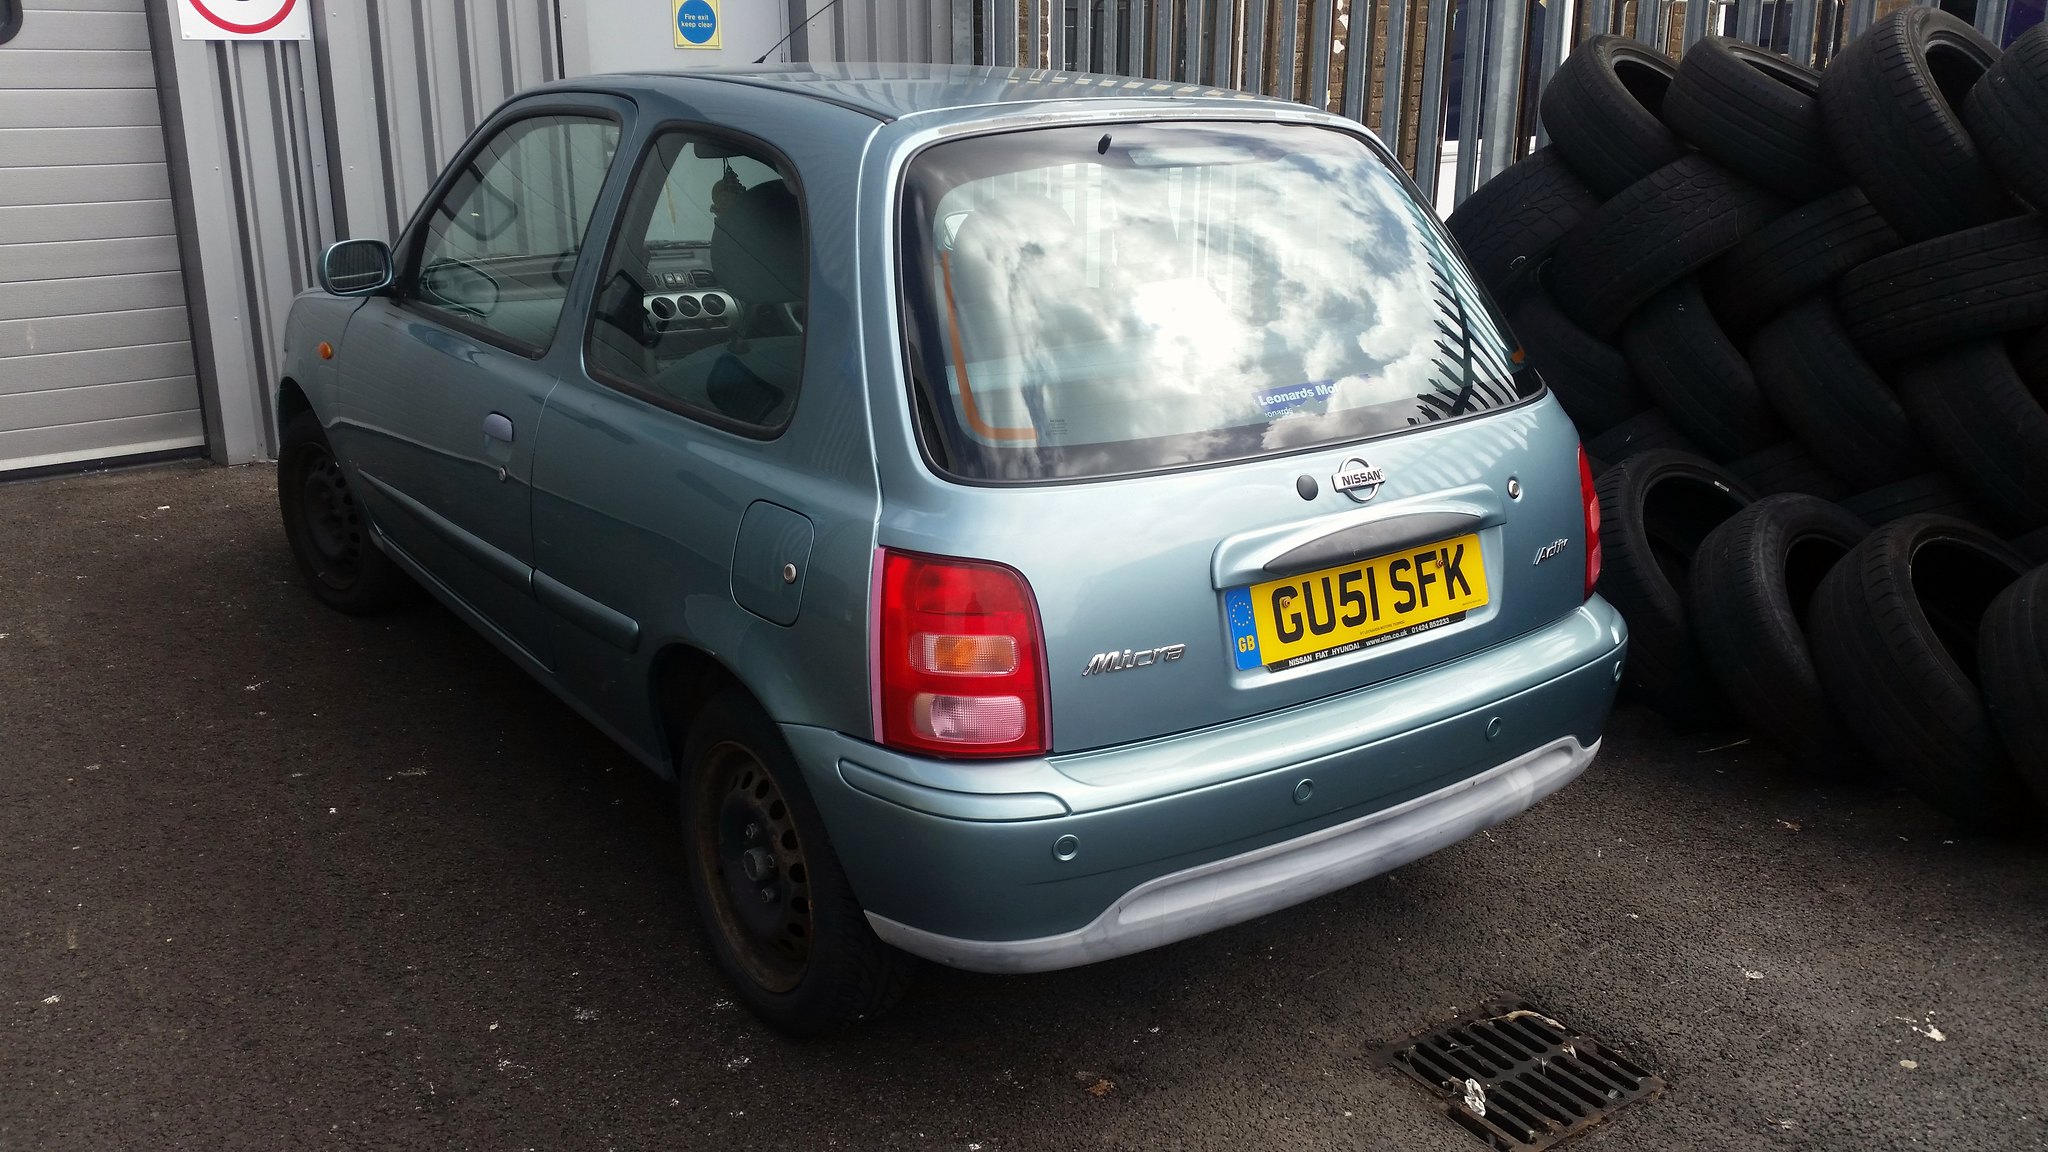
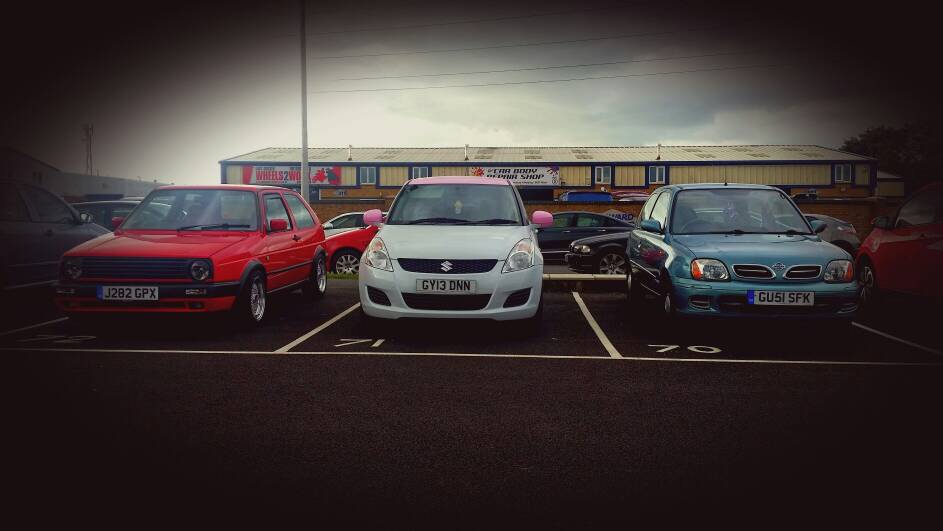
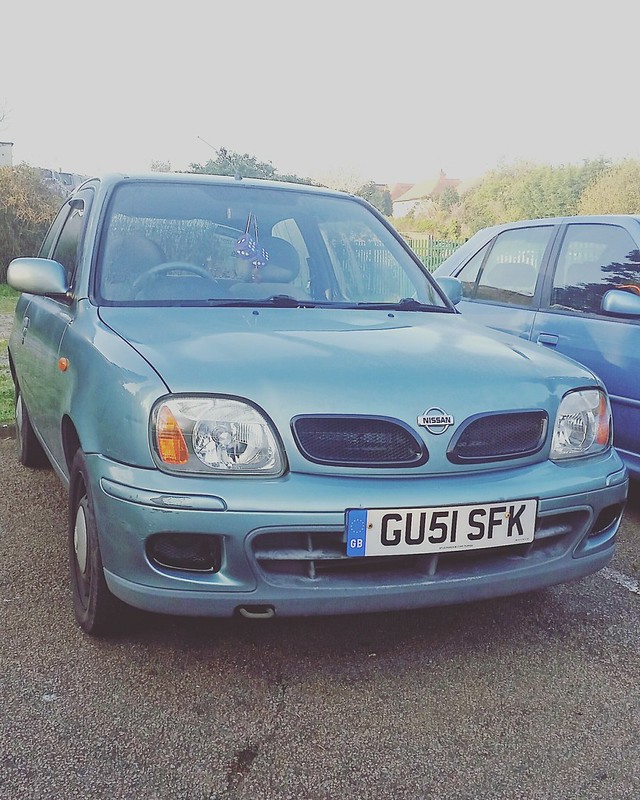
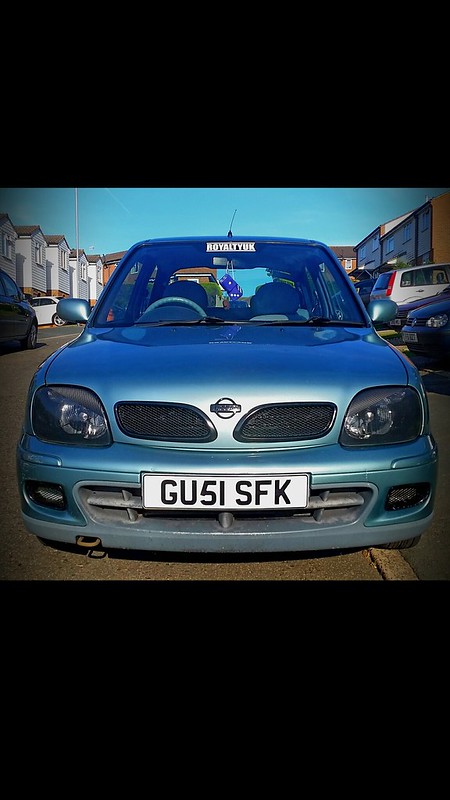
Hi everyone. This is My 2001 Nissan Micra k11 1.4 Activ. I bought it from my wife's Gran when she gave up driving. It had 19,500 miles and full service history most of it at main dealer and only cost me £300!

29036333451_eb11c187f4_k.jpg

29036337211_cf464dc816_k.jpg


As you can see I've already removed the rear wiper and I've also upgraded the stereo.

Further plans are:

2001 Clio front splitter
Tint headlamps, dechrome and deamber indicators
Tint rear lights
Fit Clear side repeaters and tint
Fit and tint front fogs
Smooth bumpers
Plastidip lower bumper and sill trims
Respray in silver
Gunmetal mirrors
Alloys
Custom stealth shelf with boot lighting
Spray grilles and badges
Interior mods
Suspension mods
Twin horns
Engine bay mods
Remove sidestrips
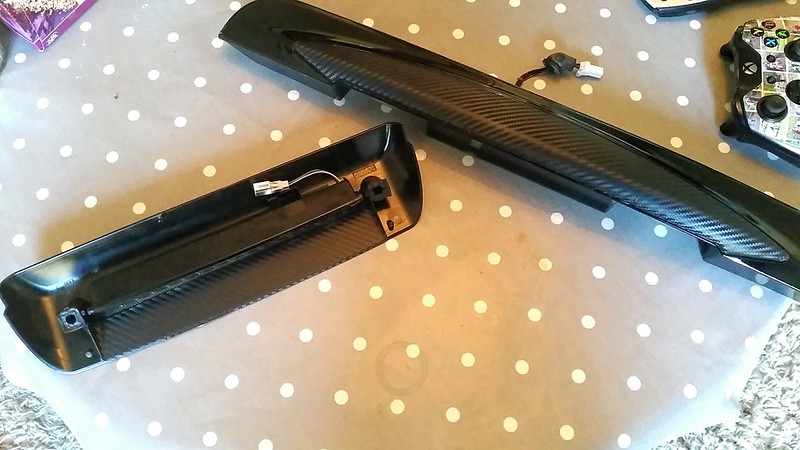
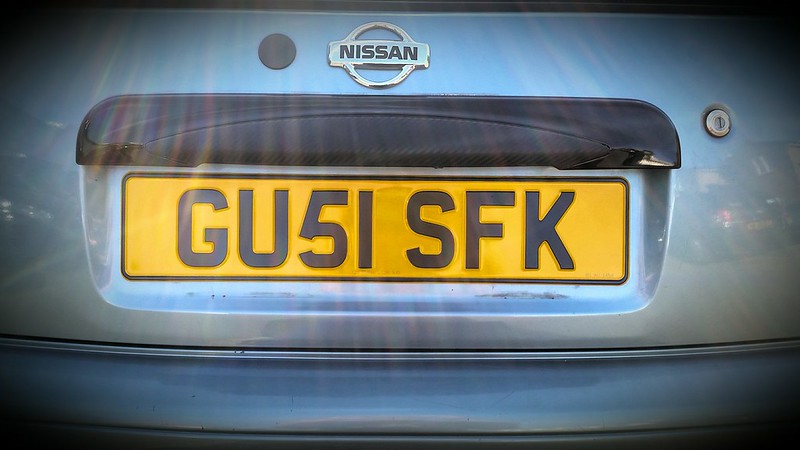
Pre facelift boot handle

Progress will probably be slow as money is tight but hope to start doing a few little changes
 
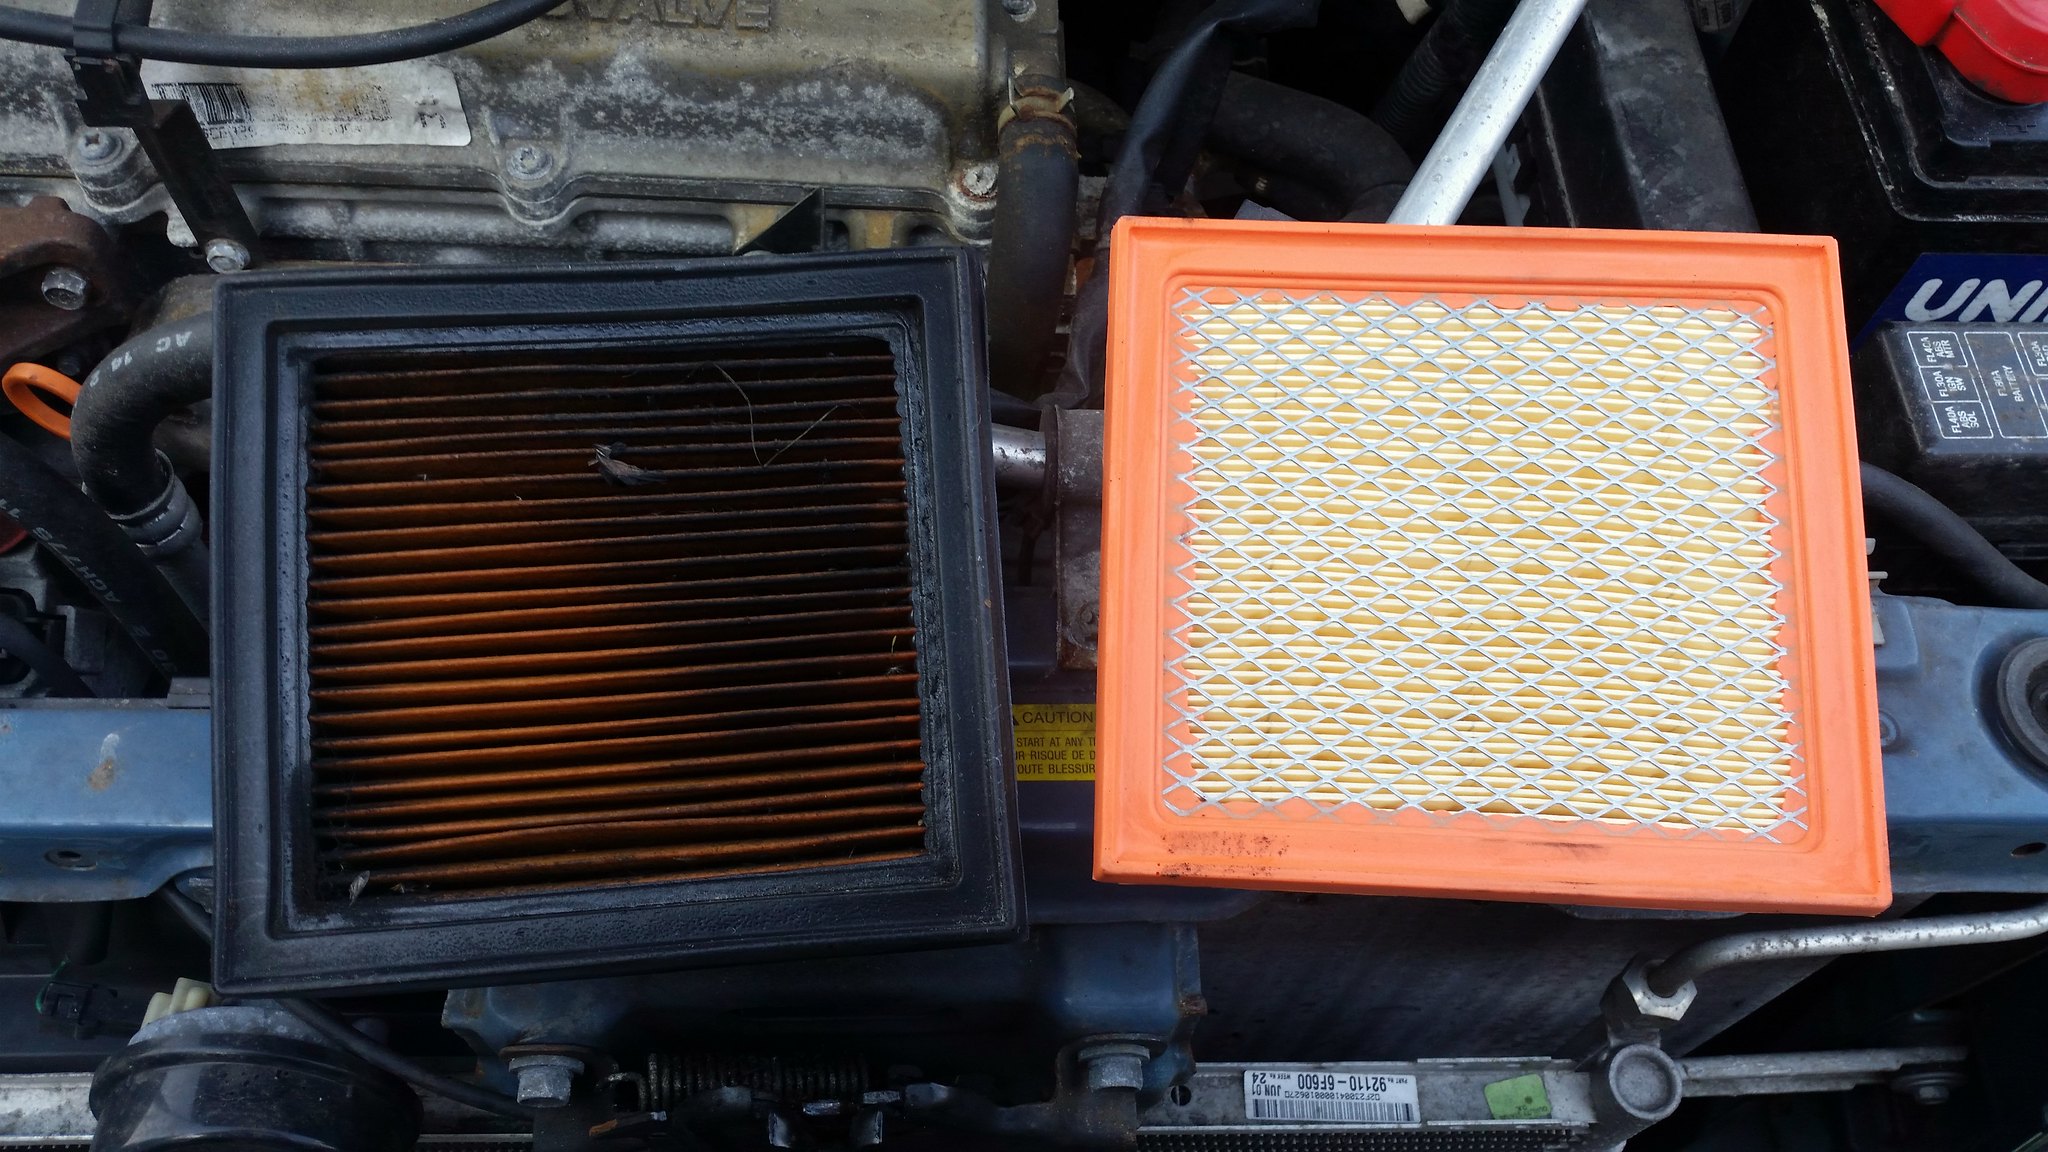
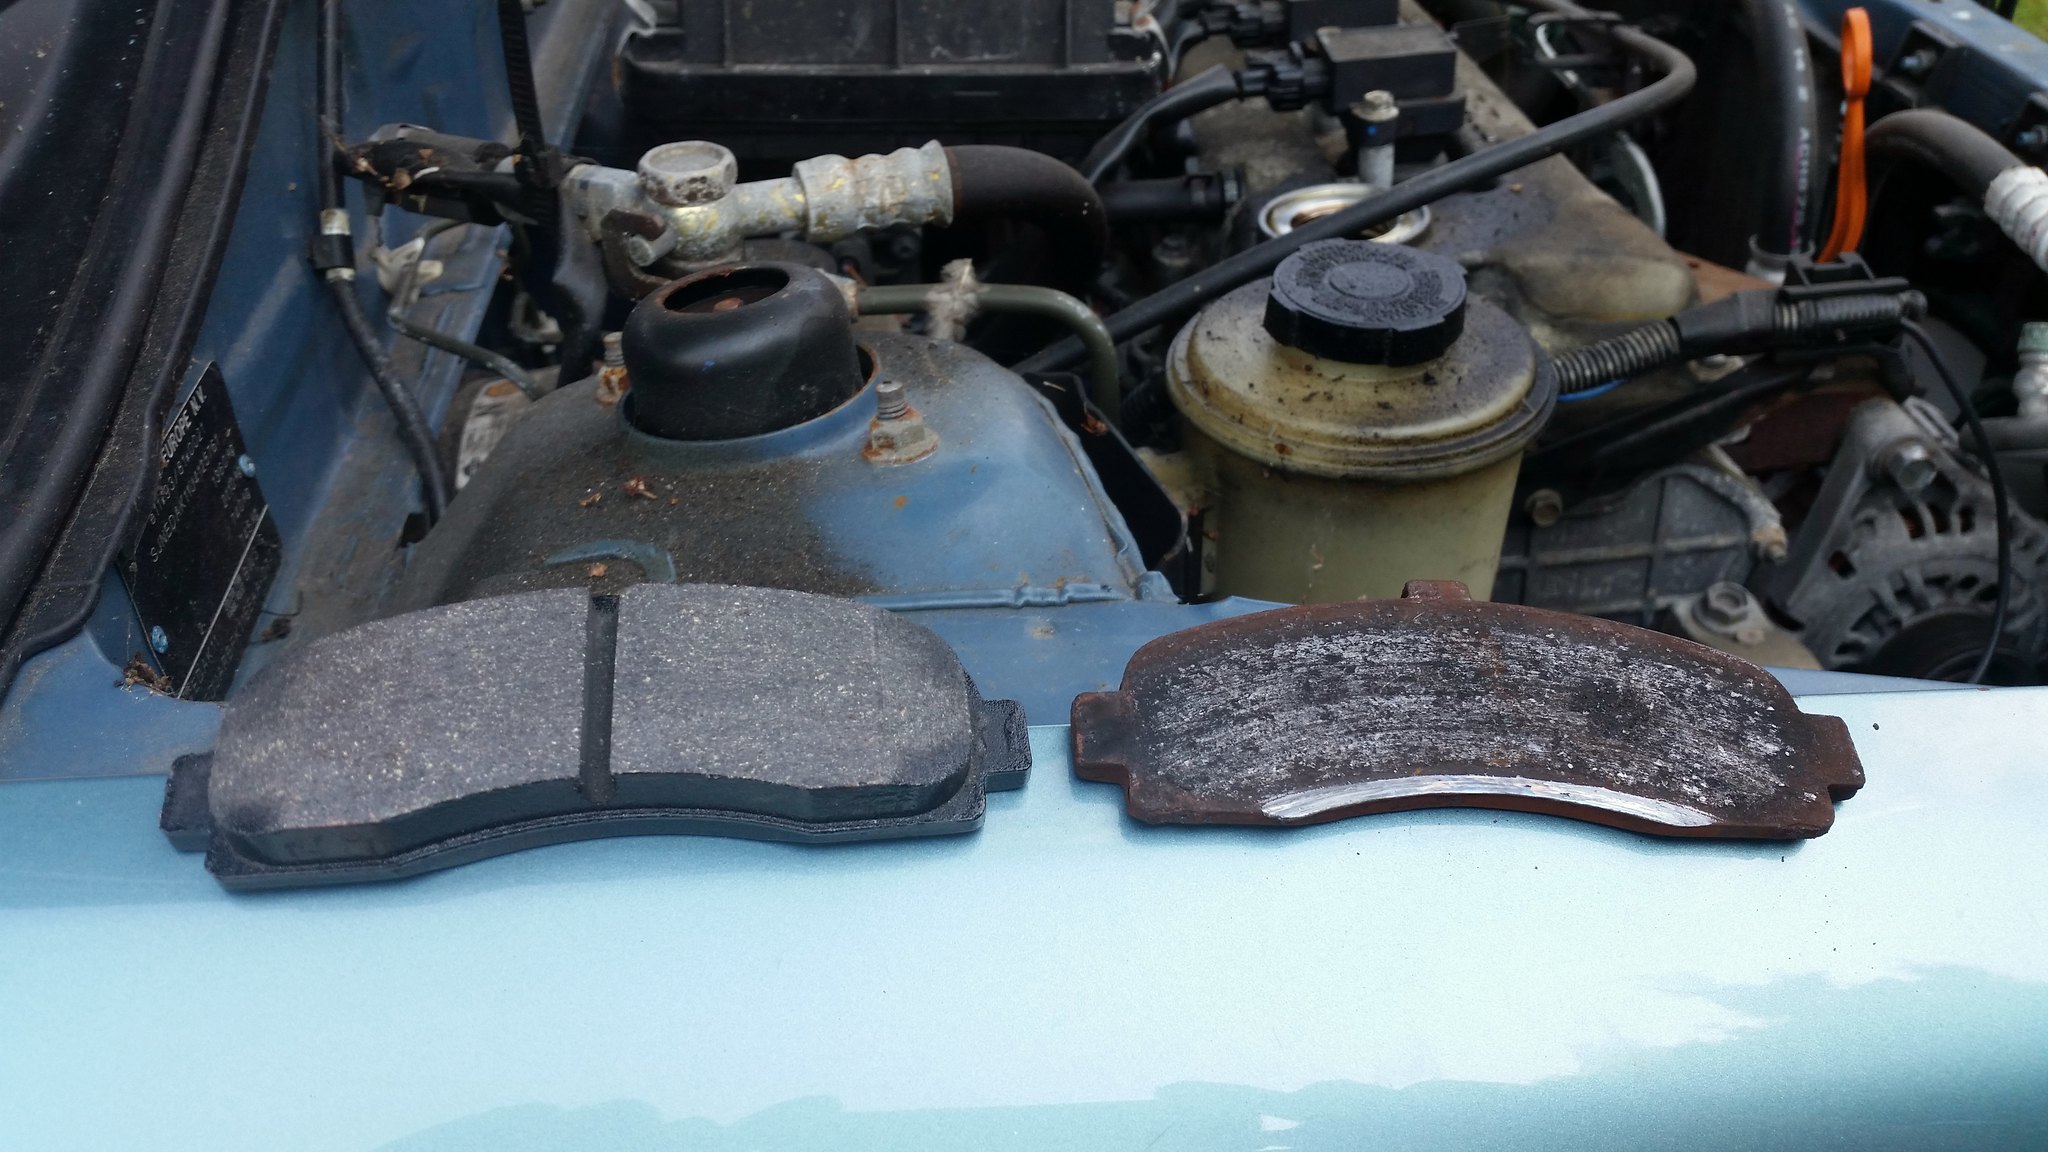
So today I did a much needed service and brake pad change and wired my crossover boxes and tweeters. Just got to cut some holes to mount the tweeters in the door card then good to go! Also bought a remote opening fuel and boot kit from eBay so that will be going on soon too. Also had some help today from my apprentice :)

28645494144_c043133fa9_k.jpg

29268754915_a1cdcdb831_k.jpg

29160460292_d84500bb37_k.jpg
 
Soooooo realised I've not kept this upto date at all lol. Quite alot has happened so ill be posting my progress over the next few days
 
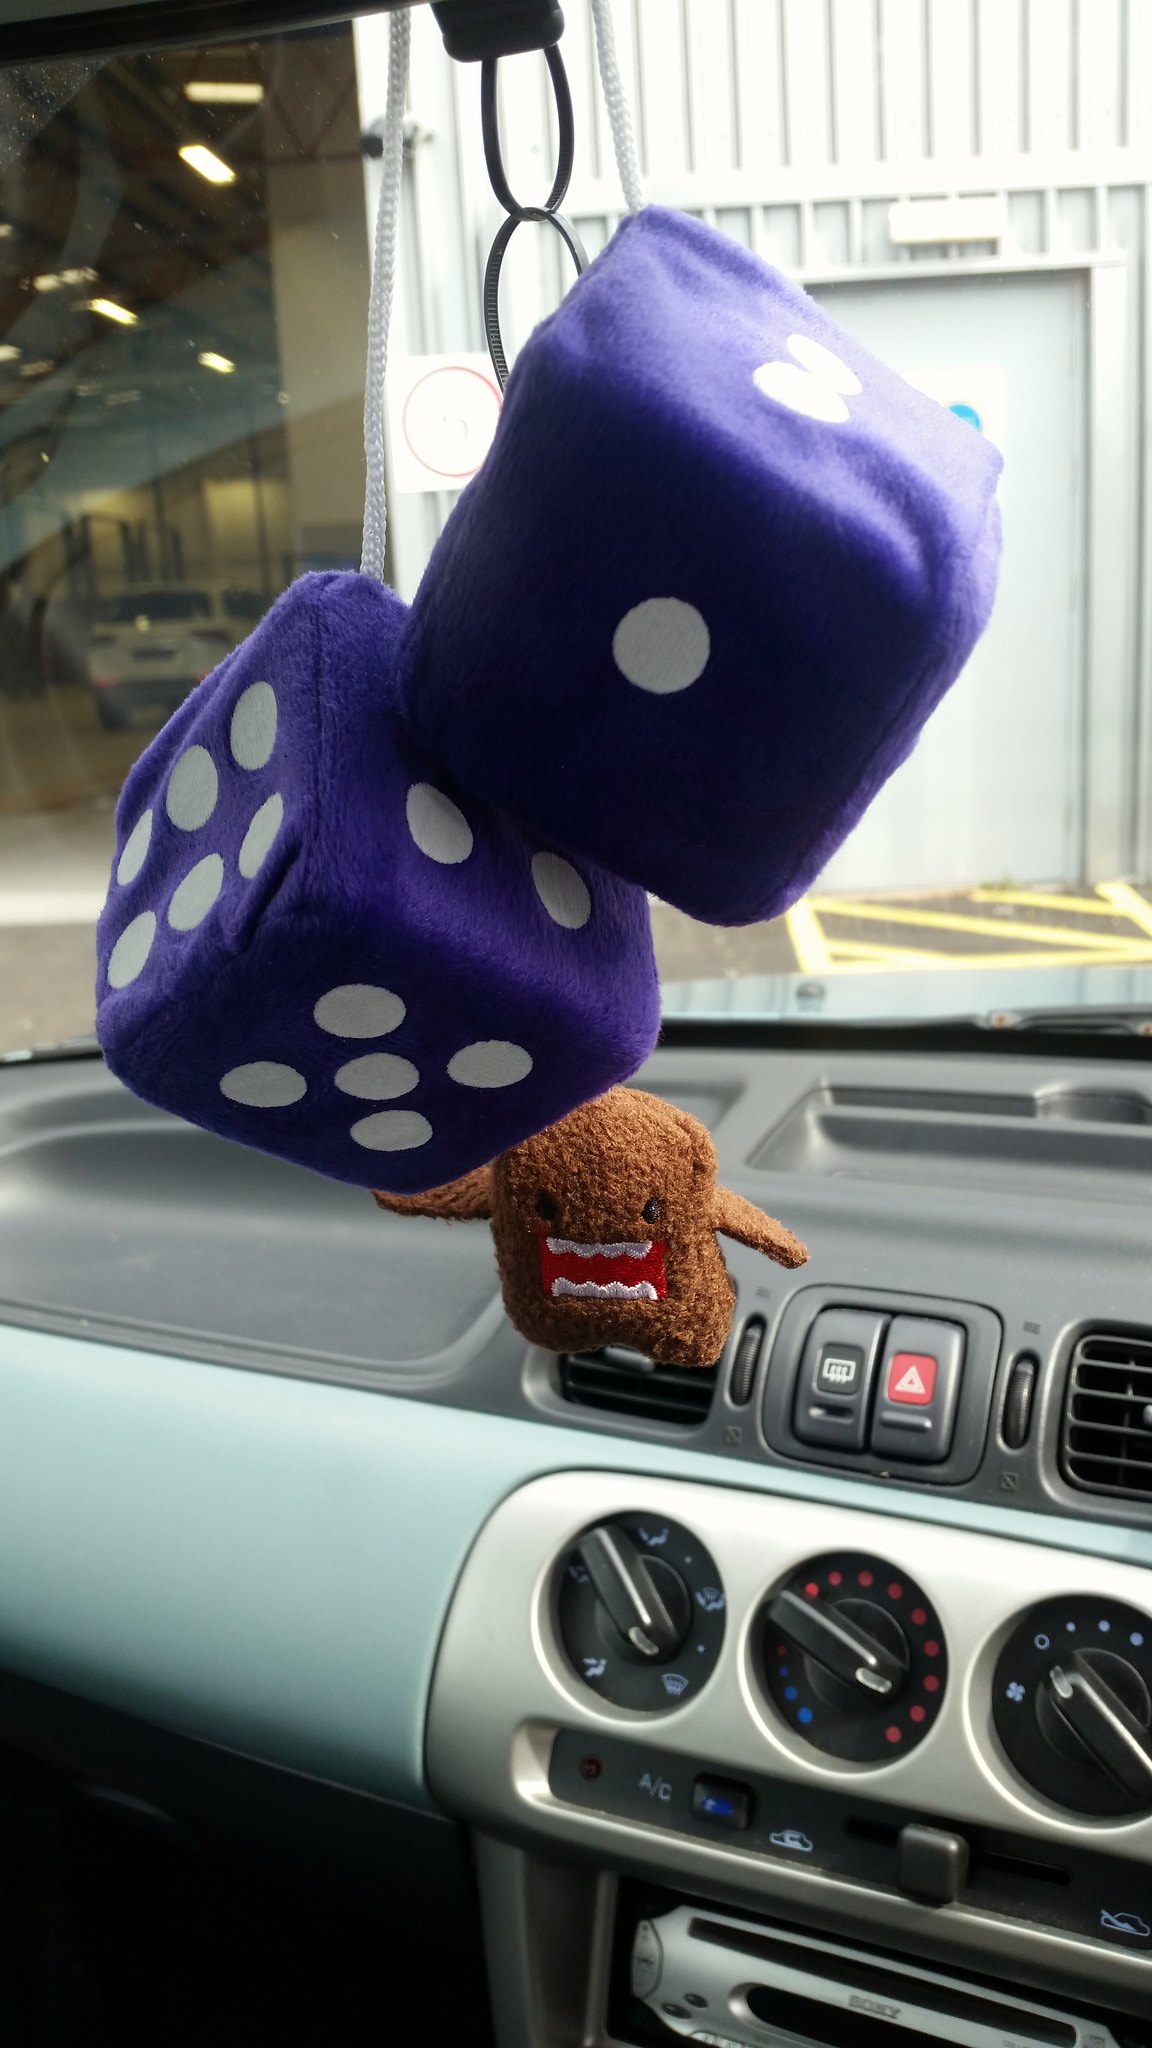
Why would you remove the rear wiper, potentially compromising your rear view in adverse conditions, then compounding it by obscuring you front view, to the left, by hanging furry dice from the interior mirror?:eek:
 
Why would you remove the rear wiper, potentially compromising your rear view in adverse conditions, then compounding it by obscuring you front view, to the left, by hanging furry dice from the interior mirror?:eek:


Erm because I don't drive everywhere in reverse? o_O
 
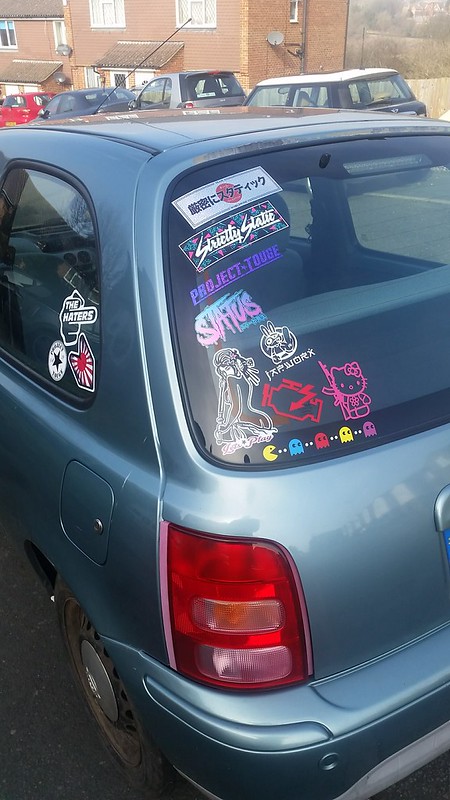
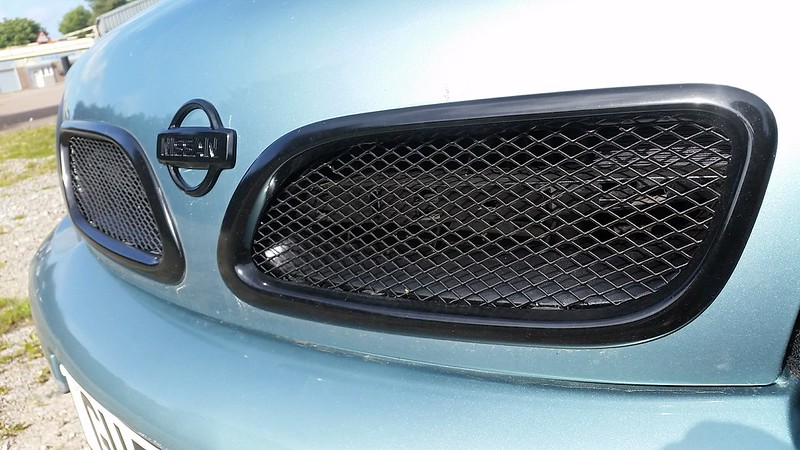
So first mods were rear stickers and custom bonnet grilles. To make the grilles I removed them from the car. I then split them into the individual parts. Removed the chrome pieces in the centre of the grilles. Sprayed the backs black to blend them in. Sprayed the chrome surrounds and then fitted mesh between the two parts
38384860624_e1e7ddf765_c.jpg

38384861644_62fcf94ccd_c.jpg

39064034682_cfe04e9f8a_c.jpg
 
Might steal that grill idea to get a teeny bit more air into the bonnet

I'm always jealous of people who manage to find old ladies cars that have been garaged their entire life and serviced religiously at a main dealer for buttons. Worst one was an escort rs turbo locally that sold for £1500 with only 20k odd on the clock
 
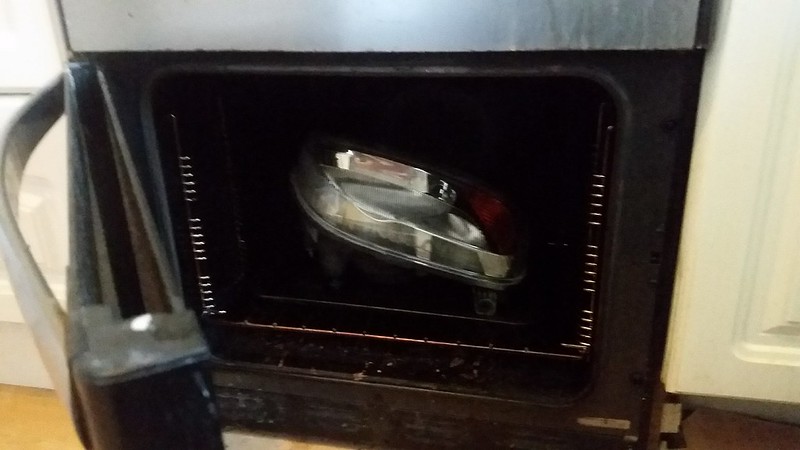
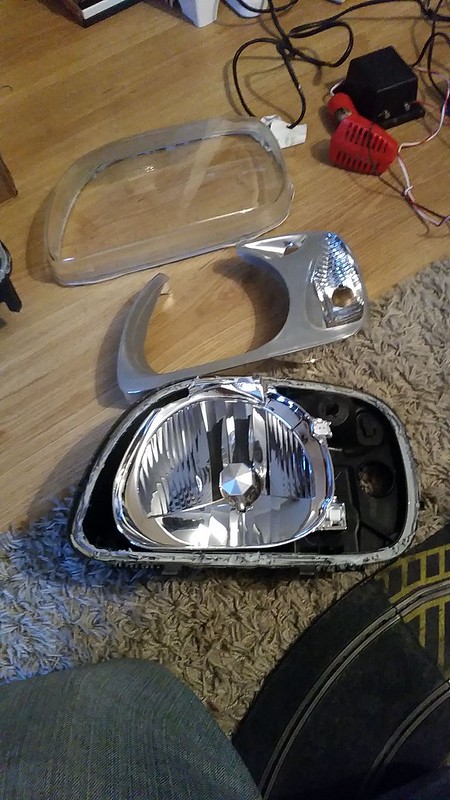
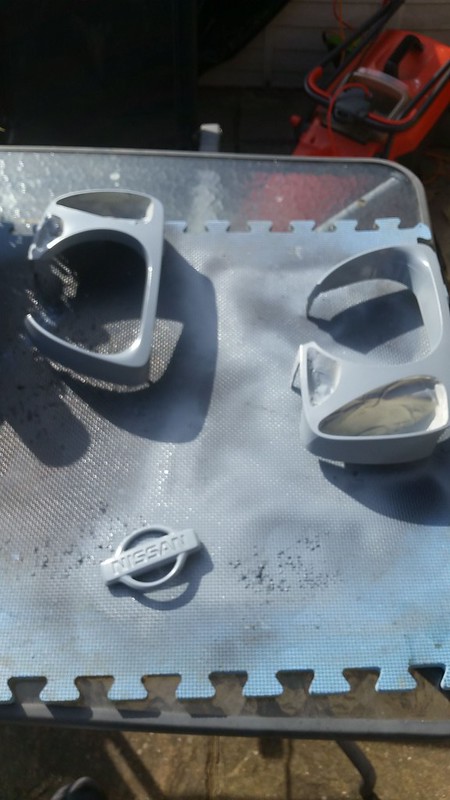
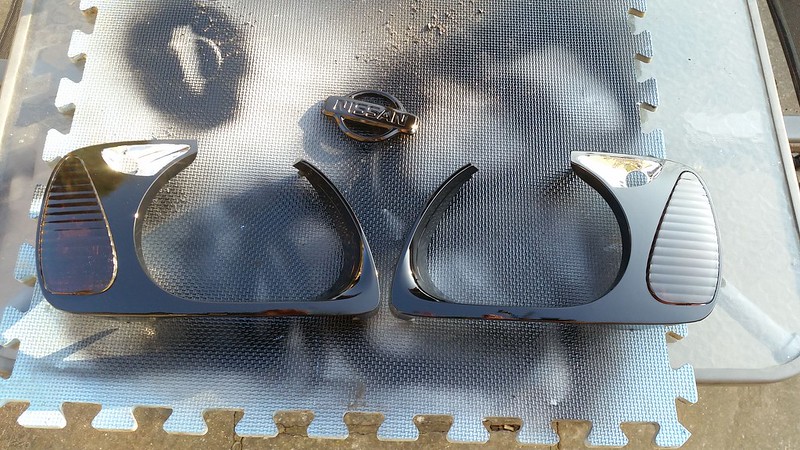
So next up I painted my headlamp inserts. Placed in oven at low heat for about 10 mins removed the glass and inserts. Sprayed inserts black. Rebuilt headlamps and pit back in the oven to warm up glue to reseal it. I also tinted the indicator Inserts at the same time. I then wrapped them in fly-eye tint film (has since be removed as effected light output to much) and added some carbon fibre wrap to give a badboy look
25228507168_27c4c619be_c.jpg

39094959921_04e1295c22_c.jpg

39094959651_e097fd6753_c.jpg

24233945607_3c80555b0f_c.jpg

25228504928_da00f8e849_c.jpg
 
So next I fitted a Rev counter and had to replace my headlamp connectors with ceramic ones as the original's melted. I also fitted some usdm indicator/sidelights by modifing some Honda Civic bulb holders. The first photo was with the flyeye kit and tinted indicator inserts fitted but found they weren't bright enough so stripped the headlamps and removed the inserts and flyeye kit in the second photo
20170624_175459.jpg
20170624_200349.jpg
2017-09-03 23.52.12.jpg
 
So the eagle eyed will notice the front bumper has been sprayed. This was the biggest change along with spraying the wheels and the mirror caps

Front End Stripped
20170707_201435.jpg
bumper off
20170707_201920.jpg
sanded down ready for paint
20170708_090103.jpg

Primers
20170708_091427.jpg
paint
20170708_172116.jpg

Custom Grilles fitted
20170709_084707.jpg

Before and After
collage1500051884566.jpg
 
Next up some performance mods. Made a custom induction kit with a japspeed oil catch can fitted and did away with the charcoal canister. Also fitted a backbox delete pipe so sounds pretty good. Also fitted some amax 30mm lowering springs and a front splitter from a mk3 golf.
20180504_185836.jpg

20180113_105753.jpg
20180128_102018.jpg
20180609_085250.jpg
20180609_092614.jpg
IMG_20180609_143232_895.jpg
 
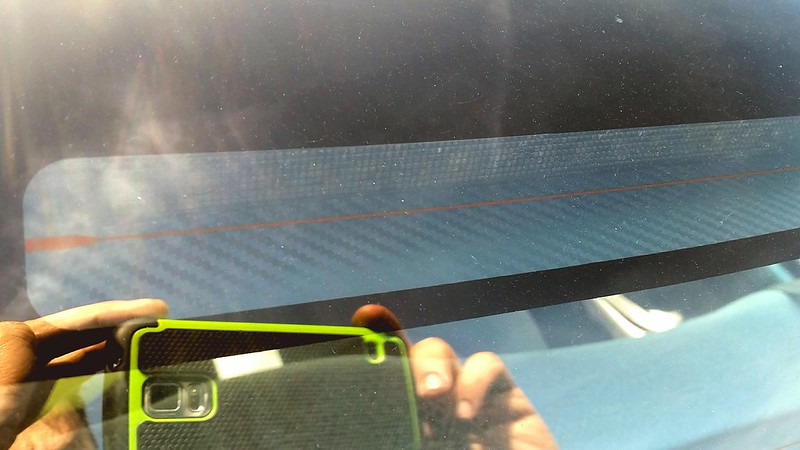
So this is the latest. Removed the stickers from the rear window and fitted some new ones
inCollage_20180916_174254095.jpg
2018-09-23 21.51.25.jpg

Next up I'll be smoothing the front bumper so watch this space
 
This looks great.

I've never fitted an induction kit before, would you be able to explain the purpose of linking it to the rocker cover and what the catch can is for?
 
Theres a pcv valve in the rocker cover which vents pressure from the crankcase. Some people when fitting an induction kit just git a small filter but there's arguments that this doesn't actually allow the pcv to work correctly as the the air passing through the intake opens and close's the valve. However this set up also allows oil vapours into the engine which is why a small filter is fitted in the orginal airbox. The oil catch can collects those oil vapours and stops them getting into the intake
 
So I've started on smoothing the front bumper. I filled all the detail lines with plastic weld. I cut out the grille bars and the number plate recess then flipped it and plastic welded it flush. Got a lot of tidying and plastic welding to do but should hopefully look good when its finished
IMG_20181014_141520_580.jpg
 
Phil did you see my thread on stripping chrome from plastic parts so that you cam properly paint them without the paint chipping off? Looks like your font badge and top grill surrounds are starting to 'spot' already......
 
No I havent. Do you a have a link?
Removal of plastic 'chrome' by chemical stripping HERE .I have completed the front badge and fitted it, rear badge still ' cooking' but has stripped much faster than the front one...
HERE is the original YouTube video that prompted me to experiment..........
 
Last edited:
Looks great so far mate, not too far off what i've done to mine so far too. gotta say though, lose that front splitter unless youre gonna get a kit on the back and sides too. Looks a bit like a bulldozer from the side!
 
So this is how the micra sits now. Been a fair few mods since I was last on lol:

1st Facelift Front Bumper
Wired the fogs as DRL's that autodip with dip beam
Single wiper conversion
Aero catch latches
RS Turbo Bonnet Vents
'01 Clio Front splitter
Luke Tow Strap
EXO racing 1" Bonnet lifters
20200316_124408_resize_0.jpg

PSX_20190812_200815.jpg

20191016_133513-1.jpg

20191016_133518.jpg

20191117_150428.jpg

IMG_20200116_191722_795.jpg

Modified Mazda 6 side skirts
Team dynamics wheels
PSX_20200322_174457.jpg

20200429_070836_resize_11.jpg

Rear bumper cut and drilled
Password JDM tow hook
Motorbike backbone and centre silencer delete
Gizfab rear strut brace
20200429_070857_resize_96.jpg

IMG_20200415_130249_681.jpg

Lastly. I found the front was sitting slightly higher then the rear. So I cut 1 coil from the front lowering spring. Cleaned and painted the end and spring stays fully captive at max drop. Also cleaned up the shock and under sealed. Also cleaned and under sealed the rear axle and resprayed my gizfab adjustable panard rod
20200307_092549_resize_49.jpg

20200307_092650_resize_82.jpg

Before
20200201_140506.jpg

After
20200429_070913_resize_93.jpg

20191020_164828.jpg
 

Attachments

  • 20200316_124408.jpg
    5.7 MB · Views: 191
  • 20200429_070836.jpg
    6 MB · Views: 178
  • 20200429_070857.jpg
    6.1 MB · Views: 180
  • 20200307_092549.jpg
    4.8 MB · Views: 181
  • 20200307_092650.jpg
    4.7 MB · Views: 163
  • IMG_20200116_191722_795.jpg
    IMG_20200116_191722_795.jpg
    19 KB · Views: 176
  • 20200429_070913.jpg
    6.5 MB · Views: 174
  • 20200316_124408.jpg
    5.7 MB · Views: 168
  • 20200429_070836.jpg
    6 MB · Views: 169
  • 20200429_070857.jpg
    6.1 MB · Views: 178
  • 20200429_070913.jpg
    6.5 MB · Views: 165
  • 20200307_092549.jpg
    4.8 MB · Views: 161
  • 20200307_092650.jpg
    4.7 MB · Views: 156
Last edited:
Painted the cam cover. Was going to have black writing but was sent the wrong colour but thought it looked quite funky anyway. I then also replaced the screws with some black counter sink allen bolts with Password JDM washers.
20200606_114628.jpg

20200606_123144.jpg

20200606_123135.jpg

Annoyingly ordered the wrong gasket. Thought the cga and cg13 were the same but of course cg13 is a dizzy engine. Refitted the old one but leaks at chain end so will have to be replaced
 
Have also fitted some Exo Racing quick release bumper mounts for extra Ricer points
20200627_102024.jpg

20200530_115940.jpg

Also gave the grilles a fresh lock of paint as had some spare paint laying around and they were looking pretty battle scared. Really need properly stripping of the chrome but this should last a couple more years Hopefully
20200620_181830.jpg

Lastly couldn't resist this photo op:
IMG_20200626_075058_461.jpg
 
Back
Top