nexussteve
The reason you're happy!
Yes! That's right! I'm STILL here!!
And yes, of course, the project is STILL going! I've started a new blog, as technically, this is now a different car. The last one was written off over a bent floor in the boot as well as the boot itself, and I just didn't want to be paying out money before I'd even started.
So I managed to get hold of a rare Super S from a friend who managed to win it on E-bay for me!! After a few monthly payments to him, she was mine! I've wanted a Super S since I first got my previous, silver micra and logged onto the forum!
The Super S (I'm embarrassed to say...) was in IMMACULATE condition! I really was in two minds about the conversion, but decided I had to have more power, as I'd only be craving it later!! Plus, I had all the parts already! ^^
*DISCLAIMER!*
I am NOT a mechanic, nor am I a welder! This is my first, ever engine conversion and I've only worked with advice from this forum, family and friends! All the custom work you see in this blog is all done by myself and I do not consider myself an expert at any of this! So please keep all criticism constructive, I need all the help I can get!
I'd also like to bring up the fact that this project has been an on-going trawl over the last 3 years! With blogs like this, many people see them pop up and jump to the conclusion that you can do things like this over the weekend! There are many skilled professionals that probably COULD do such a thing, but I'd just like to accentuate the fact that not everyone is a mechanic and there's no reason that, with a little time and money, ANYONE can jump in and try a big project!
With many setbacks over the years including; financial difficulties, workshop-hopping and time, this has been a definate labour of love and I've been determined to get this finished and not be another half-assed project that eventually gets sold on!
So, here she is! A K10 Micra Super S 1.2 under-going a 1.6 GA16 Primera engine conversion, with a few other cool little bits!
Hope you like what you see, but remember: it's still on-going!!
The Micra with the donor Primera:

The Doom Buggy's new heart!

Out she comes!

She fits! Sizing up the engine and working out engine mount positions:

Driver's-side Engine mount:

Passenger-side Gearbox Mount:

Reinforcing the cut-away chassis rail:


Primera Radiator mounts weren't looking too good! :/

Radiator positioned, mounts cleaned up, tacked, then welded in when all looked good!


Radiator clearance from bonnet:

The Micra's new heart in the car, without the crane for the first time!

And yes, of course, the project is STILL going! I've started a new blog, as technically, this is now a different car. The last one was written off over a bent floor in the boot as well as the boot itself, and I just didn't want to be paying out money before I'd even started.
So I managed to get hold of a rare Super S from a friend who managed to win it on E-bay for me!! After a few monthly payments to him, she was mine! I've wanted a Super S since I first got my previous, silver micra and logged onto the forum!
The Super S (I'm embarrassed to say...) was in IMMACULATE condition! I really was in two minds about the conversion, but decided I had to have more power, as I'd only be craving it later!! Plus, I had all the parts already! ^^
*DISCLAIMER!*
I am NOT a mechanic, nor am I a welder! This is my first, ever engine conversion and I've only worked with advice from this forum, family and friends! All the custom work you see in this blog is all done by myself and I do not consider myself an expert at any of this! So please keep all criticism constructive, I need all the help I can get!
I'd also like to bring up the fact that this project has been an on-going trawl over the last 3 years! With blogs like this, many people see them pop up and jump to the conclusion that you can do things like this over the weekend! There are many skilled professionals that probably COULD do such a thing, but I'd just like to accentuate the fact that not everyone is a mechanic and there's no reason that, with a little time and money, ANYONE can jump in and try a big project!
With many setbacks over the years including; financial difficulties, workshop-hopping and time, this has been a definate labour of love and I've been determined to get this finished and not be another half-assed project that eventually gets sold on!
So, here she is! A K10 Micra Super S 1.2 under-going a 1.6 GA16 Primera engine conversion, with a few other cool little bits!
Hope you like what you see, but remember: it's still on-going!!
The Micra with the donor Primera:
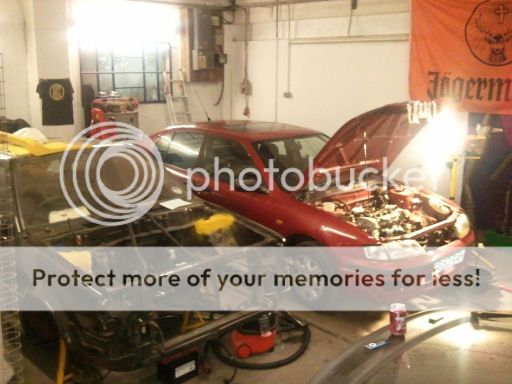
The Doom Buggy's new heart!
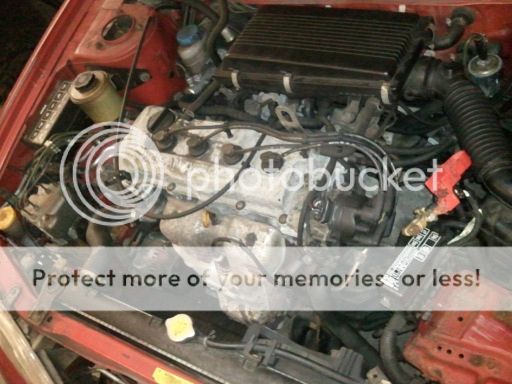
Out she comes!
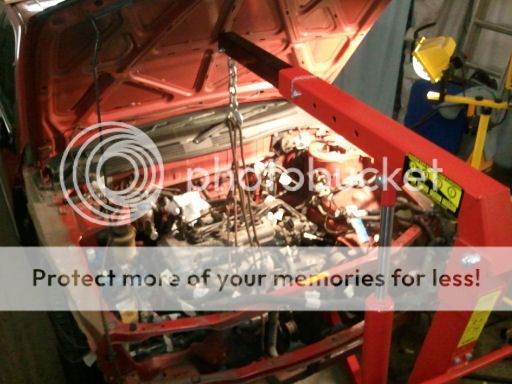
She fits! Sizing up the engine and working out engine mount positions:

Driver's-side Engine mount:

Passenger-side Gearbox Mount:
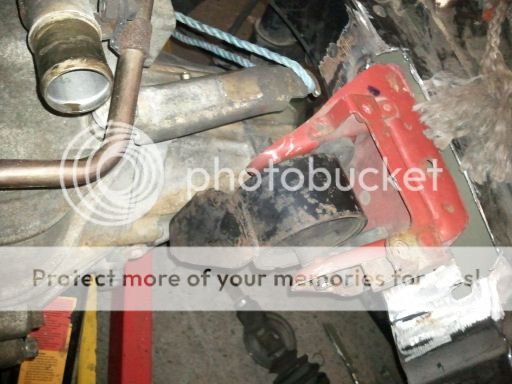
Reinforcing the cut-away chassis rail:


Primera Radiator mounts weren't looking too good! :/

Radiator positioned, mounts cleaned up, tacked, then welded in when all looked good!


Radiator clearance from bonnet:

The Micra's new heart in the car, without the crane for the first time!


