-
Please only use these forums for blogs, they are not a discussion forum
You are using an out of date browser. It may not display this or other websites correctly.
You should upgrade or use an alternative browser.
You should upgrade or use an alternative browser.
K11 Micra (First Car)
- Thread starter cgten
- Start date
Painting of the new boot handle and fuel door has begun!
Primer:

First coat of red:

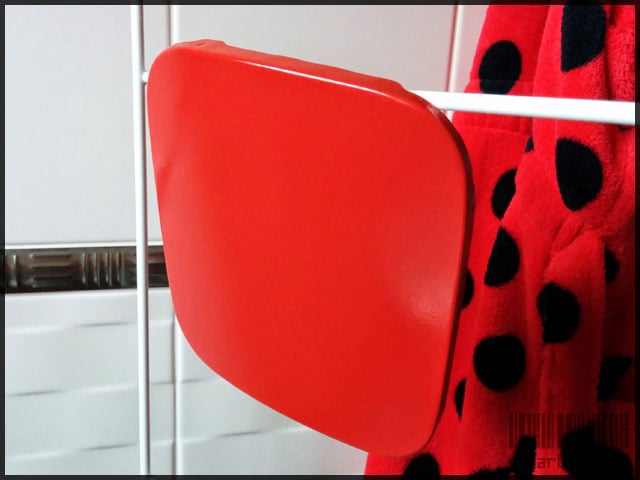
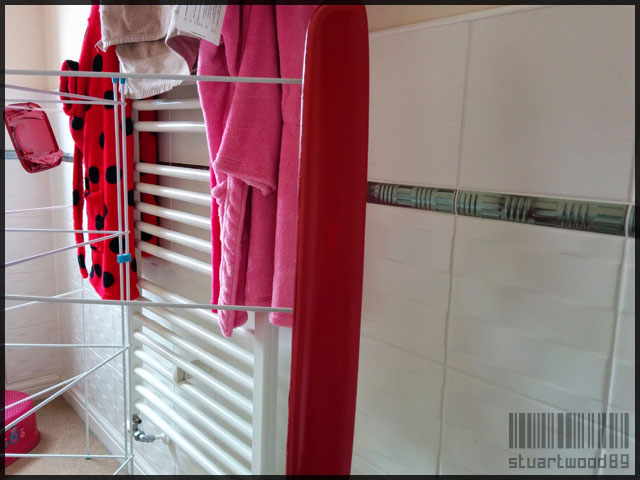
Just need to allow some time for the paint to harden, then I can sand back the imperfections. I had to do this outside with no way of safely hanging the parts whilst spraying. Next time I'm probably going to use my clothes rack.
Primer:
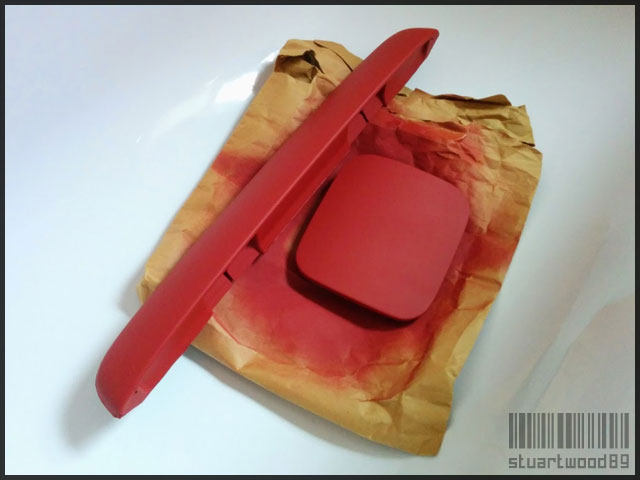
First coat of red:
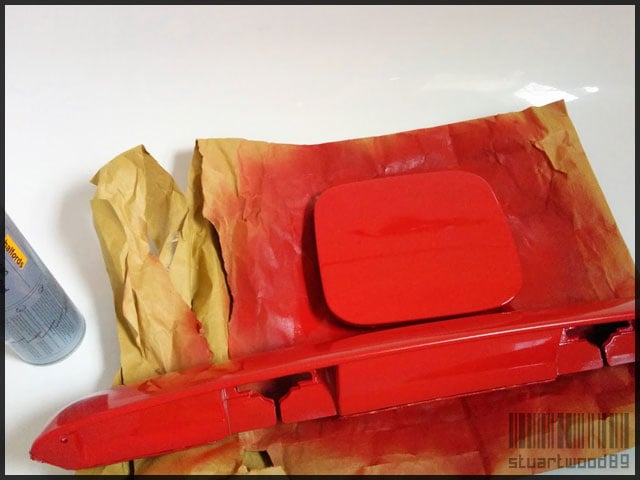
Just need to allow some time for the paint to harden, then I can sand back the imperfections. I had to do this outside with no way of safely hanging the parts whilst spraying. Next time I'm probably going to use my clothes rack.
Any good?I used Nitromors mate
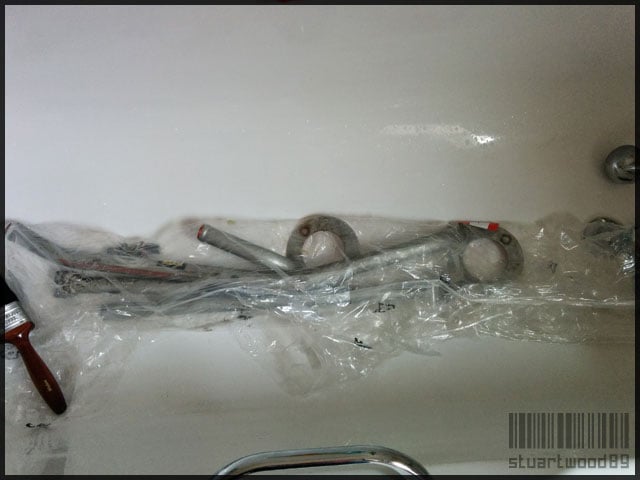
I used it in the past. It's not as good as it used to be (they took out one of the active chemicals due to some stupid regulation and replaced it with something less powerful). I find it works best if you wrap the parts up in plastic to prevent evaporation.
That's what's I'd heard, new legislation or something. I used oven cleaner the other day, not as good but it worked if left for long enough
Reckon I'll use nitromors next time
More progress! (a little bit)
Gave the boot handle a final pass with some 2000 grit, before a pass with some T-Cut and three passes with Auto Glym resin polish, followed by two coats of Turtle Wax:

Masking tape off and it's done (I masked the seals this time, as trying to get the back on the other boot handle was a nightmare)

So the back has gone from this:

...to this:

...and then to this:

Really happy with how it looks. Just need to sort out the wrap-around, repaint the rear bumper and boot lid and the rear is done!
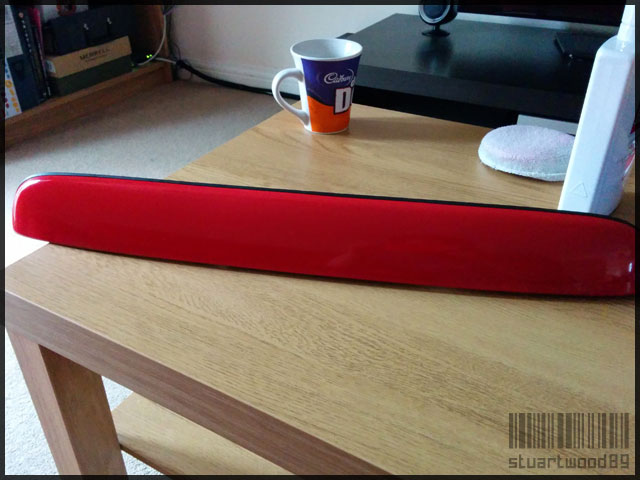
Gave the boot handle a final pass with some 2000 grit, before a pass with some T-Cut and three passes with Auto Glym resin polish, followed by two coats of Turtle Wax:
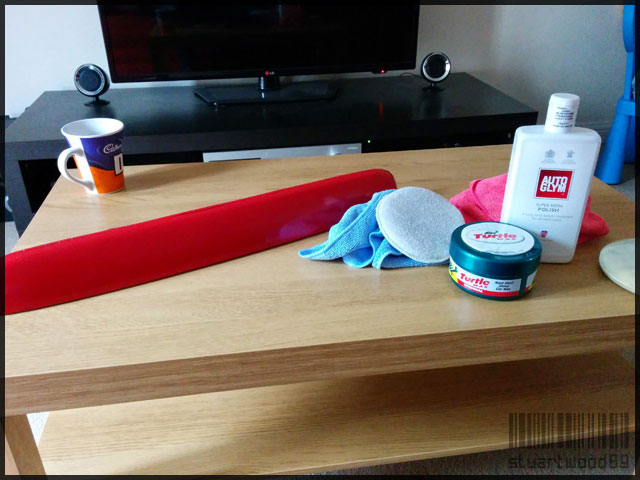
Masking tape off and it's done (I masked the seals this time, as trying to get the back on the other boot handle was a nightmare)
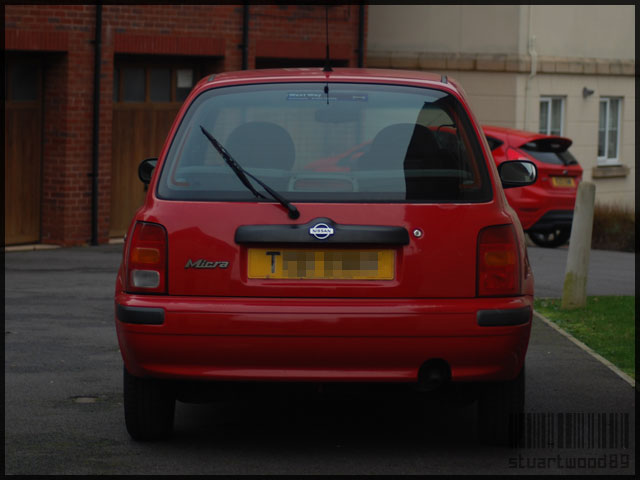
So the back has gone from this:
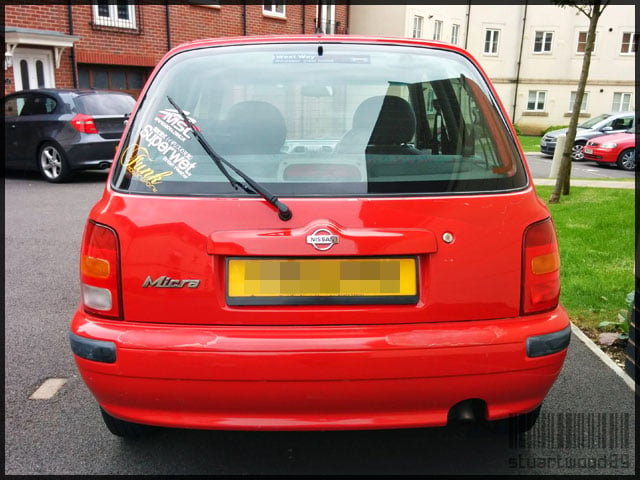
...to this:
...and then to this:
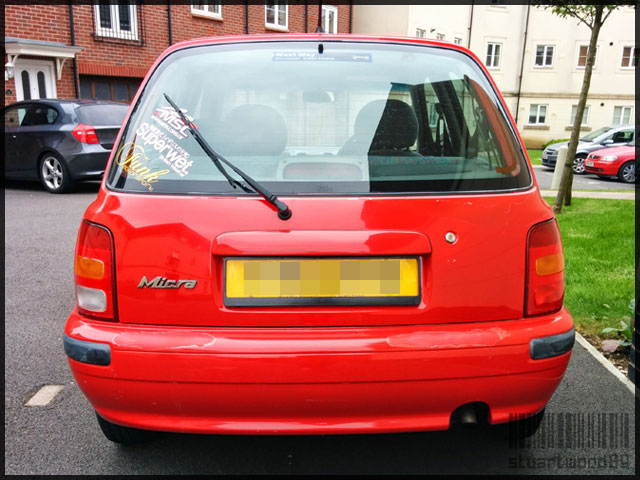
Really happy with how it looks. Just need to sort out the wrap-around, repaint the rear bumper and boot lid and the rear is done!
Today I made the perilous journey to Hampshire to pick up some fancy wheels. Total journey there and back was about 190 miles, used half a tank of petrol - so about £20 
Stacked up safely in the back seat:

Popped to my local tyre centre and had the tyres taken off. I'd prefer to work on these without having to worry about the tyres getting in the way. Paid a fiver and it was done in less than two minutes:

The wheels are filthy so they look pretty bad. The previous owner lived on a farm so I guess it'll be down to muddy tracks etc. Giving them a clean tomorrow so I can assess the overall work needed to bring them back up to scratch:

Tyres ready to go back on once the wheels are finished (they need a good clean too)

Went to visit @Jamie Sykes to drop off his fogs. He gave my tyres the retro white wall treatment:

(it's actually just tyre foam)
Got some extra door handles from Jamie so I can get those colour coded. Already rubbed them down with some 240 grit, followed by 600 grit then some primer.
Stacked up safely in the back seat:
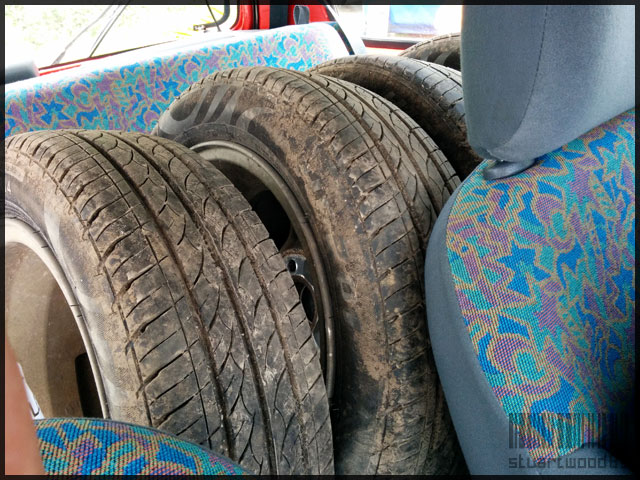
Popped to my local tyre centre and had the tyres taken off. I'd prefer to work on these without having to worry about the tyres getting in the way. Paid a fiver and it was done in less than two minutes:
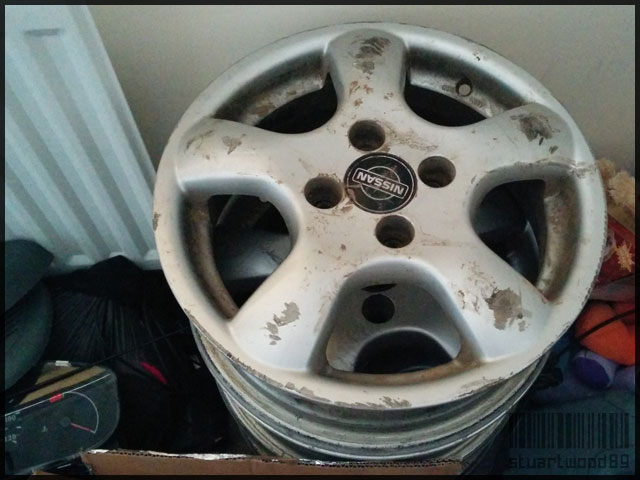
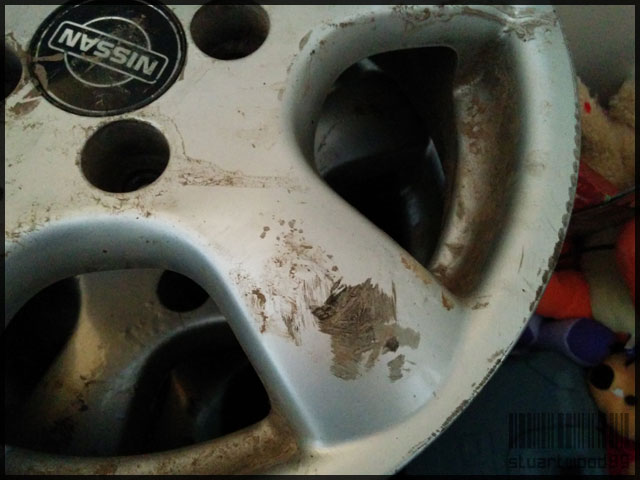
The wheels are filthy so they look pretty bad. The previous owner lived on a farm so I guess it'll be down to muddy tracks etc. Giving them a clean tomorrow so I can assess the overall work needed to bring them back up to scratch:
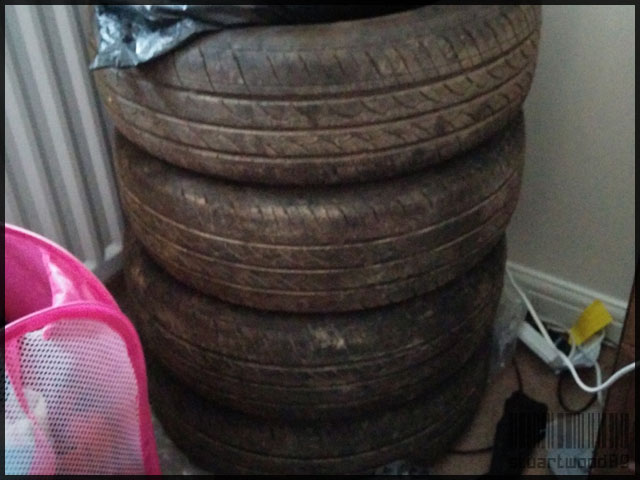
Tyres ready to go back on once the wheels are finished (they need a good clean too)
Went to visit @Jamie Sykes to drop off his fogs. He gave my tyres the retro white wall treatment:
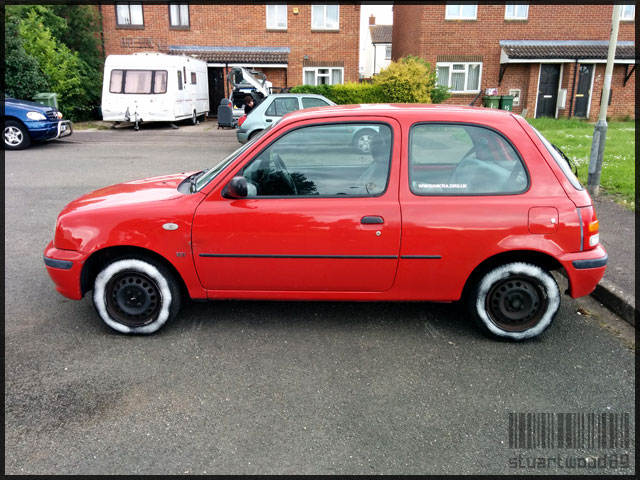
(it's actually just tyre foam)
Got some extra door handles from Jamie so I can get those colour coded. Already rubbed them down with some 240 grit, followed by 600 grit then some primer.
cheers for getting the bits for me today the fogs look the piece on my car just need the surrounds now and i am loving the boot handleToday I made the perilous journey to Hampshire to pick up some fancy wheels. Total journey there and back was about 190 miles, used half a tank of petrol - so about £20
Stacked up safely in the back seat:

Popped to my local tyre centre and had the tyres taken off. I'd prefer to work on these without having to worry about the tyres getting in the way. Paid a fiver and it was done in less than two minutes:

The wheels are filthy so they look pretty bad. The previous owner lived on a farm so I guess it'll be down to muddy tracks etc. Giving them a clean tomorrow so I can assess the overall work needed to bring them back up to scratch:

Tyres ready to go back on once the wheels are finished (they need a good clean too)

Went to visit @Jamie Sykes to drop off his fogs. He gave my tyres the retro white wall treatment:

(it's actually just tyre foam)
Got some extra door handles from Jamie so I can get those colour coded. Already rubbed them down with some 240 grit, followed by 600 grit then some primer.
thats stuffs called armorall tire foam and nopeTyres look good. I'll need some of that for my other tyres when they go on.
Has the seller replied about the surrounds yet?
Small update. Fitted my cigarette lighter!

Luckily the wire was already there behind the lower dash trim, so it was just a case of plugging it in.
Also finished up on the door handles. They looked awesome when I took this photo:

...but I put them into a bubble wrap bag to keep them safe and they came out like this:

Looks like I didn't leave the clear coat enough time to cure. I've fitted one anyway, as I can give them another polish whilst they're on the car and have had enough time to harden. I've only done the drivers door. I took the existing black plastic door handle off and the short rod that connects it to the door latch fell out into the door cavity. Luckily we managed to retrieve that, but getting the rod to sit back into the latch whilst keeping the other end connected to the handle, without being able to see the latch itself was a massive pain. We finally got it fitted, but we had no motivation to fit the passenger side at all.
Looks good though...

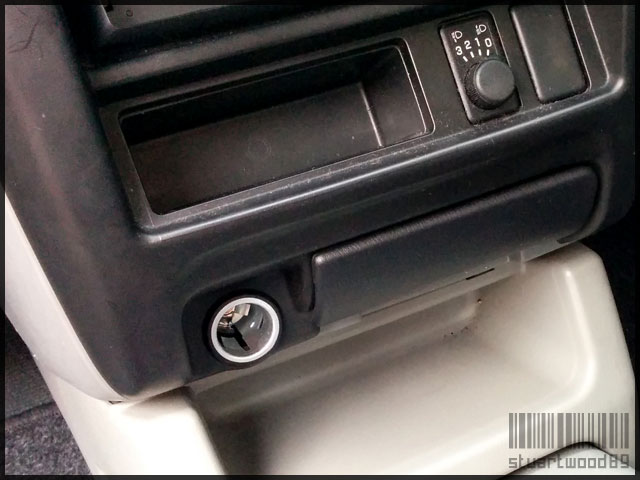
Luckily the wire was already there behind the lower dash trim, so it was just a case of plugging it in.
Also finished up on the door handles. They looked awesome when I took this photo:
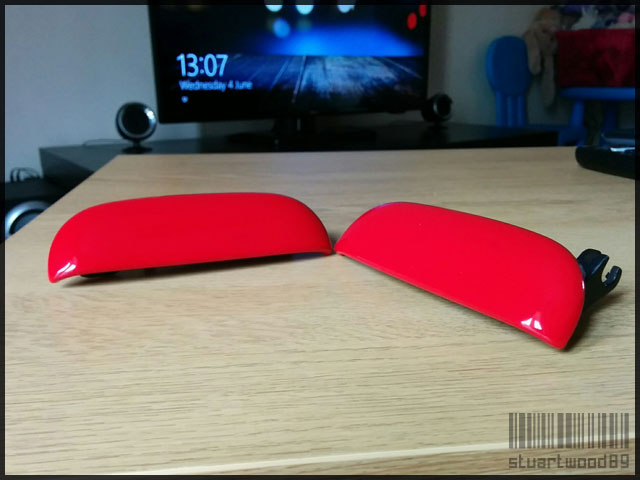
...but I put them into a bubble wrap bag to keep them safe and they came out like this:
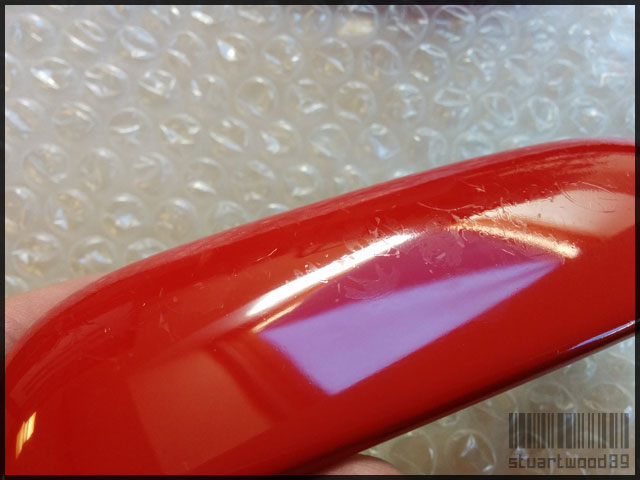
Looks like I didn't leave the clear coat enough time to cure. I've fitted one anyway, as I can give them another polish whilst they're on the car and have had enough time to harden. I've only done the drivers door. I took the existing black plastic door handle off and the short rod that connects it to the door latch fell out into the door cavity. Luckily we managed to retrieve that, but getting the rod to sit back into the latch whilst keeping the other end connected to the handle, without being able to see the latch itself was a massive pain. We finally got it fitted, but we had no motivation to fit the passenger side at all.
Looks good though...
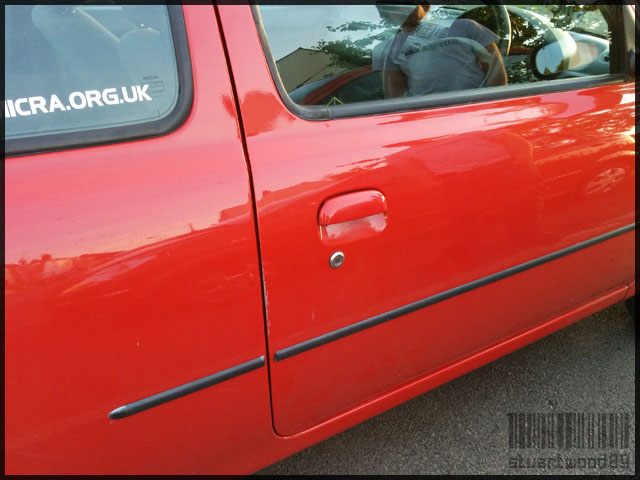
those the handles i gave you
looking good
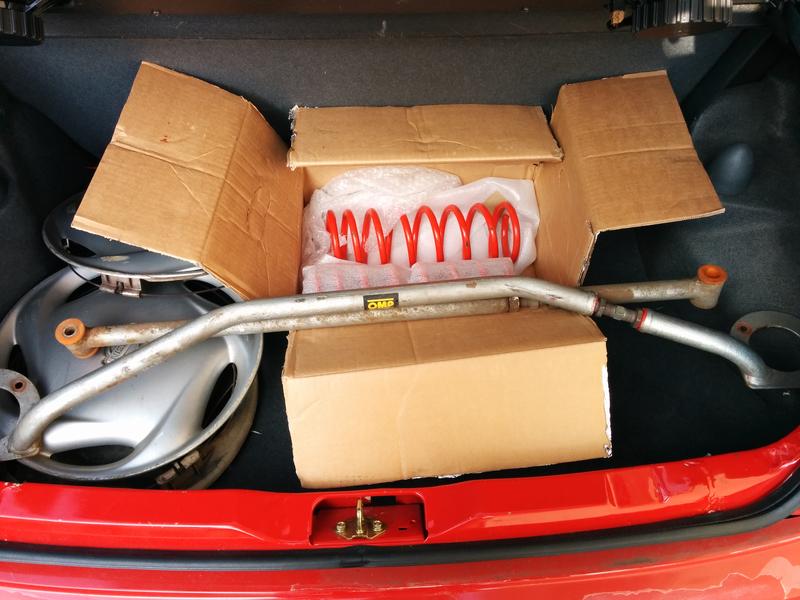
Just bought some 35-40mm lowering springs (front and back). I'm hoping with the 14" wheels the arch gap will close up a bit.
I heard you need Corsa B shocks for the rears though, is that absolutely necessary or just preferred?
Only need corsa shocks if using massively cut springs.
35mm springs designed for the micra just use original shocks, but I'd always recommend sticking nice new sport shocks in at the same time. Completely un-necessary, just will double the effect on handling
I has Corsa Sxi shocks and micra rear lowering springs minus 2 coils....
But that's because you went cutty on your springs
Magpie42
Actual Magpie.
Nice, that'll save me £40 and a load of time
Nooooo....quite the opposite, Prince Stuart....you will go through the time and effort to do 40mm lowage then, approximately one day later, you'll look at the arch gap and think "needs moar lows"...and it begins again...
Tried wiring in my March tail clusters today. I spent ages labeling the wires on the original loom, making an adaptor loom, only to find that when when I hit the brakes both the rear/brake light and the indicator comes on at the same time. Indicator by itself works and flashes as it should. I can't figure it out at all 
@Clodo How much F-ing around did you have to do before you got yours working? Did you have the same issue?
I'm sure the red light has two +ive wires for the rear lamp and the brakes. The brake wire isn't even going to the indicator bulb, so I can can only assume it's something to do with the ground wire, but I'm sure that's correct as I eliminated that as a signal wire of any kind.
I'm sure the red light has two +ive wires for the rear lamp and the brakes. The brake wire isn't even going to the indicator bulb, so I can can only assume it's something to do with the ground wire, but I'm sure that's correct as I eliminated that as a signal wire of any kind.
Thanks Clodo (^_^ )
I'm going to try and have another stab tonight. I bought some block connectors so it's easier to swap the wires around. Last night I was twist-taping whilst testing, which was cumbersome and it kept breaking. I'll also try and get my better half or brother to help out, as I was having to press the brake pedal with a mop so I could see whether the light was turning on or not!
I'm going to try and have another stab tonight. I bought some block connectors so it's easier to swap the wires around. Last night I was twist-taping whilst testing, which was cumbersome and it kept breaking. I'll also try and get my better half or brother to help out, as I was having to press the brake pedal with a mop so I could see whether the light was turning on or not!
i could always give you a hand mate if you needed any help doing itThanks Clodo (^_^ )
I'm going to try and have another stab tonight. I bought some block connectors so it's easier to swap the wires around. Last night I was twist-taping whilst testing, which was cumbersome and it kept breaking. I'll also try and get my better half or brother to help out, as I was having to press the brake pedal with a mop so I could see whether the light was turning on or not!
Cheers mate. I won't be finishing work until 7:30 tonight, so I'll try one last time and see how it goes. If you're free Saturday morning, we could try then (assuming it doesn't work).
ok mate
March clusters won't work....
...because it's June..
I think that's quite possibly you're best dum sentence yet
OK THE MARCH LIGHTS ARE FITTED AND WORKING!
Thanks to @Jamie Sykes and his mate, we were able to figure out that the ground wires were incorrectly matched to the cluster, causing a whole manner of problems. We were trying to sort it out whilst parked in a busy street in Cheltenham with a traffic warden making his way down the row of cars so we had to act fast. In the end I went home back to Gloucester and kept looking, armed with the knowledge of which wire was ground (the black one - duh...). I used a multimeter I borrowed off Jamie to work out which wire did what, then worked from there.
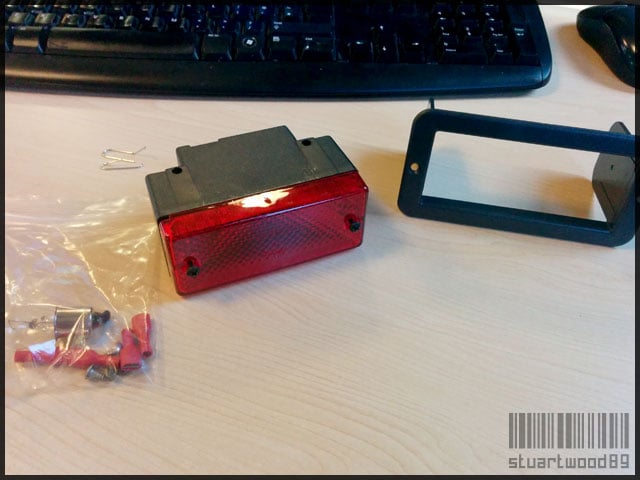
Here's the foglight I'll be using. It's supposed to be for a Mazda Bongo It'll be mounted into the bumper at some point:

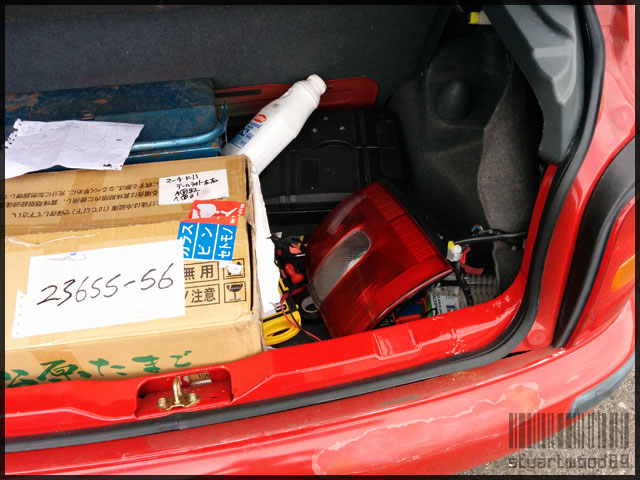
Working on the wiring in the back of the car:

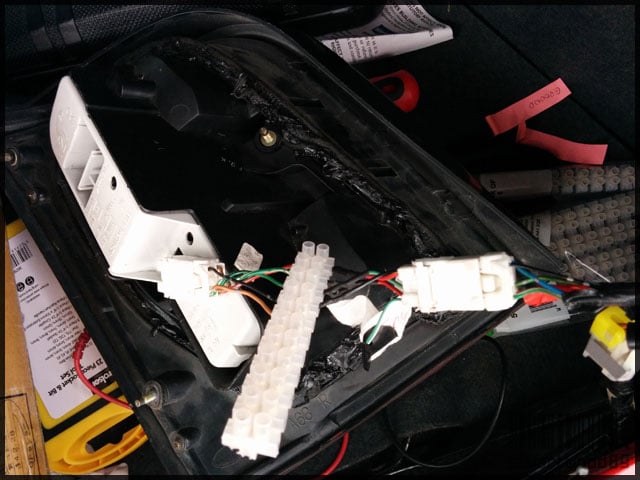
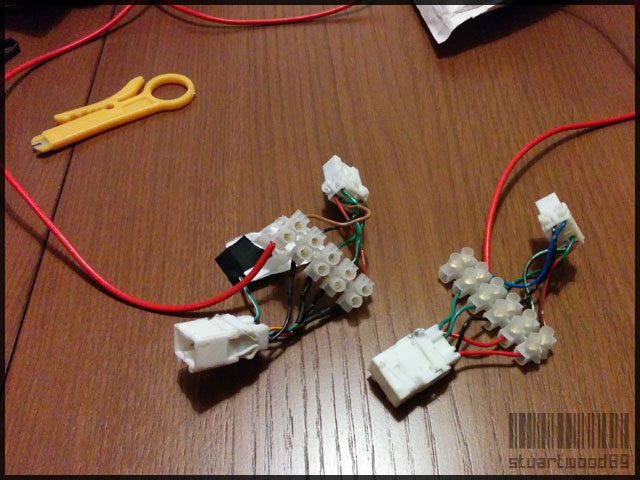
I used connector blocks to attach the looms together, as it was easy to swap wires around if they weren't quite right.

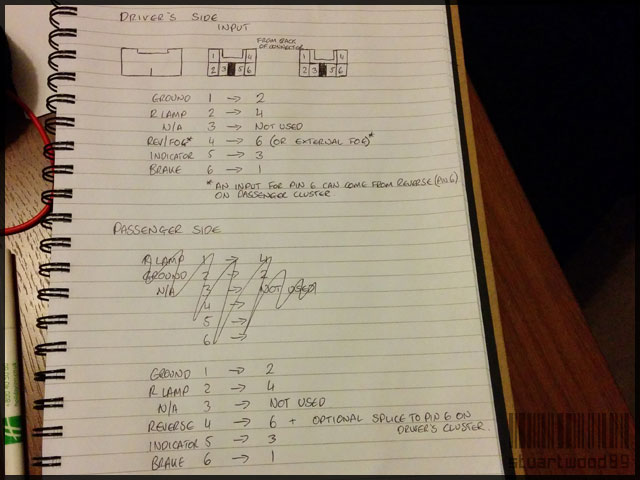
These are the notes I took down whilst putting to all together:

The resulting harness adaptor before soldering. The red wire connects the reverse light on the passenger side to the lamp on the driver's side:

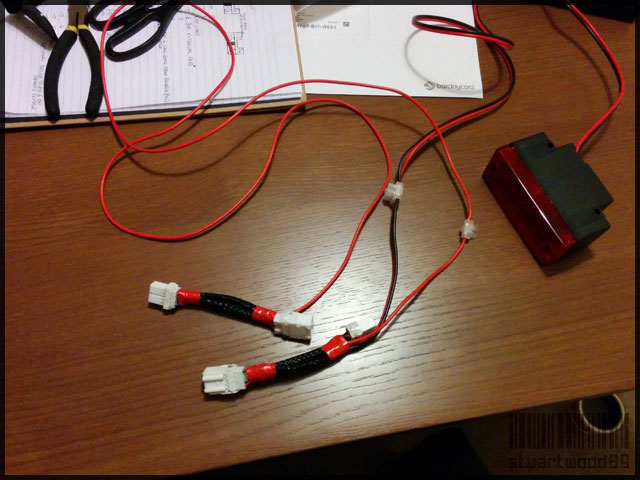
All soldered up and sleeved. I used block connectors for the wires to the foglight and driver's reverse light to act as a disconnect in case I need to take one part out for some reason. I'll replace those with a better solution when I find one:

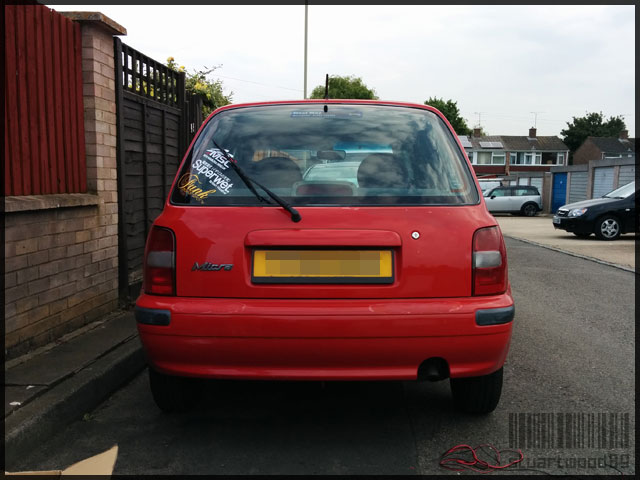
And here they are fitted to the car:

The passenger side one isn't properly flush, probably due to the sealant residue. I'll figure out something to use as an alternative and refit when possible.
Both reverse lights working:

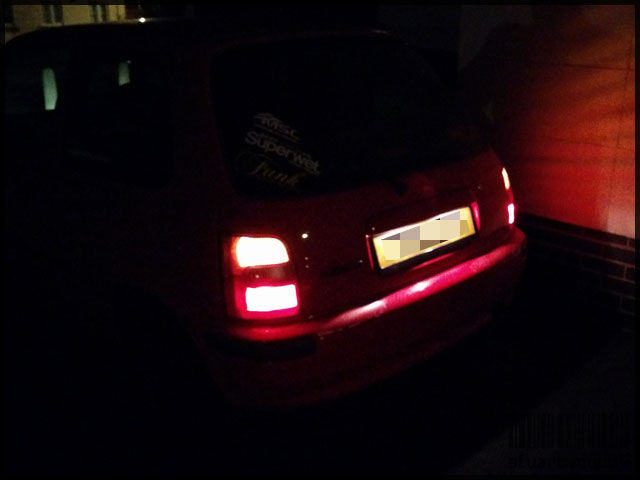
At night:

Was a tough job but we got there in the end!
Thanks to @Jamie Sykes and his mate, we were able to figure out that the ground wires were incorrectly matched to the cluster, causing a whole manner of problems. We were trying to sort it out whilst parked in a busy street in Cheltenham with a traffic warden making his way down the row of cars so we had to act fast. In the end I went home back to Gloucester and kept looking, armed with the knowledge of which wire was ground (the black one - duh...). I used a multimeter I borrowed off Jamie to work out which wire did what, then worked from there.
Here's the foglight I'll be using. It's supposed to be for a Mazda Bongo
Working on the wiring in the back of the car:
I used connector blocks to attach the looms together, as it was easy to swap wires around if they weren't quite right.
These are the notes I took down whilst putting to all together:
The resulting harness adaptor before soldering. The red wire connects the reverse light on the passenger side to the lamp on the driver's side:
All soldered up and sleeved. I used block connectors for the wires to the foglight and driver's reverse light to act as a disconnect in case I need to take one part out for some reason. I'll replace those with a better solution when I find one:
And here they are fitted to the car:
The passenger side one isn't properly flush, probably due to the sealant residue. I'll figure out something to use as an alternative and refit when possible.
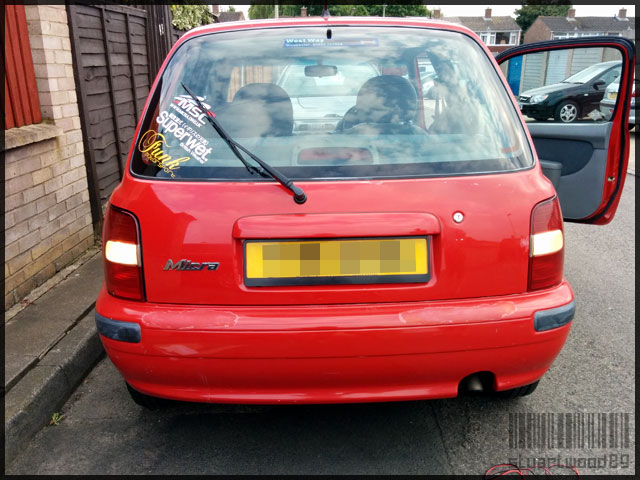
Both reverse lights working:
At night:
Was a tough job but we got there in the end!
Oh nearly forgot. Here's a text version of my notes, in case of broken image links etc (I hate those!)
Below is a diagram of the back of the male cluster connector (the side the wires go in)
______________
|[1]|______|[4]|
|[2][3]||[5][6]|
----------------
If you're making a harness adaptor like me (which I recommend as it makes reverting to stock easier), then you should have a male and female connector. You can get the male connectors from any K11 Micra, but the female connectors are only removable from pre-facelift K11s, as the facelift and above have the connector moulded onto the cluster housing. The wires may be different depending on the age (and phase) of your Micra, and the cluster type you're using, but this covers facelift March (see also: Cabriolet) lights onto a '99 first Facelift UK K11.
The diagram above shows pins numbered 1-6. These aren't numbered like this by Nissan, I just numbered them like this myself for reference. If you're looking at the back of a male connector, hopefully you'll see the resemblance. If not, then you probably have the wrong connector
The list below will show pin translations from the input (so the male connector attached to the car that originally powered the stock clusters), and the output (the male connector on the adapter itself that will plug into your March cluster)
On the driver's side the pin translation is like this:
_______|_INPUT_|_OUTPUT_|
-------+-------+--------|
GROUND_|___1___|___2____|
R LAMP_|___2___|___4____|
N/A____|___3___|__N/A___|
REV/FOG|___4___|___6*___|
SIGNAL_|___5___|___3____|
BRAKE__|___6___|___1____|
Passenger side pin translation:
_______|_INPUT_|_OUTPUT_|
-------+-------+--------|
GROUND_|___1___|___2____|
R LAMP_|___2___|___4____|
N/A____|___3___|__N/A___|
REVERSE|___4___|___6*___|
SIGNAL_|___5___|___3____|
BRAKE__|___6___|___1____|
* Pin 4 can either connect to pin 6 on the output (if you plan to have a red bulb as a fog light in place of a symmetrical reverse light), or you can run a cable from pin 4 (input) on the passenger side into pin 6 (output) for dual reverse lights. If you opt for dual reverse lights, then you can take the wire from pin 4 (input) and wire this to an external foglight, then splice the ground for that light into the ground wire (pin 1 input).
I hope to god that makes sense, please let me know if not.
Last edited:

