• Please only use these forums for blogs, they are not a discussion forum

Jen's K12 Sport+ Turbo

*Cough* Diesel *Cough* :p

Well...I got an alert a week or two ago, telling me that I'd been here a year....a whole year! and I've no thread dedicated to my baby :O *gasp*

okay, so I'm no modder...she's never going to be ridiculously lowered on eibach springs, with some outrageous exhaust system and "19 spinner rims with rubber band tyres :oops:
...but...I still do little bits and bobs that other K12 owners may find handy to know about. ;)
I've made nearly 1,900 posts (at time of writing) and more than half of those are probably pointless...so I'm going to put the useful ones here, in one place....with shiny, shiny pictures... in most cases ^_^


The car
-------------------------------------
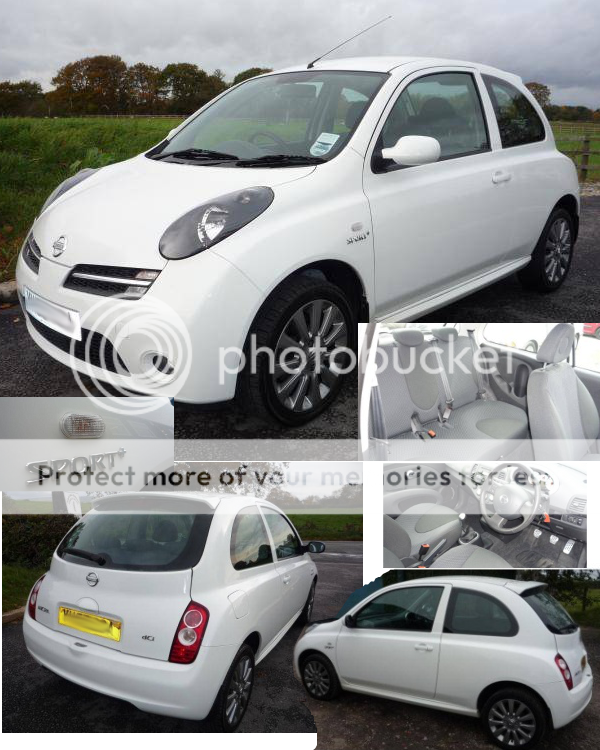
a selection of photo's by the seller (late 2009)
MYcaroriginaladvert_zps53368256.png


-----------------------------------

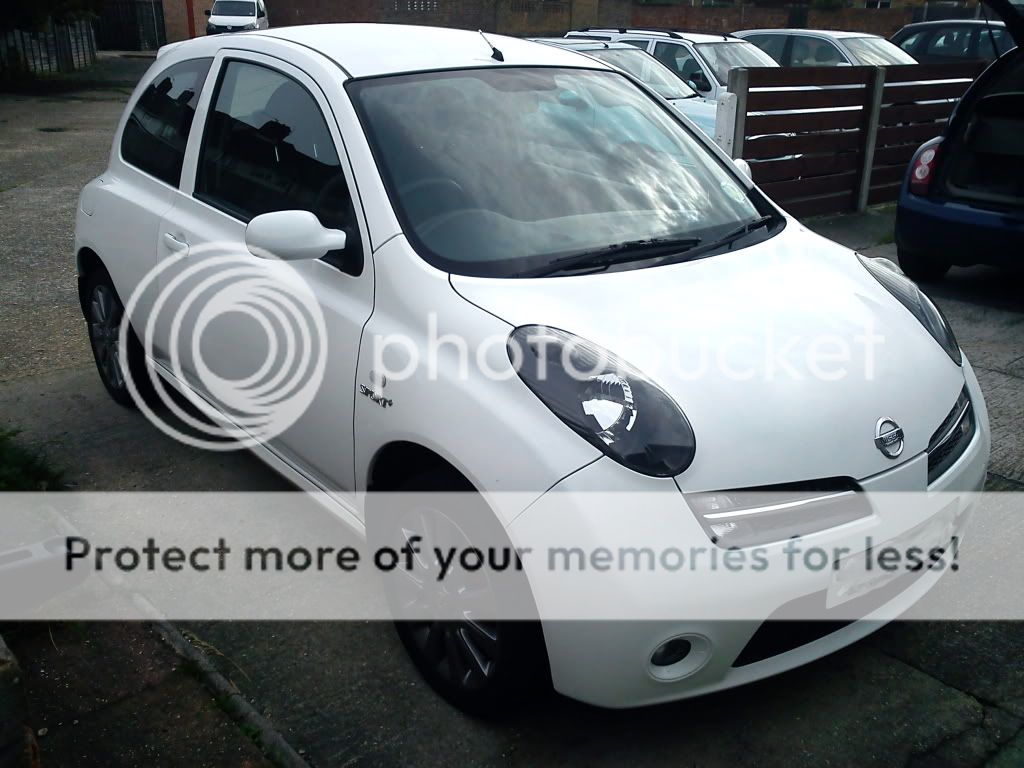
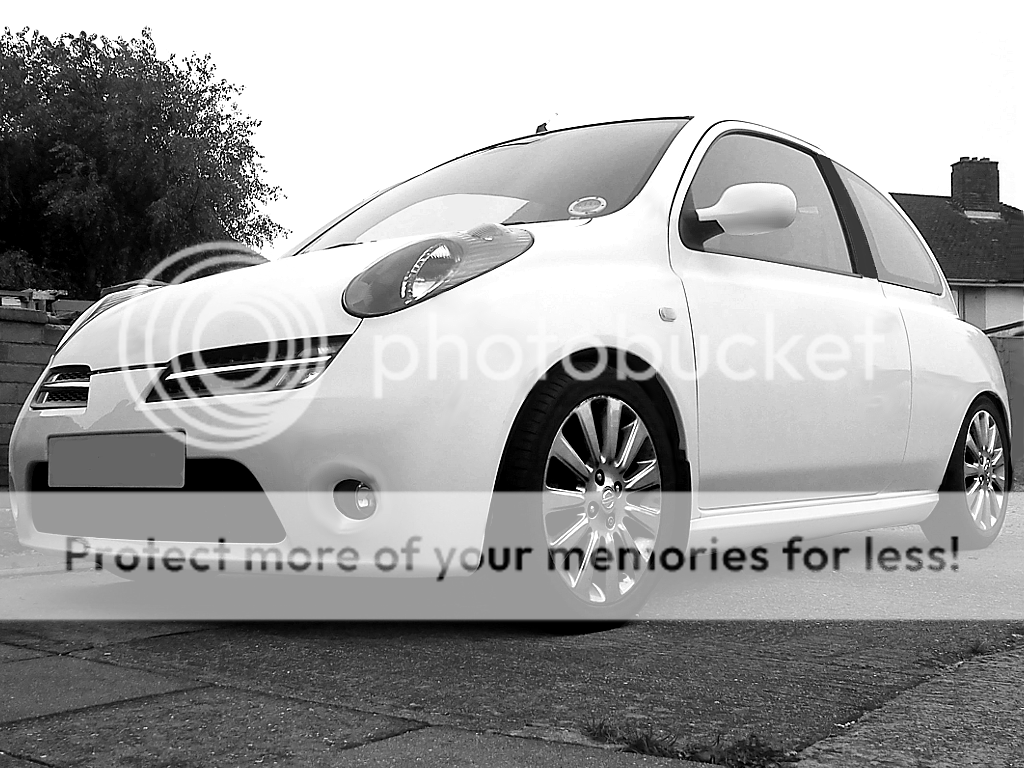
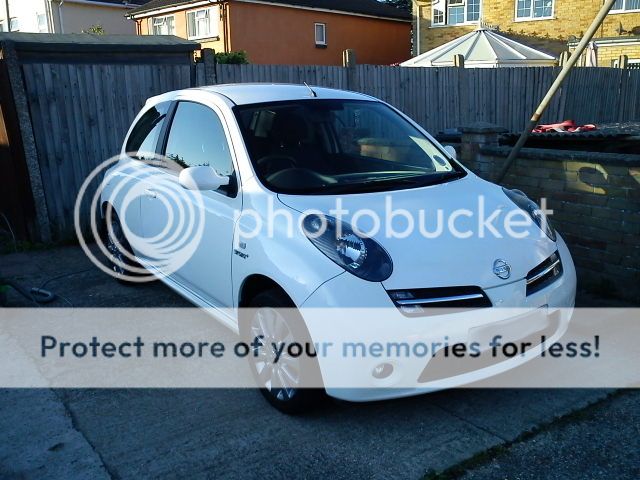
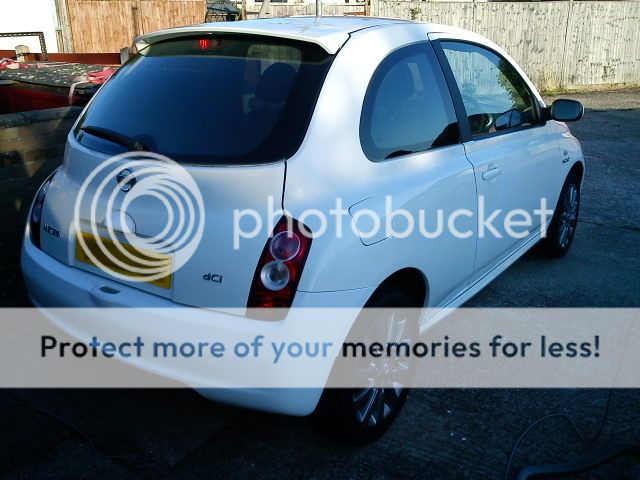
2005 (55)
3-door
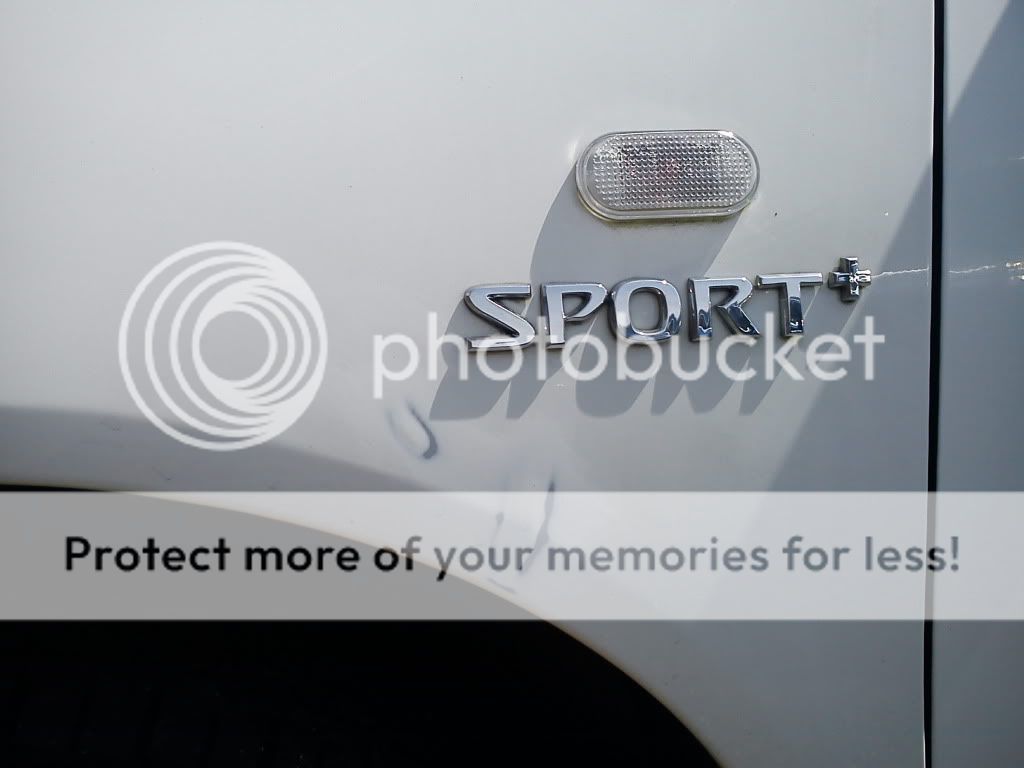
K12 Sport+
1.5 Dci (82) 1461cc
Nissan Arctic White (326)
119g CO2/Km (Band C, £30 Road Fund Licence)
Easily achieving 65MPG

I bought her from a Trade seller *shudders* in Poynton, near stockport in Cheshire
Part exchanged my 1997 (p-reg) White K11...for £600 off the almost £5000 price tag
...this was almost 4 years ago remember
She was actually advertised as having the 86hp engine, which would have been Tax band D, so I nearly didn't bother with her :O
...thank goodness for "My car check", eh?

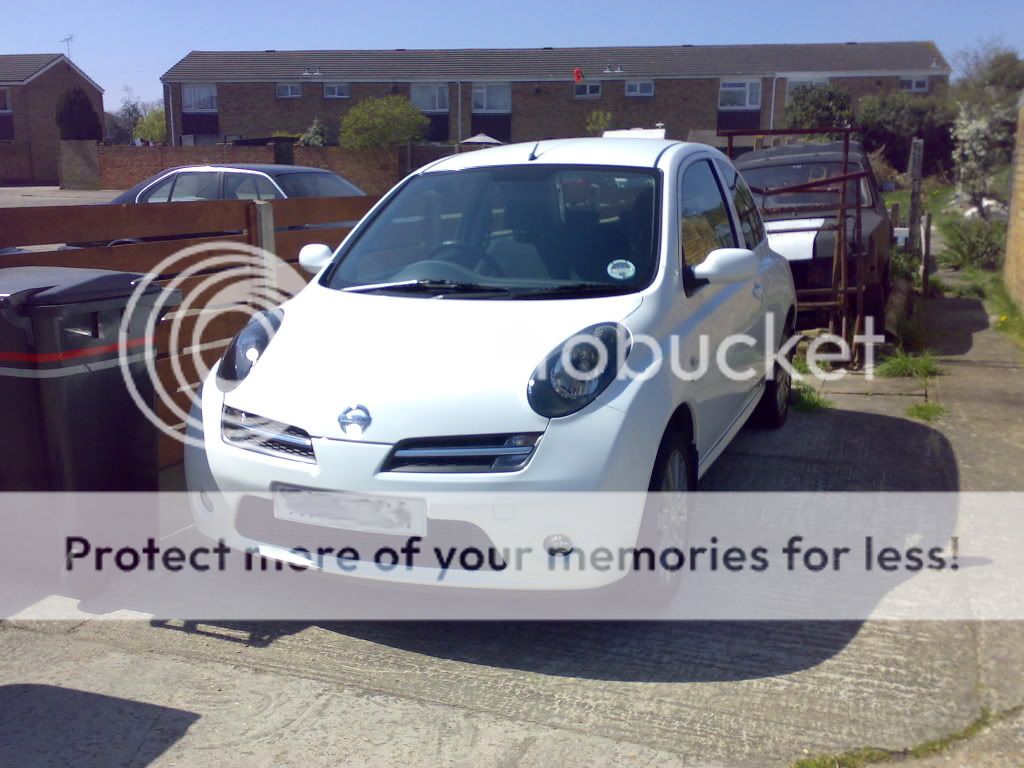
..The earliest photo I have as the owner was taken in April 2010.

23042010274a.jpg


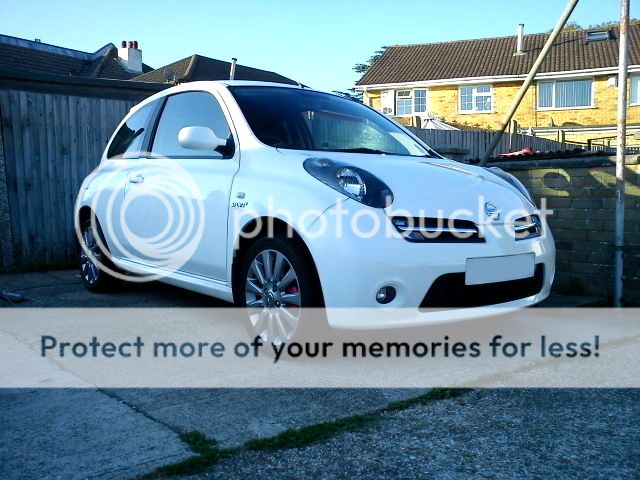
Latest Photo: 3rd August 2013


DSC00583a_zps8e6bc7d9.jpg


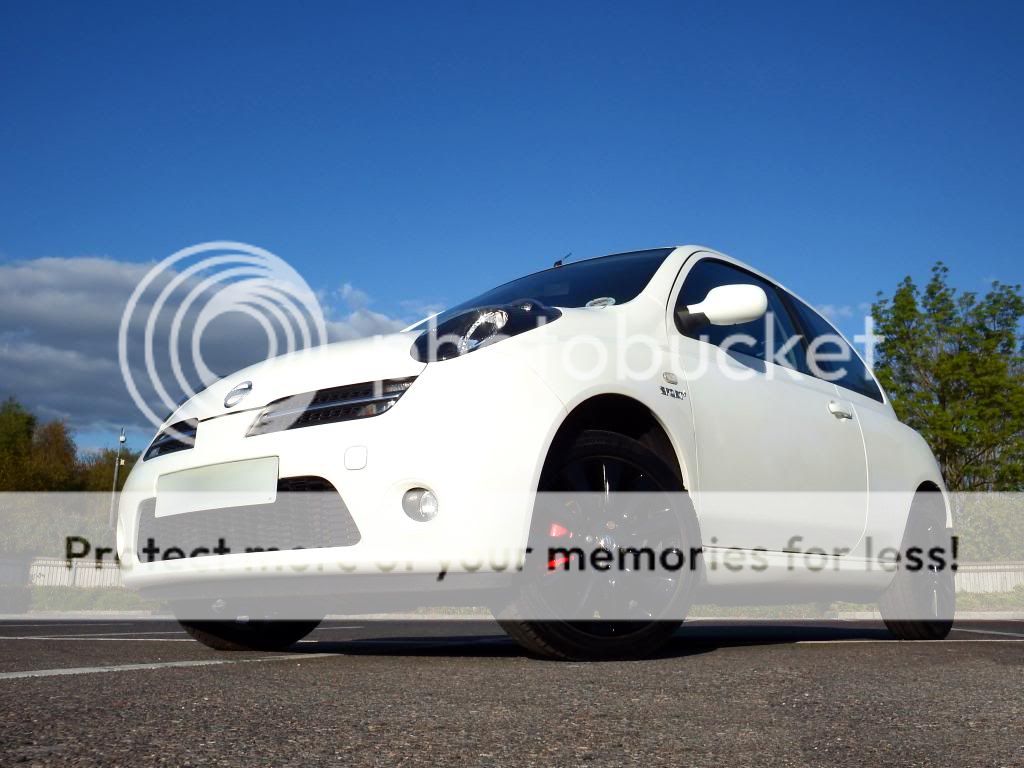
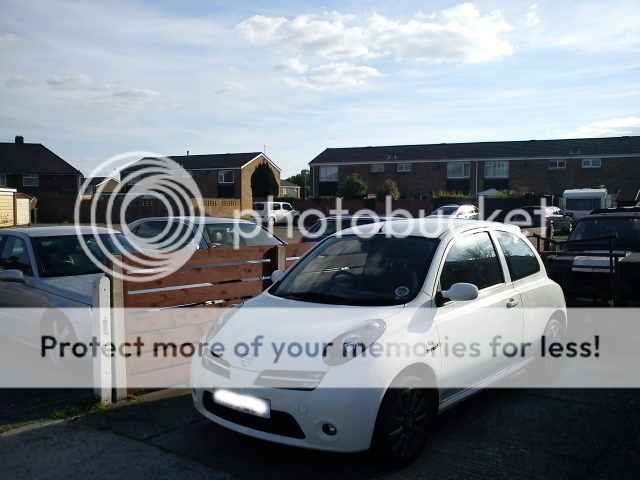
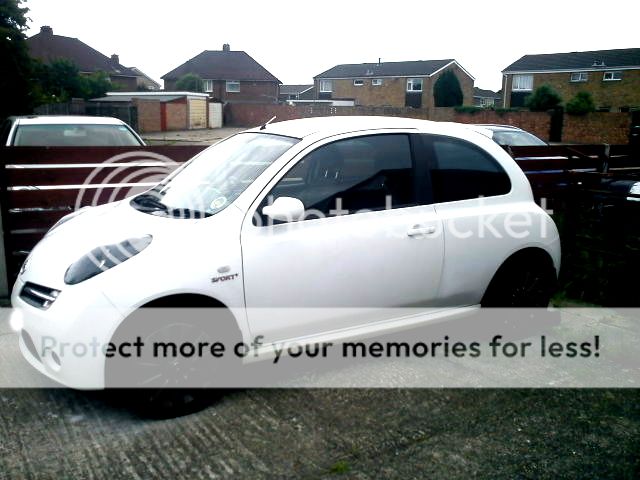
New photo: 19th April 2014

DSCF0019a_zps64b7a39b.jpg


to be continued....
 
Last edited:

ETA: Aww you guys! :p

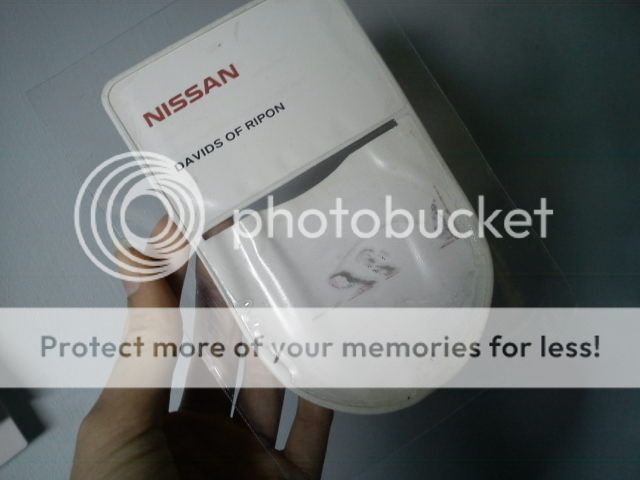
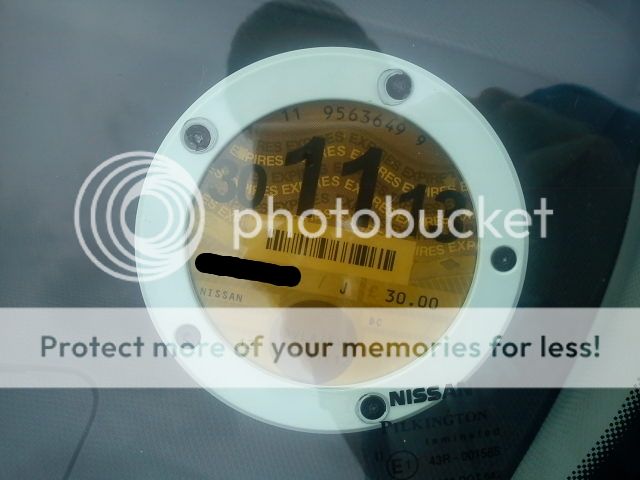
First Job was to change the skanky (Original Nissan) stick on Tax disc holder for a sexy alloy one...Glossy White, to match the car of course

I picked it up at Halfords for £12...well she was the newest, shiniest, car anyone in my family had ever had, she deserved the best.

I carefully peeled off the old plastic holder and stuck it onto a piece of plastic I had lying around, I still have it in my cars folder of stuff (where I keep the V5, MOT and insurance stuff)

Using Methalated spirit I cleaned the area of the window thoroughly.
Putting the new one on the window, I cheated... :p
I opened up the back, put in the tax disk and then screwed the back on again, before putting the little glue dots on the front of the Alloy holder and pressing it firmly into place, holding it there for a minute or so...

...still holding strong nearly 4 years later ;)

ETA:
DSC00587_zps0888e53a.jpg

http://i189.photobucket.com/albums/z110/Sai_art/Car/DSC00588_zpse4a9baef.jpg

DSC00589_zpscf25b12c.jpg

http://i189.photobucket.com/albums/z110/Sai_art/Car/DSC00590_zpse2453626.jpg

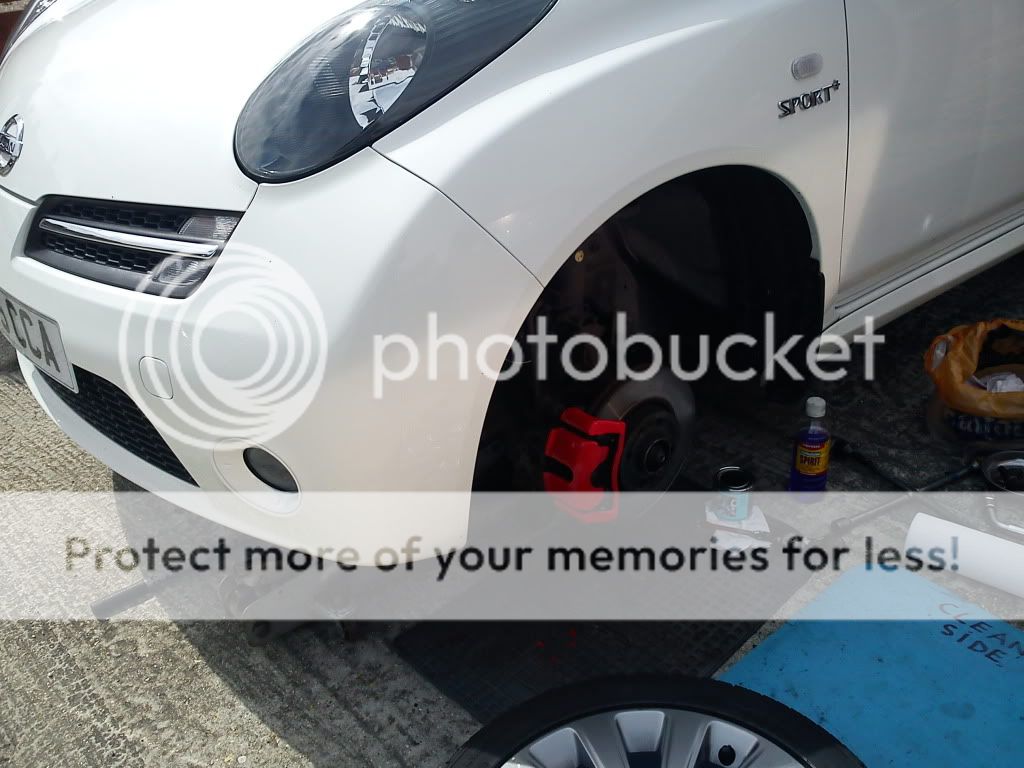
Of course not long after the first picture was taken I painted the Brake Callipers red, of course,
I took off the wheels...scrubbed the calliper with a wire brush and cleaned it thoroughly of brake dust and grime...
Using Halfords own Calliper paint, and a fine bristle brush, I carefully painted the callipers. It took two coats to get a really good density of colour and lovely glossy shine.

This I have pictures of :p

DSC00049.jpg


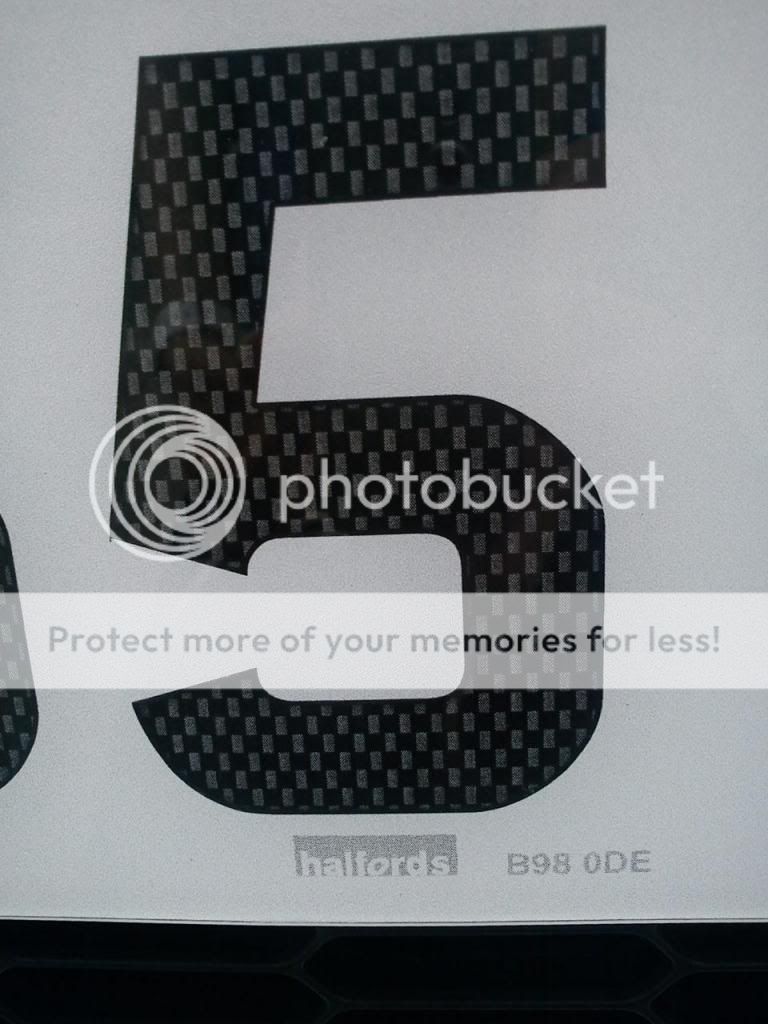
Another thing I did shortly after I got her home was order a set of Number plates with Carbon effect lettering...again from Halfords...they had to be sent off for, so took about a week to arrive...took another year before they were on the car *facepalm*

ETA:
DSC00620_zps75f4b5a7.jpg

DSC00619_zpsc4d72e85.jpg
 
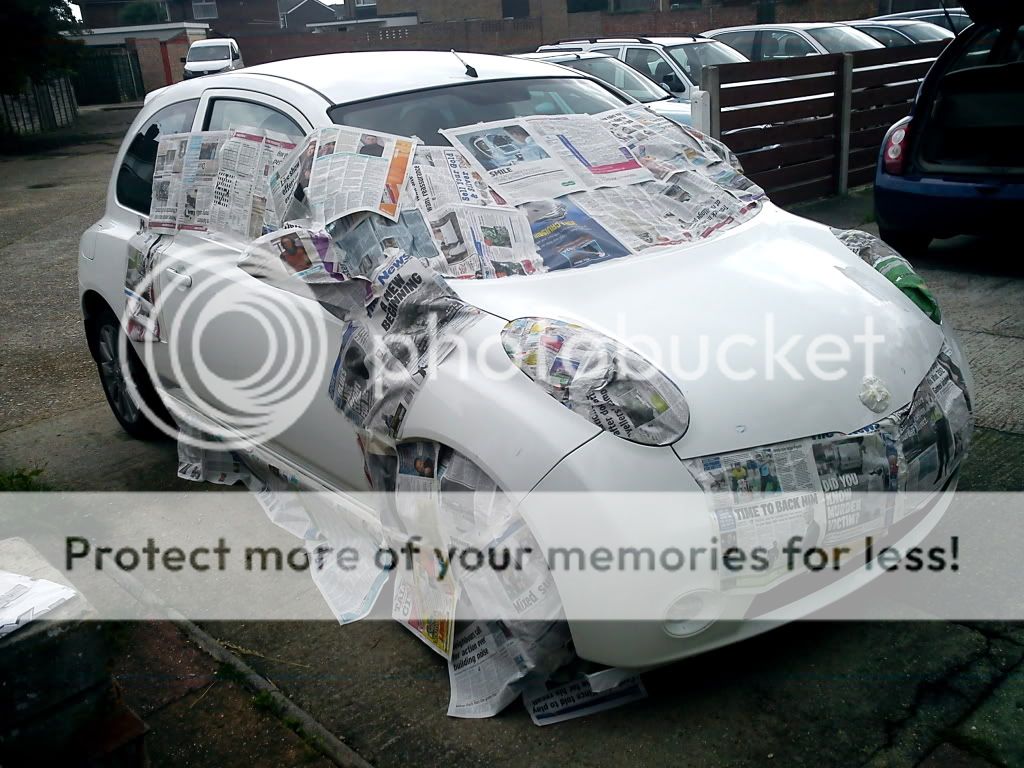
For some reason...I got it in my head that I could sort out all the many chips and scratches in the paint...I never got any "before" photo's as when I started "fixing" (ruining) my paint I had never even heard of the MSC :oops:

any way...I got a paint chip repair kit...and went at it...unfortunatly by the time I'd finished cleaning, rubbing, priming and painting all areas of the car with this kit, it was painfully apparent that I didn't have a clue what I was doing :(

so after a while...I tried again...this time with spray cans #suckerforpunishment LOL

EG:

DSC00114a.jpg


DSC00117a.jpg


DSC00112.jpg


DSC00134.jpg


...not only did I not really wet and dry back properly between layers...I didn't use enough paint, so didn't get the coverage I needed
that and I'm pretty sure that my car was in a vinyl wrap for the first 4 years of it's life (ex-estate agents car) and has possibly been "mopped" so the paint I have is super thin and discoloured (cream..ish instead of crisp white) so the bit I ahven't attacked are still not the right colour anyway <_<

so she is now, pretty much, 50 shades of white *facepalm*
 
Don't shoot me down for this.....

After meeting you I am shocked that you diy

LOL...I did the callipers, paint (ruining), trim stuff (which I'll get to soon) and tax disc all myself...
My dad helped me double check the placement of my new number plates...but I put the sticky tape on and stuck 'em down
I can change my own wheel, and have done so
...although they are pretty heavy...I must admit that's one thing that was alot easier on the old K11 and K10 I had :rolleyes:
I can also change my own air filter (piece of piss)
I haven't changed my oil and filter on my own yet, dad has always helped so far
....mostly as when I do go to do it myself he says "hold on...do it like this"
...and that's it...he's doing it :rolleyes:
 
I think it was in June 2011 that I won a set of my "16 alloys on ebay 4 wheels, each in good condition, 3 with tyres and 20 brand new wheel bolts and 4 new centre caps
So £145, and a nice drive down to Exmouth later, I now have 8 wheels, 4 on the car, oddly enough, and 4 piled up in the conservatory ;)

Because I'm obsessed by this point, you may have noticed, can't be sure :p
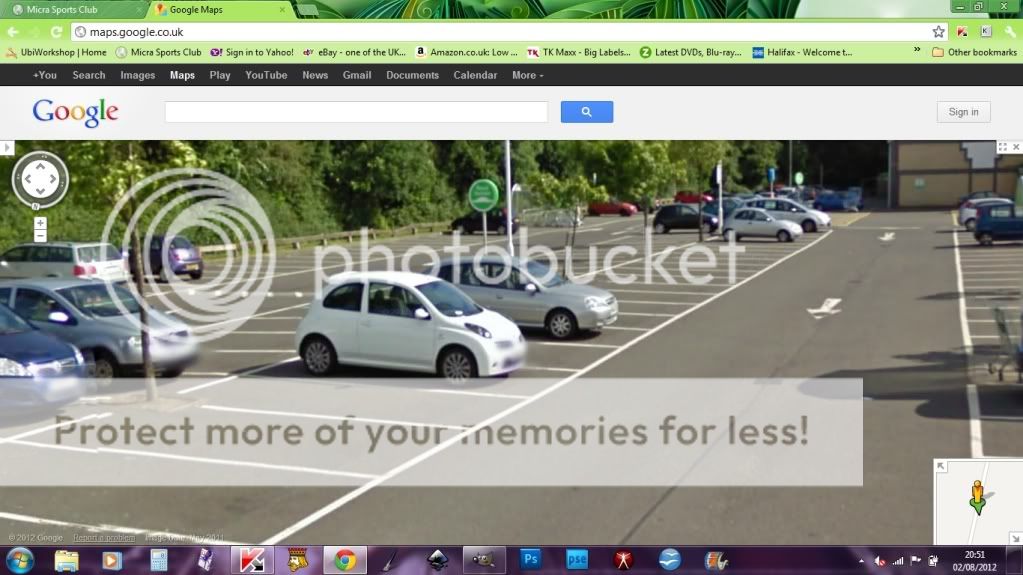
I joined this site....and I found my baby on Google maps LOL

>>>My first post


mycarGoogle_maps2.jpg


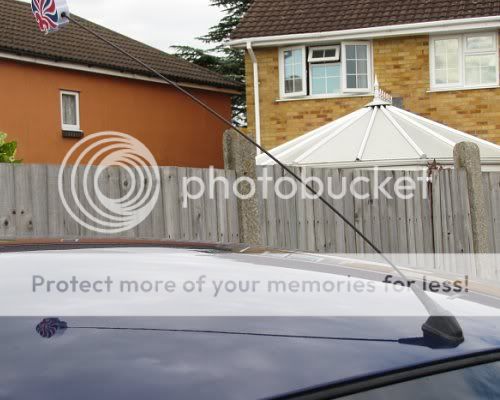
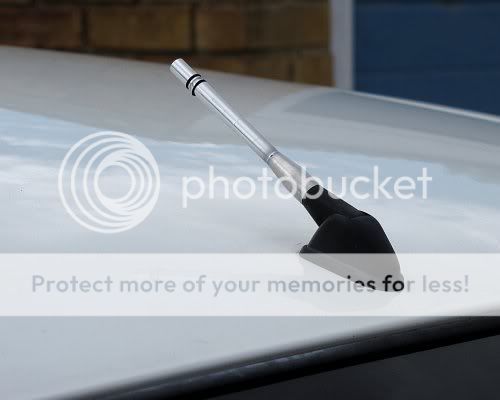
ETA: I also changed my aerial from the original one...that used to hit the roof when I went over rough ground...to a lovely little sliver bee sting style one... 83p +vat ;)

Original, as on my mums SVE
mumsaerial.jpg


Shiny new one
myaerial.jpg
 
A few times now my Airbag warning light has started flashing <_<
The first time it happened, of course, I panicked, and took her to Nissan...and was £30 lighter 15 minutes later :rolleyes:

anyway I later discovered a resetting trick on another Nissan forum...as follows:

First turn off the radio and switch the ignition off.

Then…

1. Turn the ignition from off to on.

2. The airbag warning light will stay on for approx 7 seconds, as soon as it goes off (within 1 sec) turn off ignition.

3. Wait for more than 3 seconds.

4. Repeat steps 1- 3 two more times.

5. Turn ignition switch back on again.

Now turn off the ignition for at least one second and then back on.

This should now have reset the light. If the light comes back on again then it would be fair to say that you have an airbag fault.


I found that it took more than 3 goes to reset it, more like 7...

After I'd had it sorted I spoke to the technician and they told me that the loom under the passenger seat is identical in the 3 and 5 door models
...of course the 3 door models seats move forward, unlike the 5 door's seats that don't need to
...so this wire is not really long enough... <_<
Now when I need to put something on the back seat I either slide forward the drivers seat or just tilt the passenger one ;)

-----------------------------

....I think now would be a good time to mention the "Anti-Hijack" settings too

If, when you unlock your K12 with the remote fob button, the Passengers door and Boot lid don't unlock with one click your car is in "Anti-Hijack" mode.
this is a safety feature incase you're worried about somebody following you, or being sat at the lights you don't want someone getting in your boot etc...
you can also lock all the doors from inside the car using the little button next the the handbrake

To return it to "Convenience mode" (ie: all the doors unlock at once)
...simply hold down both the lock and unlock buttons simultaneously for about 10 seconds...and the same to get it back again ;)
 
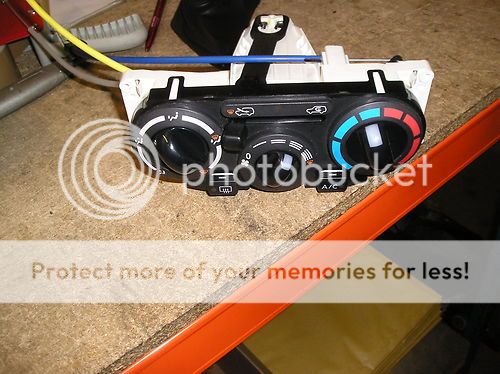
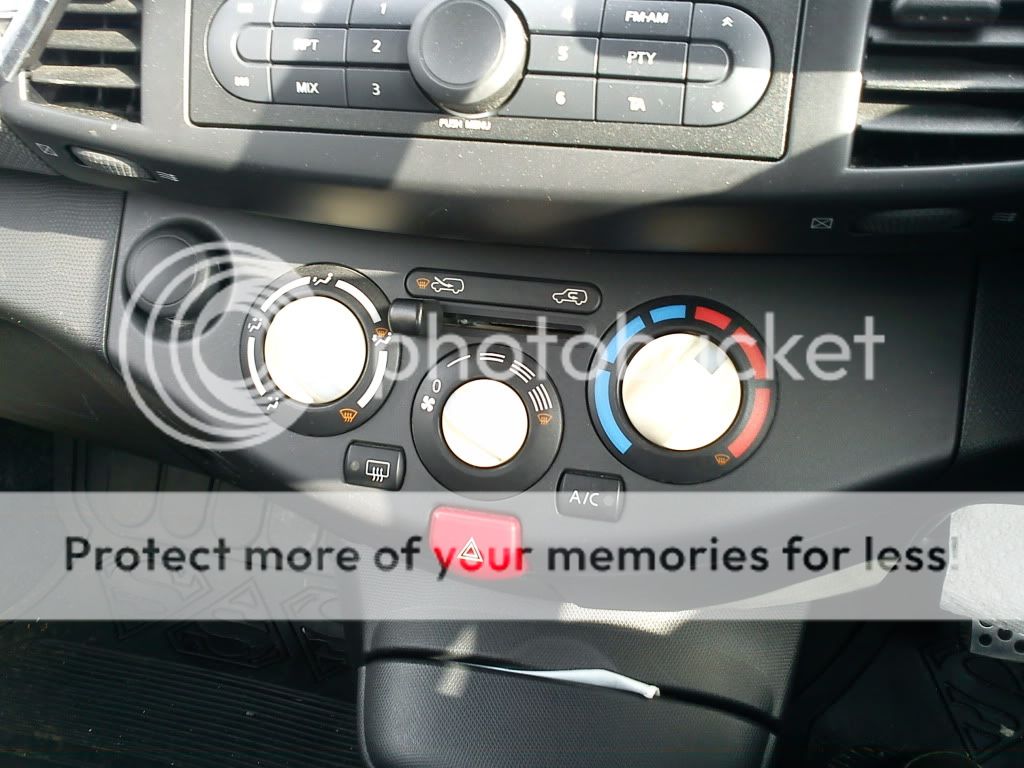
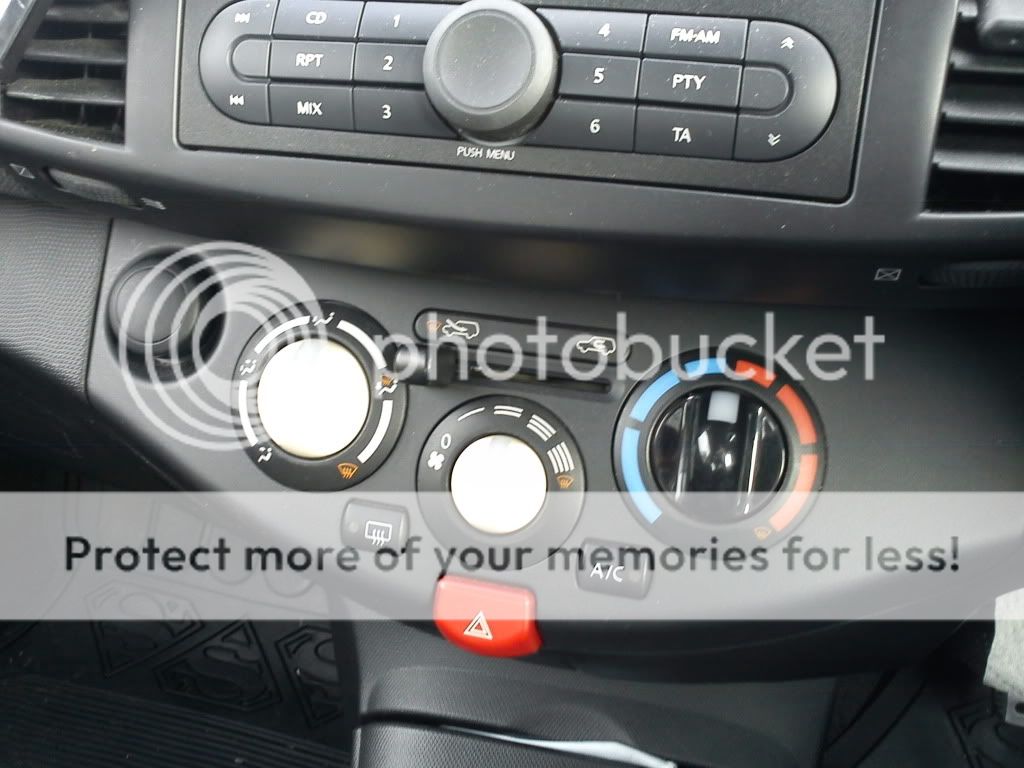
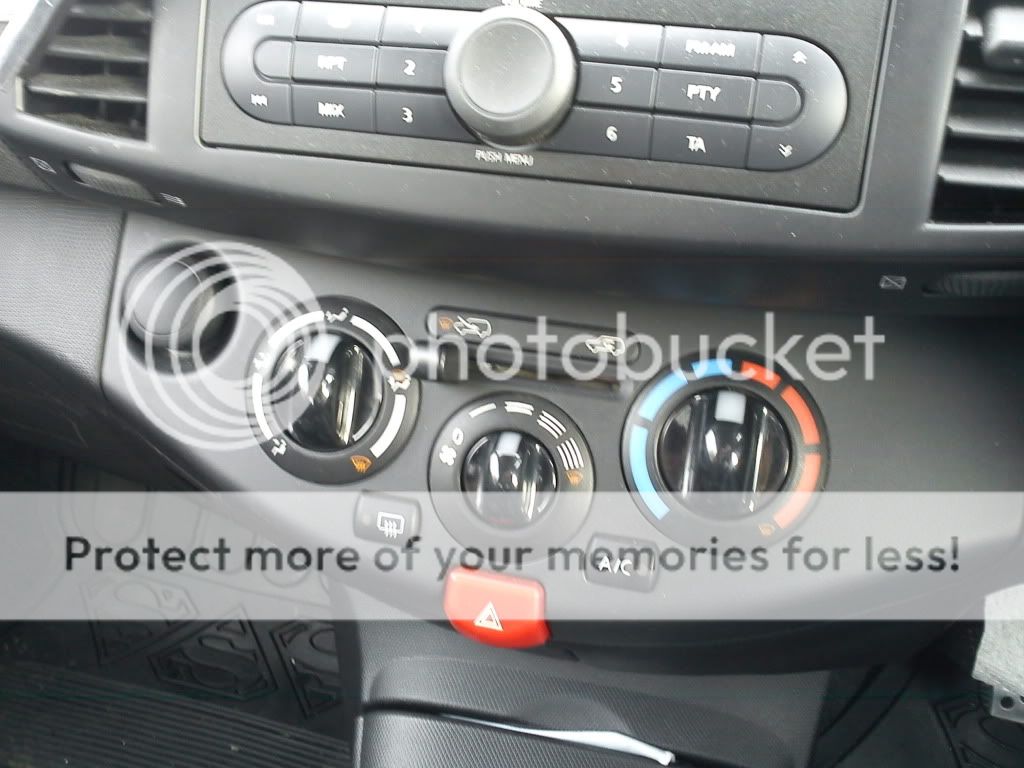
Back in February (2013) I found a K12c heater control unit on ebay...It has Black Kn0bs and Mine had the White/Cream ones.
I had called Nissan to get a quote for the little plastic kn0bs, which they do sell seperately, They wanted £17...+VAT....for EACH KN0B!!!! :O
so I got a whole unit...for £20 +£3 post

KGrHqRHJBIFEUG7NT9BRHSvzzb5w60_12_zps2218a5e3.jpg


Okay...here goes...
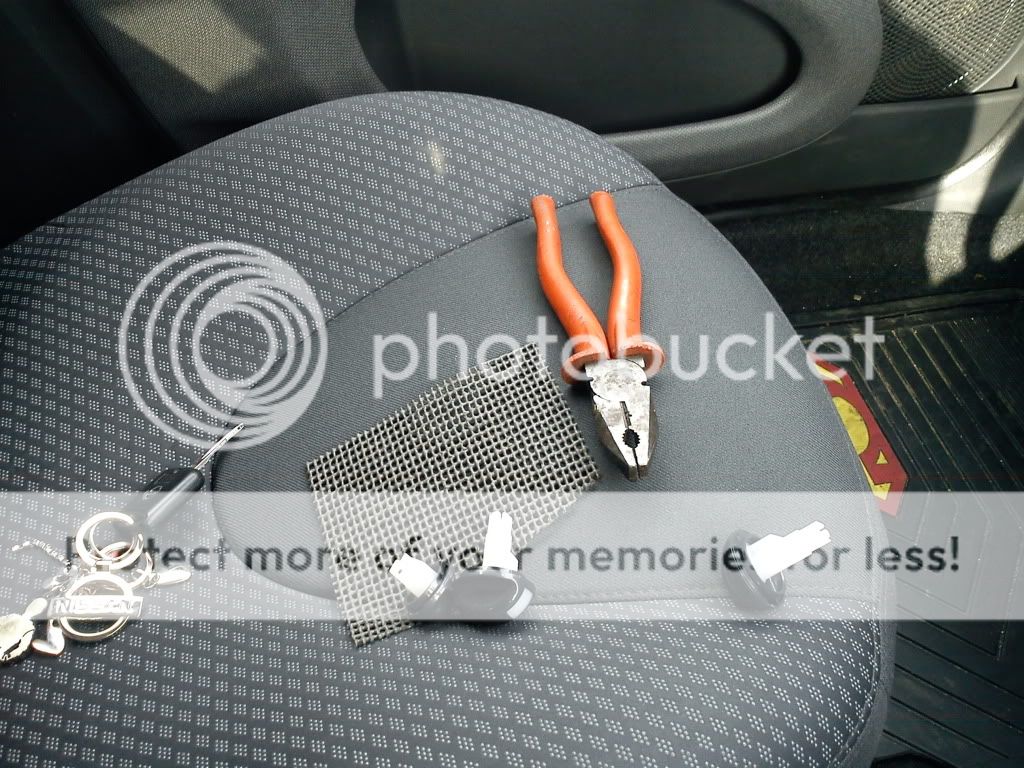
tools...: a piece of rubber non-slip mat for grip and cushioning, the hugest pair of pliers a girl can lay her hands on :p
DSC00326_zpsac48d019.jpg


...and 3...
DSC00327_zps4b59f9b1.jpg


...........2...
DSC00328_zps4447014d.jpg


..........1...
DSC00329_zps2f729f82.jpg


TA DAH!!!
DSC00330_zps29531b53.jpg
^_^

...a note to my fellow K12 owners...doing this is a piece of piss, however...if you wanted to go the other way (from black to cream/white)
...you will have to modify/cut the fixing prongs on the centre/small dial, as they are much longer and will not sit right back on the K12c heater unit.
...(you'd have to change the whole unit not just the kn0bs ;))
 
I've changed/swapped a couple of my interior trim panels over the last year
I got a selection of goodies from my favourite scrap yard in the Summer of 2011 :p
included:
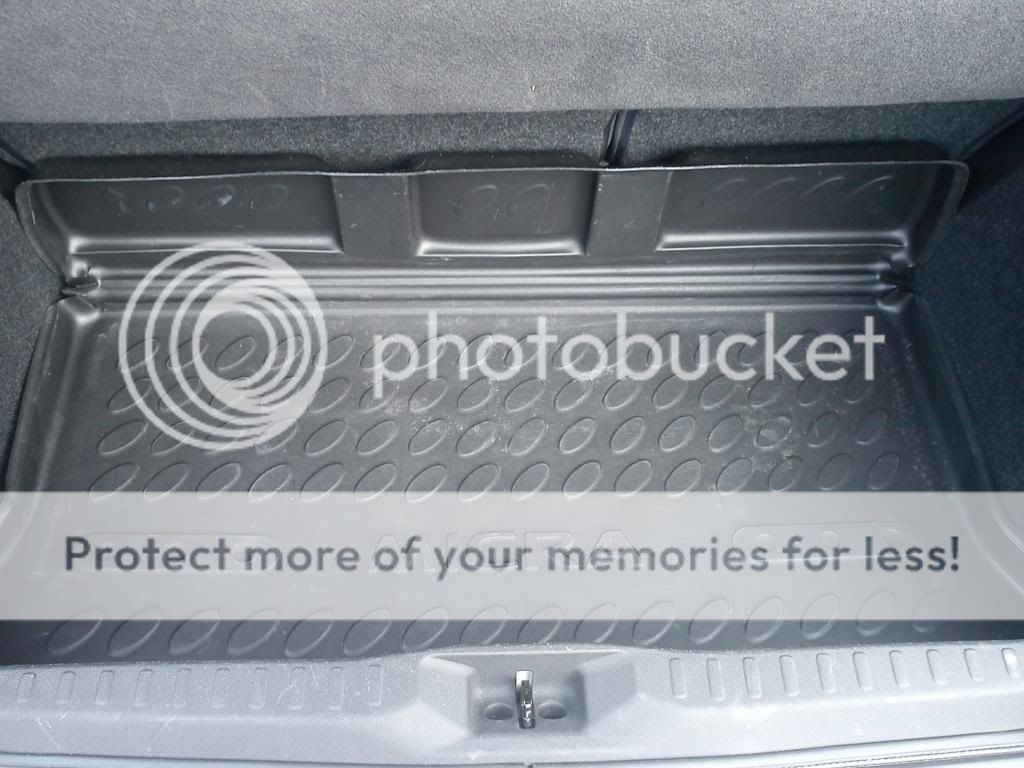
  • Boot lid trim
  • O/S rear trim (c-pillar)
  • N/S rear trim (c-pillar)
  • boot "Nissan" badge
  • "Spirita" badge
  • Under seat storage box
  • the larger 2 of the heater control dials (Cream/White)
  • 4 silver interior door handle surrounds
  • Parcel shelf (with extra flap)
  • handful of fuses
all for £50 cash :p
------------------------------------------
anyway, my c-pillar trims both had nasty scratches in them, as did the boot and the glove box lid has a few too
as I mentioned before my car used to be an estate agents' :rolleyes:
I can only assume they used to shove the big wooden for sale/to let signs in my car, scratching up the plastic <_<

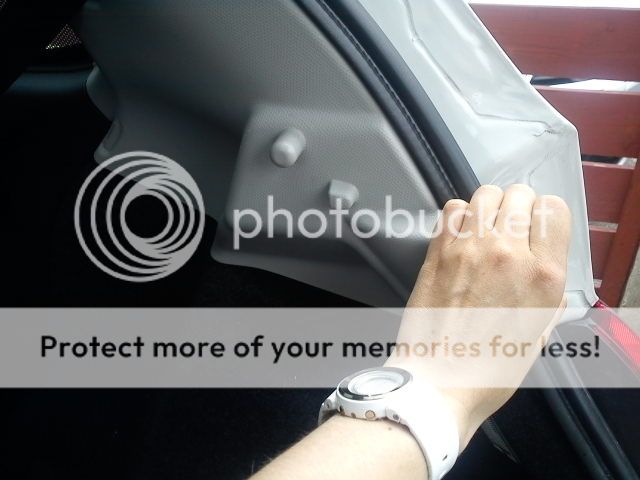
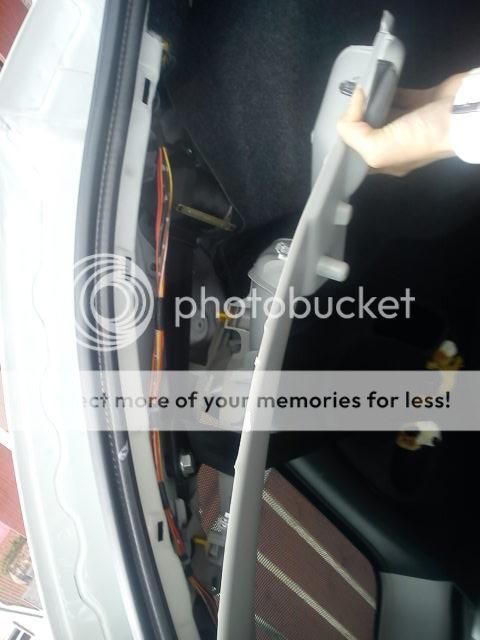
To take off the c-pillar trims open the boot, slide the rear seats forwad as far as they go...undo the bolt holding the end of the seatbelt (folding the seat down can make this easier)
http://i189.photobucket.com/albums/z110/Sai_art/Car/DSC00602_zps38aae023.jpg
using an adjustable spanner is not advised...I tried it...it didn't work use a 17mm spanner

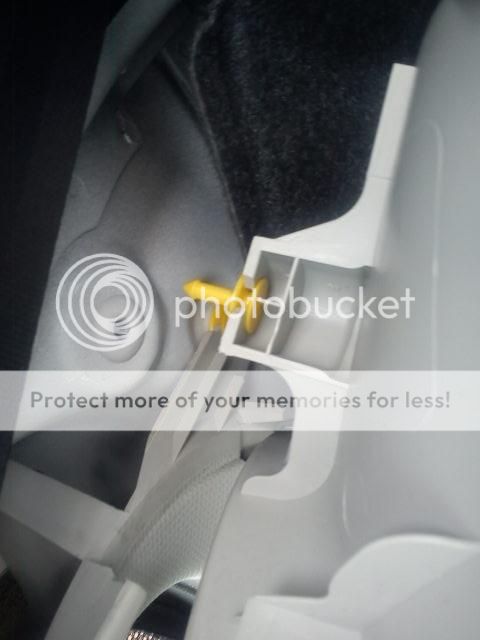
...to get the trim away from the car all you have to do is pull...there are a few locating clips and a few clips that actually hold it in place...it may take quite a tug! ;)

DSC00601_zps28b6b1cd.jpg

DSC00598_zps987bdab1.jpg


once you've got that panel away, slot the end of the seatbelt though the gap....then fit the new one in reverse
DSC00599_zps52d816bf.jpg


do be careful when re-fitting to line up the connecting clips just right...My dad "Helped" me out when I changed the second trim...and it kept popping out, as one of the locating clips had gotten bent when he'd whacked it into place...

DSC00597_zps44e31187.jpg


Taking off, and putting on the boot lid trim is very much the same, I did find that a few of the clips may get stuck in the metal instead of the plastic and it's easier if they're in the plastic to line them back up...the just slide in and out of slots in various locations of the panel

http://i189.photobucket.com/albums/z110/Sai_art/Car/DSC00609_zps4e633cd4.jpg


Note: Both the Boot lid trim panel and the c-pillar trims are identical on the 3 and 5 door models ;)
I know this as mine is a 3 door and the "donor" was a 5 door :p
----------------------------------

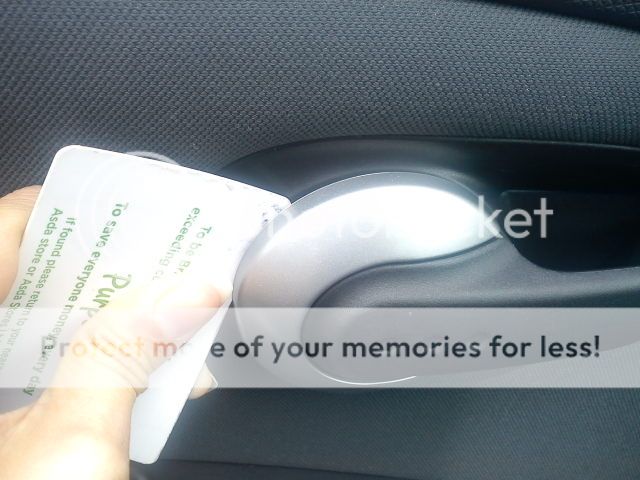
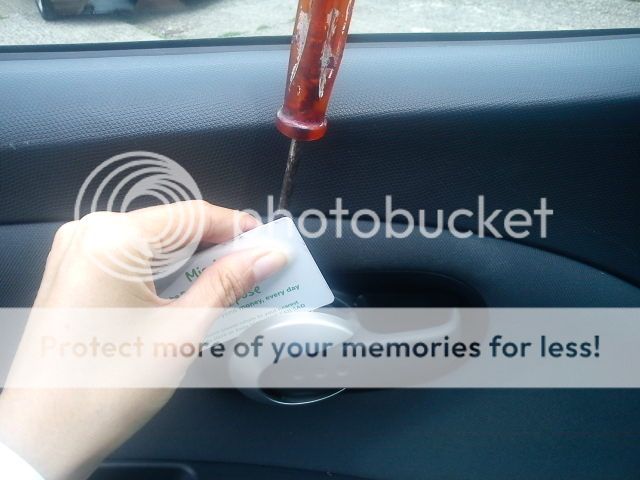
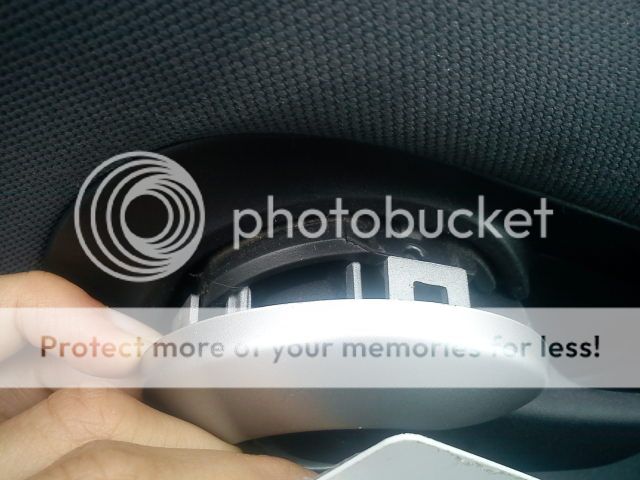
Changing the interior handle trims is also very simple...just ply them away with a flat head screwdriver...although I wish now I'd done this with something like a credit card as removing these trims with a heavy hand easily leaves marks in the plastic <_<

put an old ID or bank card to lever away from the handle, and slot the flat head screw driver behind it...
lever it away...it is very firmly attached...there are 3 bits in slots holding it on

DSC00591_zpsd0feebfc.jpg
...
DSC00593_zps5000620b.jpg


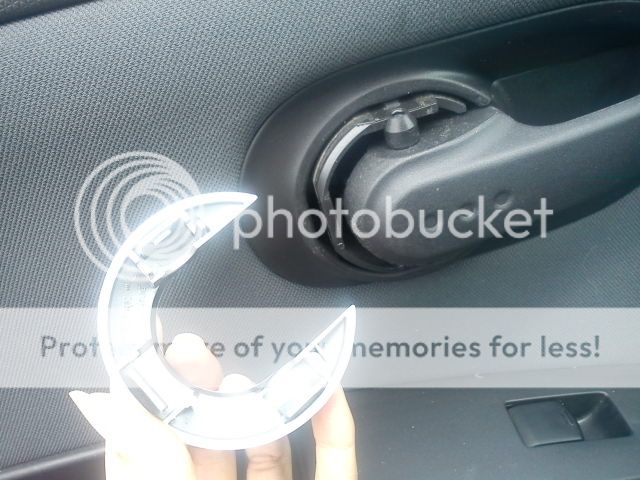
once you've got the top bit out just pull it off, try to pull it straight, although the plastic here inside the trim is quite tough and should'nt break
DSC00592_zps18de8ce4.jpg
...
DSC00594_zps7616e9fb.jpg


To put the new trim on just press it into place, doesn't take even half the effort of removal :p
 
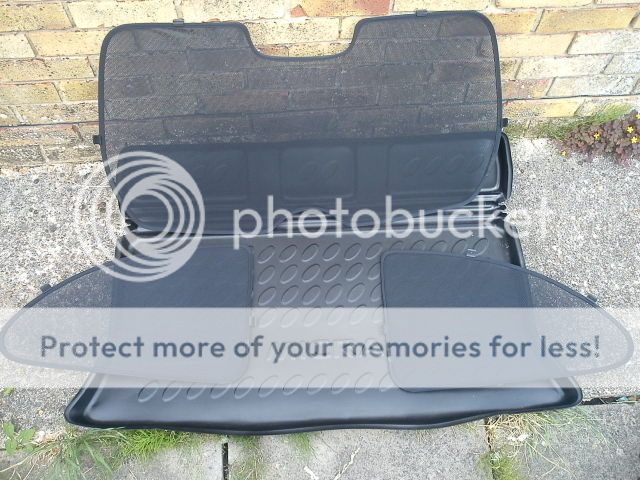
Genuine Nissan Blinds (ignore the boot liner...I'll get to that next ;) )

DSC00603_zpsf32e196d.jpg


you can apparently get these for a 5 door model, but I'm not sure how the rear windows would work? o_O
obviously the rear windscreen id identicle on 3 and 5 door K12's ;)

Fitting the side window blinds...
Before....
DSC00604_zps9e2116b5.jpg

http://i189.photobucket.com/albums/z110/Sai_art/Car/DSC00610_zps5380021e.jpg

You will probably need a flat head screw driver to help with this, the first time around I found it very frustrating...the slimmer the screw driver the better to slide between the trim and the glass

DSC00611_zps33755104.jpg


...there are three of these jagged clips, to slot under the trim, which hold it in place

After:...
DSC00613_zpsa6ad6797.jpg

http://i189.photobucket.com/albums/z110/Sai_art/Car/DSC00612_zps200c5a8f.jpg


Fitting the rear hatch window blind is very simple, it just slots into place (as the plastic surrounding trim is not as close to the metal as the rear side windows are to the glass :rolleyes:

Before:
DSC00350_zpsa464c14c.jpg


After:
DSC00351_zps30841b41.jpg


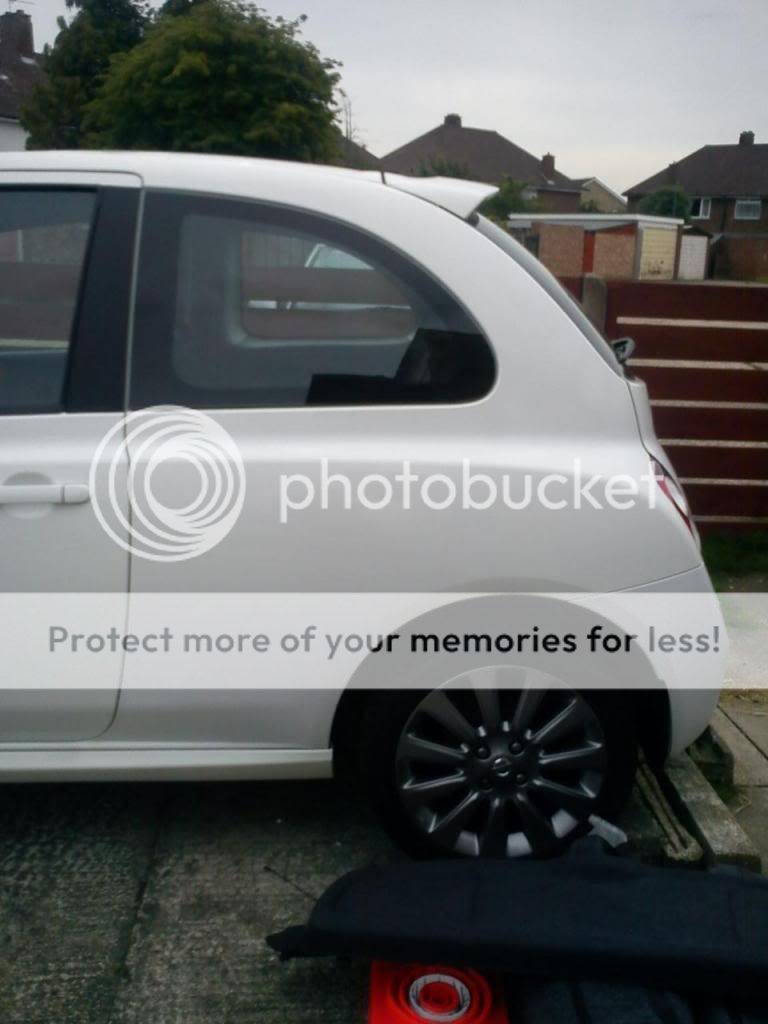
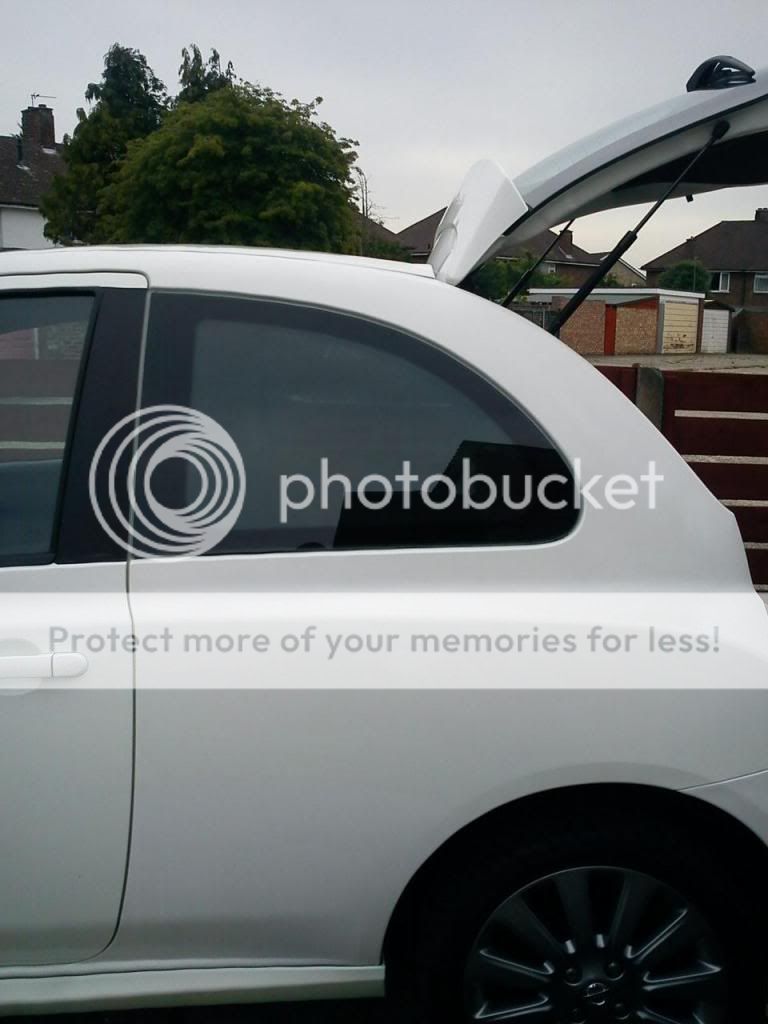
Exterior view...full effect...

Before: http://i189.photobucket.com/albums/z110/Sai_art/Car/DSC00607_zpsd7cff904.jpg
After: http://i189.photobucket.com/albums/z110/Sai_art/Car/DSC00614_zps48542aac.jpg

from the inside: http://i189.photobucket.com/albums/z110/Sai_art/Car/DSC00616_zps851386da.jpg

it doesn't stop too much light getting into the car and is still fine, vision wise, when driving at night.

I picked up both the rear screen blind and the pair of side window shades from ebay at £13.99 and £13.50 respectively...that includes postage ;)
 
From the beginning of 2009 to end of 2012 it only covered 12k? Isn't much :)

Yep, she's not done a whole lotta miles with me :oops:

the previous owners did almost 20,000 in 1 year...the last year they had her...
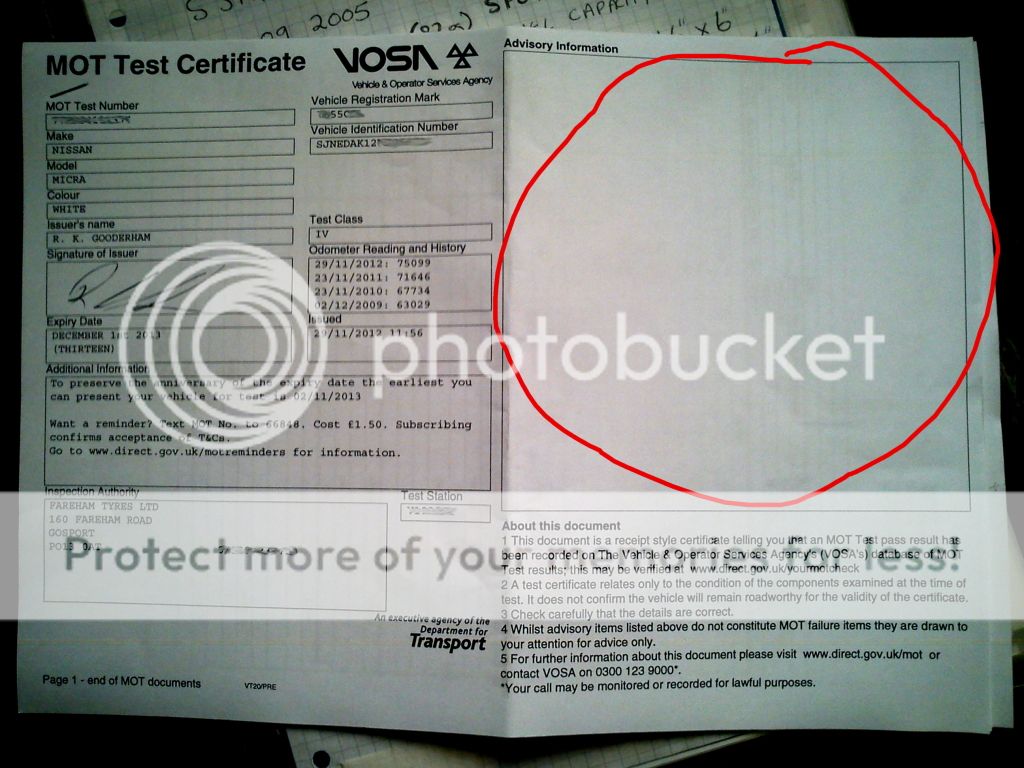
The mileage stated on her first MOT certificate (2008) was 45,244 miles, then in 2009, just before I picked her up it was 63,029....

I got myself a full breakdown of old MOT's, including the fail notice (Refusal of an MOT certificate) from the 2009 test (they re-tested obviously :p)
which oddly enough the trader didn't tell me about, well they'd sorted the faults, but it's interesting to see the kind of things that have been advisories previously ^_^

If you've not got some of the older MOT's it's nice to have the info on hand and you get get it all from >>> https://www.gov.uk/check-mot-history-vehicle
you just need you reg number and an old MOT test number or the reference number from your V5c ;)

just copy and paste it into a word/open office/notepad document...I printed mine

...this data only goes back as far as 2005 though as that's when it went all computerised, an' stuff :D

ETA: by the way I've updated most of the previous posts, with pictures and promised information
 
Well thats interesting to know :) might have to look mine up! Ive done 16k since middle of last september i think... and only 6k to go til ive doubled the 40k milage i picked it up with 3 years ago!
 
Well thats interesting to know :) might have to look mine up! Ive done 16k since middle of last september i think... and only 6k to go til ive doubled the 40k milage i picked it up with 3 years ago!

It can reveal some insight into previous owners of your car...bit scary in the case of my brother's
did an MOT History check for my brothers Audi A4 (which is also a 2005 55 reg) he got in 2010...
I seem to recall it had failed every single mot (all 3) before he bought it. o_O
...and all three fails were stuff that is obvious (I mean that you can check yourself in about 5 minutes)

such as:
bulbs not working/missing
inssuficient tyre tread
Wiper blades deteriorated
No washer fluid in resevoir :rolleyes:

Mine had failed in 2009 because the front/grill indicator lamps were the wrong colour
My indicator bulbs are orange in clear casing, not clear in an orange casing...after a while the orange....urmmm....escapes? from the bulbs surface LOL
...it flakes off ^_^

I have changed my dad has changed my indicator bulbs...since I've owned her
I have no pictures as I think that was the same day last year that he changed my oil while I was at a hospital appointment :p
 
Whenever I buy a car I ask for the most recent mot certificate number to check just this. It shows things HPI checks just don't! Like if a car fails in one test centre then passes a couple of days later in a DIFFERENT one that worries me!
 
.... Like if a car fails in one test centre then passes a couple of days later in a DIFFERENT one that worries me!

*shudders*

luckily that hasn't been the case for any of the Histories I've checked so far...

My K12 sport+,
Mum's K12 SVE,
Dad's Almera SXE
and brothers Audi A4

*phew*

reminds me actually...on the MOT in 2009 my front O/S tyre was an advisory. there's a cut in the tyre wall...more like a massive gouge actually
but it is STILL on the car today...and has not been picked up in the 3 MOT's I've put her through since o_O
 
(March 2013)
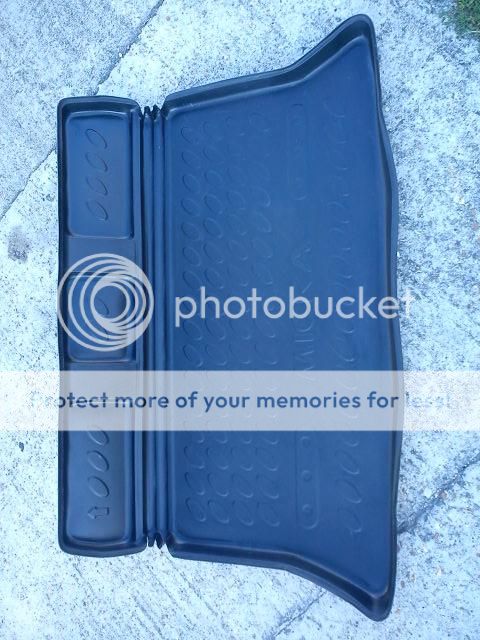
Won a Genuine Nissan Boot liner...cleaned...fitted ^_^


Bye bye JML rug.... (and rubber non-slip mesh, perfectly cut to fit...a K11 boot lol)

DSC00370_zps6b09584f.jpg


...and hello Genuine Nissan Boot liner ^_^
DSC00371_zps1c0e439d.jpg


Note to my fellow K12 owners: These genuine boot liners are really nice and robust...good quality plastic, made in Germany, with that Rubberised finish on top
...however they would fit better if you don't have the sliding rear seats as the mechanism pushes the back part forward a bit ;)
....although saying that, with my seats pushed all the way forward it sits almost flat...
 
The same day in March that I won the Boot liner on Ebay....I had an interview...which I didn't get to because..... :(

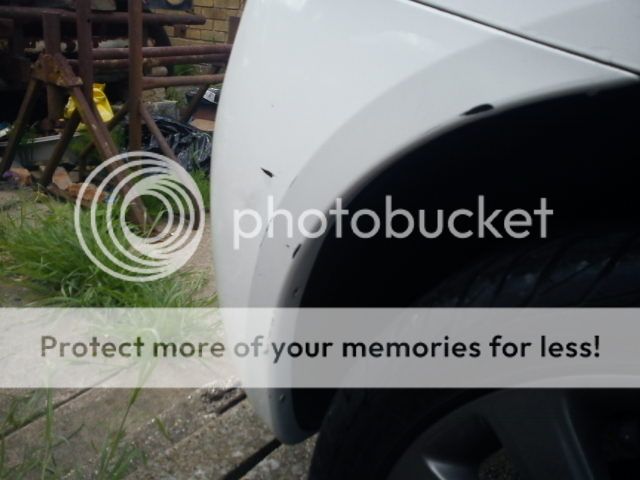
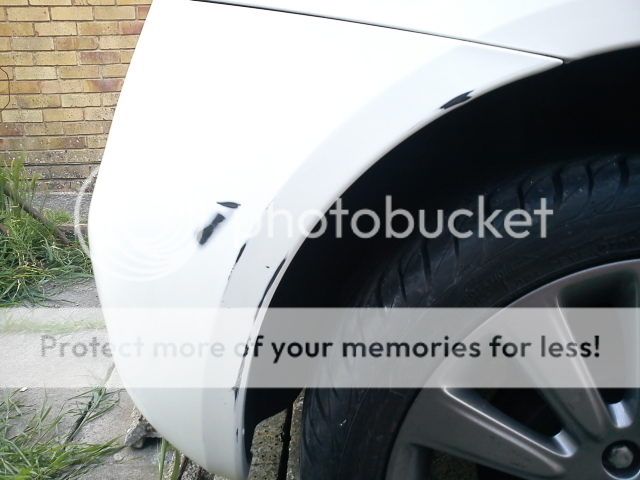
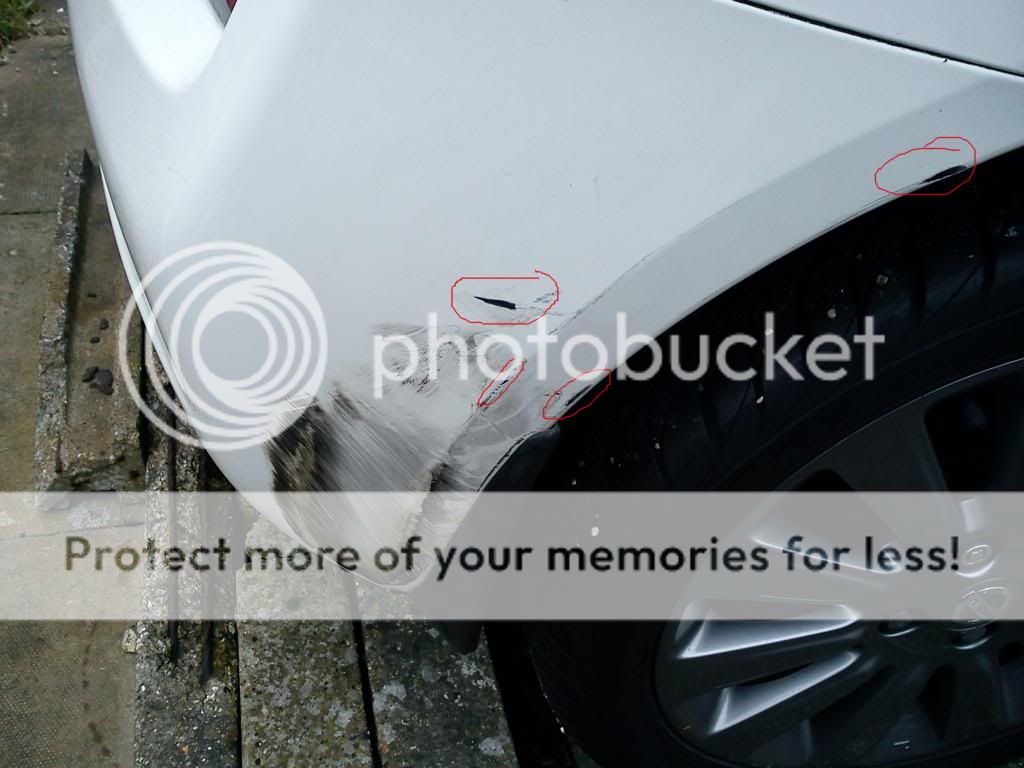
I circled the bits where the paint is actually missing (black plastic exposed)..80% is tyre/rubber <_<

DSC00357a_zps45016458.jpg


I cleaned it up a bit a few days later...

DSC00361_zpsb0bd15cb.jpg


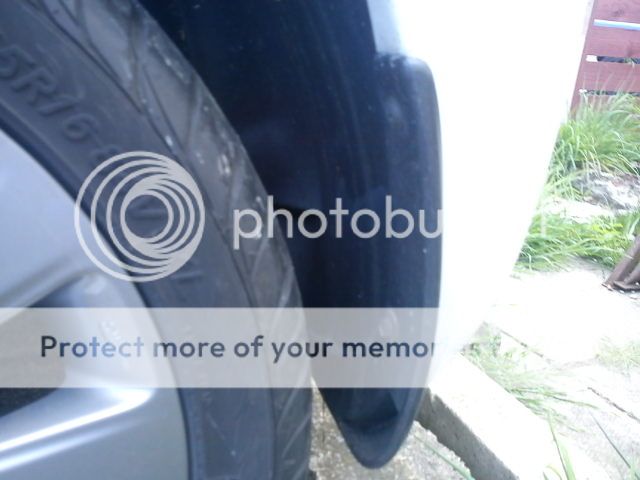
also had to tighten the screws and bolt holding on my mudflap...luckily not cracked or anything like that *phew*

Poilice did nothing and didn't even get my name right in the letter they sent me the day after, telling me they were going to do nothing :mad:
did re-arrange the interview....didn't get the job:rolleyes:

 
Not really to do with the car, as such...but also around this time I ordered Gran turismo 5...and of course I had to buy a White 12SR, to cheer myself up :oops:

Kyoto-Gion_1_zpsb3006b5d.jpg


Kyoto-Gion_zpsc5e7fde2.jpg


She's so purrty :p
 
Well now you've done it, You gotta make your car look like that now!

Perhaps when I win the lottery/marry a millionaire It will happen ^_^
Andy (@Enuo) will appreciate his influence with the black bonnet decision I'm sure :p
ETA: Ha, you posted while I was writing LOL

Early April (2013)
I Garnered this reaction from you McMicra :p


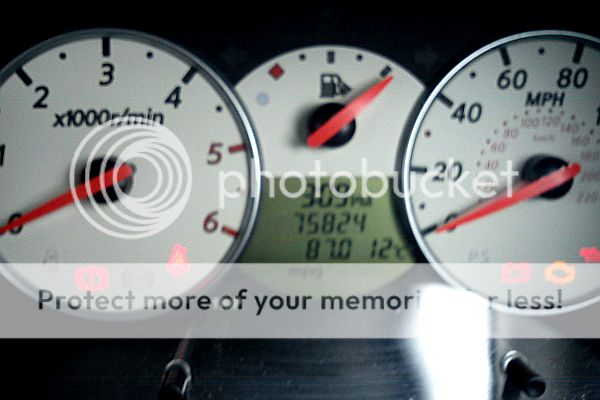
as I had Played the Miles Per Gallon Game with my Trip Computer on the way home from the shops and posted this image ^_^

MPGgame_zpse6b35634.jpg


K12 DCI FTW!! LOL
 
Haha, I also got a notification you liked one of my posts from may haha.

87.0 MPG

MFW

jackie-chan-meme-wtf-i11.jpg

JACKIEEEEEEEEEEEEEEEEEEEE!!!! :D


I've been going through alot of older threads to get stuff to put into this one...and I keep coming across awesomeness I missed the first time around *facepalm*
 
April 18th (2013)
...I let you all know just how sad I am LOL

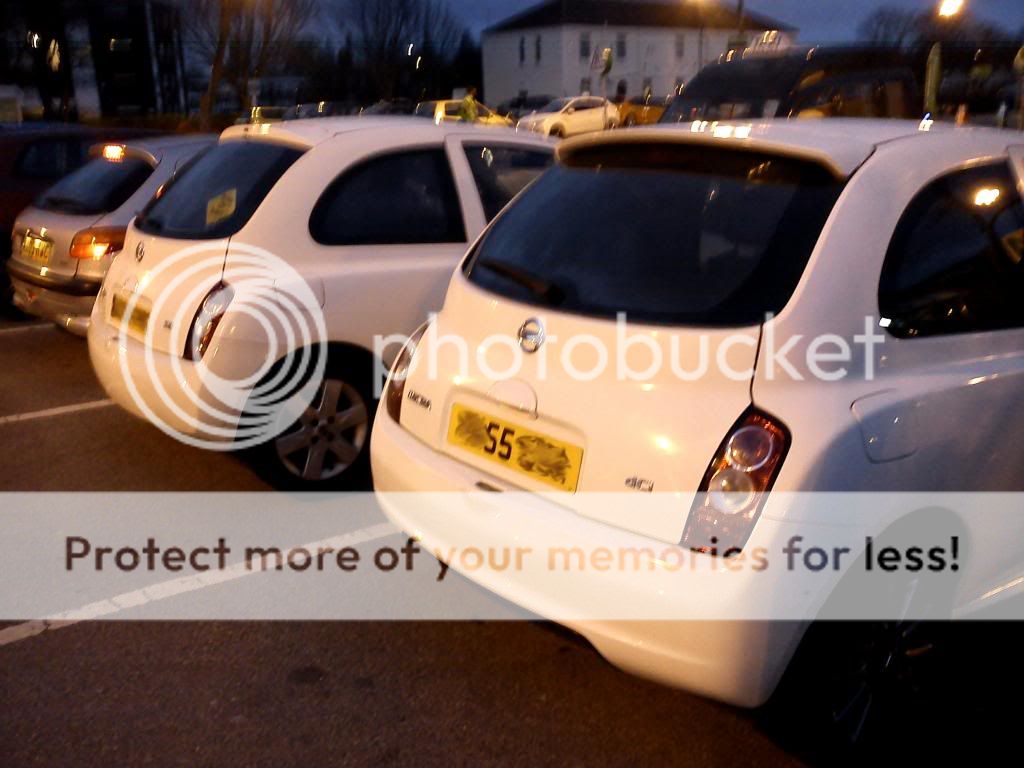
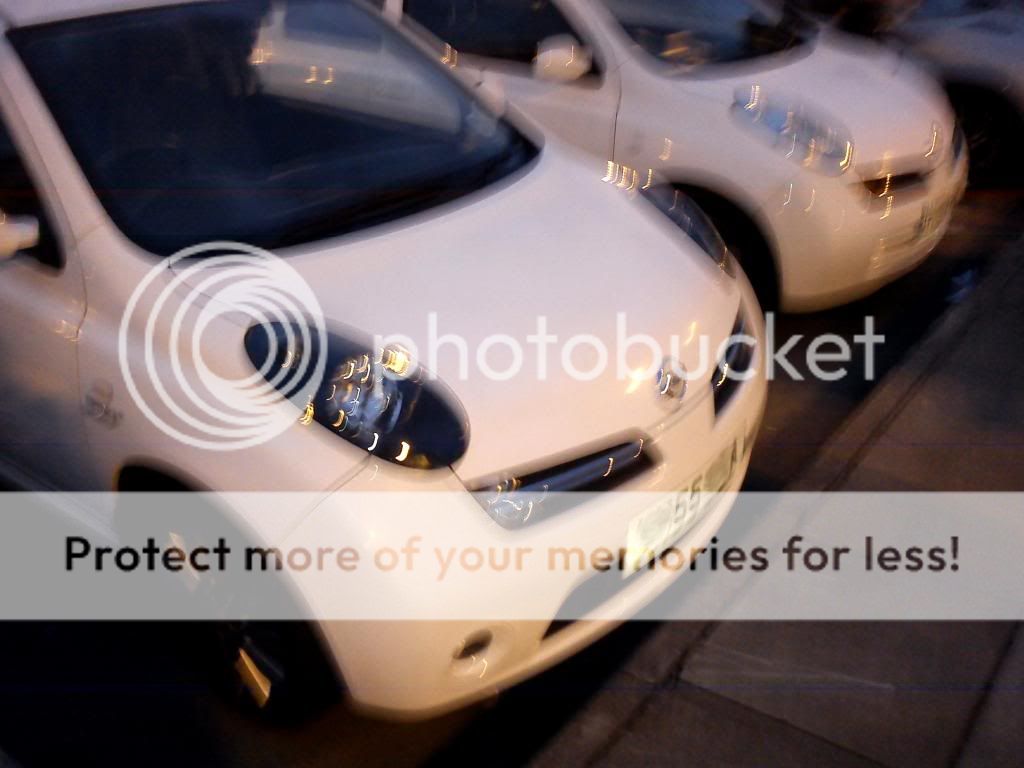
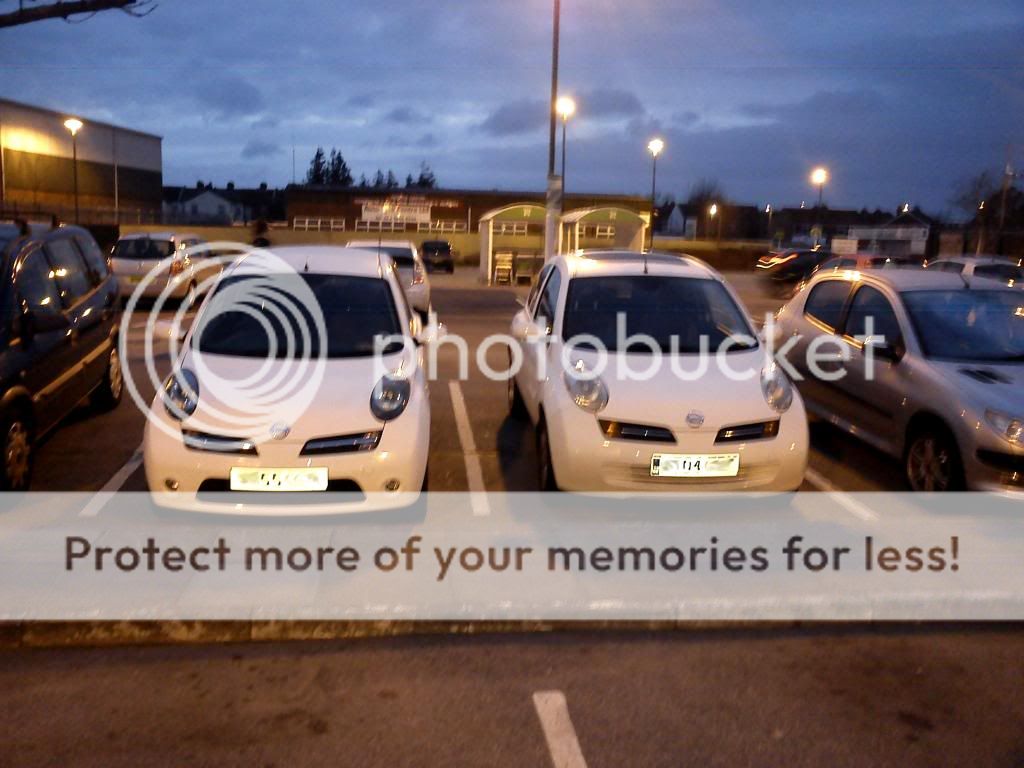
Popped round to Asda, and spotted a 3door K12 SE...in white...so obviously I got over exited and took photo's! ...which aren't even all that great either <_<

DSC00395_zps16f13390.jpg

DSC00396_zpse6ee5c72.jpg

DSC00397_zps096c1423.jpg


....the people in the silver Pug, quite rightly, looked at me as if I were mental :p

I still can't decide if they (or the original owner at least) were done over by the dealer or if they are ebay demon's like myself
not only did the Jammie gits have a sunroof...they also had the headlamp protectors (£50 option) and the rear window blind set (£90 option)
...I wonder if they have entry strips (£50 option) and the boot liner too (£65 option) :D


I know....I have no life LOL
 
April 21st (2013)
I went to my first meet!!! :D ....at Reading Gate

SDC10340_zpsa15474f9.jpg


Where I met @JoeK11 (and Hannah), @karlj, @skymera, @SirChris, @mottymicra, @Enuo, @Davegrout1 (...and friend) :p
...and many a cake was eaten ;)
 
May 22nd (2013)

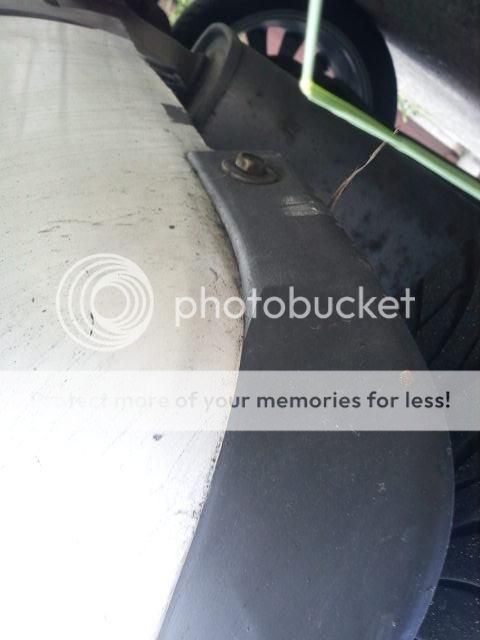
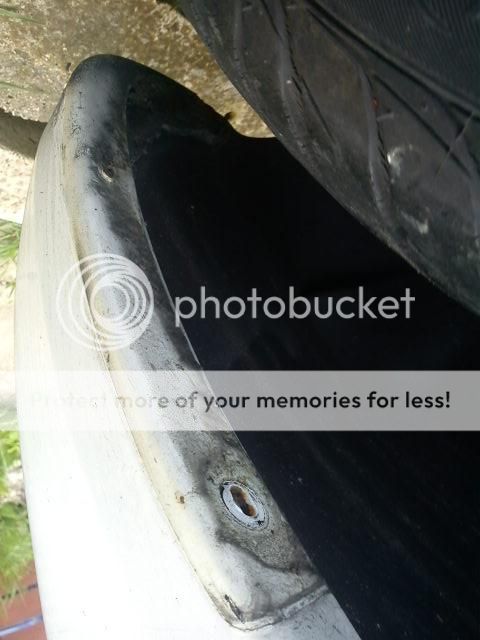
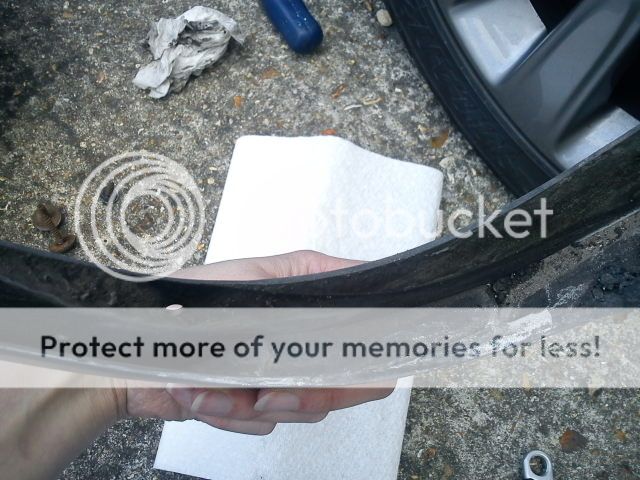
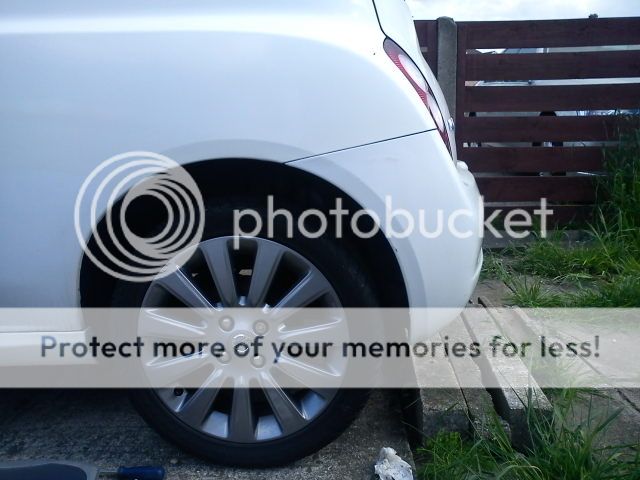
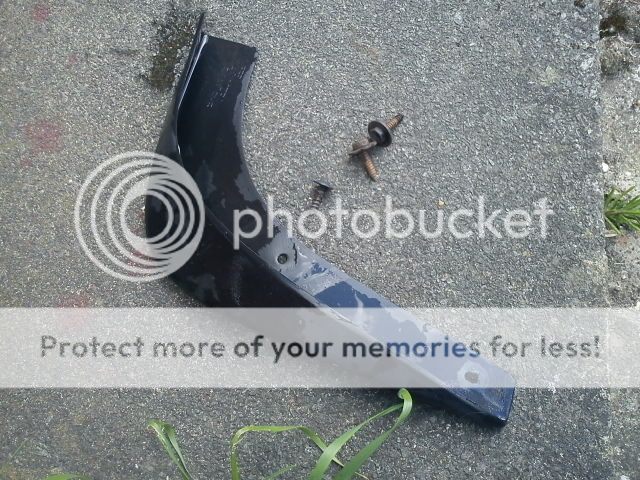
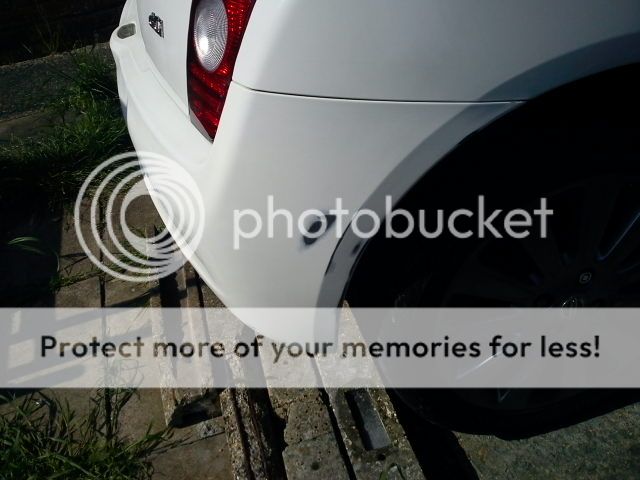
....so I had a look at my bumper, to do the painting part right this time...taking off my mudflaps etc LOL
as looking at the black scratches was getting me down <_<

discovered that I'm missing 2 self tappers one from the trim under the main body and one that holds the centre section of bumper to the car :rolleyes:
gonna have a look in the garage for some later...

Anyway....PICS!!!

screw and self tapper
DSC00006_zpsf72b0df9.jpg


'nother self tapper underneath
DSC00007_zps691551be.jpg


Hmmmm...skanky as :p

DSC00009_zpsf6c964d2.jpg


DSC00010_zpsca901b63.jpg


DSC00011_zps08bb786f.jpg


...this is what the bit I ruined painted last year
....oh dear... Error (My fault ^_^) http://i189.photobucket.com/albums/z110/Sai_art/Car/DSC00013_zpsa3f920db.jpg

I think it look better with the mudflaps ;)

DSC00014_zpsb5b2102b.jpg


all cleaned and placed back on car...so I know how piss easy it is to get 'em off now :D

DSC00003_zps9cfd9278.jpg


DSC00002_zps13e2fe0b.jpg


BTW...turns out that K12 mudflaps are very good at collecting mud in the gap between the inner arch trim and the lower self tapper
....and in the moulded grooves of the mudflap itself... :p
 
May 25 - 29

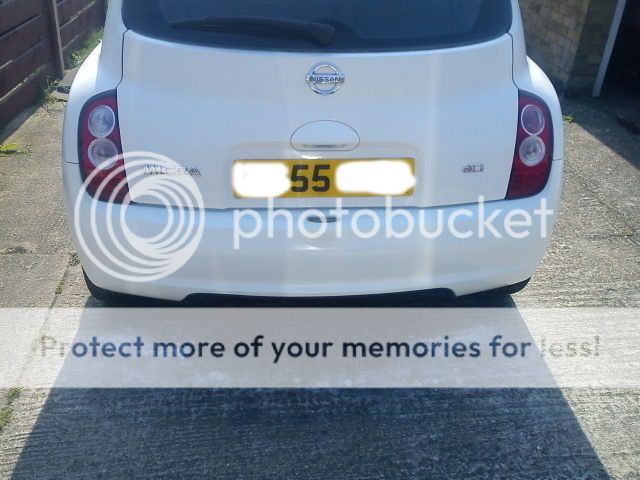
began preping my rear bumper, finally, for painting as weather was good...
DSC00440_zps172c21af.jpg


...then it got too bloody windy <_<

--------------------------------------------

sun came out and barely a breeze! ^_^
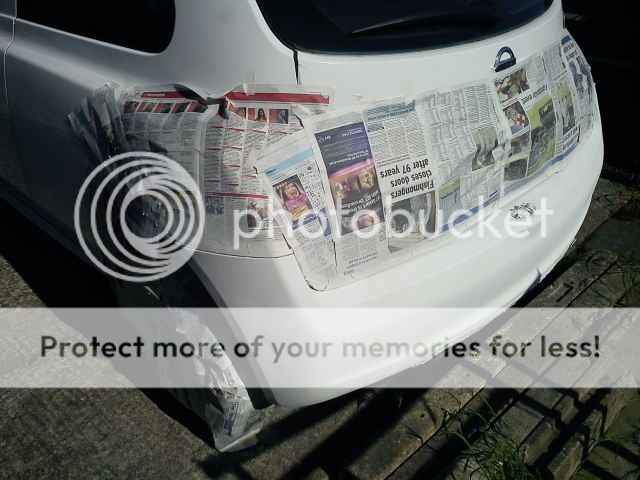
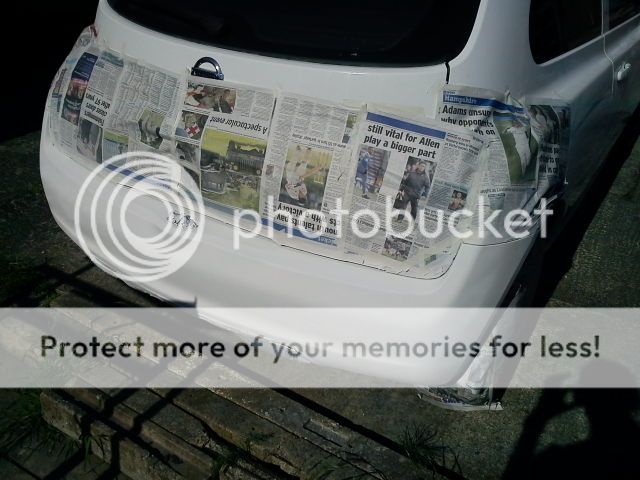
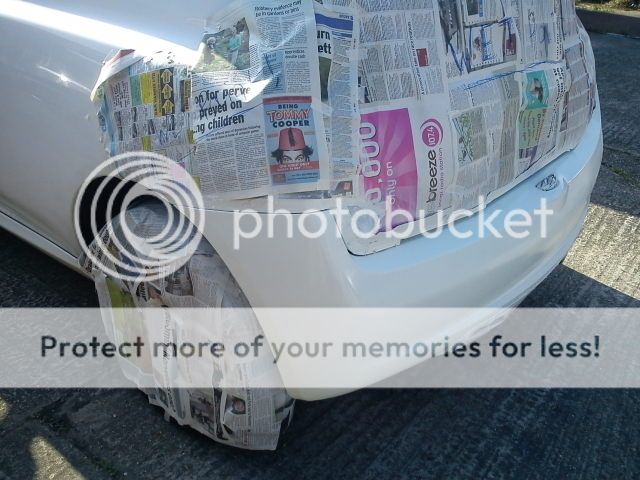
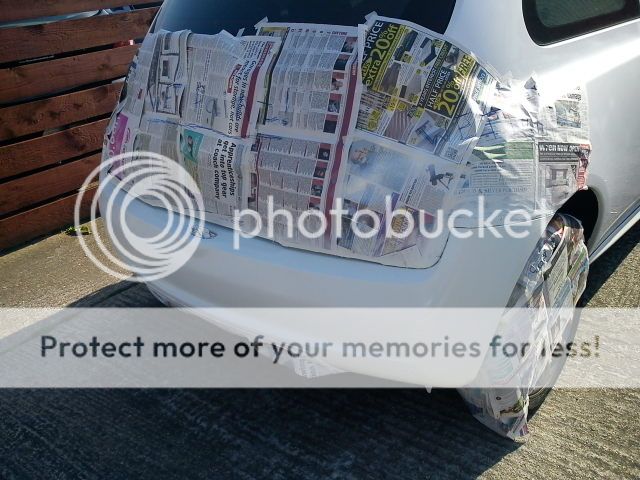
...got all ready to get some bloody paint done... dug out 3 days of newspapers...and my masking tape etc...
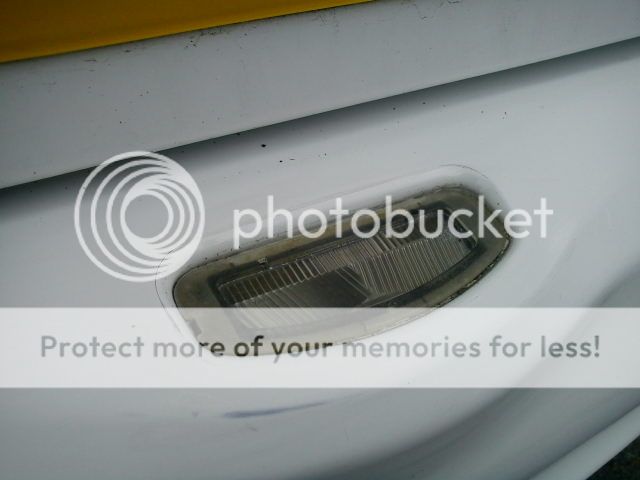
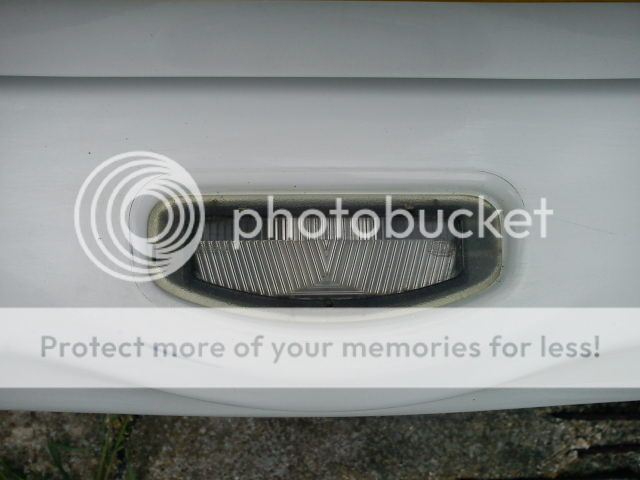
then remembered that I hadn't taken out my number plate light yet....so I needed to get my number plate light out and clean the surround and wrap it up...

Before:
DSC00446_zps69148a58.jpg


DSC00447_zps827d522e.jpg


DSC00448_zps8fe91234.jpg


After:

DSC00449_zps9f32b804.jpg


But...then the rain came...again <_< *facepalm*
 
June 1st

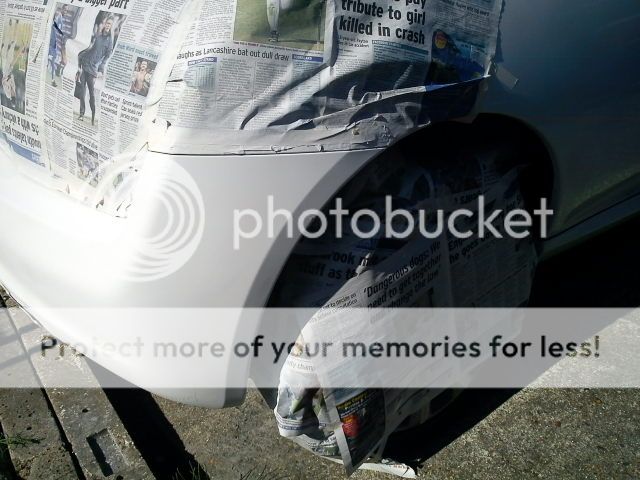
...got my bumper all cleaned, taped/masked off/up and primered ;)

Before:
DSC00444_zps67180000.jpg


After:
DSC00452_zpsbfc99b59.jpg


DSC00451_zpsbcbc4c53.jpg


DSC00450_zps8a9b9a60.jpg


DSC00453_zpsd8b7c5c7.jpg


...it's actually all one kind of white now, instead of "50 shades of..." :p LOL

next step?...get some top coat paint (arctic white 326)
...rub down and apply....
 
June 17th

...a couple of weeks ago my mum had her AC sorted by Nissan, and while we were there I asked the parts guy if you can get the black pillar trim off a K12c and fit it to a K12e
...he said it's "bonded" which is code for... pain in the arse and it'll probably break in the process <_<
but.... "we can order you the part in...cost £30.....plus VAT....per side"...ummmm....no thanks :p

Shopping in Lidl on Sunday afternoon...and spotted their "adhesive patterned film"...£1.49 a roll or two for £2.50 ^_^...so I got me some...and had some fun
Before:....

DSC00465a_zps393f4fe3.jpg


After:...

DSC00504a_zps415ac6f1.jpg


other shots...
http://i189.photobucket.com/albums/z110/Sai_art/Car/DSC00506a_zpsc442ccbb.jpg
http://i189.photobucket.com/albums/z110/Sai_art/Car/DSC00505a_zps6942700d.jpg
http://i189.photobucket.com/albums/z110/Sai_art/Car/DSC00510a_zps89401973.jpg
http://i189.photobucket.com/albums/z110/Sai_art/Car/DSC00509_zpsaef74e07.jpg
http://i189.photobucket.com/albums/z110/Sai_art/Car/DSC00508_zps32be67f7.jpg

I reckon it looks really nice! ;)

...there is one little bit that went...funny ...but meh :rolleyes:
http://i189.photobucket.com/albums/z110/Sai_art/Car/DSC00507_zps7f0f3b14.jpg

-------------------------------

this has now been holding strong for two months through rain and shine....Highly recommended ^_^
 
July 2nd...

I thought I'd fix the bane of any K12 owners existence <_<
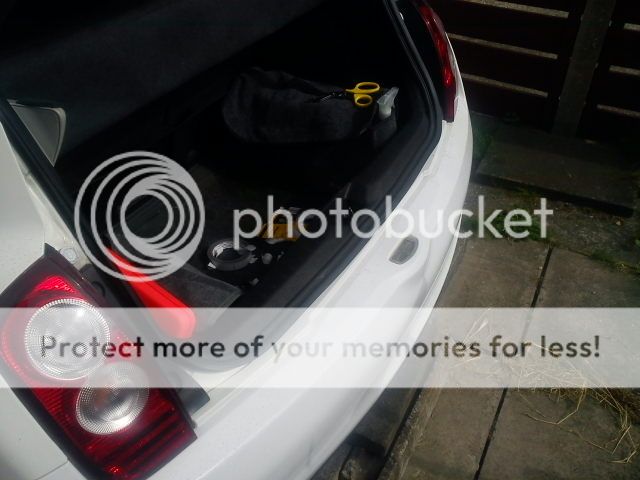
The stupid, annoying, magically escaping, pain in my backside, plastic tailgate trim LOL

It seems that no matter how gentle you are with it, the minute you need to lift something outta your boot it gets snagged, even ever so lightly, on this trim and it comes Flying off!!! >_<
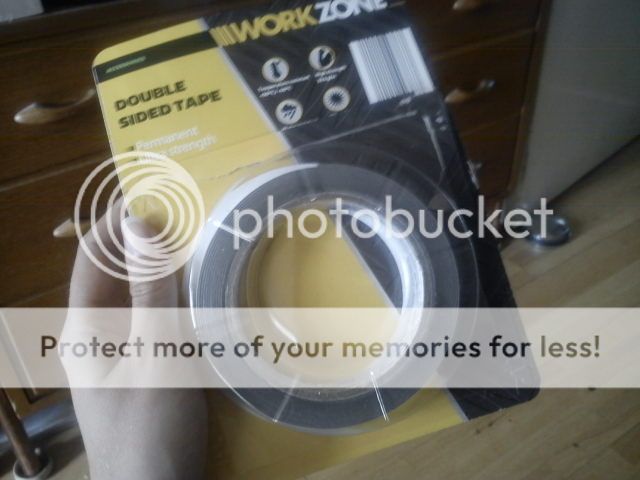
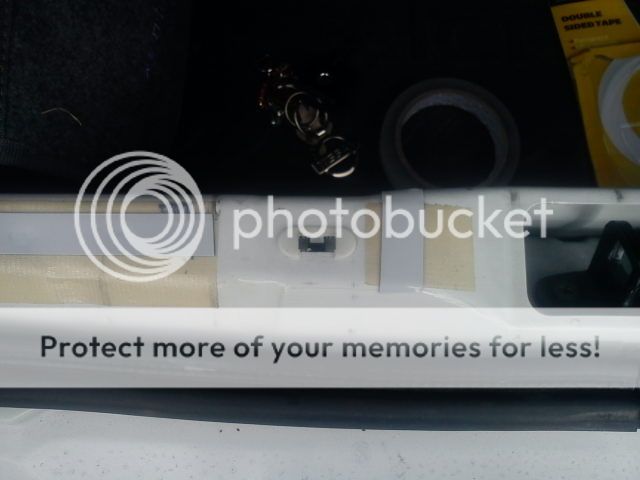
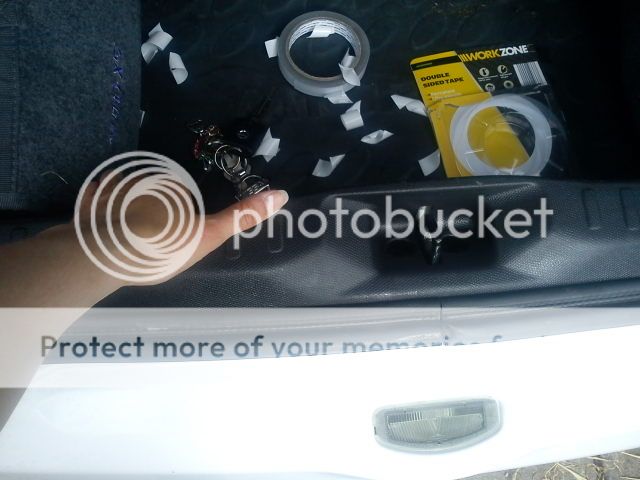
this is because half of the fixings that it's supposed to "clip" into are missing, damaged or both :rolleyes: and unlike the other trims around the car you can't really replace them as they'll just break again so...I made with the extra strong double sided sticky tape! :D

DSC00556_zps4356b3a7.jpg


Bargain from Aldi's that stuff...my mums number plate was falling off, this stuff holds it solid and was half the price of proper "Number plate tape" from Halfords ;)


Obviously I attacked the trim with back to black (wonder wheels) first.
...which it turns out you shouldn't do in the kitchen, as it polished the floor at the same time = slippery as......with just socks on :p

http://i189.photobucket.com/albums/z110/Sai_art/Car/DSC00553_zpsb7a5d198.jpg

DSC00554_zps4c351dd7.jpg


Not long after I got my baby I did try to sort this out...using carpet tape
however, carpet tape is simply not thick enough to reach the trim I'm trying to stop sepperating from the metal

http://i189.photobucket.com/albums/z110/Sai_art/Car/DSC00557_zpsf256cdb0.jpg
http://i189.photobucket.com/albums/z110/Sai_art/Car/DSC00558_zps251c1c6a.jpg

now... I put on a few strips of the new, padded (foam), tape, it's about 1mm thick.


DSC00559_zps16eeb85c.jpg


The placement was perfect but it still wasn't actually holding onto/touching the trim enough
...so I put a second layer on top of the strips I'd already put on it and pushed the panel into place, holding it down for a few seconds....then I gave it a nice, firm, tug.

DSC00560_zps4f4bb744.jpg


didn't budge an inch :)

...YAY!!!! much better ^_^

DSC00562_zps9d111b55.jpg


the only thing that I think would make it more perfect is I think it could have done with a third layer of the tape in the area towards the catch in the centre, but it's pretty solid anyhow...
In the event I need to remove tha bit of trim again I'm gonna have alot of fun! LOL
 
Pretty much all caught up with my....exploits now LOL

August 1st

although I've done a mock up like this before, I was bidding on some wheels and thought I'd have another go...

DSC00505b_zps03a2b320.jpg


Then...., after discovering those wheels I was winning were "No longer available" <_< ,
I did a mock up of my car with those shmexy Nissan Note alloys, Hence Scotts (skymera) post earlier :p

DSC00505c_zpsb9667ec3.jpg


I'm still thinkin' it will be easier/cheaper to just paint the wheels I already have, but I'd like to have another spare of each colour...if you know what I mean....
So I'd also need 5 of the Note wheels to be happy anyway LOL

If/When I paint my wheels, I probably won't go as dark as black (in the mock up) more like....very dark grey...Anthracite or gun metal :D
 
August 2nd

Made her all shiny, like :p

DSC00582a_zpsb962bab9.jpg


DSC00580a_zpsb7924c03.jpg


DSC00572_zpsa878c2d6.jpg


also cleaned off as much of that horrid green gunk from the door jams and hatch lid etc....and gave those parts a good polish...

DSC00568_zps53ad7c69.jpg

DSC00569_zps856d5001.jpg

DSC00570_zps56747764.jpg

DSC00573_zpscf093978.jpg

DSC00578_zpsf276fbca.jpg

DSC00579_zps441a8c97.jpg


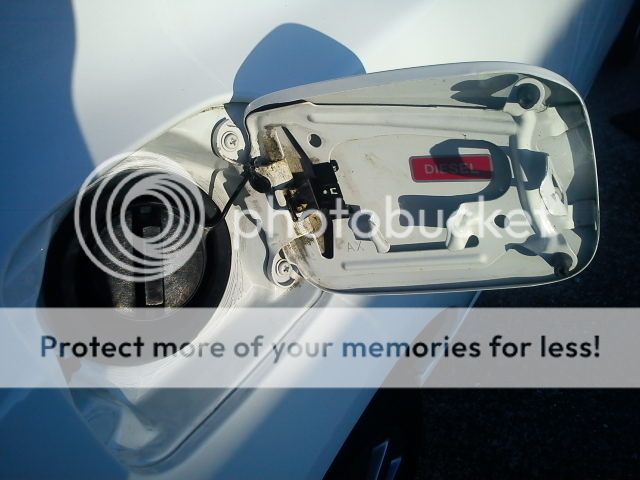
and the fuel filler flap for good measure ^_^

DSC00574_zpsff9c8d4f.jpg


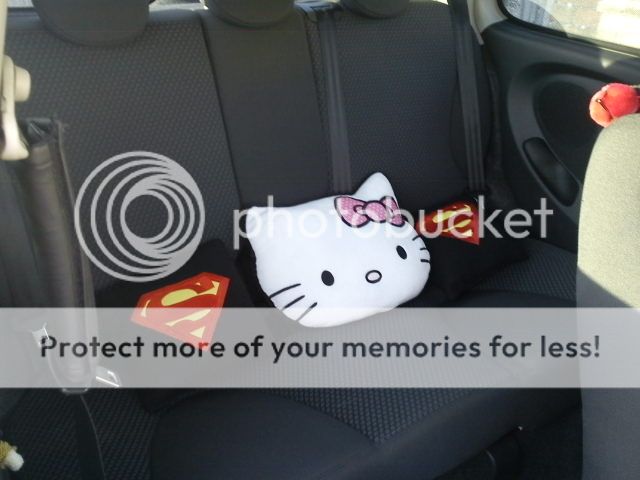
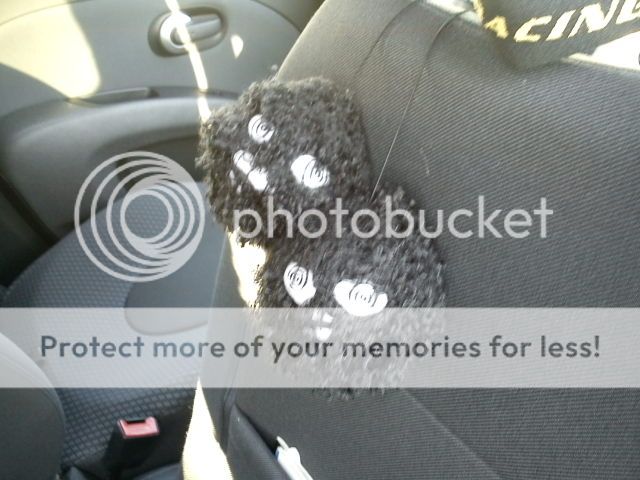
...also vacuumed the interior, carpets and seats... plus my Hello Kitty and Superman cushions (I made the Superman cushions myself, out of a pair of seat covers that were 50p from a Jumble sale :p)

DSC00576_zpsb8b33e5a.jpg


DSC00567_zps3a063caa.jpg


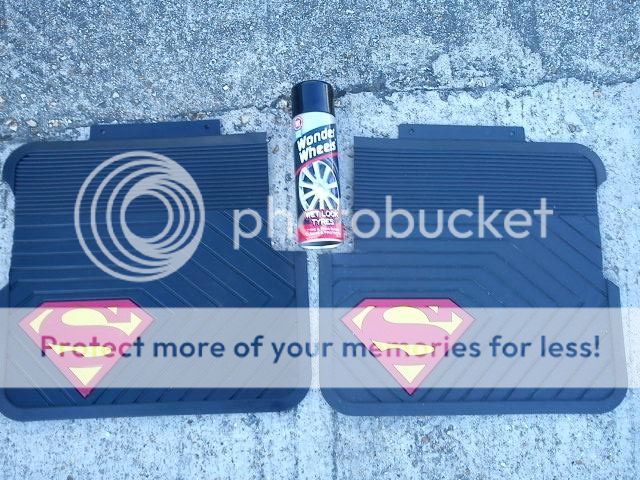
Plus I scrubbed my mats and boot liner, then used the trim and tyre restorer stuff...love it ^_^

DSC00571_zps8a5881aa.jpg


VVV...After...VVV ......................................................................................................VVV...Before...VVV
DSC00575_zps99d4d044.jpg


These are the only "Dustballs" left now LOL

DSC00577_zps9a0489db.jpg
 
I've always liked this shape micra....more than the k11 (get back you crazed bastards!!)
Even more so with the more door (4) dunno why, jus takes my fancy :)
Looking sweet either way!
 
Thanks Pork ^_^

I think that more 4/5 door models were sold in Japan (I mean...more popular in Japan)
...as looking on Yahoo auctions and stuff the 3 door seems rarer?

I simply prefer the 3 door as I've always had this fear of someone trying to get in the rear passenger doors o_O
I would never be able to put my handbag on the back seat :rolleyes:

My K10 and K11 were both 3 door models too LOL
 
Back
Top