How to remove rear heater/hazard light switch on K11.....

Might be a stupid question.... The wife has got a K11 but when you put the rear window heater/demister on there is nothing to indicate it is on - I assume there is a bulb in the switch and it is supposed to light when on but the switch doesn't light up - I probably have to replace the bulb; however, how do I get the two switches out the top of the dash? I've tried to prise them out using a flat head screw driver. It moves out a few mm's but feels like there is a lot of resistance and pops back in. It's causing damage to the surrounding area trying to get it out.

Anyone know how to remove this?

TIA
 
its a sealed unit so a new one from a scrappy :D
mines sometimes doesnt comeon either though then other times it does i think the wires might be loose at the back
but yea its the 4 screws to take off the facia pannel 2 above the radio and 2 behind the ashtray (take it out) then you need to pop the pannel off at the top then the plugs just push out from the back
 
its a sealed unit so a new one from a scrappy :D

thats what they said about my Shogun cos none of the switches lit up in that either and they were meant to be sealed......until i took out all 17 switches and put led's in them! they looked cracking after that. im going to try on the micra anyway.
The switch that doesnt light up is the hazard one....but it will tomorrow!
 
just get a thin flat blade screw driver place it under the switch and gently flick it they come out this way there is a nack to it but once you got it it takes 2 seconds
 
ok took the switch out of the car and gently took the switch apart. you can replace the bulb without taking the switch apart as there is a small plug with a small bulb attached to it. i presume you can just buy a replacement at Nissan or i know for definate that you can buy just the replacement bulb as i used the exact same type on the Shogun....but i am putting in a larger brighter bulb in, just looking for the soldering iron, PLUS the missus has just took the car out shopping so i had to put the switch quickly back in as the indicators dont work with it out. :laugh:
 
ok...done both switches!
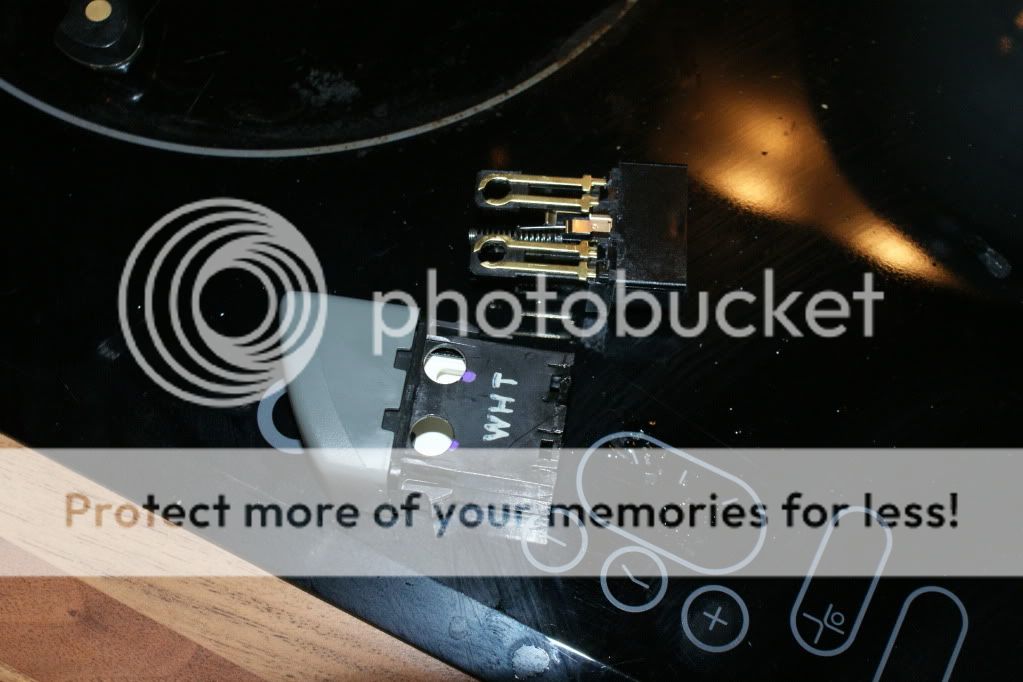
took them apart, you can see on the photos where the small bulb touches.

DSC03711.jpg


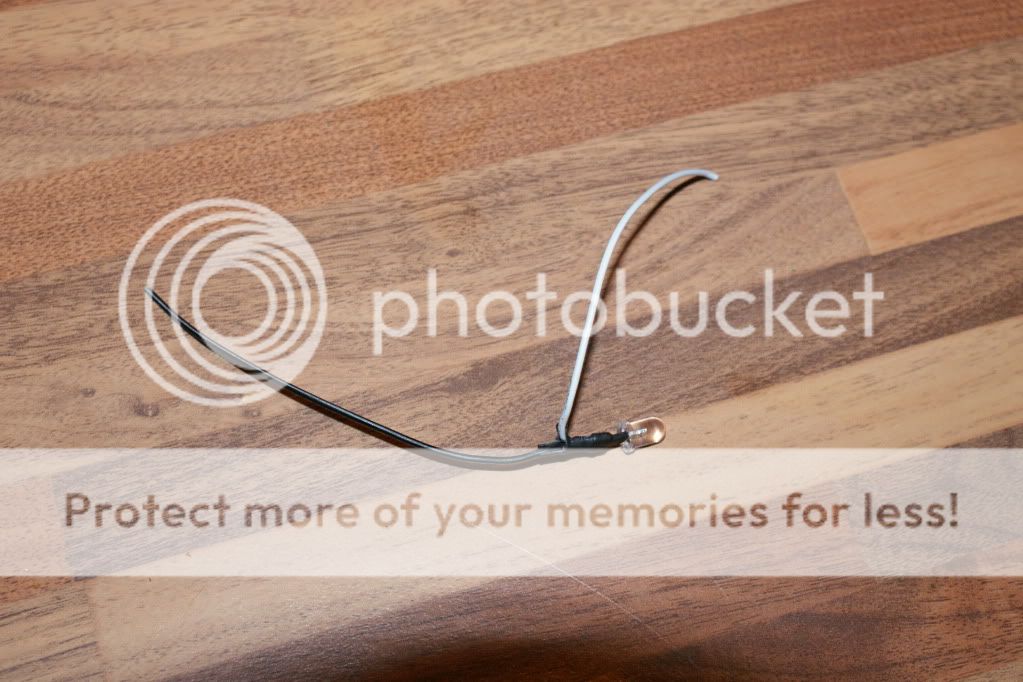
I resoldered a bright white LED onto it and carefully put the switch back together.

DSC03712.jpg


The heated rear screen switch is a very bright clean white and now the hazard switch lights up as well, although not as bright as there is a red filter in there.

DSC03714.jpg


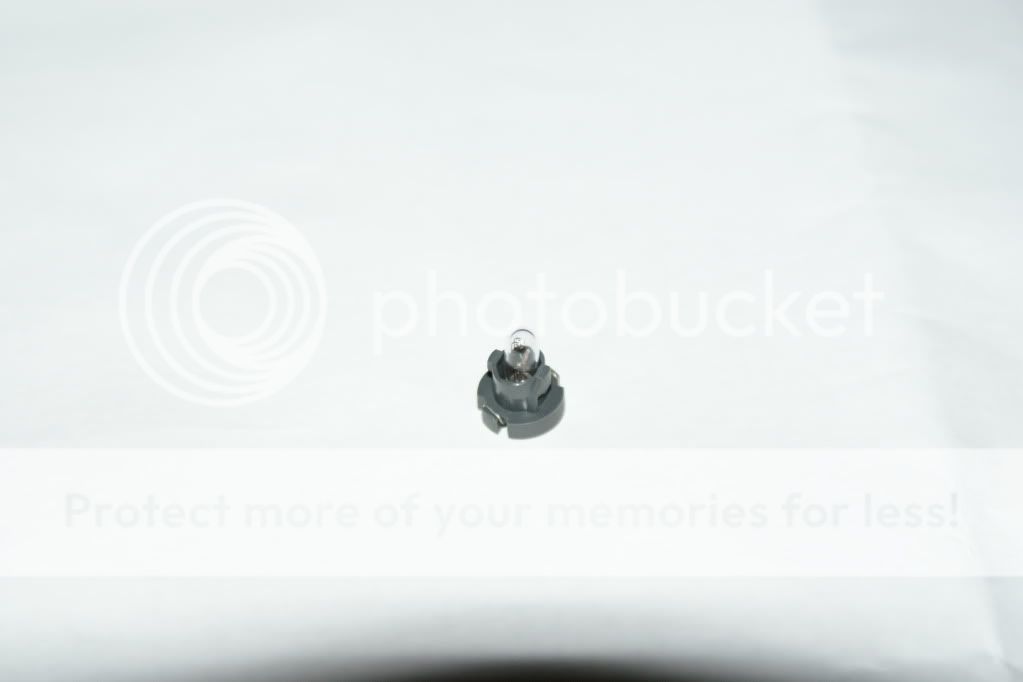
here is a picture of the original bulb i replaced.

DSC03715.jpg


any opinions?
 
This is excellent... I will have a go on Saturday morning. LeeandJude... Did you remove the facia to take the switch out (ie: the four screw method) or what Matt said by using a thin blade screwdriver to just remove the switches?

Matt... using your method am I removing the plastic panel bit from round the switches too (which is what I've been trying to do that was damaging the top of the dash) or do I remove each individual switch from this by putting the blade of the screwdriver between the panel and switch? Sorry, it's hard to describe this without a picture!

Cheers,

Andy
 
no i just prised it out...but use a flat blade under the switches, dont do it from the top but get at it from the bottom.
after that dead easy.
are you going to replace the bulb or put led's in?
 
Bulbs...

I've got the switch out but can't find a bulb small enough to fit. I'll probably have to use a small led - leeandjude, where did you get your led bulb? also, how did you fit it? have seen some small leds on ebay but there is a resistor soldered into the wire - looking at your picture, your wire also has this. where did you put this as it will have to fit back into the surround when finished.
 
I didnt really buy these led's to use in switches as they were for something else.
but heres the link: http://cgi.ebay.co.uk/5-x-Pre-wired...al_Components_Supplies_ET?hash=item53dbf1a807

I first found out which contact does the main light (not the switch on light), I then soldered it on after cutting it to the right length. The led i fed through the switch holes to the front. You have to be careful putting the switch back together otherwise it wont work.

Tell you what...i have to go round the scrappys next week. I will look for a switch and try and make one for you. then just paypal me what it cost me if you want?
 
Not sure about yours, but doing mine today (nowish) - you don't even need to take the thing apart. There's a quarter-turn thing that holds the bulb that comes out. Looks like a "grain of wheat" bulb (a.k.a. T1). There are quite a few on ebay, no soldering needed ;) (in theory. Waiting on my bulbs to arrive)
 
LEDs arrived over the weekend (ordered only 2). I fitted one, and lost the other under the seats, the looks really good compared to the standard grain-of-wheat filament bulbs!

The only issue I faced is that the second "amber" bulb in the rear demister seems to have a very small hole, so I may need to trim the led (or the holder, not sure).

Ordering more... just as soon as I can remember where I ordered them from!

M.

EDIT: Found them! These are a practically direct fit for the hazard and rear-demister switches:
http://www.dx.com/p/sencart-t5-t3-0...t-car-lamp-2pcs-dc-12-16v-337634#.VZEHsPlViUI

(I say near as for the amber light on the demister, you may need to do some trimming of the led, or the switch hole- but you don't need to faff around with resistors and whatnot)
 
Last edited:
I also trawled around their site some more - they have other "types" of LEDs, long skinny ones, that may be a better fit. Ordered a few, will report back.
 
Back
Top